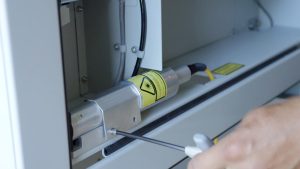
このガイドでは、Fusion M2 からのIPGレーザーの取り外し、およびその後のJPTレーザーの取り付けについて説明します。
安全第一:作業を開始する前に、機械の電源が完全に切れていること、および電源コードが抜かれていることを確認してください。
光ファイバーの取り扱いに関する注意:黄色の光ファイバーケーブルを取り扱う際は、細心の注意を払ってください。光ファイバーケーブルをねじったり、強く曲げたりしないでください。永久的な損傷の原因となります。
IPGをFusion M2
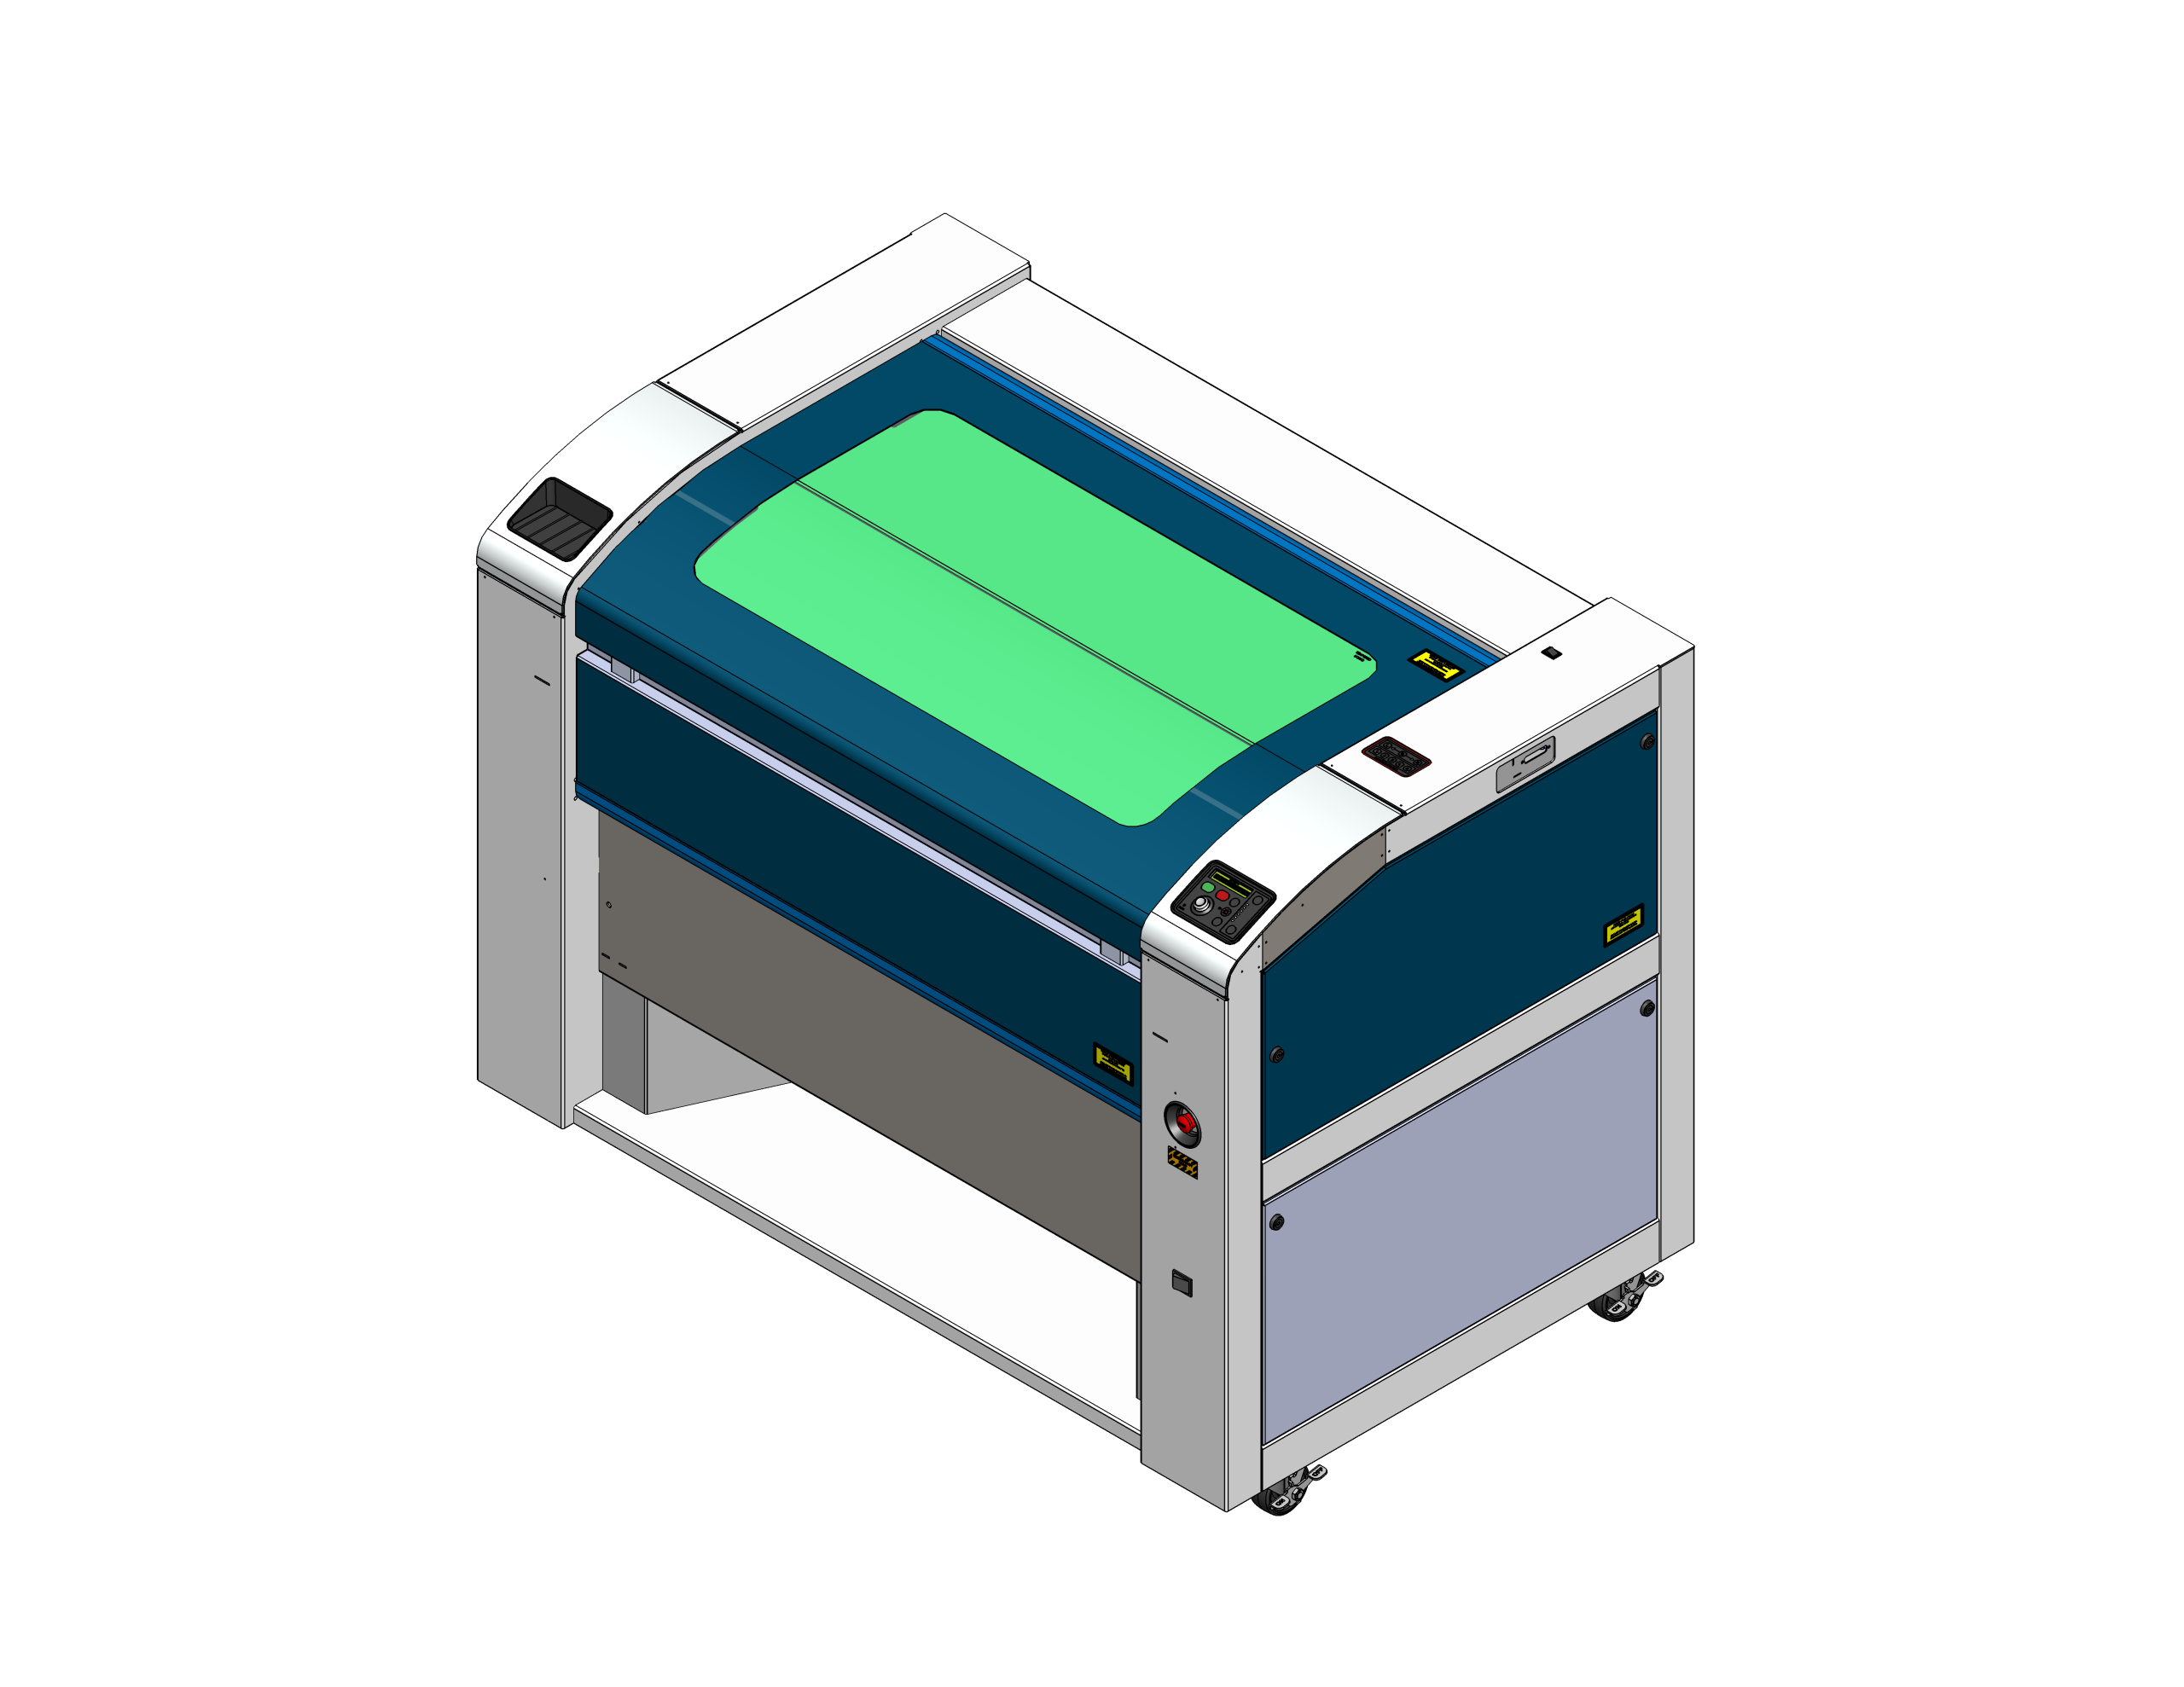
機械の電源を切る
機械の電源を切り、電源ケーブルを抜いてください。
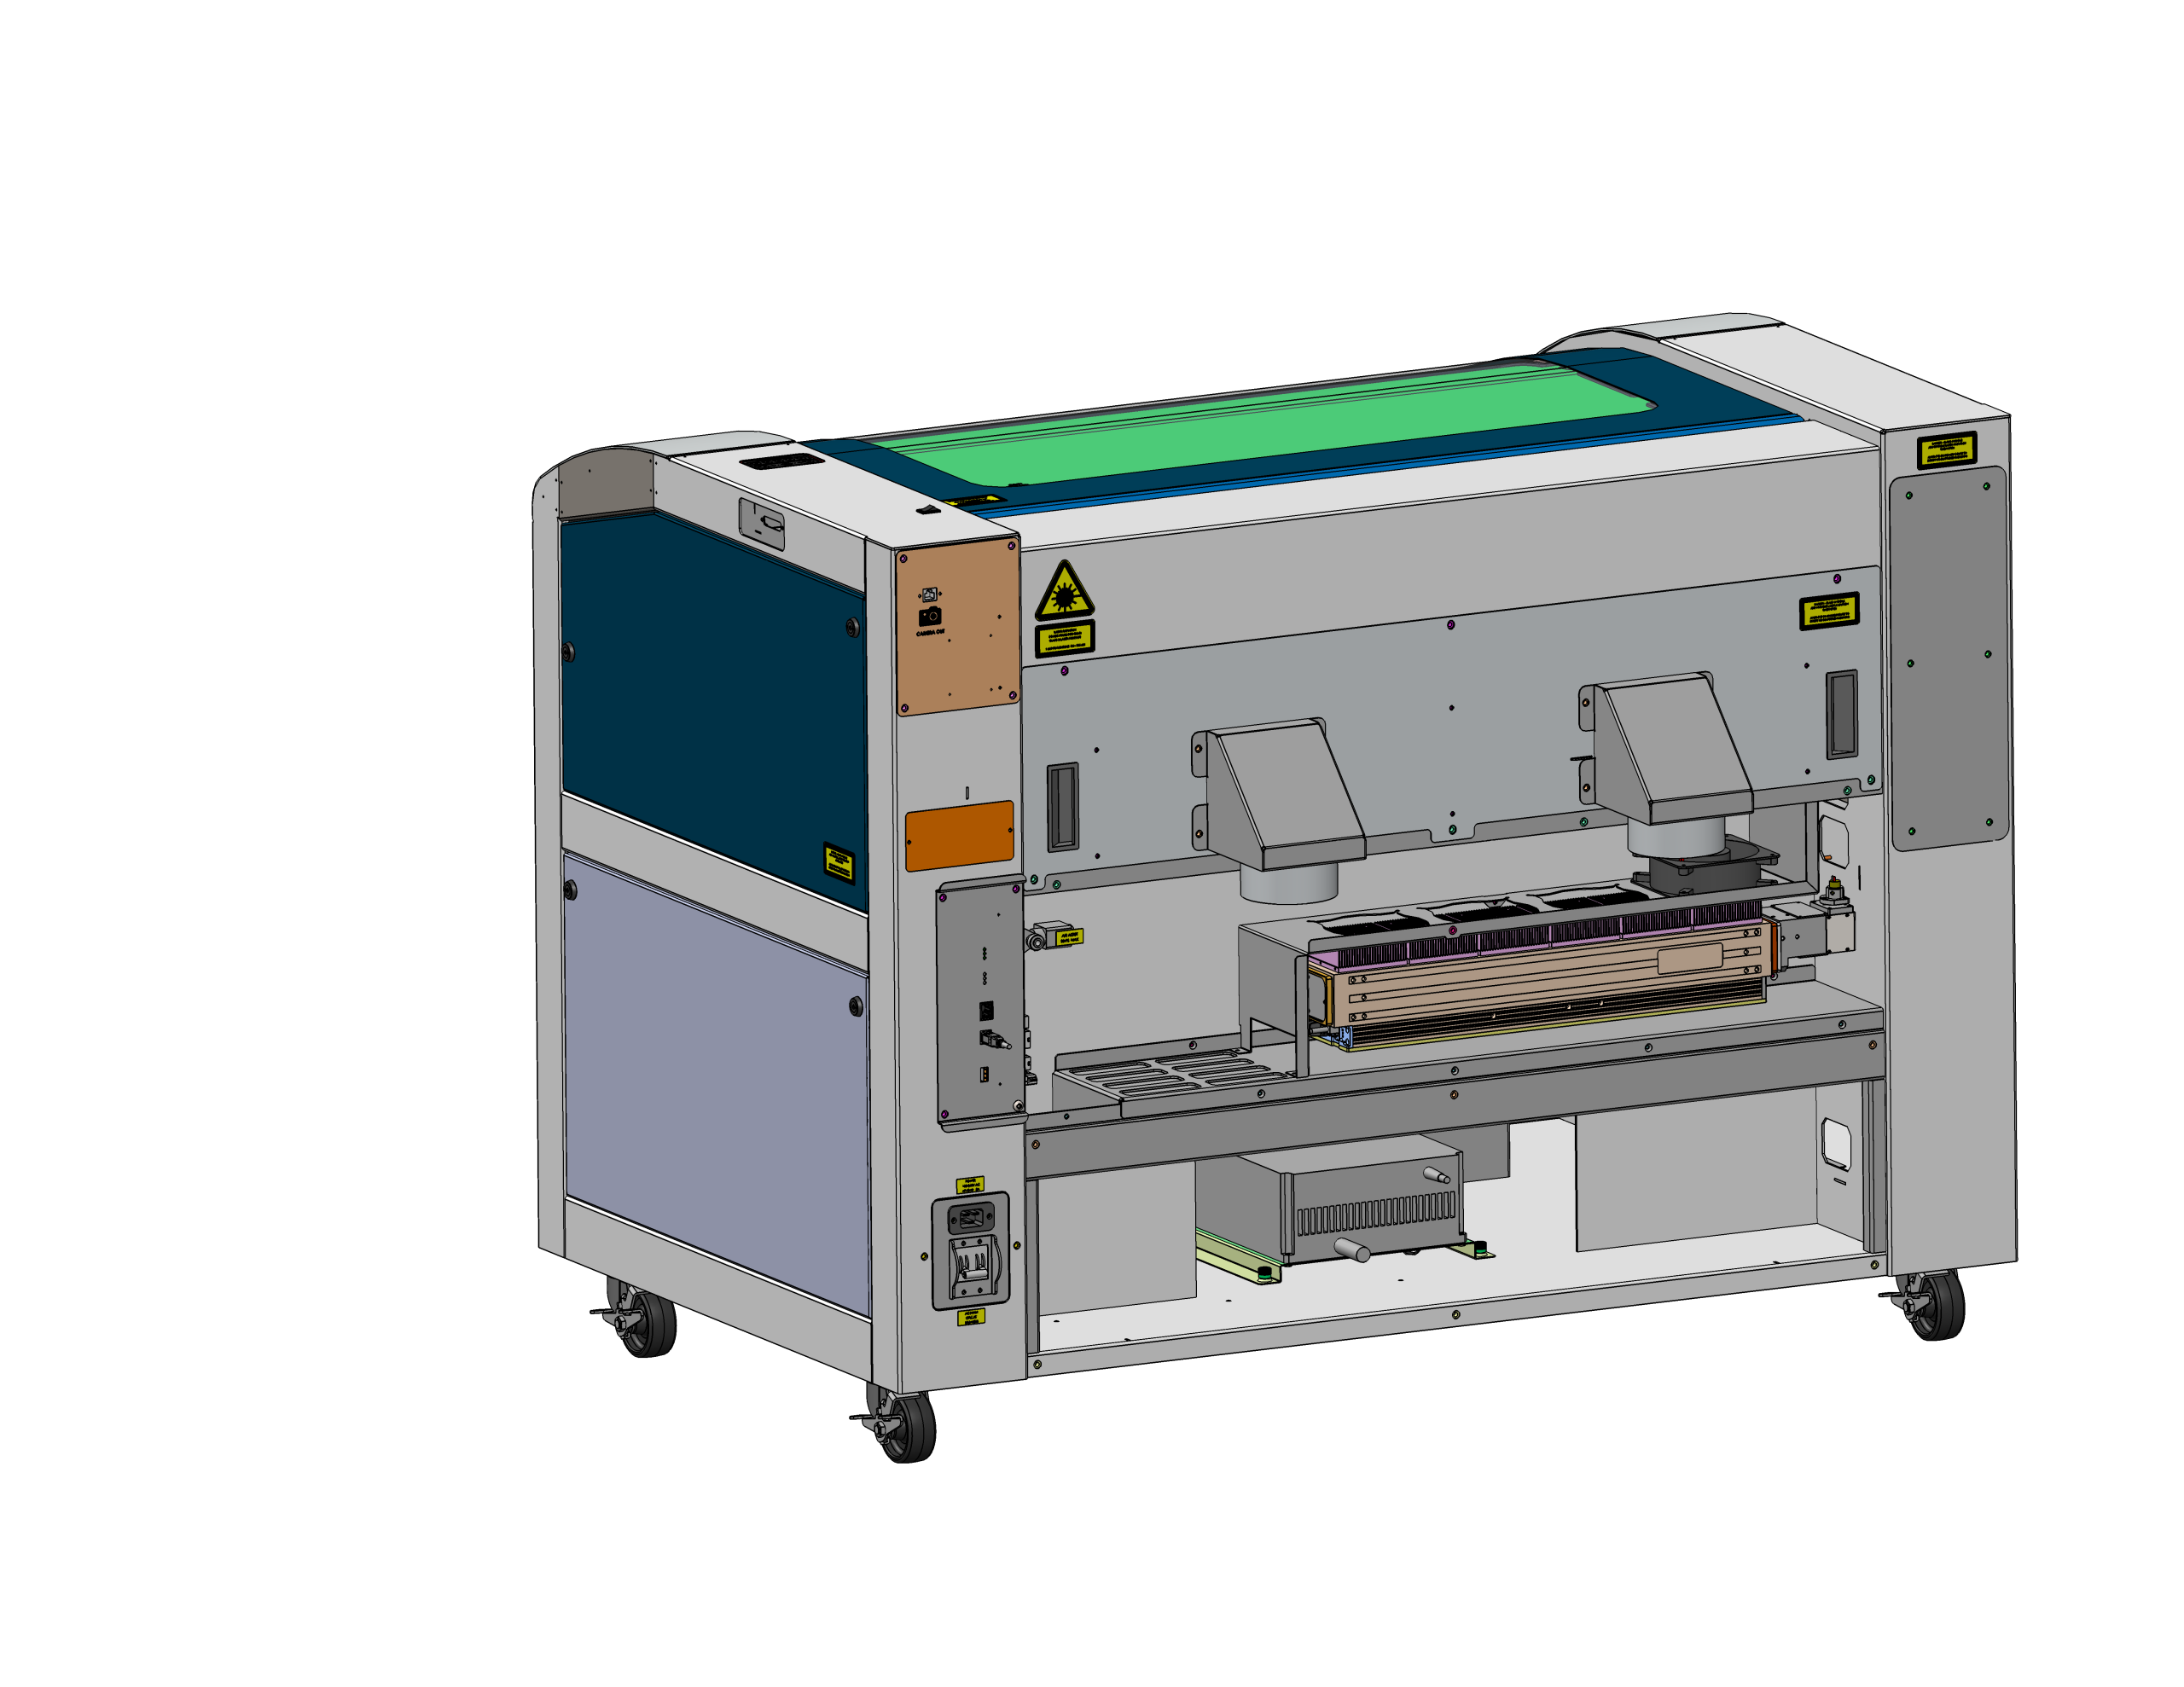
背面パネルを取り外す
下部の背面パネルを取り外してください。
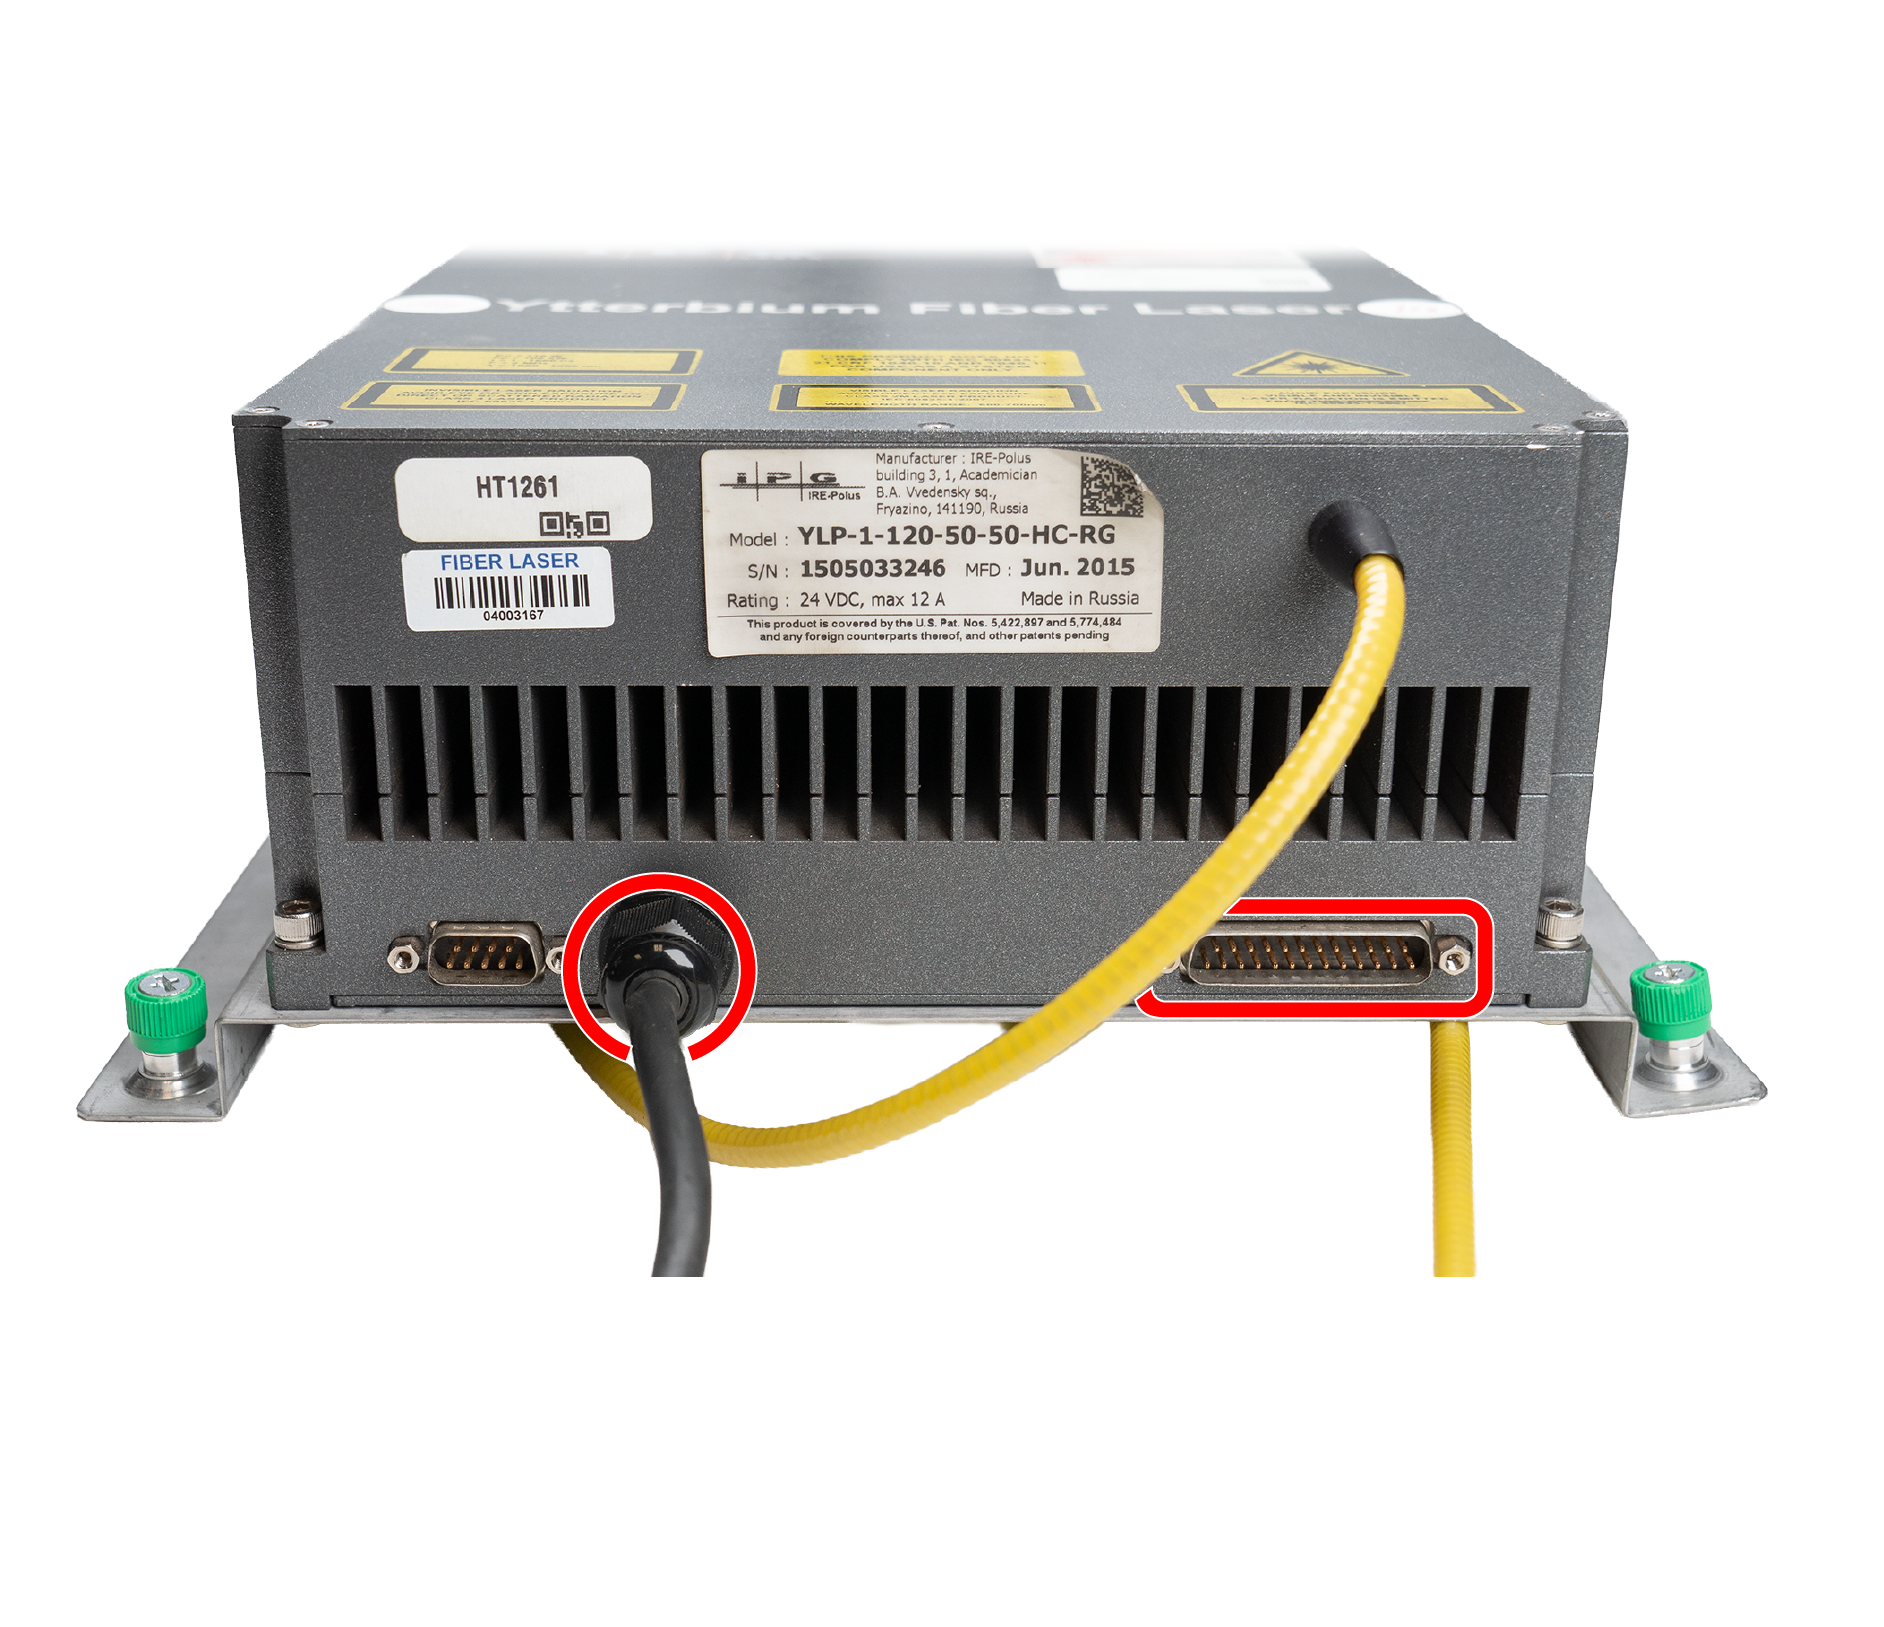
電源と信号の接続を解除する
光ファイバーの電源ケーブルと信号ケーブルを取り外してください。
注:右側の信号ケーブルは、光ファイバーの接続元からネジを緩めて取り外します。左側の電源ケーブルについては、接続箇所までたどって、そこで取り外してください。
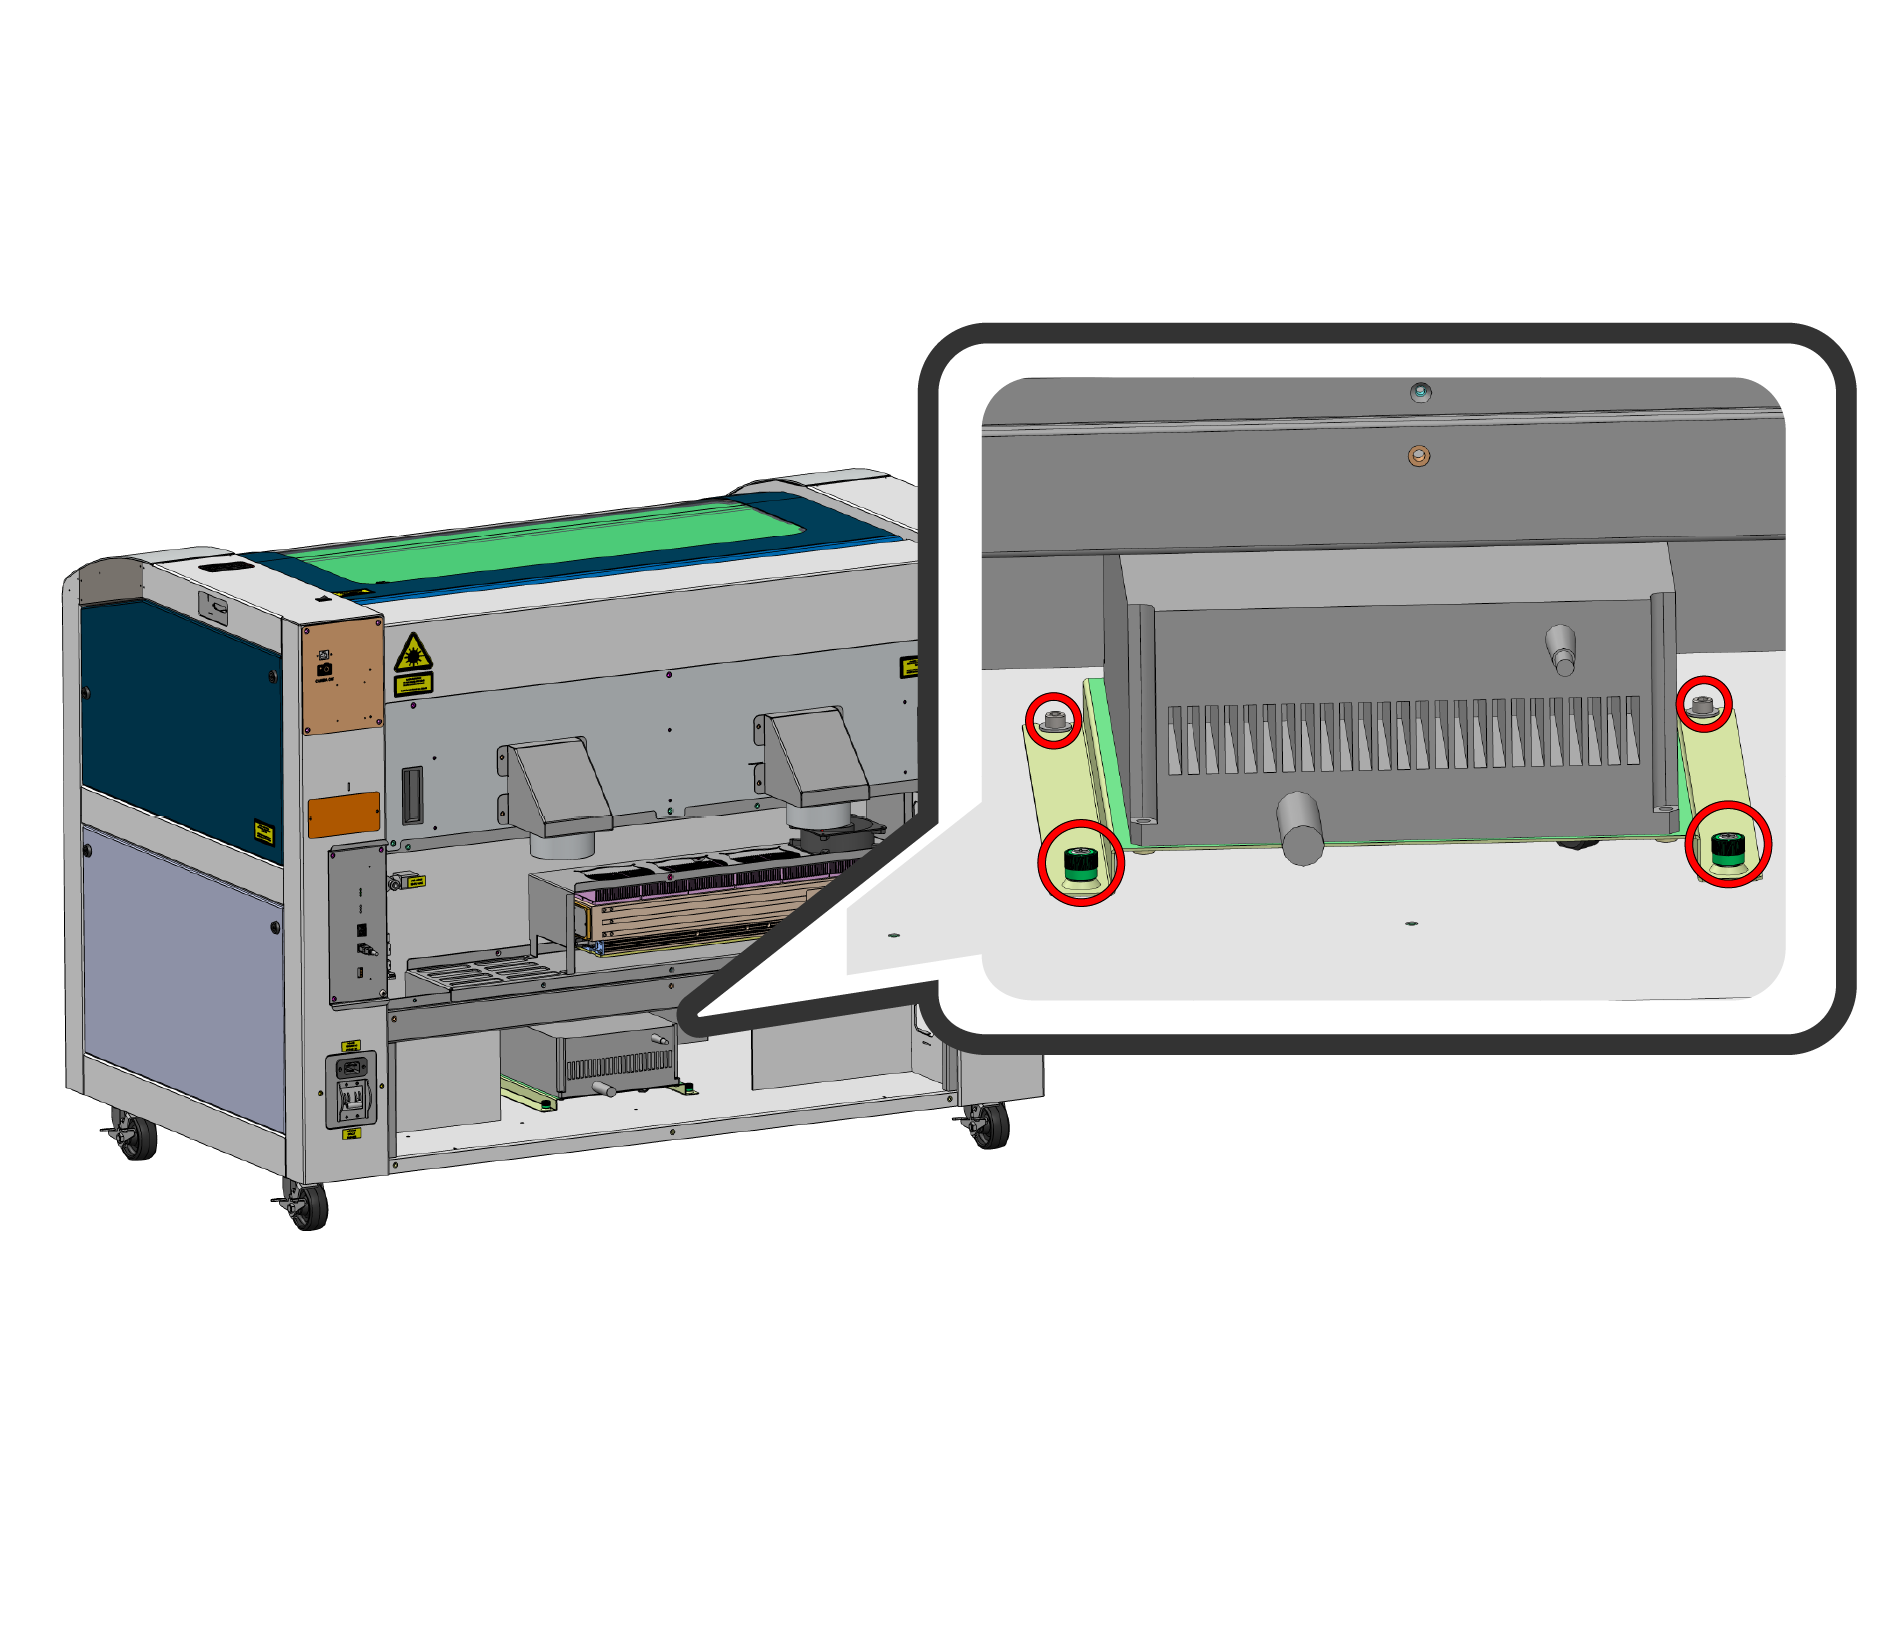
レーザーのネジを取り外す
レーザーを固定している4本のネジを取り外します。緑色のキャプティブ・プラスネジが2本と、六角ネジが2本あります。
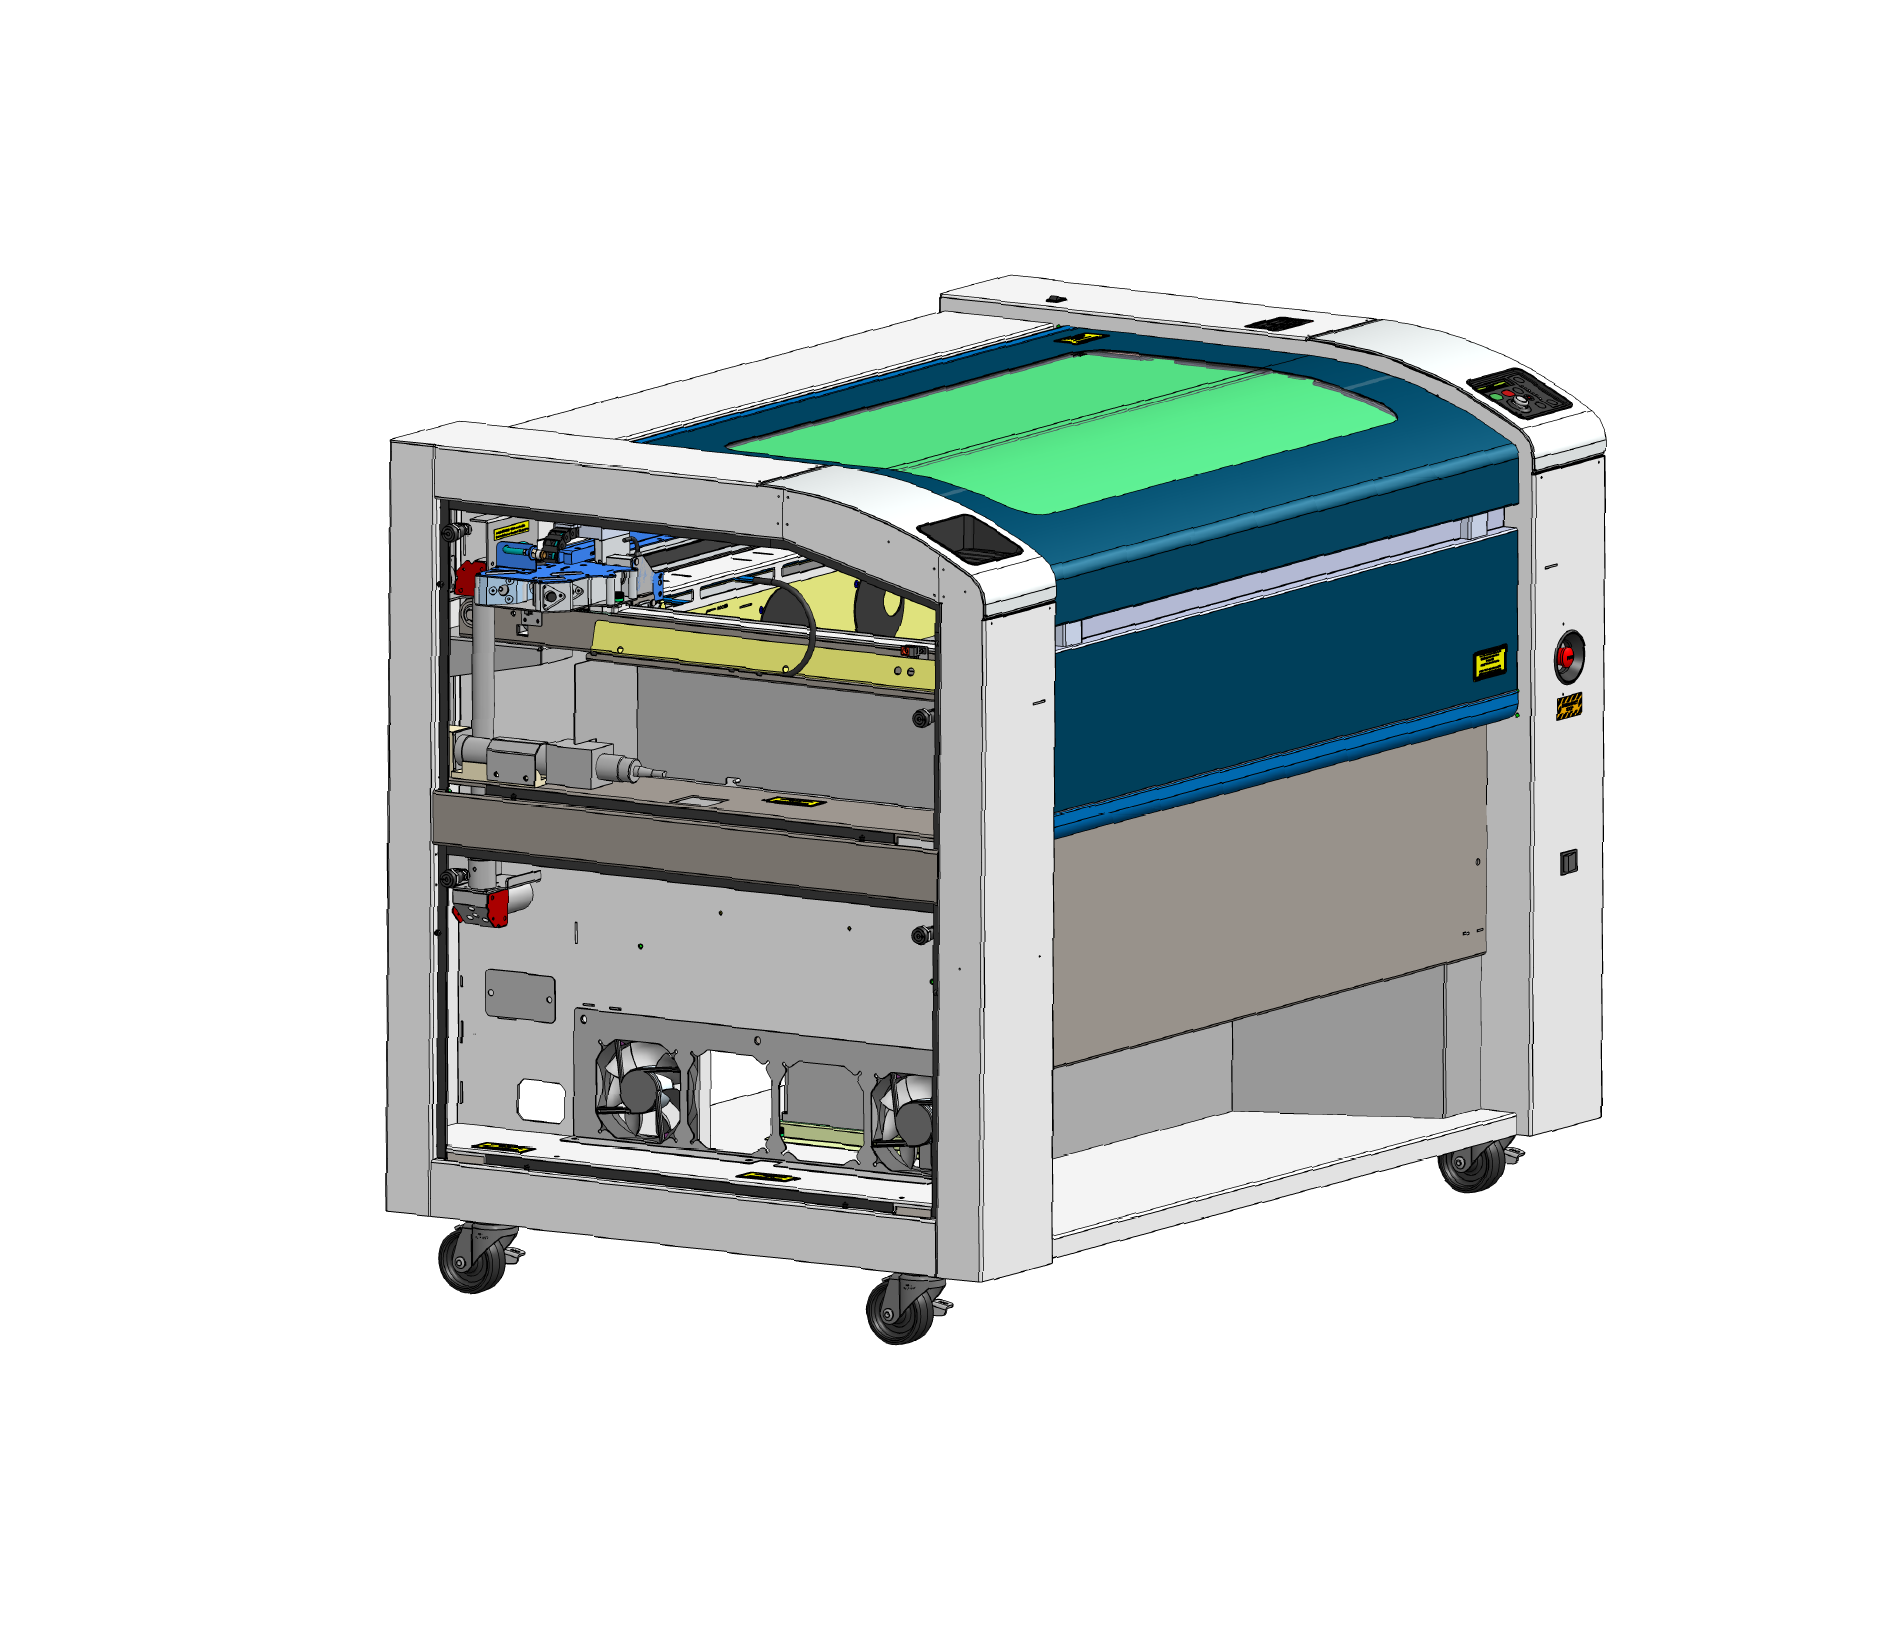
左側のパネルを取り外す
左側の上部パネルと下部パネルの両方を外してください。
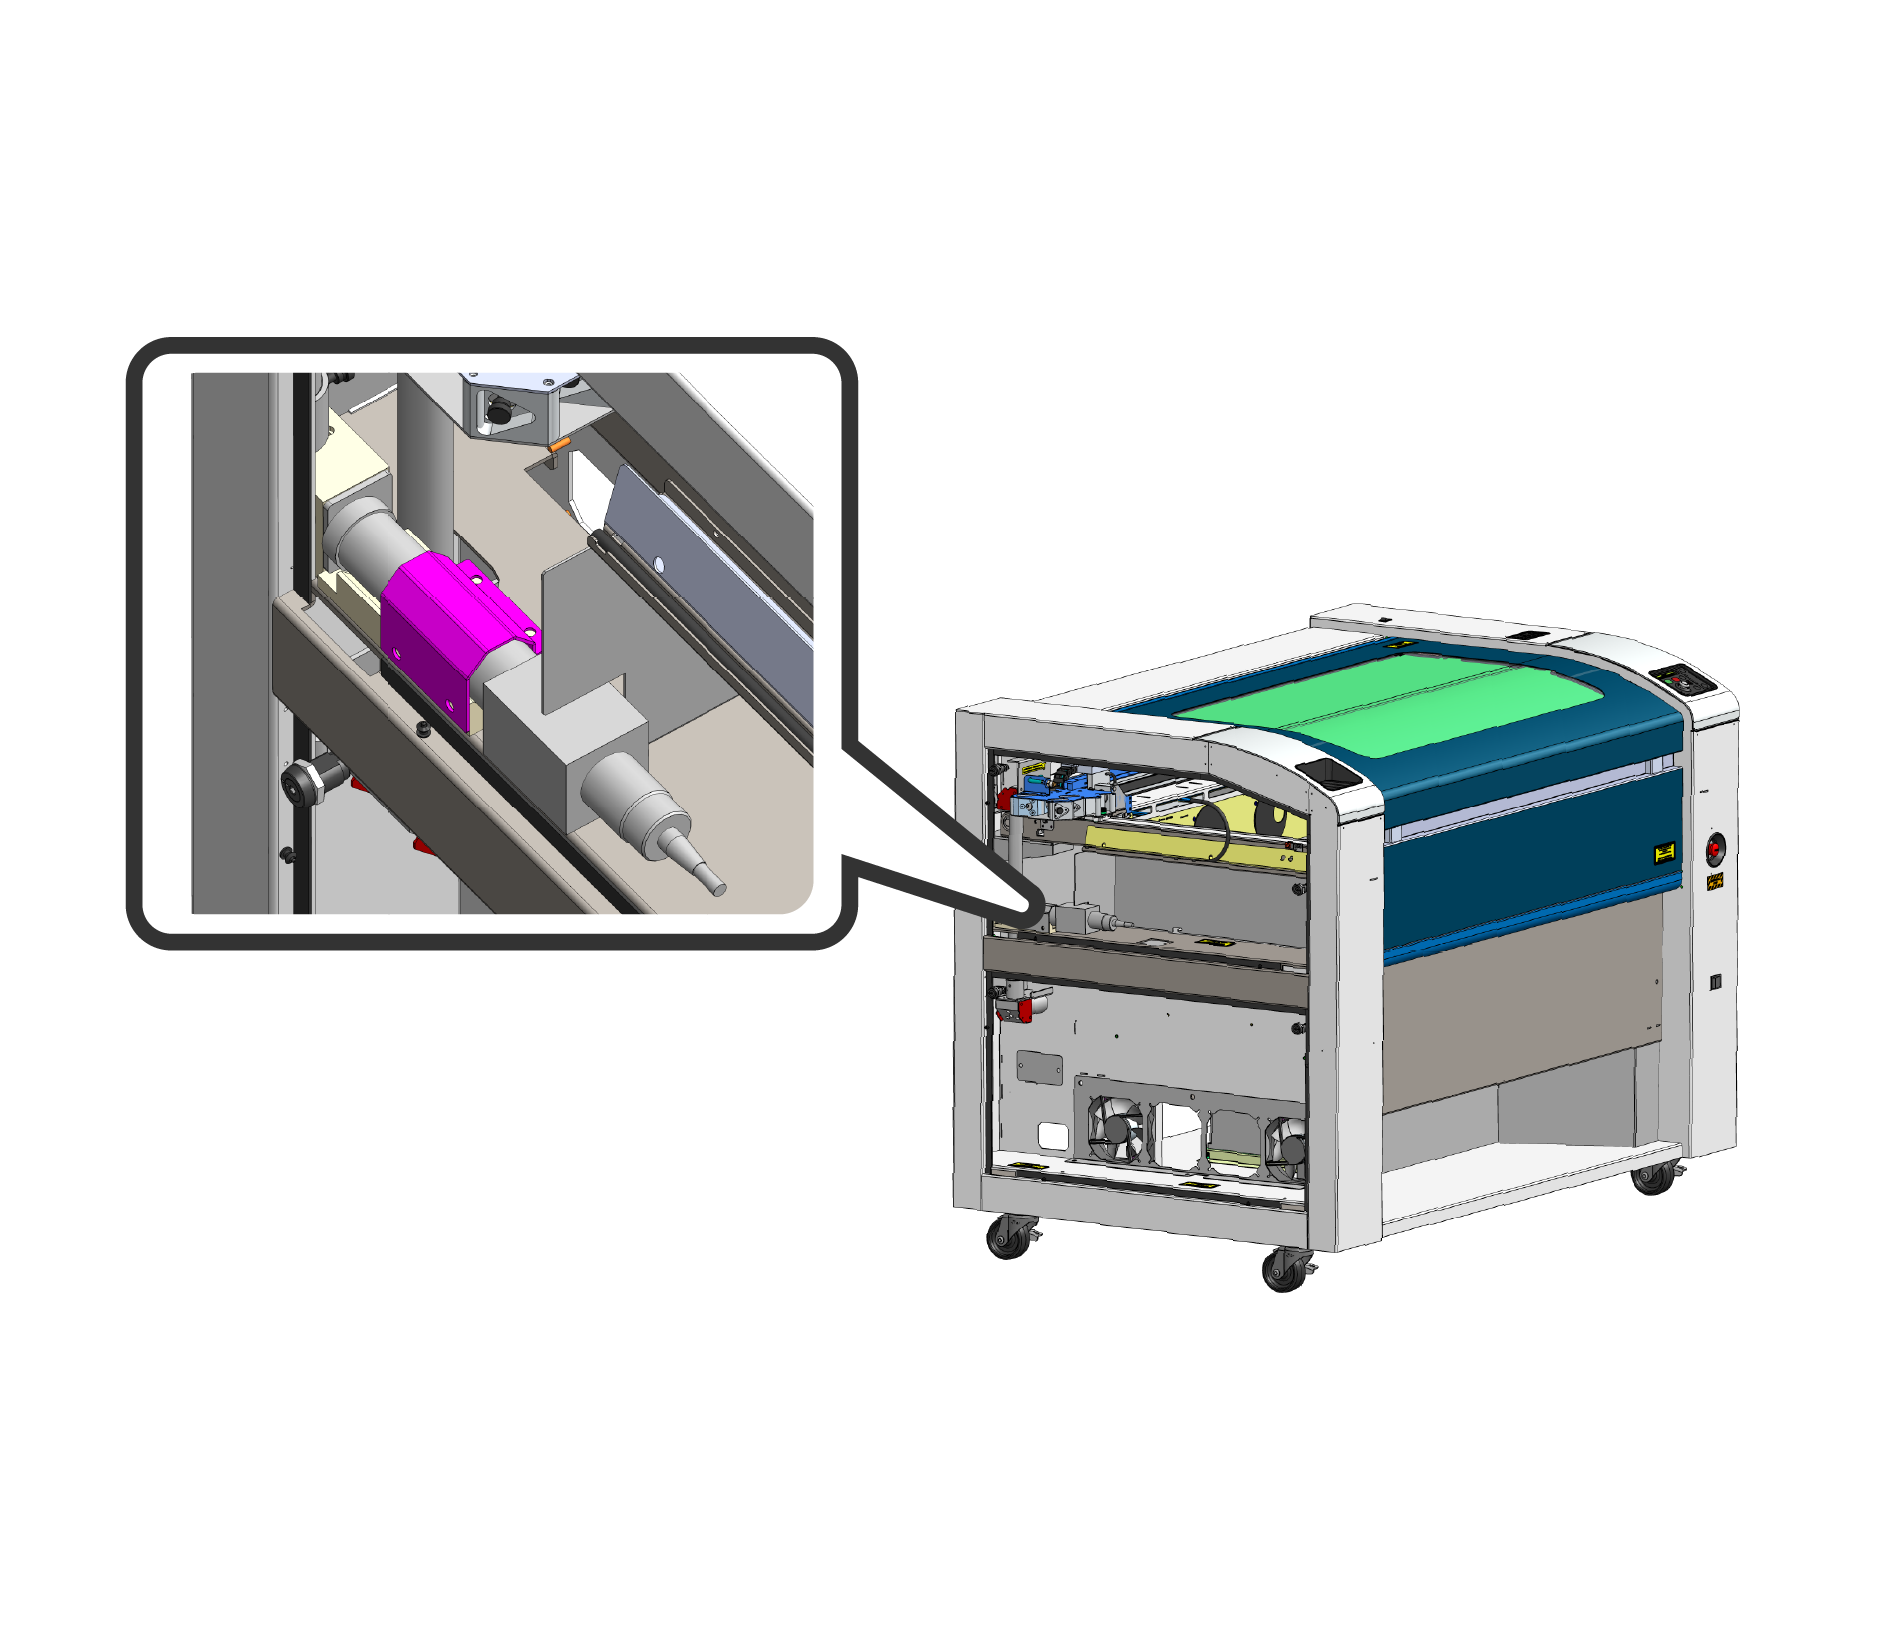
ブラケットのネジを緩める
ファイバーヘッドブラケットを固定している4本のネジを緩めます。
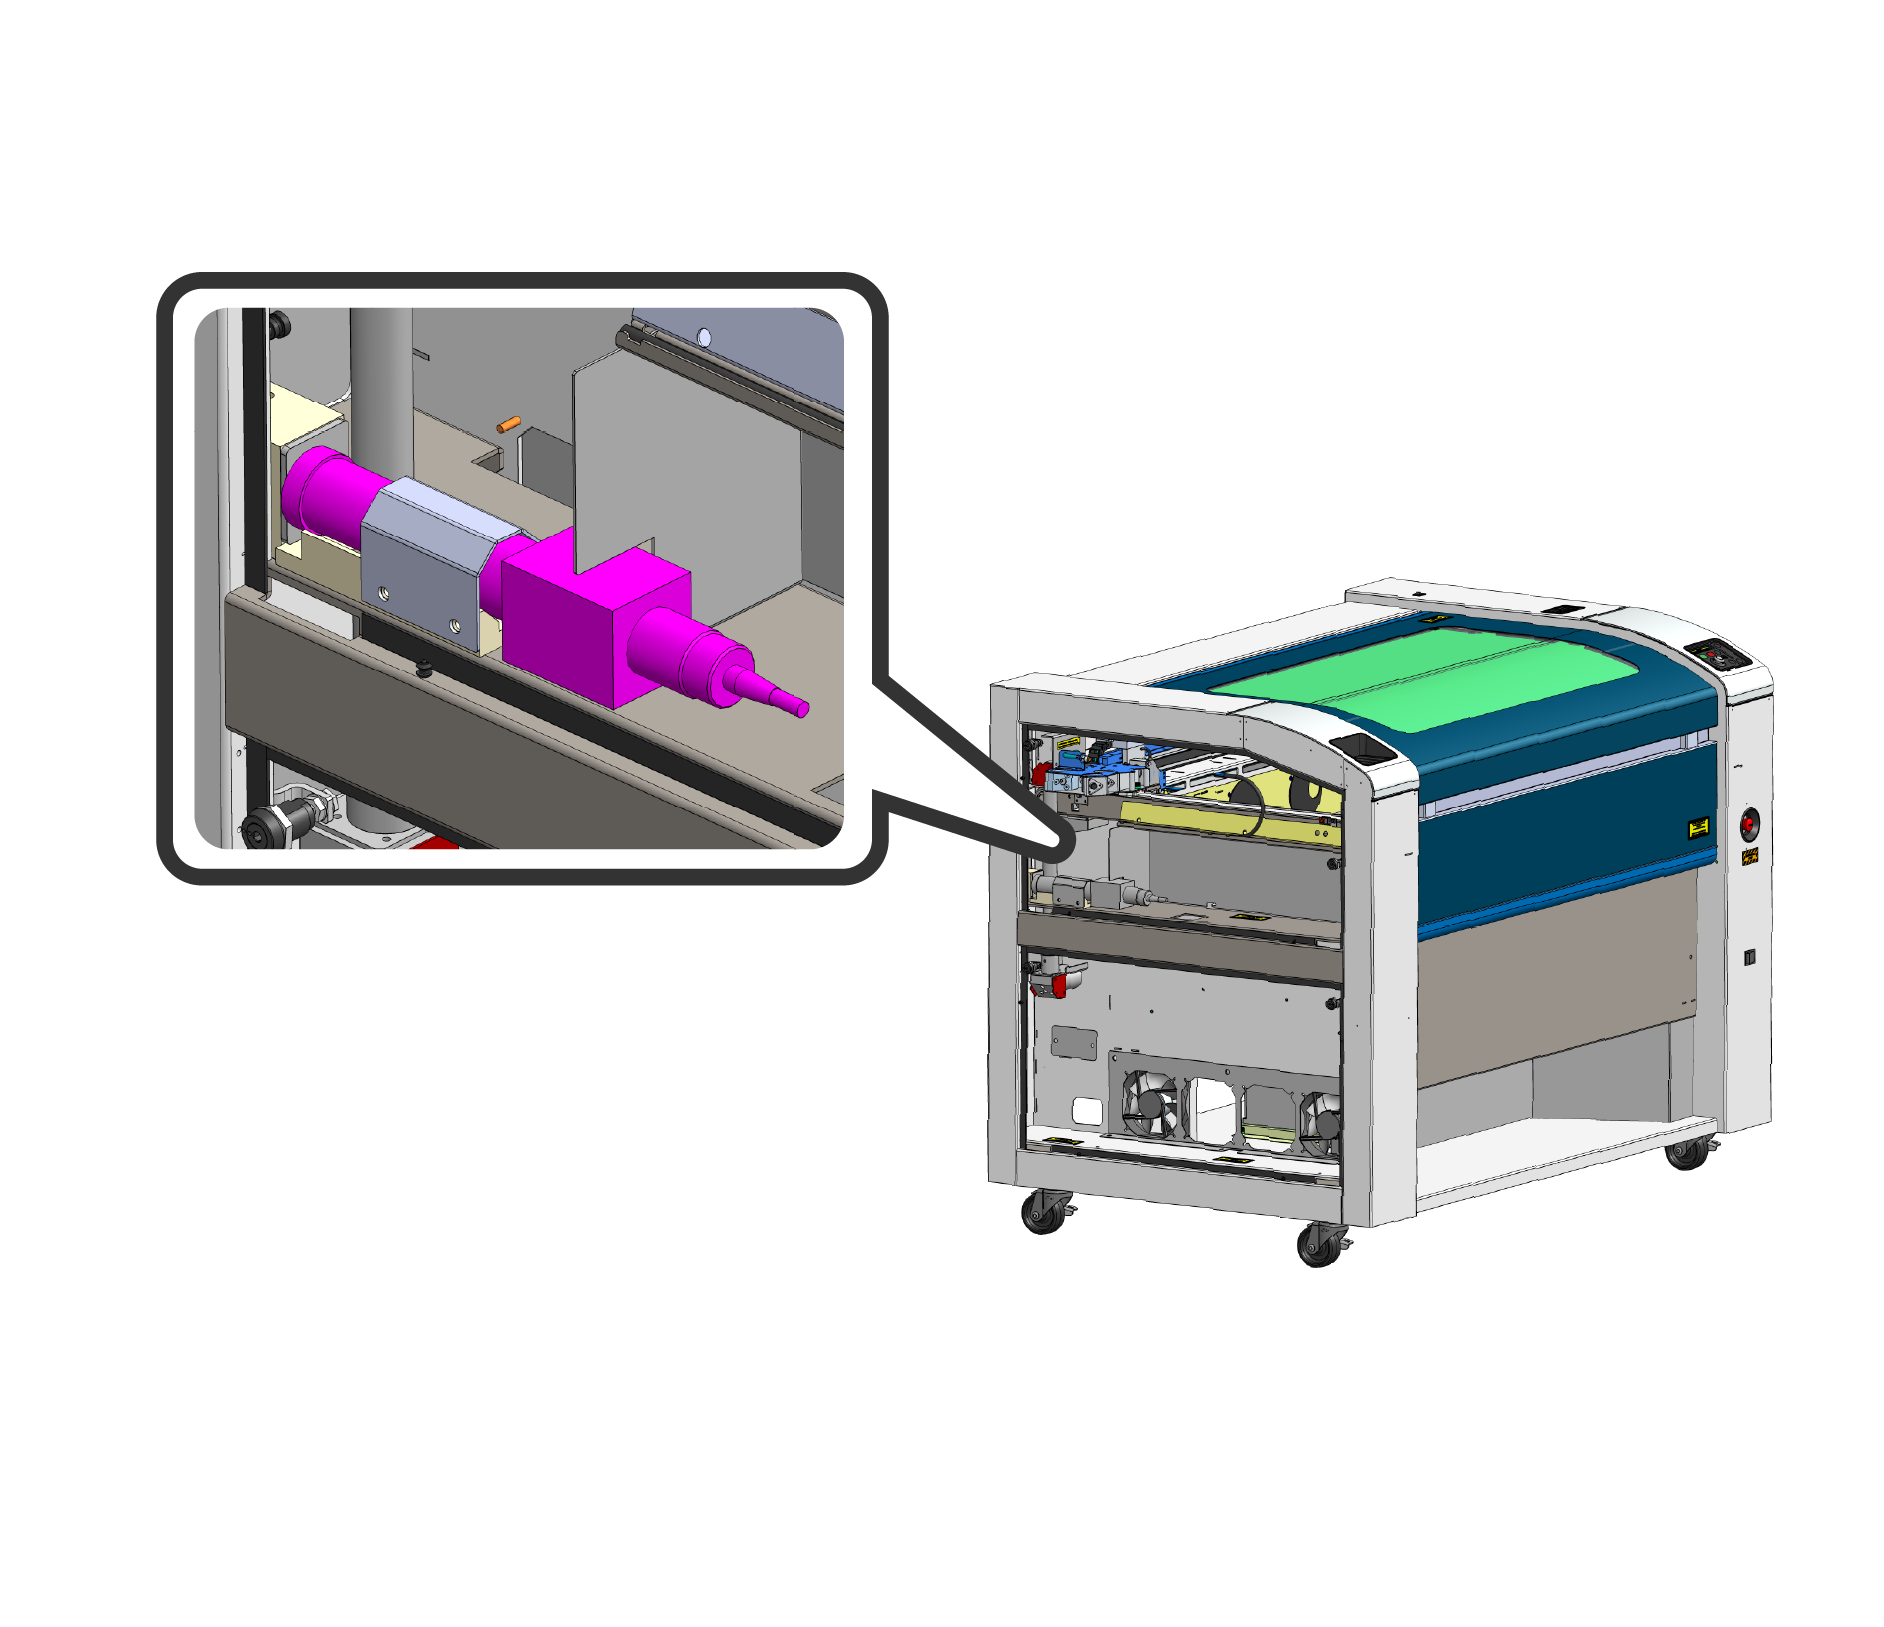
ファイバーヘッドを取り外す
ファイバーヘッドを、シャーシの切り欠き部分から機械の外へ引き出してください。ファイバーケーブルがよじれたり曲がったりしないよう注意してください。
JPTのインストール
IPGを取り外したところで、JPTレーザーの取り付けを進めてください。
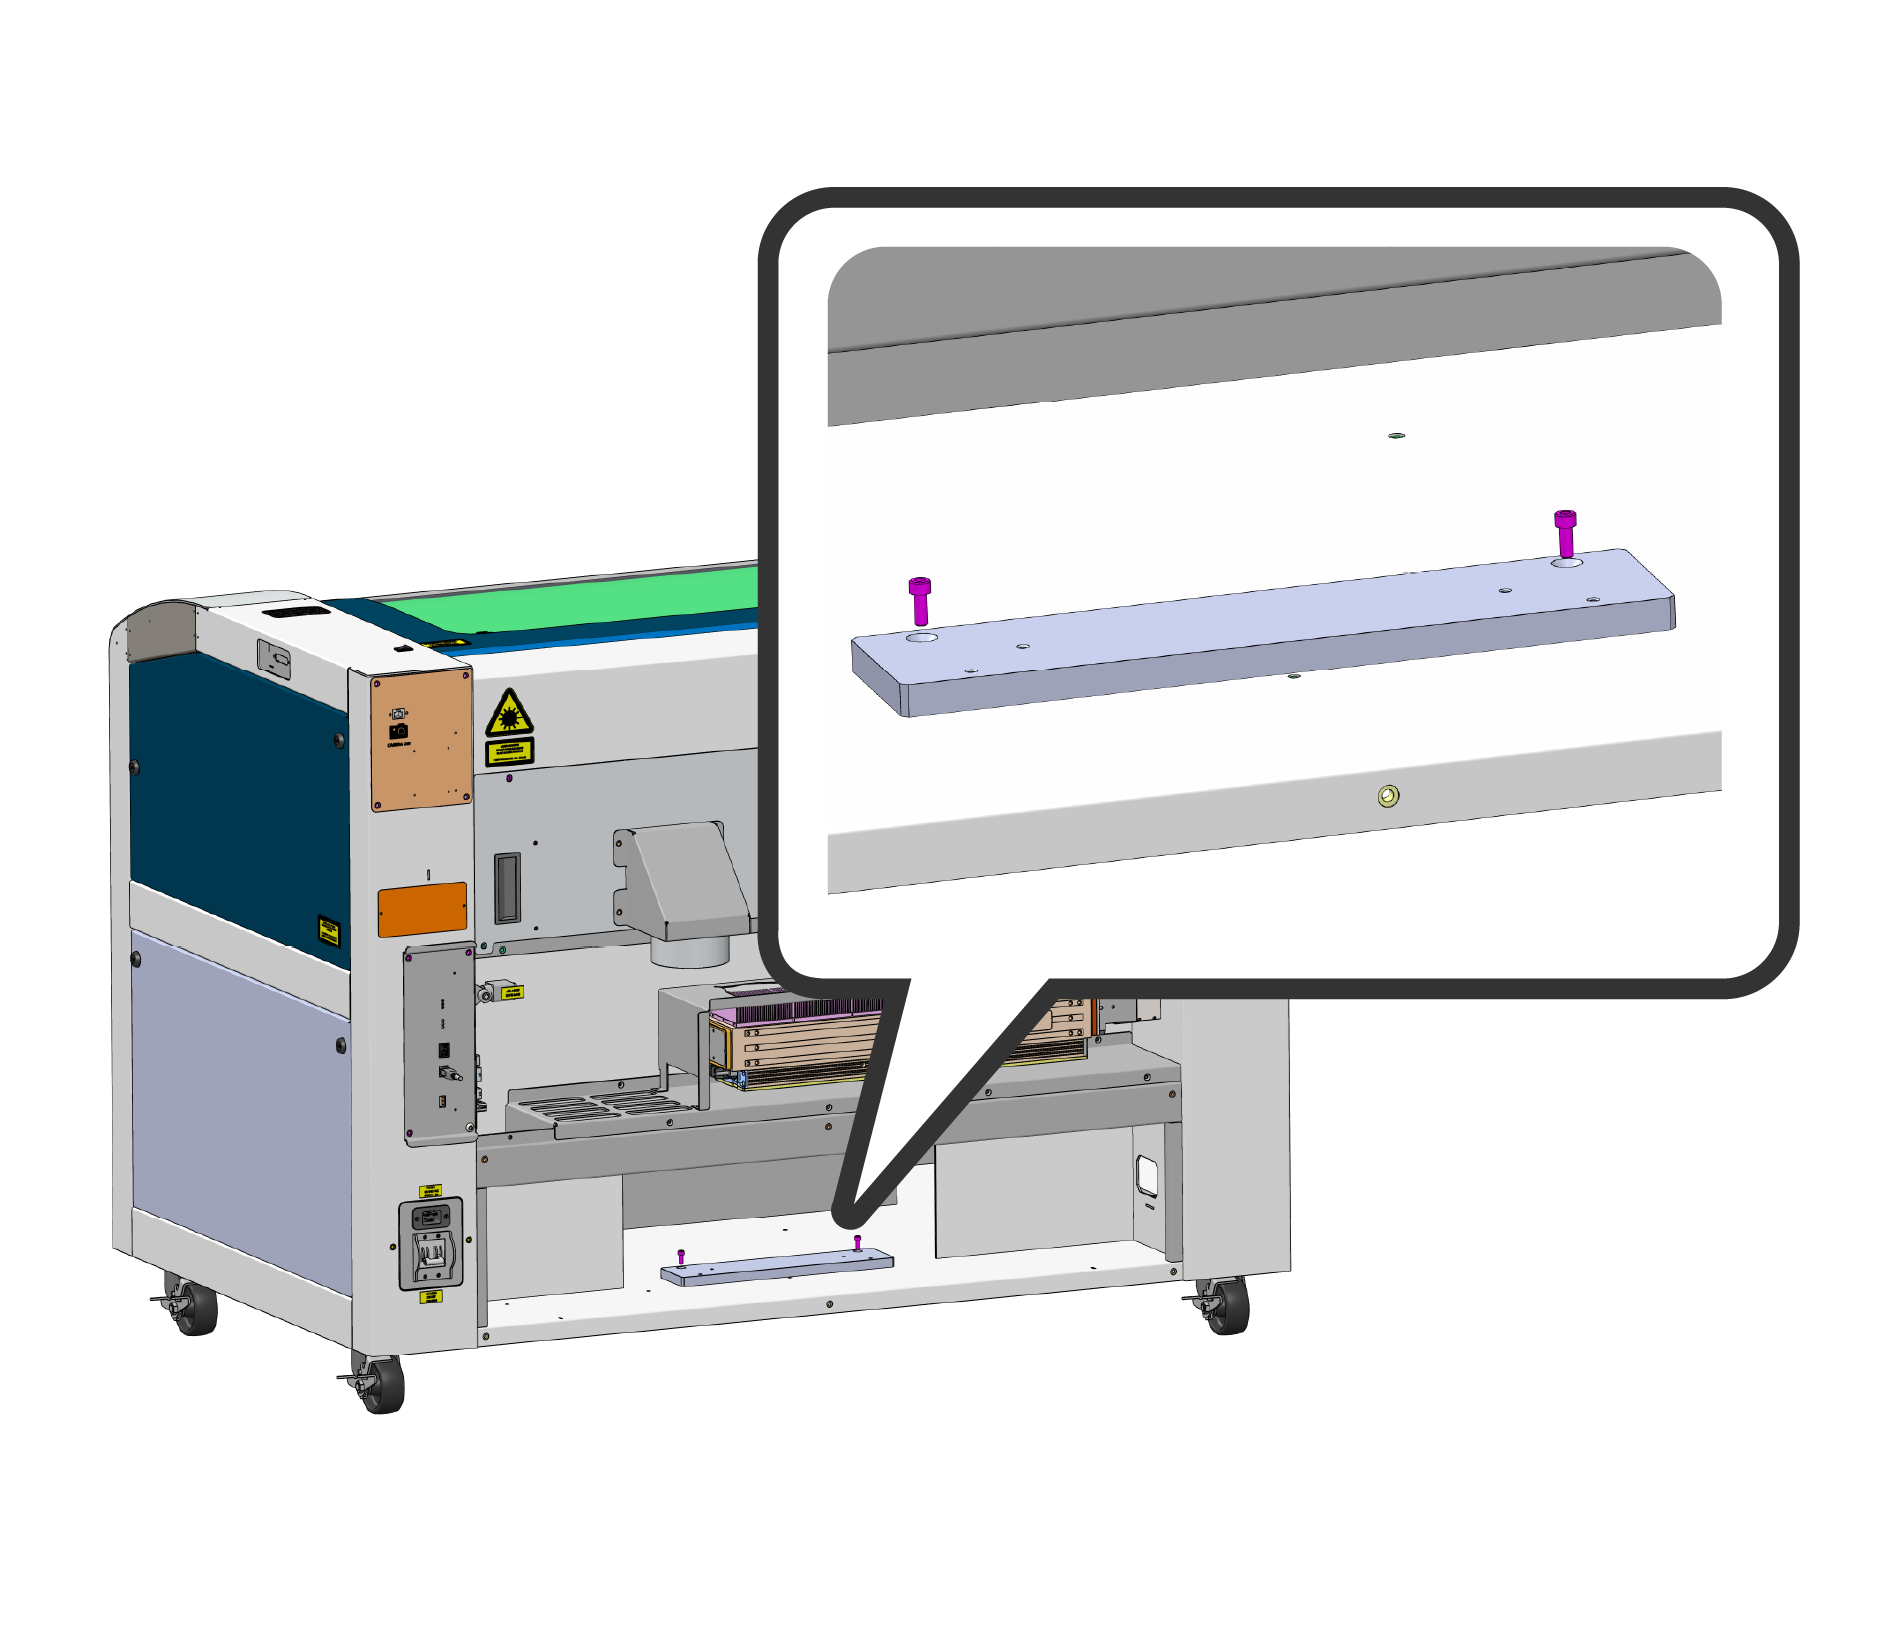
アダプターブラケットを取り付ける
付属のネジを使用して、ファイバーアダプターブラケットを取り付けてください。
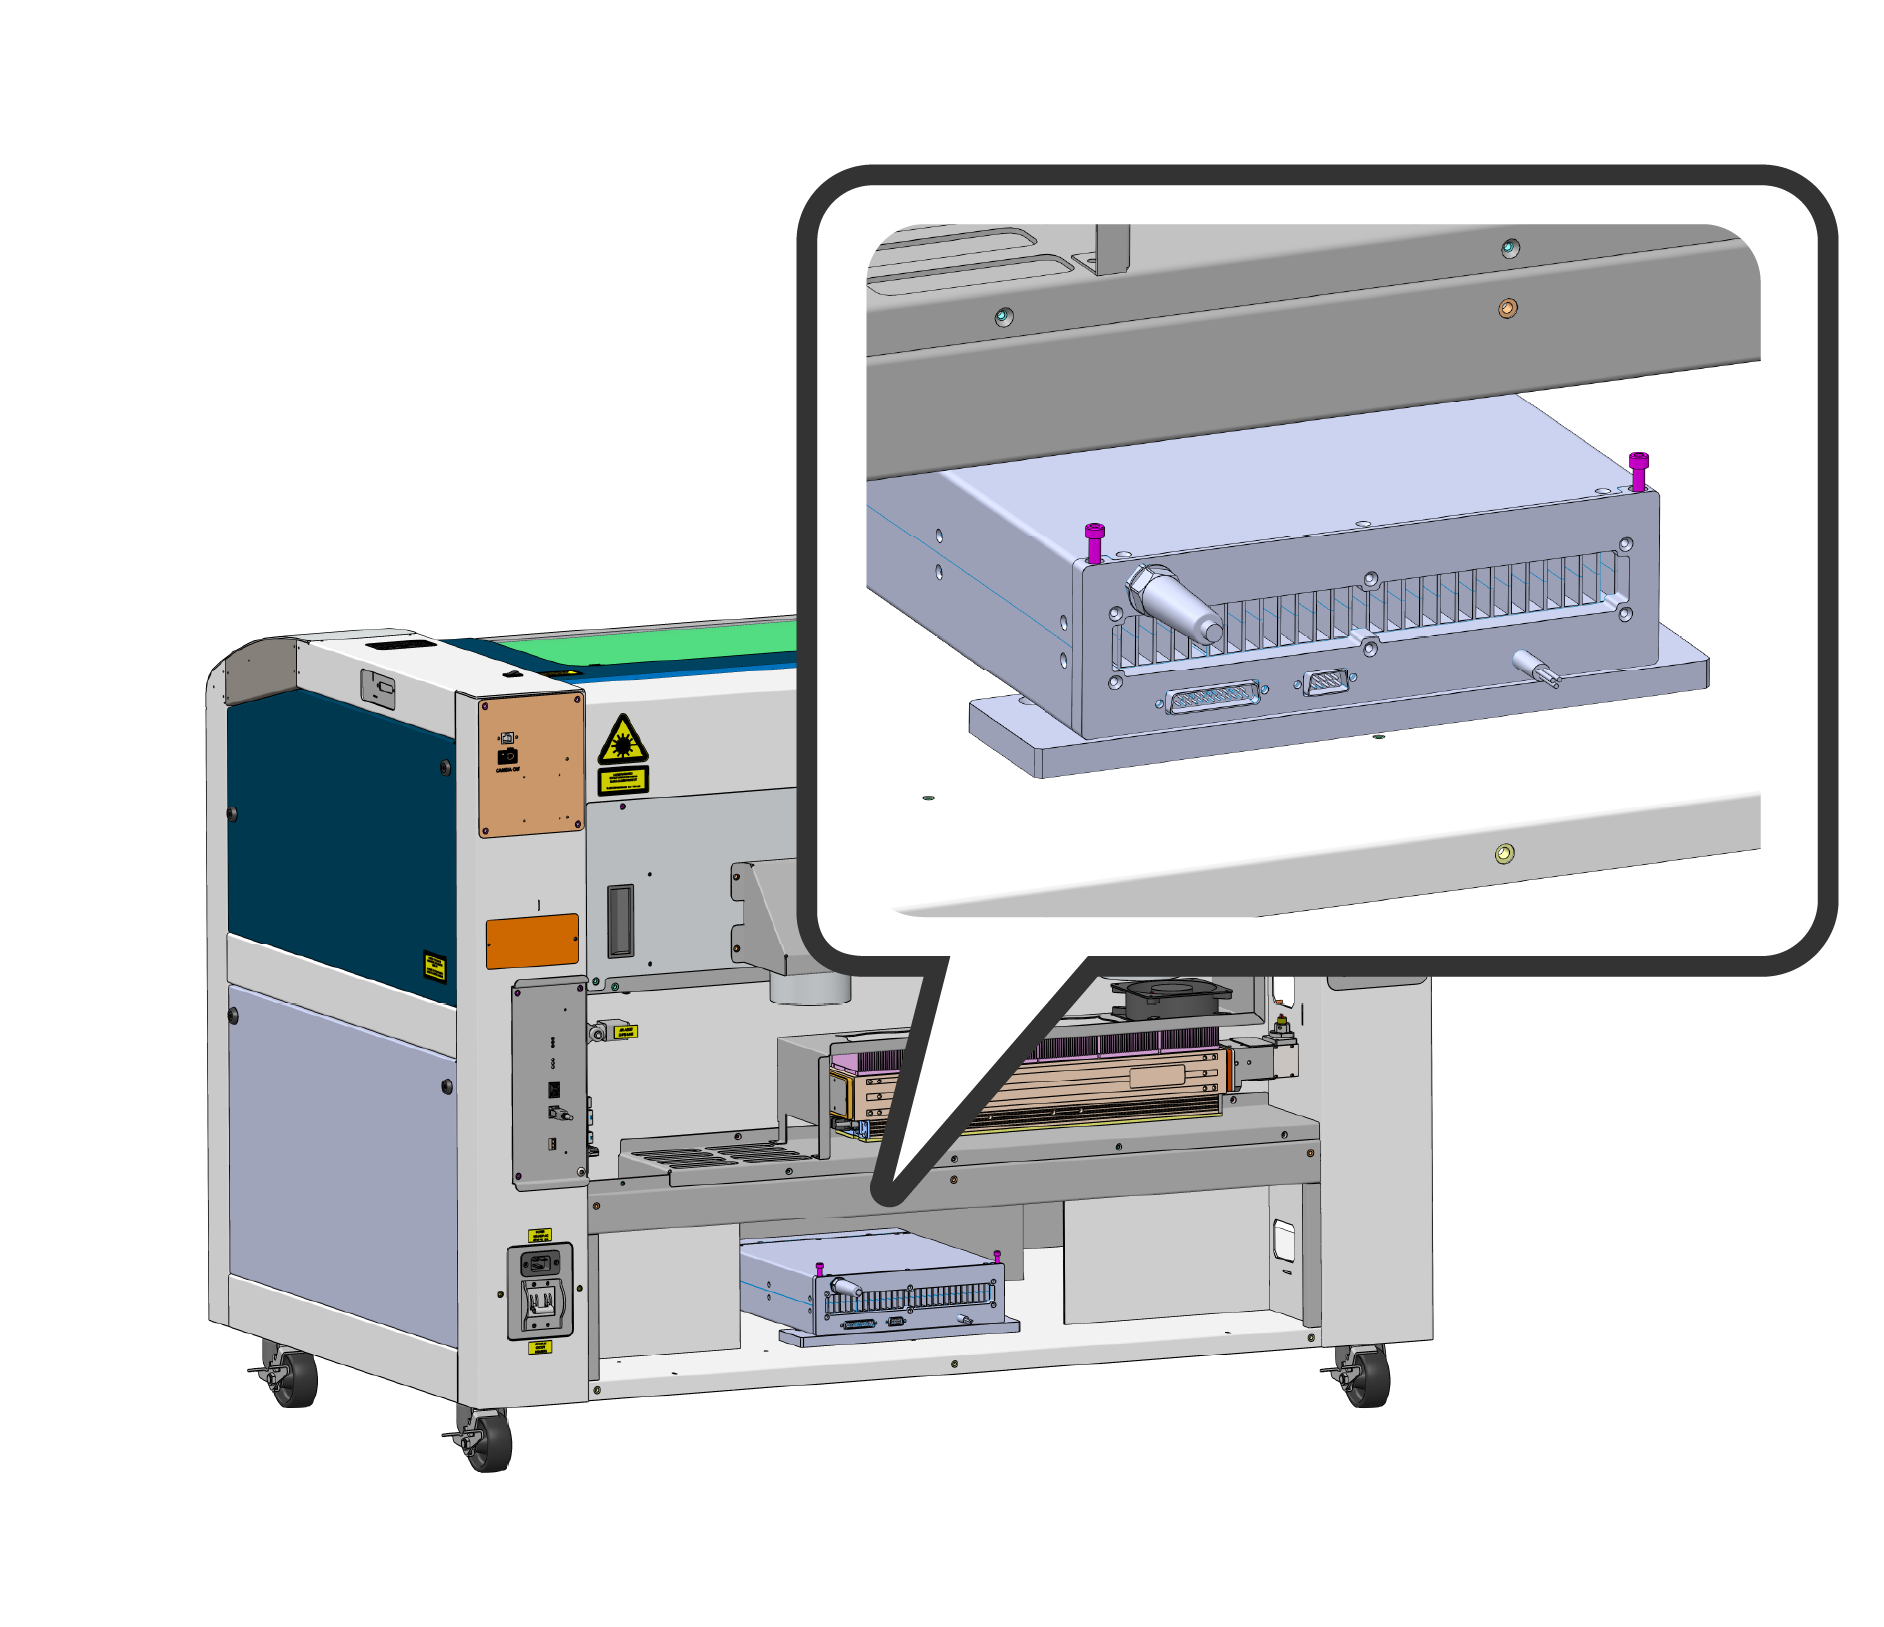
ファイバー供給装置を取り付ける
付属の9/64六角レンチと固定用部品を使用して、ファイバー供給部をブラケットに取り付けてください。
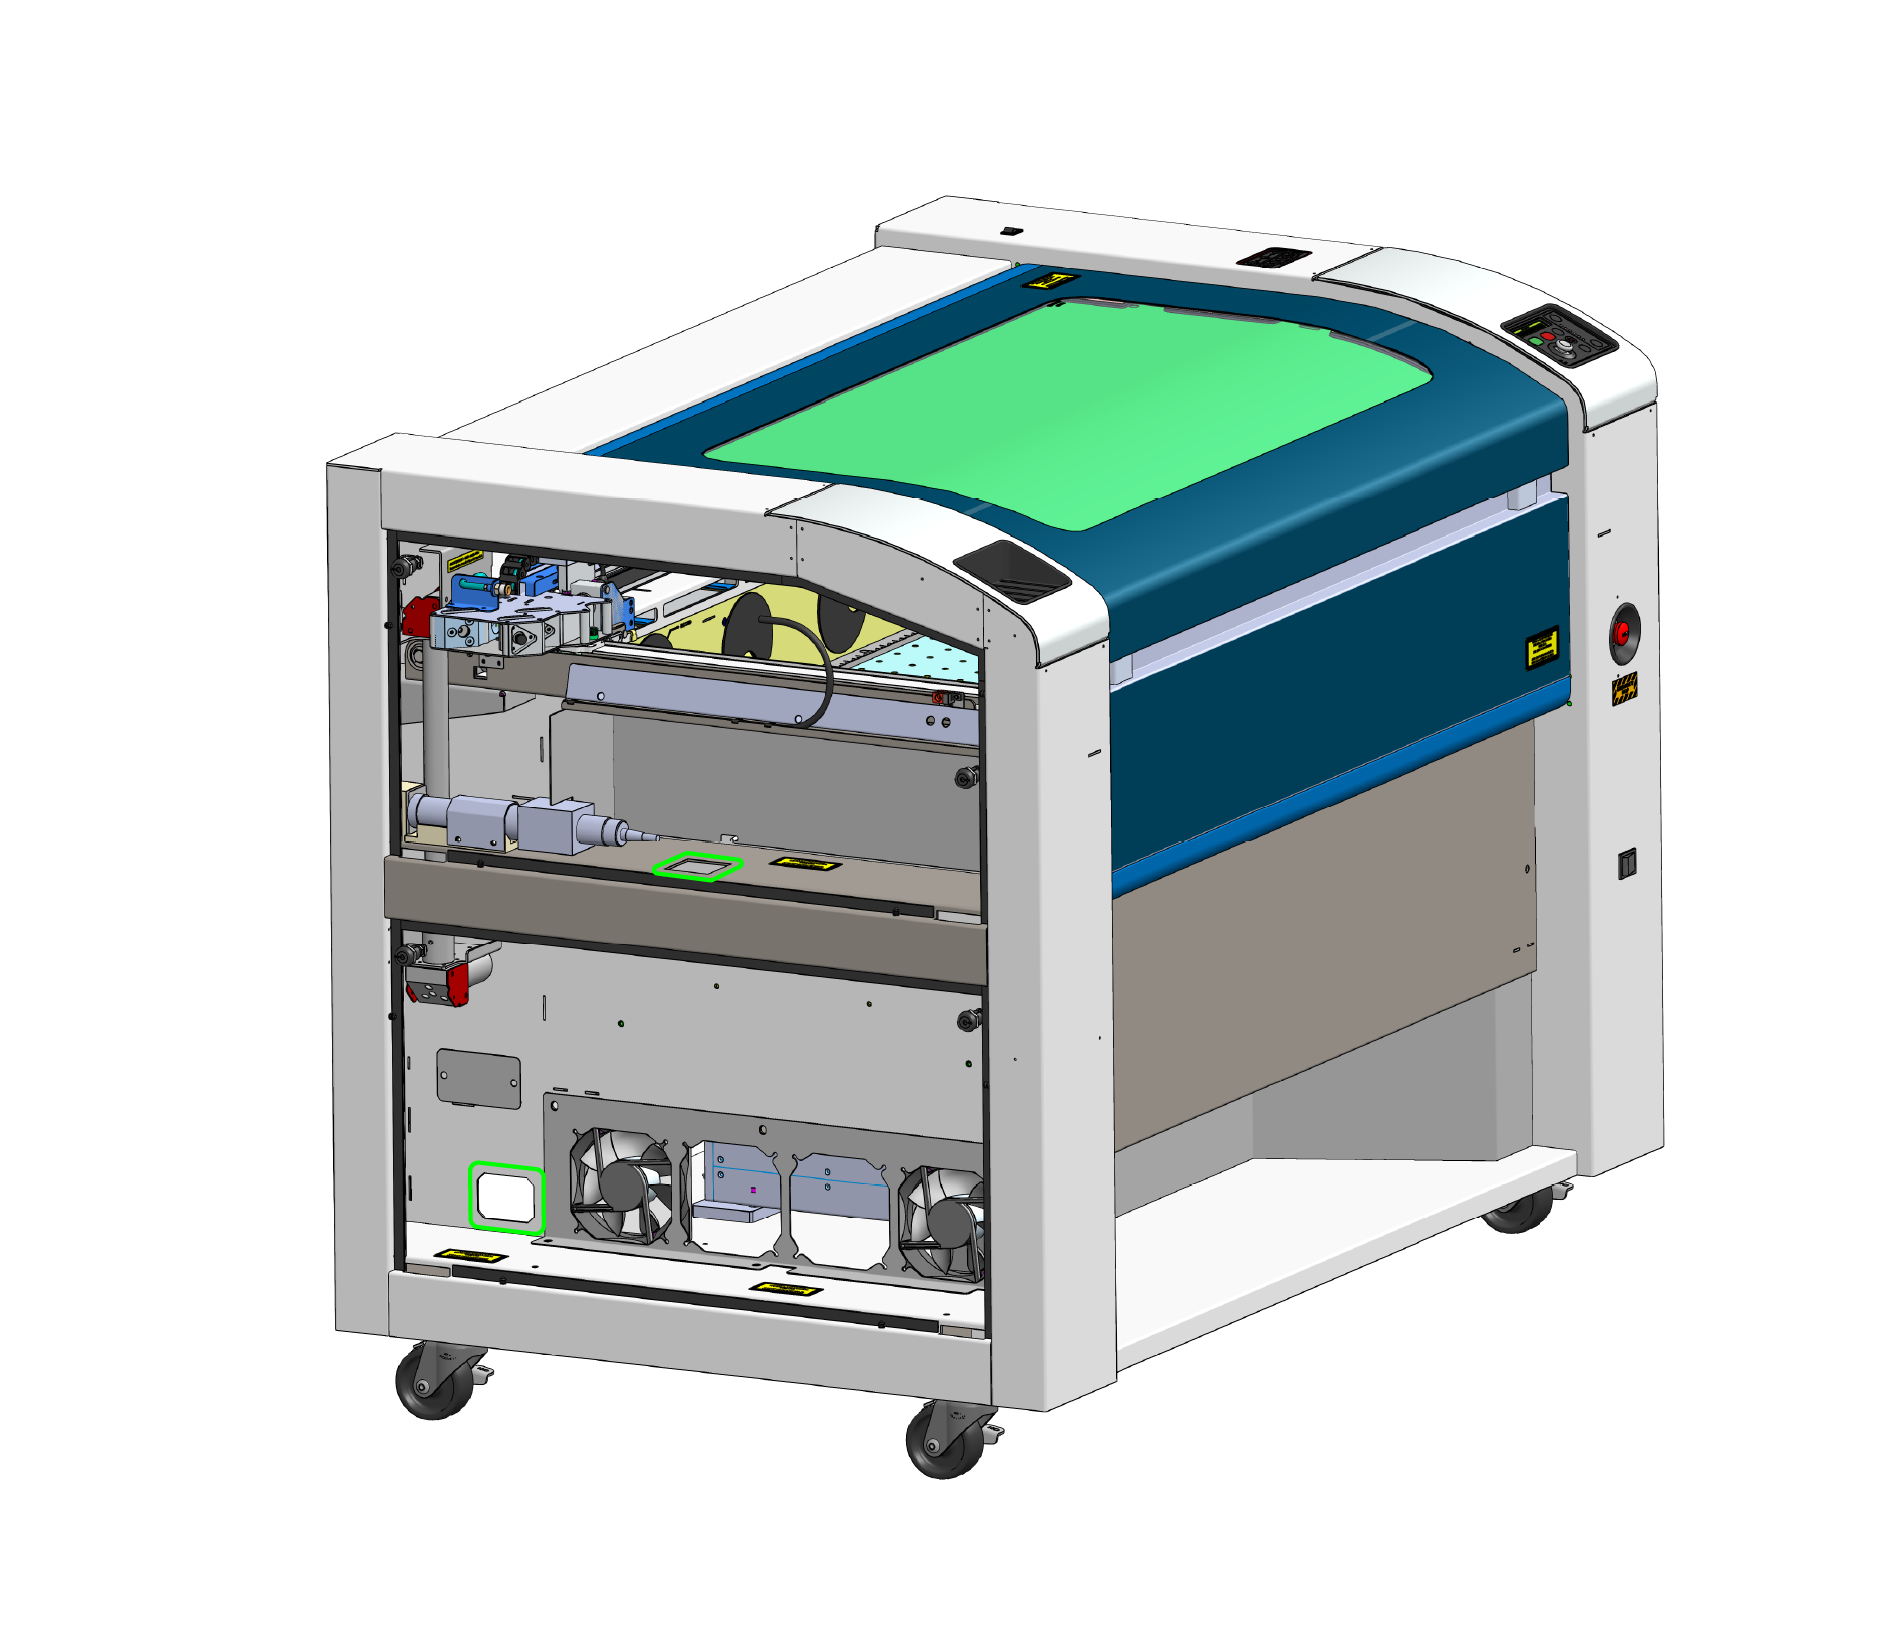
ルート・ファイバー・ヘッド
ファイバーヘッドを切り欠き部分を通して再び上へ通してください。
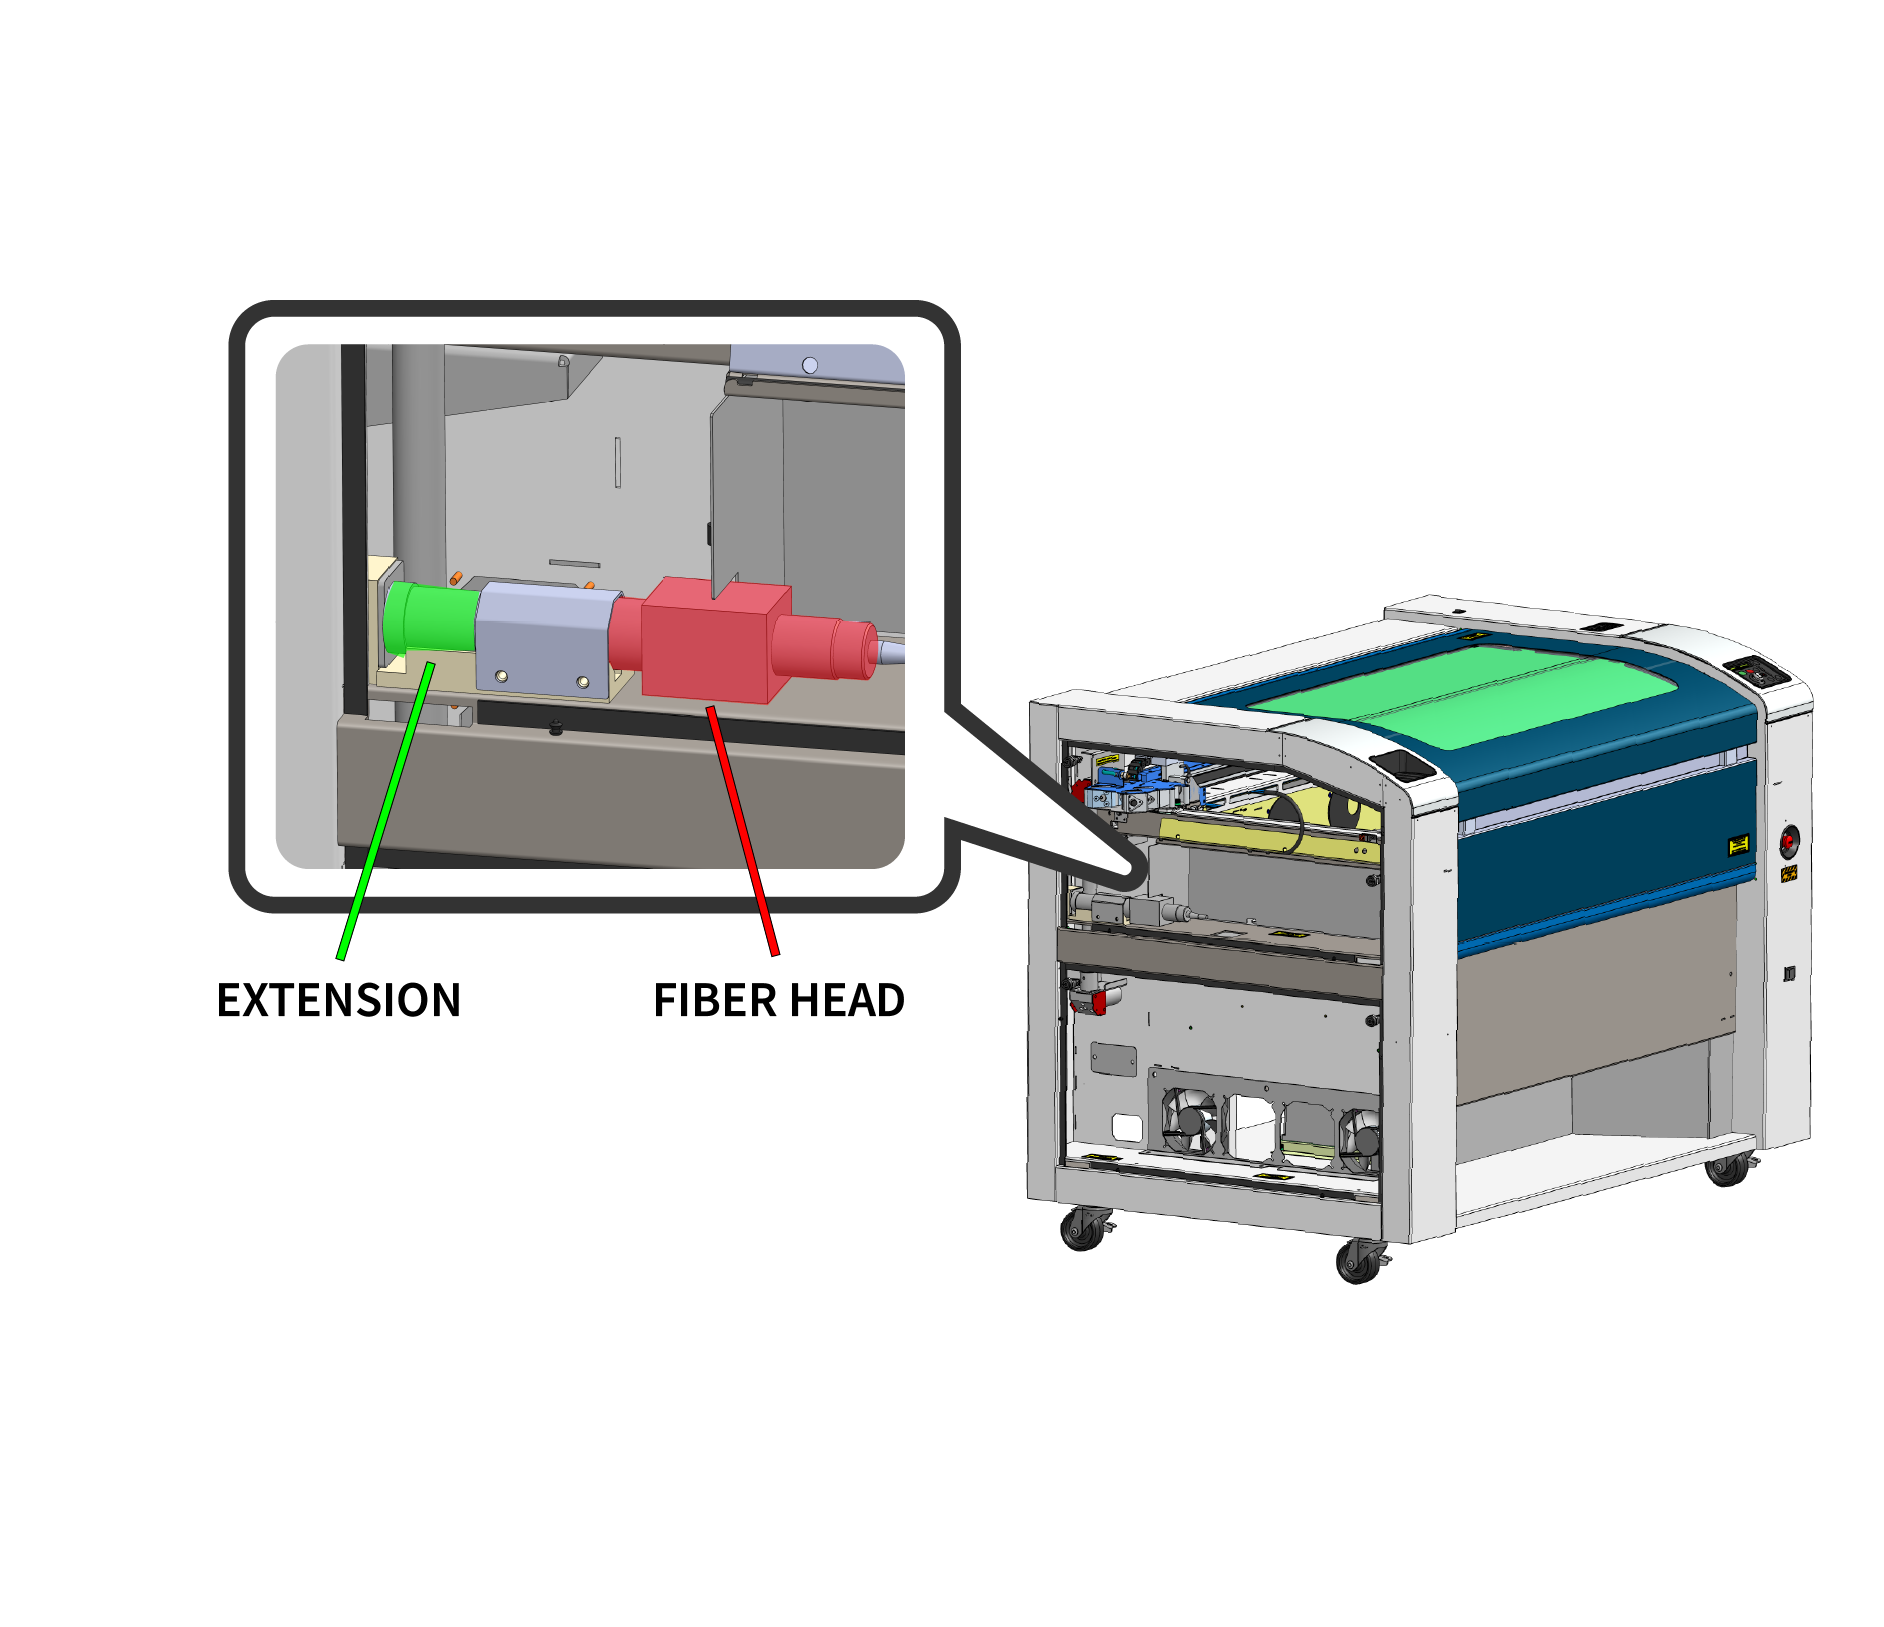
防犯用ファイバーヘッド
ファイバーヘッド用延長チューブとファイバーヘッドをブラケットに挿入し、ブラケットを固定してください。
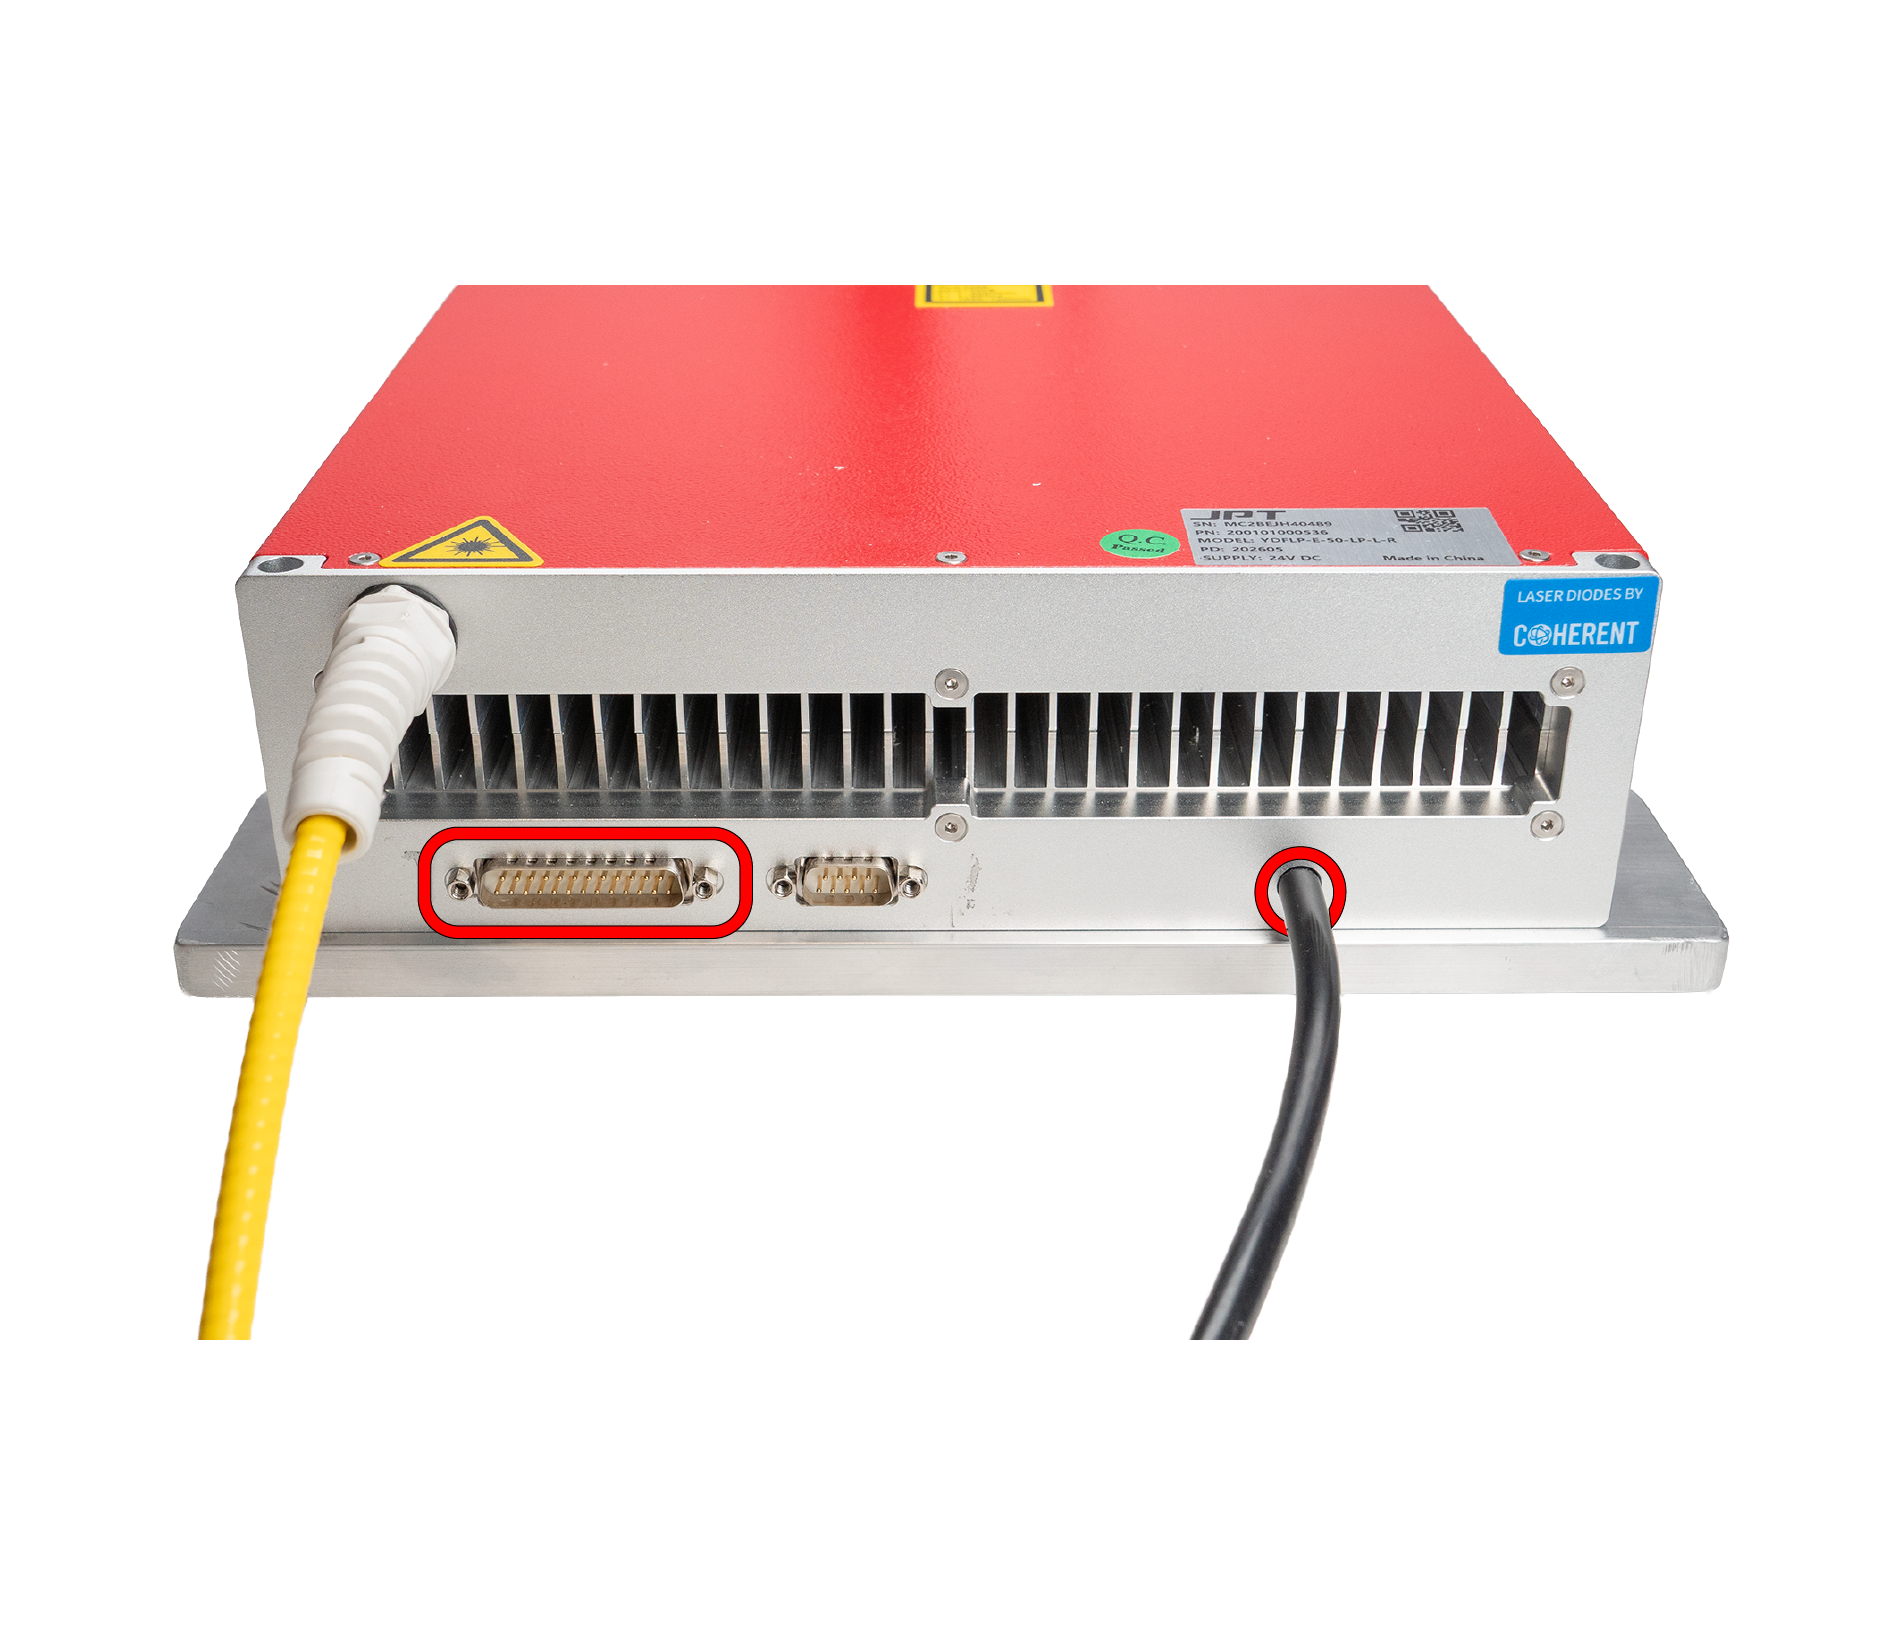
ケーブルの再接続
信号ケーブルと電源ケーブルを再度接続してください。
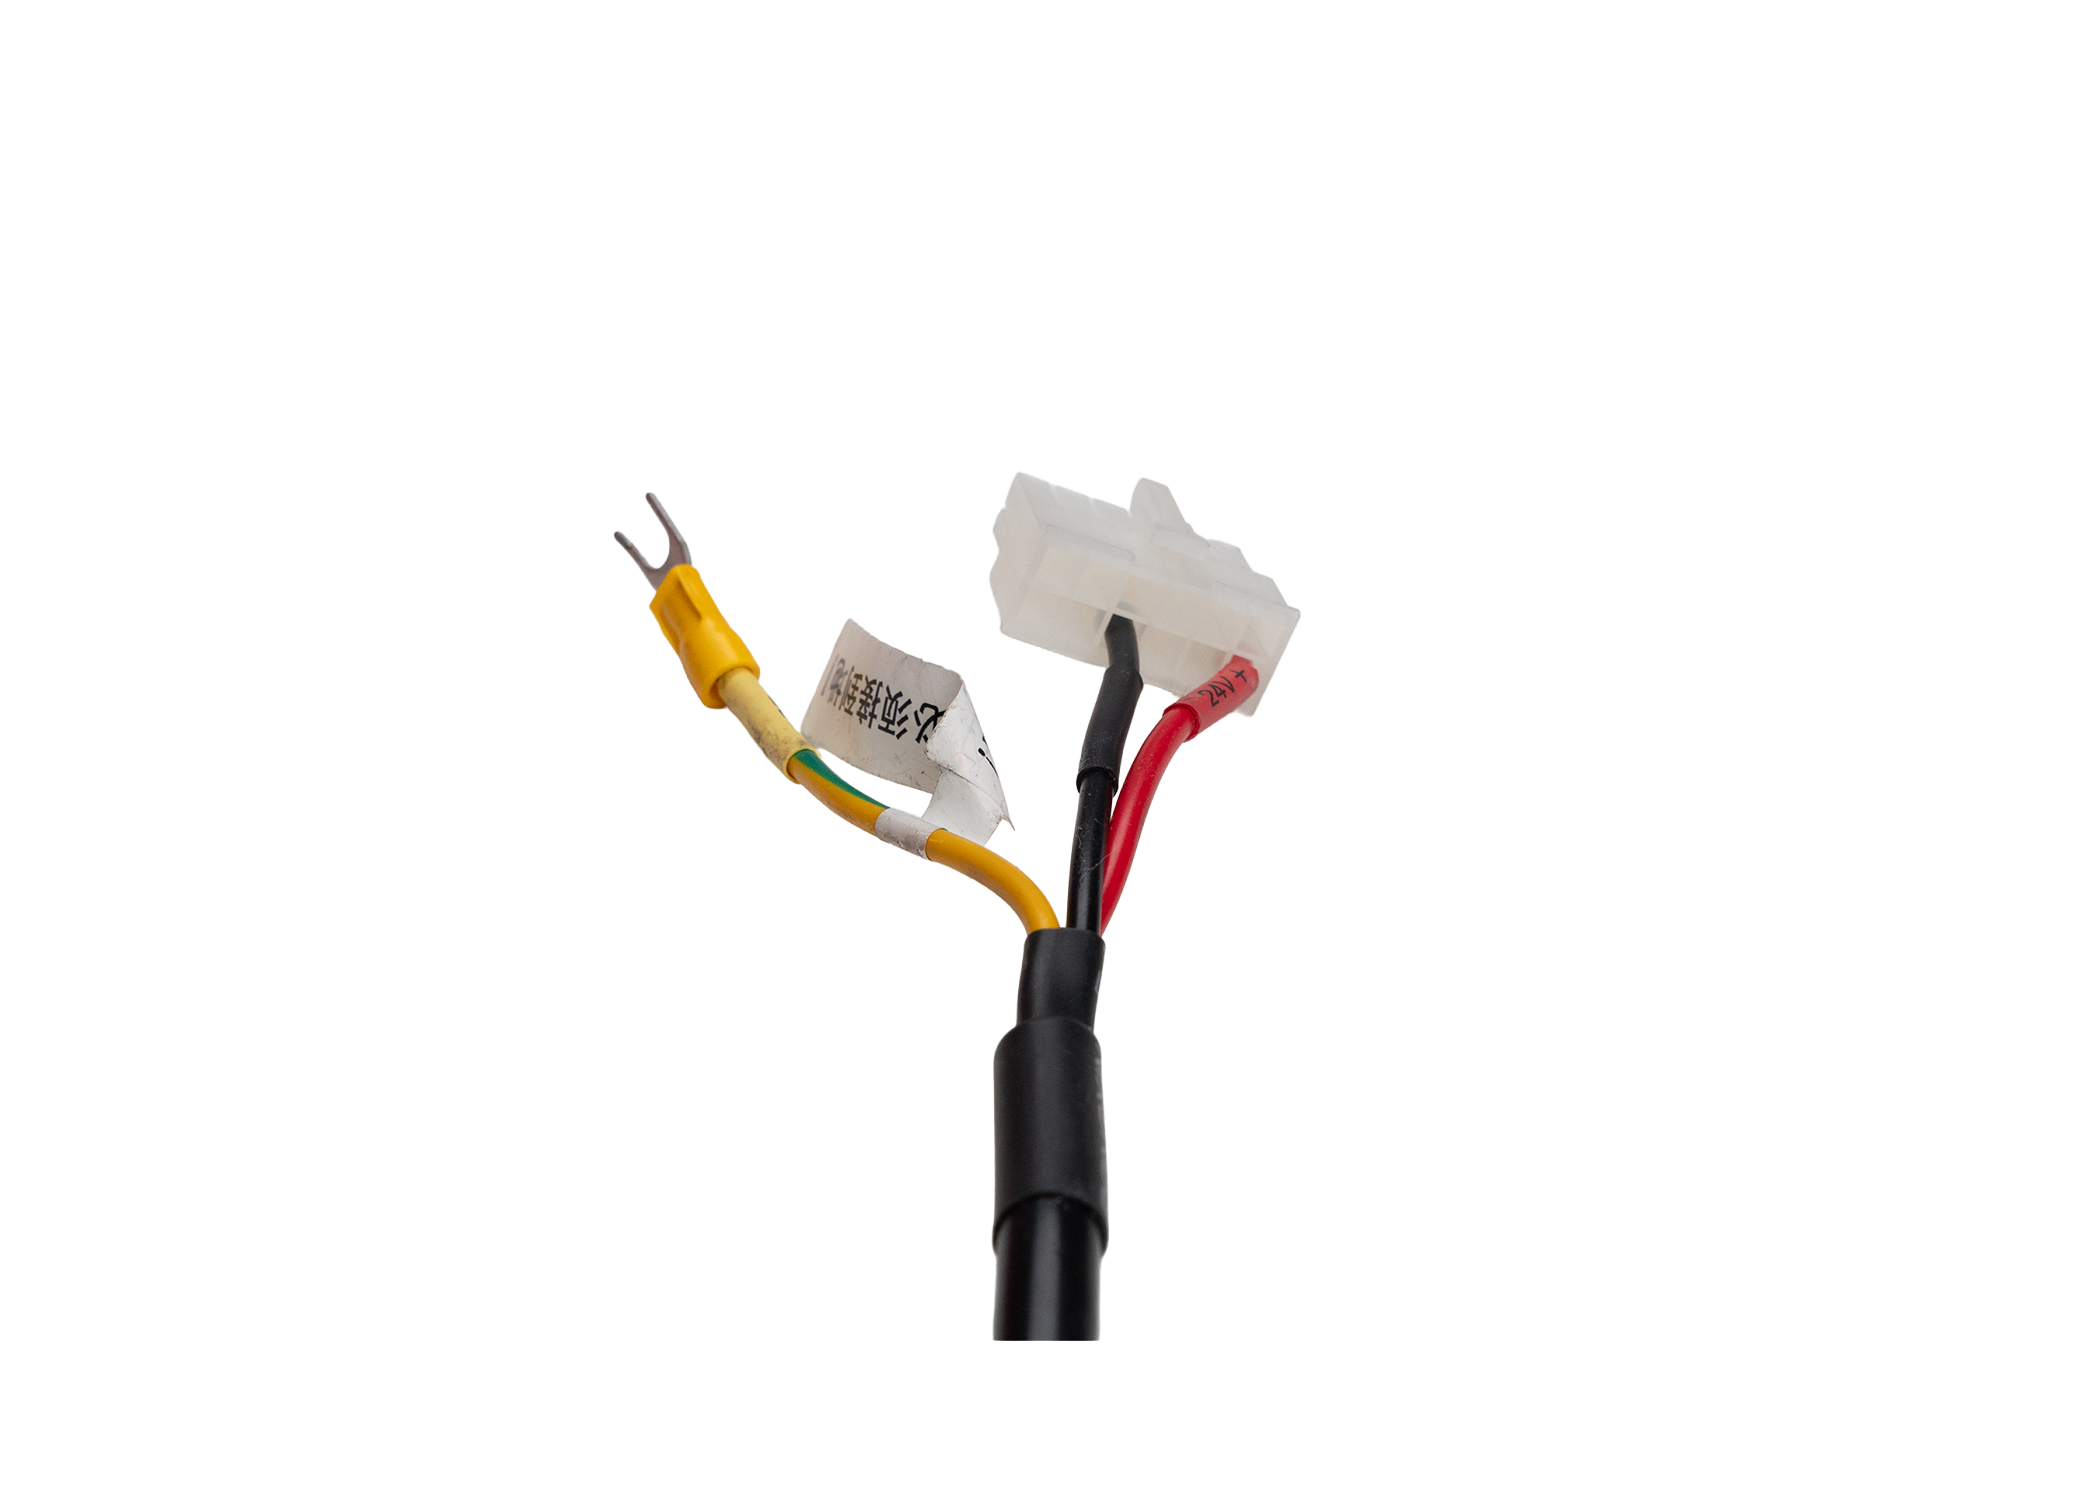
アースケーブルを取り付ける
追加の黄色のアースケーブルを、ファイバー供給部の隣にある未使用の穴からシャーシに取り付けてください。
最終確認と調整
パネルを取り付ける前に、右側に添付されている位置合わせガイドに従って、ファイバーレーザーが正しく位置合わせされていることを確認してください。確認が完了したら、機械のすべてのパネルを再度取り付けてください。