
- Run a test job with a piece of anodized aluminum. Set up a small solid square as your artwork and run the job with high speed and low power settings.
- Once the job is running, press the Focus Menu button on the touch screen, and slightly raise and lower the table with the joystick while keeping an eye on the spark coming from the laser hitting the anodized aluminum.
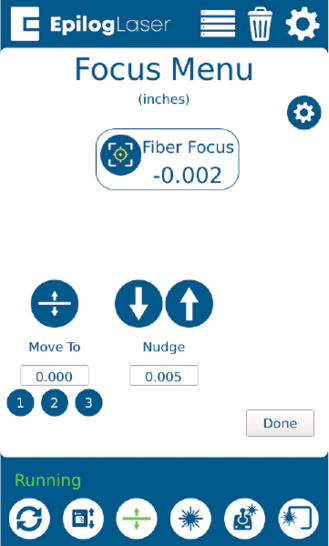
- While raising the table up and down, find the height where the spark appears the brightest. If it’s difficult to tell, turn off any overhead lights in the room.
- Once you’ve found the brightest spark, let go of the joystick and press the Go/Stop button to stop the job.
- Remove the material from the engraving bed.
- Press the Settings button, and then long press the “Settings” text until the Advanced Settings menu appears.
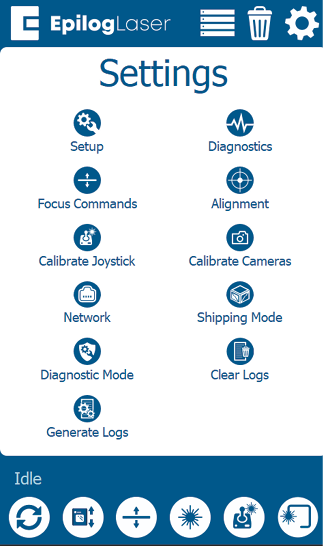
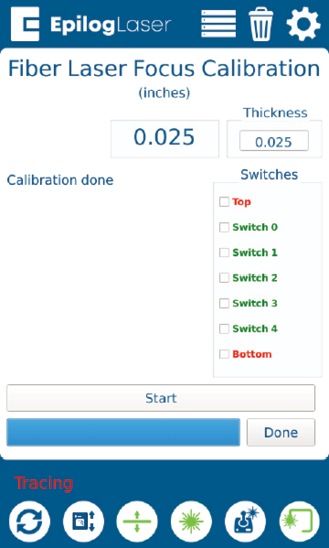
- Select “Focus Commands” from the menu. Turn the “Calibration” setting ON.
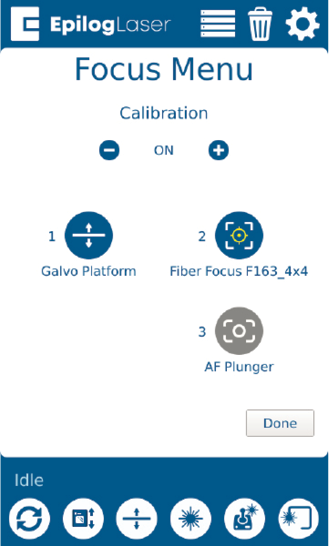
- Select “Laser Focus”. Ensure the material thickness used during calibration is entered in the Thickness text box (The default of 0.025” corresponds to the supplied anodized aluminum). Press “Start”.
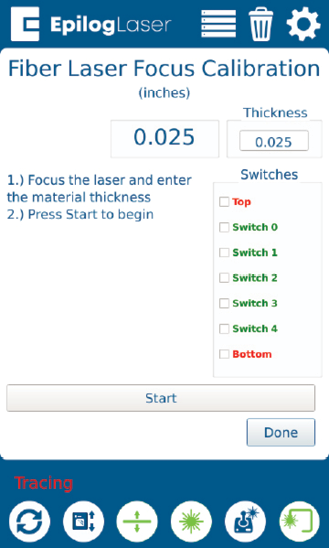
- Once the calibration is complete, press “Done.”
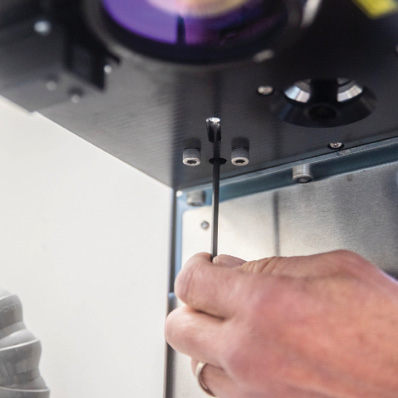
- After calibrating the focus you will need to make sure the Red Dot Pointer lines up with the vertical line on the cross that appears while in the Focus Menu. You can do this by using a hex key in the port in the far right corner behind the lens. This will control the Red Dot Pointer’s location and is very sensitive, so making small adjustments is recommended.
- The laser focus should now be calibrated properly.