Tiempo estimado: 20-30 minutos • Nivel: Intermedio
Este procedimiento le guiará a través del proceso de extracción e instalación del conjunto láser en su sistema láser Epilog Zing . Seguir estos pasos garantiza una alineación adecuada, un montaje seguro y un rendimiento óptimo de su sistema de grabado.
Eliminación con láser
-
Power down and disconnect the machine.
Turn off the engraver and unplug it from the power source. -
Remove the left-hand side panel.
Remove the four Phillips screws securing the side panel: three on the side and one on the rear.
Imagen 1: Tornillos del panel lateral (vista lateral).

Imagen 2: Tornillo del panel lateral (vista trasera).
-
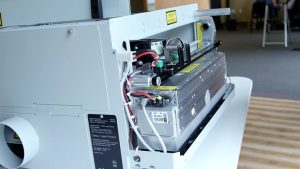
Disconnect the laser power harness.
Located above and behind the laser assembly, press the lock and pull the connector toward you to disconnect.
Imagen 3: Arnés de potencia láser.
-
Disconnect the data cable.
Press the locking tab and remove the data cable from the laser assembly.
Imagen 4: Cable de datos láser.
-
Remove the laser mounting plates.
The laser is held by two green mounting plates inside the engraving area on the left side. Loosen the four outer screws (Picture 5a) but do not remove the inner guide screw (Picture 5b). The screws will pop slightly but remain attached to the mount.
Imagen 5: Tornillos exteriores en las placas de montaje.

Imagen 6: Tornillo guía interior.
-
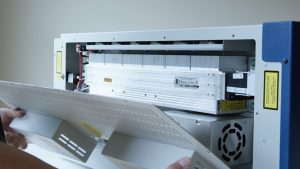
Remove the laser assembly.
Lift slightly and align the guide pin with the slot in the chassis. Slide the laser assembly toward the front and remove it from the machine.
Imagen 7: Ubicación de la placa de montaje del láser.
Instalación láser
-
Install the laser assembly.
Align the guide pins with the chassis holes, push the assembly against the side, and slide it forward until seated. -
Install the mounting plates.
Loosely install the four screws on each mounting plate. Once all screws are in place, tighten all eight screws securely. -
Vuelve a conectar el cable de datos.

Imagen 8: Cable de datos reconectado.
-
Vuelva a conectar el arnés de alimentación.

Imagen 9: Cableado de alimentación reconectado.
-
Perform laser alignment.
After installation, perform a full laser alignment as described in the Epilog Technical Note: Zing Laser Alignment.