Passer au contenu principal

Utilisation et fonctionnement

Série : 17000

Filtres


Pour commencer (8)
Utilisation et fonctionnement (102)
Entretien et réparation (64)
Manuel (0)

Results: 102 items found
  • Afficher :
Trier par
Pertinence

Filtres


Pour commencer (8)
Utilisation et fonctionnement (102)
Entretien et réparation (64)
Manuel (0)

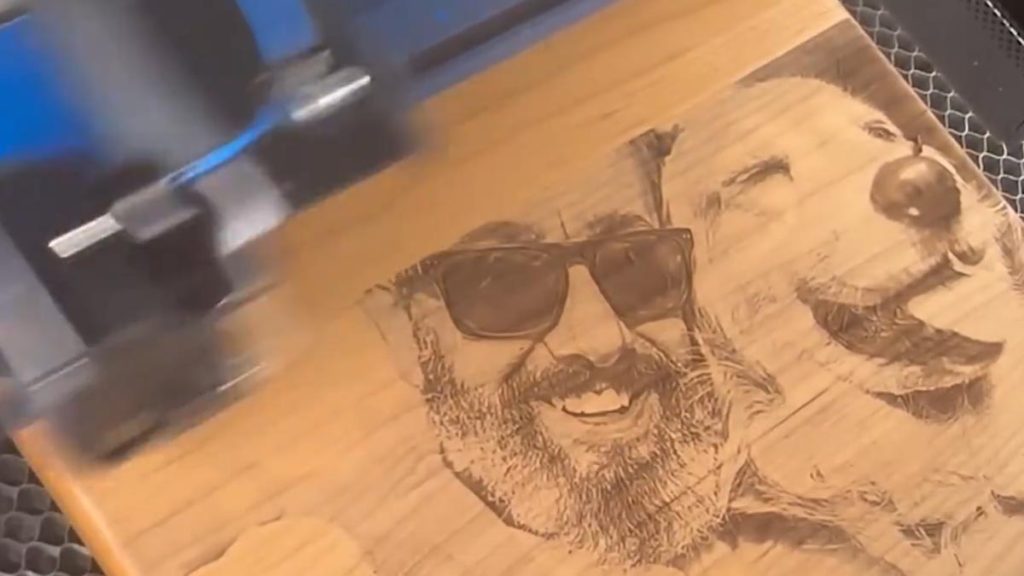
Utilisation de PhotoLaser Plus

Apprenez à préparer rapidement des photos pour la gravure à l'aide de PhotoLaser Plus.

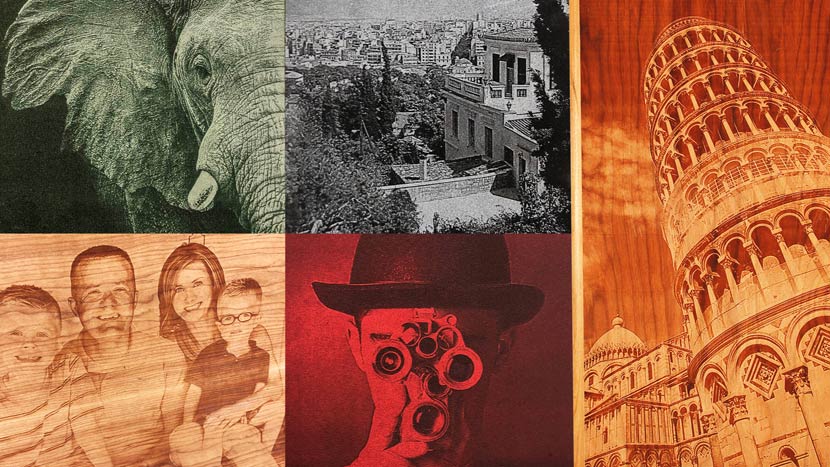
Préparer la photo : commencez par importer une photo dans PhotoLaser Plus. Sélectionnez l’option « Importer » dans le menu « Fichier ». Sélectionnez ensuite une photo. Cliquez ensuite sur la zone de travail pour y placer la photo. Redimensionnez ensuite l’image afin qu’elle corresponde à la pièce à graver. Dans cet exemple, notre pièce à graver mesure 6” x (...)
Gravure centre-centre vs gravure centre personnalisée

Découvrez le positionnement prédéfini pour centrer votre illustration, ainsi que les techniques permettant de centrer les graphiques décalés.

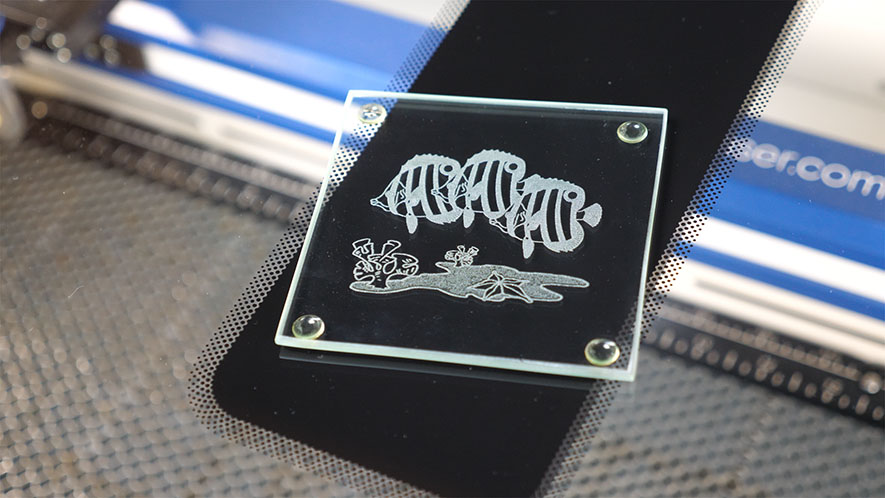
Using Center-Center   There are many ways to use Center Engraving on the Epilog Laser Dashboard.   Let’s take a logo we want to engrave at the center of a coaster. In the Epilog Dashboard, choose the Advanced Tab.   Next to Centering Point you’ll see a list of all (...)
Utilisation de l'accessoire rotatif à mandrin à 3 mors

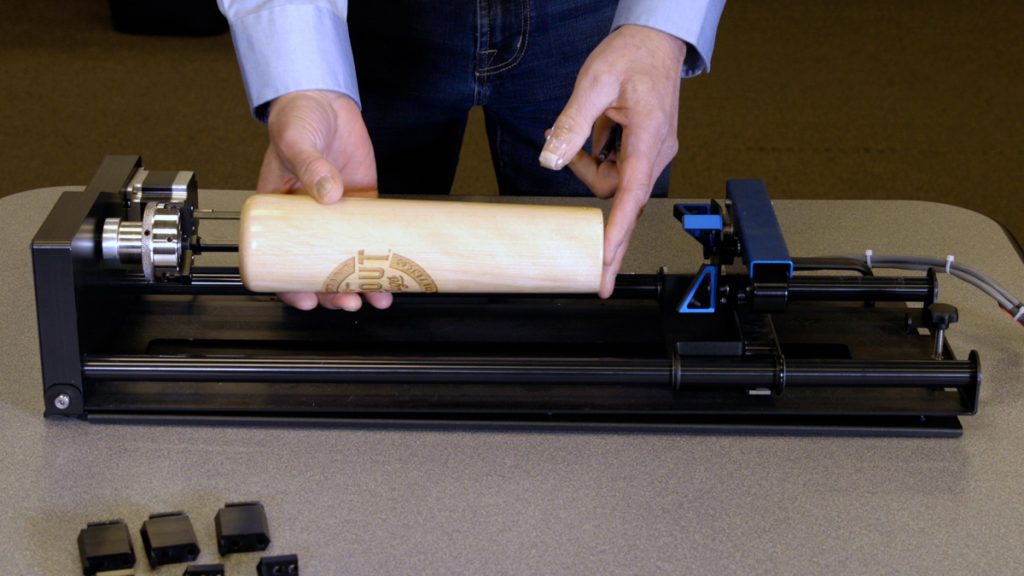
L'accessoire rotatif à mandrin à 3 mors est un outil extrêmement polyvalent pour le marquage et la gravure d'objets cylindriques.

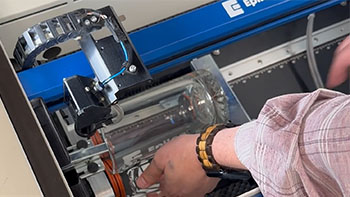
Installing the 3-Jaw Chuck   Before we get started, we will need to lower the laser table far enough to accommodate the 3-Jaw Chuck Rotary Attachment Once the table is low enough, power off the machine. Measure & record the diameter of the cylinder you plan on engraving; you will (...)