
Placing Text on a Path in CorelDRAW
How do I place text on a path in CorelDRAW?
Have you ever had that engraving job that would have looked even better if you could have just curved the text around the photograph, or been able to have the text along a line you drew?
Well, it’s possible in a few easy steps in CorelDRAW! Follow the directions below to see how you can master this technique.
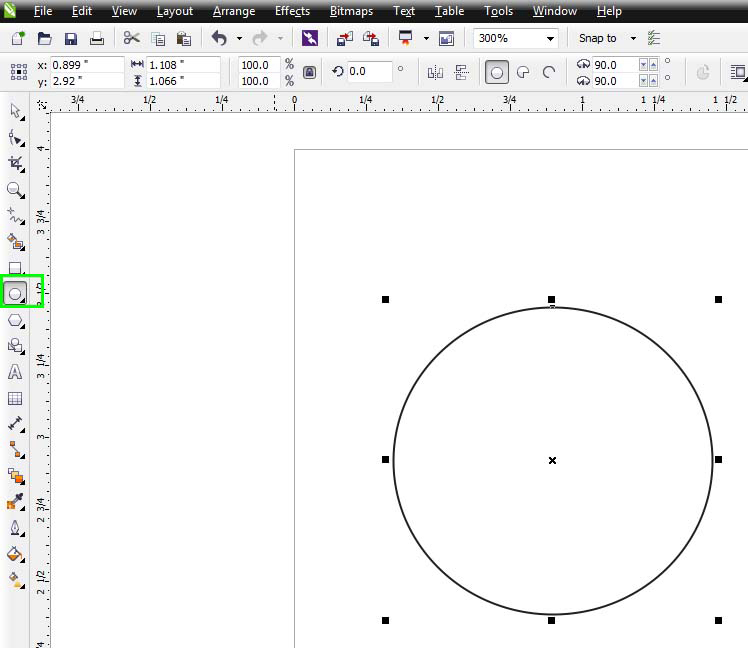
Let's start by creating a circle. Use the Ellipse Tool (circled in green on the toolbar) and draw any size circle for our example.
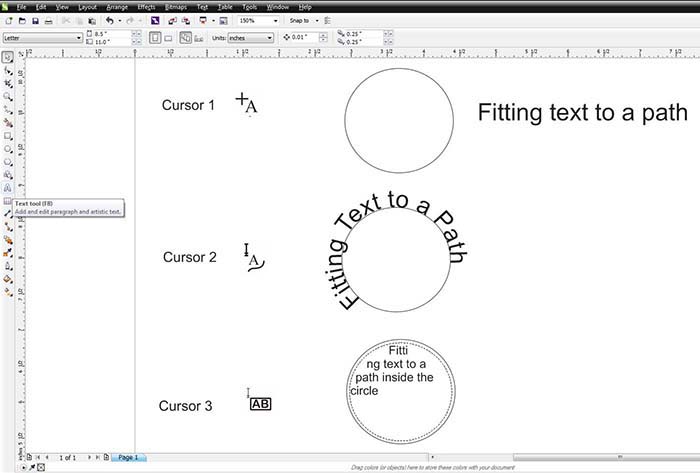
Next, select the Text Tool on the toolbar and line up the cursor with the circle. Depending on how close you place the cursor to the circle, you will see the cursor change shape. Each shape is pictured and described below.
Cursor 1 is the standard text cursor and will produce text anywhere on the page.
Cursor 2 appears when the cursor is right on top of the circle. Clicking the mouse with this cursor showing will place typed text onto the page of the circle.
Cursor 3 appears when the cursor is moved just to the inside of the circle and is the Paragraph Text Tool. When you click on the mouse with this cursor showing, the text will conform to the inside of the circle.
Once you have your text in place, you can use all of the standard tools available for editing text, as well as manipulating the fitted text.
Use the Text Tool to select just the text, and change the font, size, kern or any other editing that you would normally do to the text.
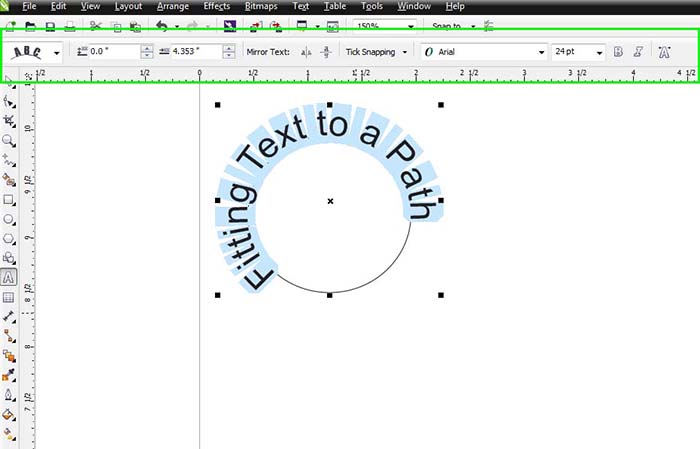
Selecting both the circle and the text allows you to use the Fit Text to Path menu tools. These give you more control over the placement of the text around the curve.

Text orientation: Specify how the text bends to follow the path
Distance from Path: Specify the distance between text and path
Offset: Move the text closer to the end or start of a path by specifying positive or negative values
Mirror Text: Flip the text from left to right or bottom to top
Tick Snapping: Specify spacing increments for snapping text to the path
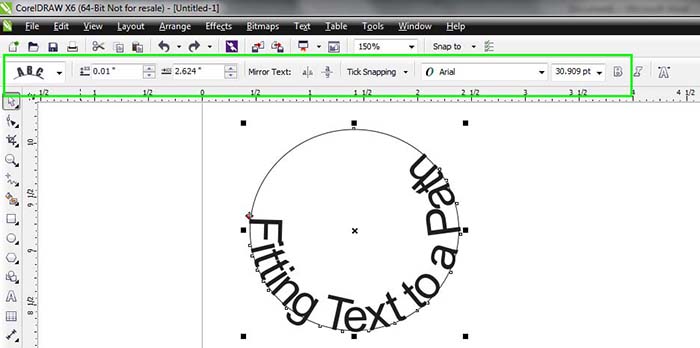
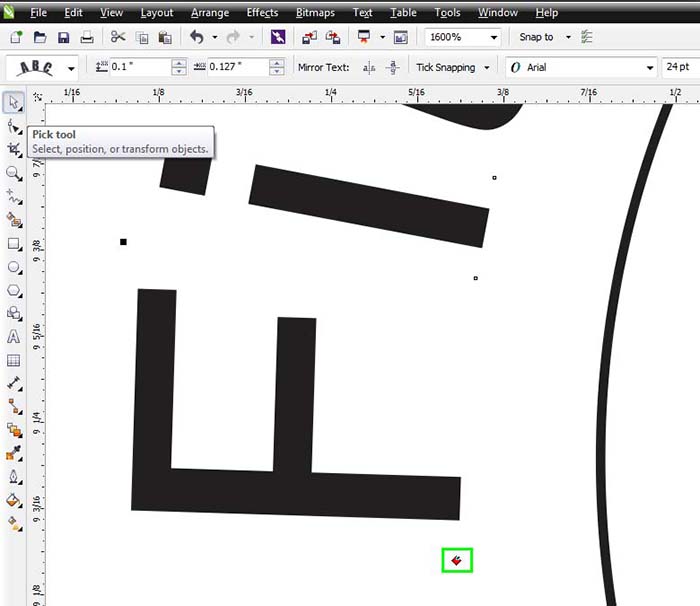
You can also adjust where the text is along the curve by selecting it with your Pick Tool. Click on the red box that appears next to the text and drag it along the curve to where you want it placed.
Attachments
No attachments.
Related Articles
No related articles.