
Creating a Quick Bounding Box for the Red Dot Pointer
How can I preview the area where I am going to engrave?
When we're running custom engraving jobs, there is nothing better than combining our features of Red Dot Pointer and Center-Center Engraving to quickly position the product.
While at the MakerFaire in San Mateo we were providing custom engravings on cell phones and laptops and found ourselves repeatedly using a tip we learned from Foster Coburn at Graphics Unleased. Foster was kind enough to agree to let us share the tip with our users. (And for many more tips, be sure to check out his website at http://graphics-unleashed.com.)
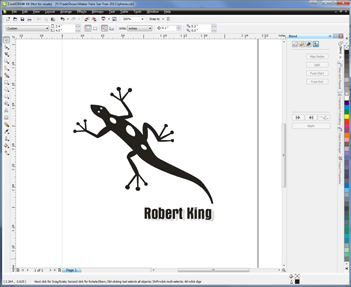
To start, layout your image however you want it to appear on the phone or other device you are engraving. Since we'll be using center/center engraving feature, you don't have to size the page exactly to the size of the device, which saves you time when setting up the engraving job.
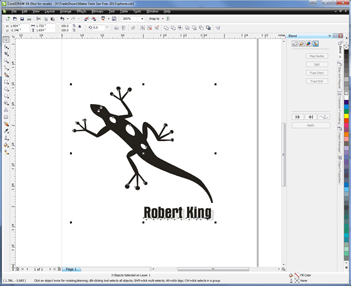
Select everything you want to engrave using the Pick Tool.
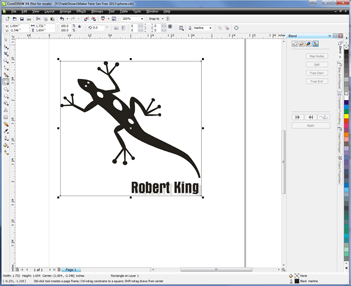
Now here's the secret we learned from Foster. Hold down your Shift key and double click on the Rectangle Tool. It'll draw a box exactly the size you need to preview where your artwork will appear.
While you could draw a rectangle yourself, it's much quicker than trying to draw the box then zoom in to line up each edge to your graphic.
With the box selected, print the file to the laser. Set the Print Range to Selection so it will only print the box.
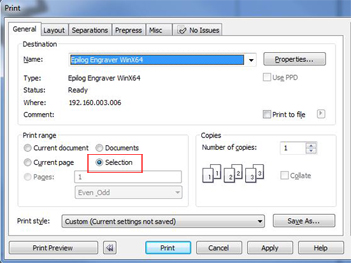
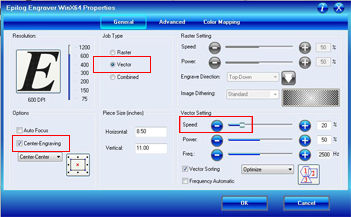
In the print driver, turn on Center-Engraving and make sure Center-Center is selected in the drop-down box. Change the Job Type to Vector and set the speed to around 20%, so it's slow enough for you to watch the location of the laser.
At the laser, set a home position in the middle of the area where you want to engrave and start the job. You'll be able to easily move the phone to get the engraving into the perfect area, and can even have the customer preview the job and sign off on the location right before you engrave!
Note: Leave the glass door open when testing the alignment of the bounding box.
Attachments
No attachments.
Related Articles
No related articles.