Inhaltsverzeichnis
- Einführung
- Sicherheit
- Erste Schritte
- Setting Up Your Laser System
- Unpacking the Fusion Ascent
- Choose Where to Locate the System
- Connecting the Exhaust
- Connecting Electrical Power
- Connecting the Laser to Your Computer
- Power on the Laser
- Set the IP Address
- Install the Software Suite & Set Up Your Laser
- Sign Up for Driver Updates and Register Your System
- Systemsteuerung
- System Features
- Machine Maintenance
- Specifications
- Technical Support
- Warranty
- Material-Einstellungen
- Calibration
Calibrating the Auto Focus
Ausführen des Fokuskalibrierungsassistenten
Mit dem Fokuskalibrierungsassistenten kann das Lasersystem automatisch die optimale Fokushöhe für das installierte Objektiv ermitteln. Dabei wird ein Testmuster auf eloxiertes Aluminium graviert, um die Fokusposition zu ermitteln, die die hellste Markierung erzeugt. Die Durchführung der Kalibrierung gewährleistet eine präzise Gravur- und Schneidleistung.

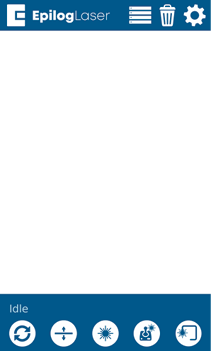
- Open the Settings Menu by clicking the Gear icon in the upper-right corner of the display.
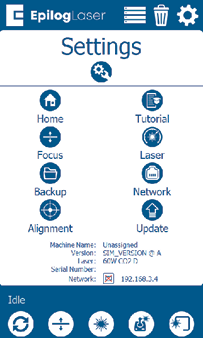
- Select the Focus menu.
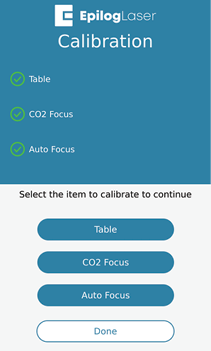
- Select the Lens Aperture. If prompted by the calibration wizard, select the lens aperture used by your machine. If the wizard does not ask for this information, you may skip this step.
- Choose CO2 Focus to begin the focus calibration wizard.
- Start the Calibration Wizard. Click Proceed to continue.
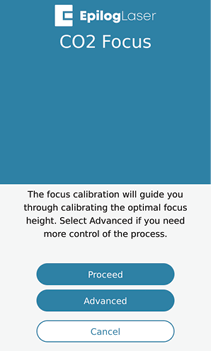
- Select Standard to run the automated focus calibration.
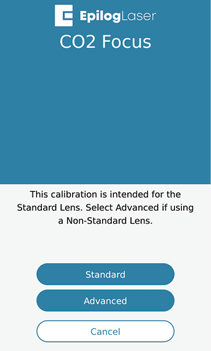 Note: Use the standard focal height lens. Accessory lenses such as the 4’’ lens require the Advanced Workflow.
 - Insert Calibration Material. Insert a piece of anodized aluminum into the machine and press Trace.
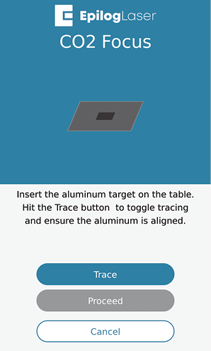 Note: Use 0.025’’ thick anodized aluminum.
 - Align the Material. Ensure the material is positioned directly under the traced outline, then click Proceed.
- Press Prepare, then click Proceed.
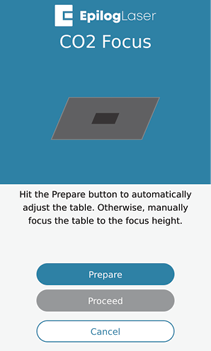
- Click Proceed to begin the engraving job.
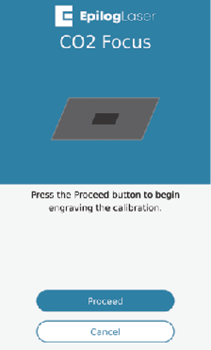
- Warten Sie, bis der Laser die Kalibrierungsgravur abgeschlossen hat.
- Select the Brightest Mark. Find the number corresponding to the brightest engraving mark on the test pattern and enter it on the display.
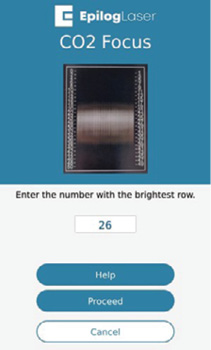
- Der Fokus-Kalibrierungsvorgang ist nun abgeschlossen.
Erweiterter Workflow
Der erweiterte Arbeitsablauf richtet sich an Benutzer, die den Standardkalibrierungsprozess nicht durchführen können, ein Zusatzobjektiv wie beispielsweise ein 4-Zoll-Objektiv verwenden oder eine manuelle Kalibrierungsmethode bevorzugen. Diese Option bietet mehr Kontrolle über den Kalibrierungsprozess, da sie die manuelle Anpassung der Fokuseinstellungen und Gravurparameter ermöglicht.
Während des erweiterten Kalibrierungsvorgangs wählen Sie benutzerdefinierte Einstellungen für Geschwindigkeit und Leistung aus, geben die Materialstärke ein und legen Ihr Testmaterial in das Gerät ein. Der Laser graviert ein 2×2-Muster, während Sie den Gravurtisch manuell anheben und absenken. Durch Anpassen der Fokus-Höhe während des Vorgangs können Sie die Position ermitteln, an der die hellste Gravurmarkierung entsteht. Diese Methode ermöglicht eine Feinabstimmung des Brennpunkts und ist besonders nützlich bei der Kalibrierung von nicht standardmäßigen Linsen.