Tiempo estimado: 15-20 minutos • Nivel: principiante
Esta guía describe el procedimiento para sustituir los enclavamientos de ventanas y puertas en un sistema láser Epilog Legend EXT. Estos enclavamientos de seguridad están diseñados para impedir que el láser se active cuando los paneles de acceso están abiertos. Si están dañados o no funcionan correctamente, pueden impedir que el láser se active por completo o provocar que se active de forma intermitente durante el funcionamiento. La sustitución de los enclavamientos defectuosos ayuda a restablecer el rendimiento constante del láser y garantiza un funcionamiento seguro de la máquina.
Para completar este procedimiento, necesitará una llave de tuercas y llaves hexagonales para retirar los enclavamientos. Los pasos incluyen retirar los enclavamientos, instalar los nuevos y realizar una prueba final para garantizar su correcto funcionamiento.
Eliminación del bloqueo
-
Power down and disconnect the machine.
Turn off the engraver and disconnect it from its power source before beginning any work. -
Open the lid.
Lift the top lid of the machine to access the interlock panels. -
Remove the two lid panels.
Each panel is secured by four (4) nuts. Remove all eight nuts and lift the panels away from the lid.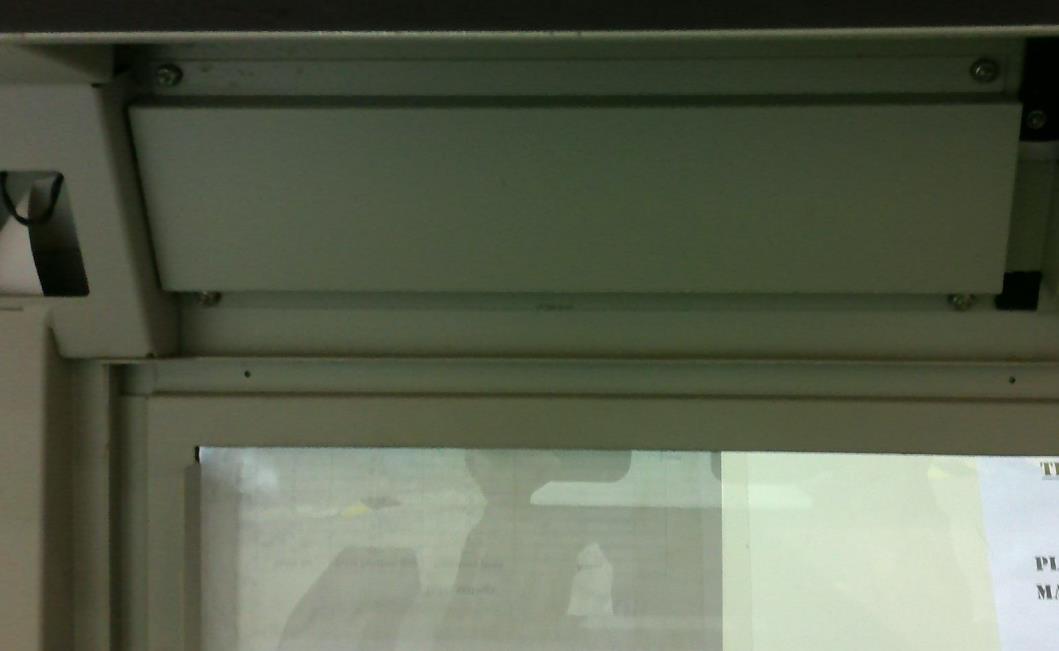
Imagen 1: Paneles en la tapa de la máquina.
-
Disconnect the interlock connectors.
Locate and disconnect the small black connectors attached to the interlocks — there are three (3) on the right side and one (1) on the left.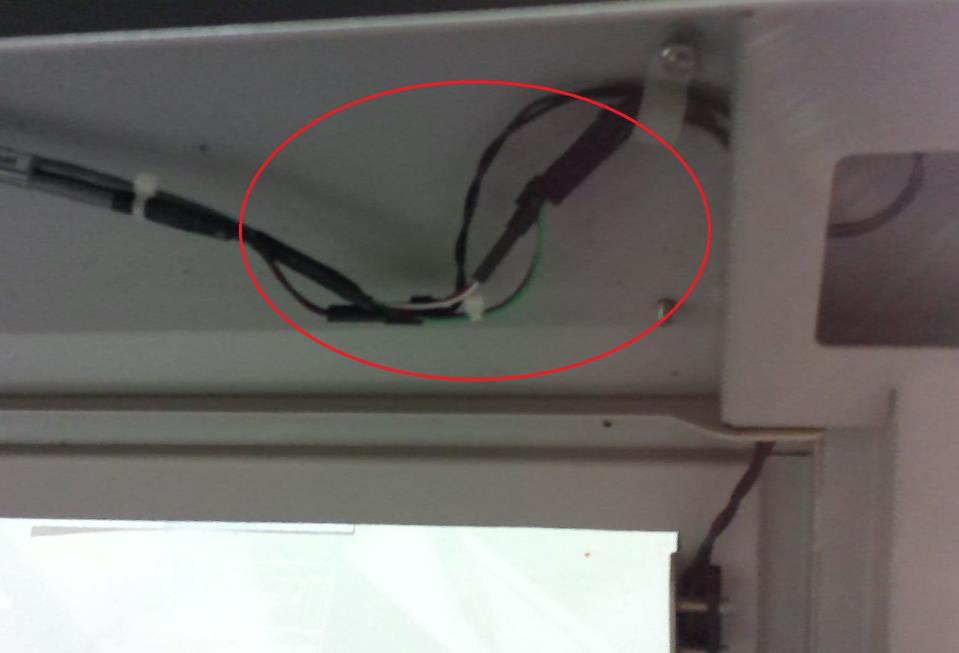
Imagen 2: Conectores en el lado derecho.
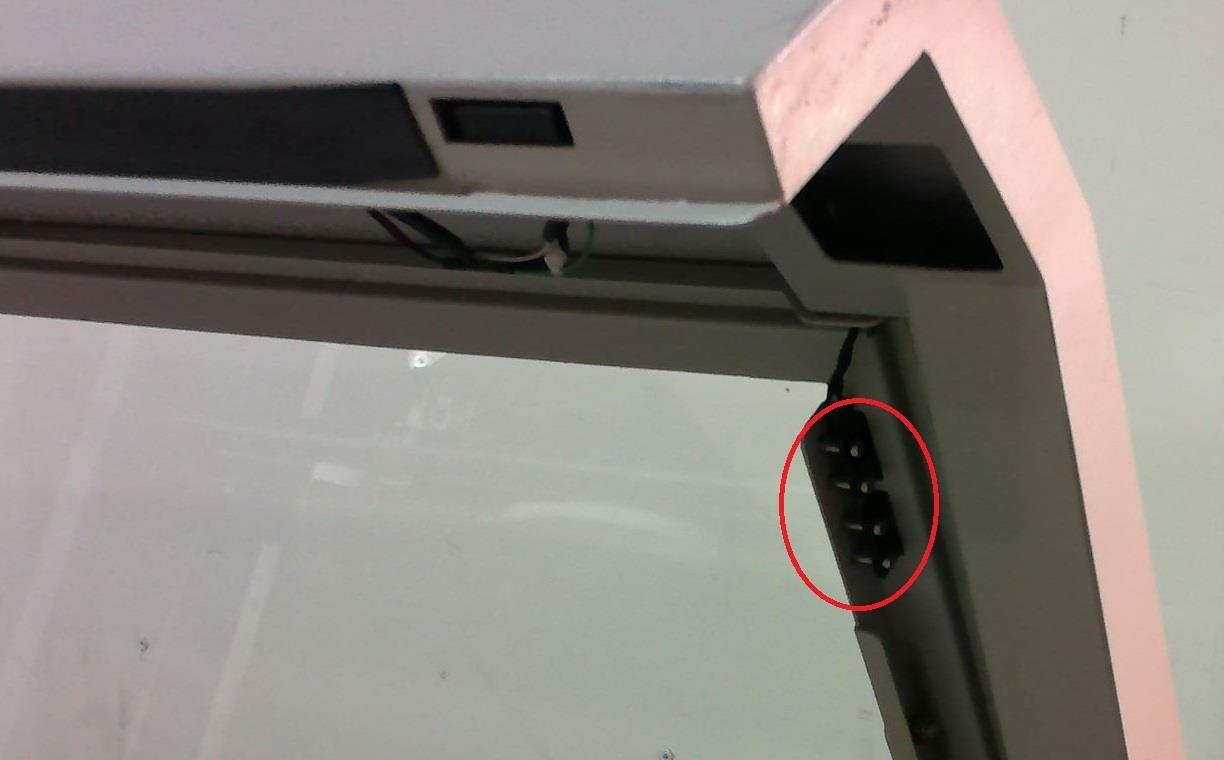
Imagen 3: Conector en el lado izquierdo.
-
Remove the window interlocks.
Use a hex key to remove the two (2) screws securing each window interlock. Once the screws are removed, lift the interlocks out. -
Remove the door interlocks.
The door interlocks are located in each corner of the door. Remove them by loosening the hex screws and pulling the interlocks up and out.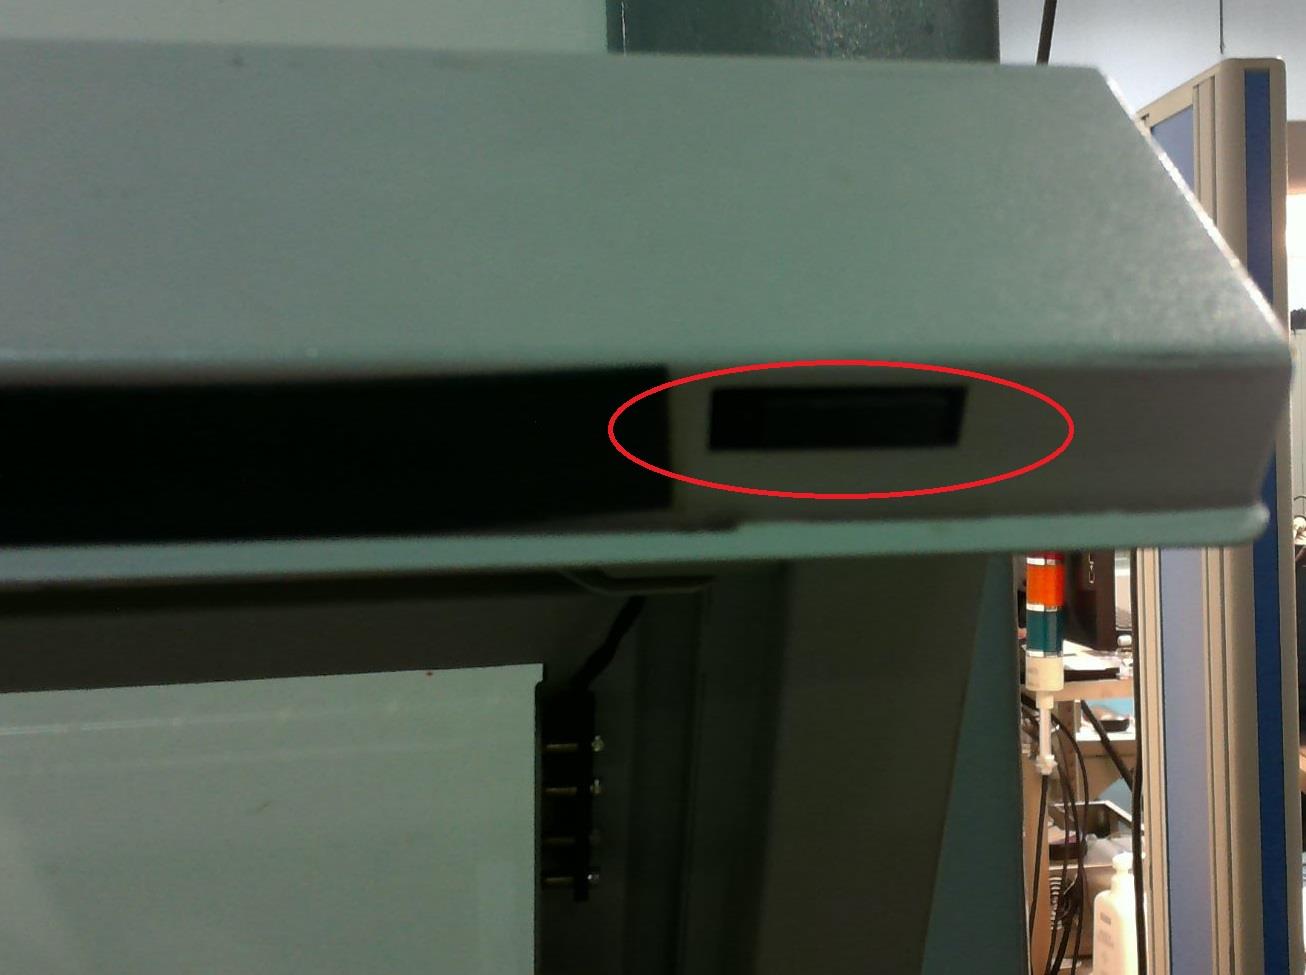
Imagen 4: Ubicación del enclavamiento de la puerta.
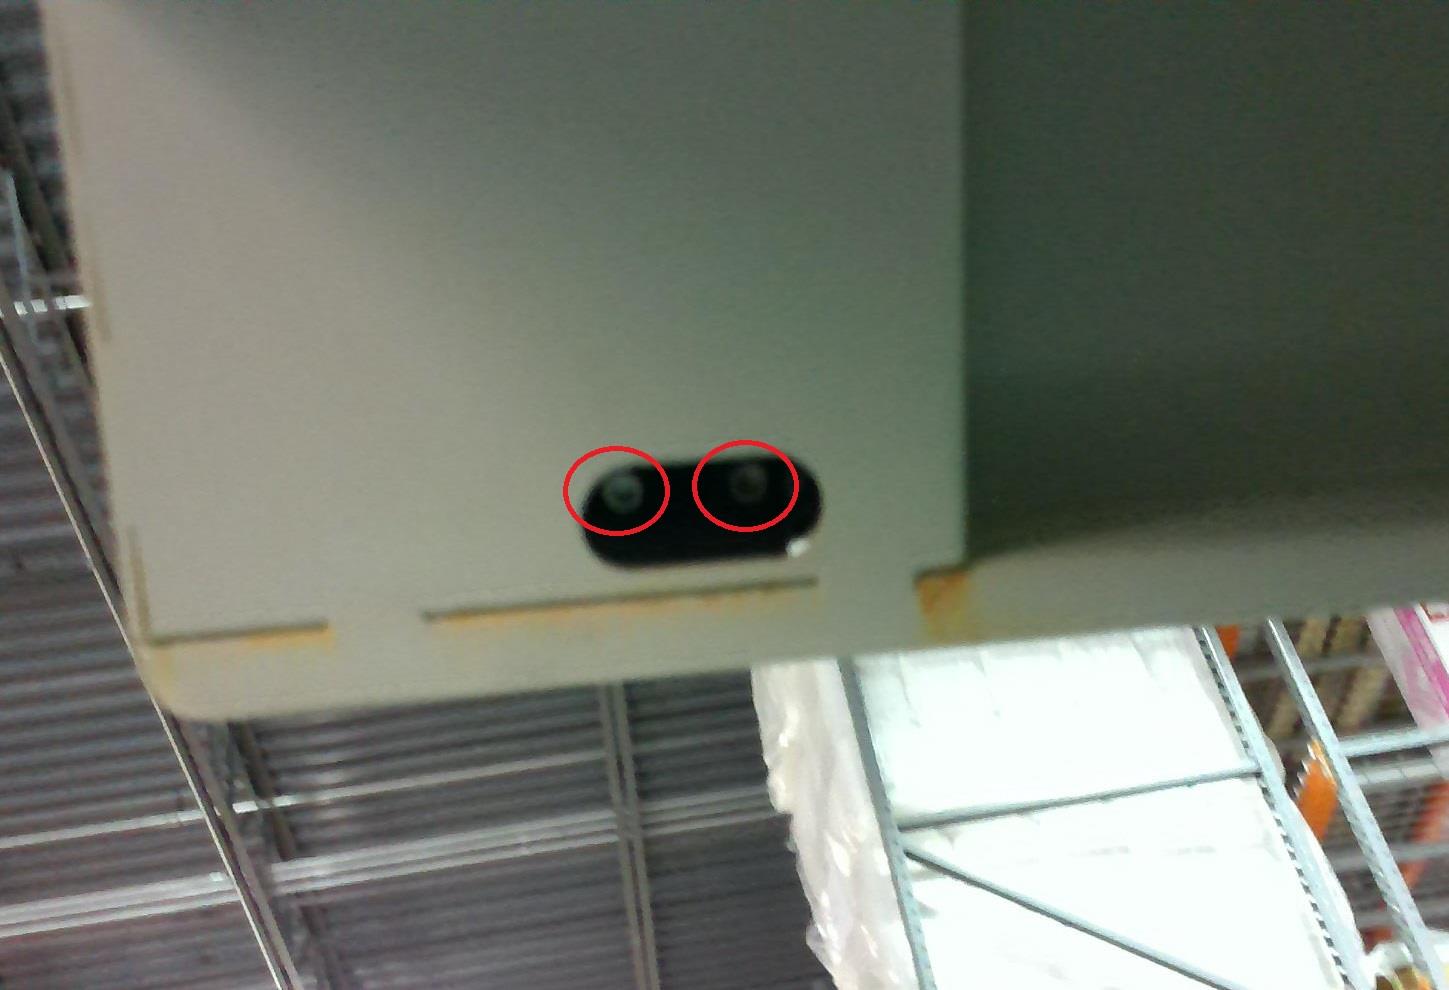
Imagen 5: Primer plano de los cierres de las puertas con los tornillos visibles.