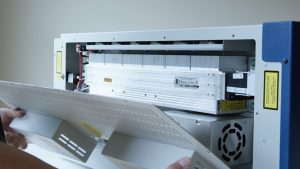
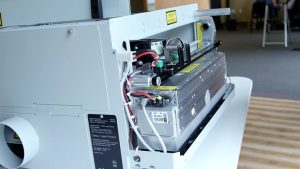
所要時間:20~30分 •難易度:中級
この手順書は、Zing レーザーシステムにおけるレーザーアセンブリの取り外しおよび取り付けプロセスをガイドします。以下の手順に従うことで、彫刻システムの適切なアライメント、確実な取り付け、および最適な性能が保証されます。
レーザー除去
-
Power down and disconnect the machine.
Turn off the engraver and unplug it from the power source. -
Remove the left-hand side panel.
Remove the four Phillips screws securing the side panel: three on the side and one on the rear.
画像1:サイドパネルのネジ(側面図)。

画像2:サイドパネルのネジ(背面図)。
-
Disconnect the laser power harness.
Located above and behind the laser assembly, press the lock and pull the connector toward you to disconnect.
画像3:レーザーパワーハーネス。
-
Disconnect the data cable.
Press the locking tab and remove the data cable from the laser assembly.
画像4:レーザーデータケーブル。
-
Remove the laser mounting plates.
The laser is held by two green mounting plates inside the engraving area on the left side. Loosen the four outer screws (Picture 5a) but do not remove the inner guide screw (Picture 5b). The screws will pop slightly but remain attached to the mount.
画像5:取付プレート上の外側ネジ。

画像6:内側ガイドスクリュー。
-
Remove the laser assembly.
Lift slightly and align the guide pin with the slot in the chassis. Slide the laser assembly toward the front and remove it from the machine.
画像7:レーザー取付プレートの位置。
レーザー設置
-
Install the laser assembly.
Align the guide pins with the chassis holes, push the assembly against the side, and slide it forward until seated. -
Install the mounting plates.
Loosely install the four screws on each mounting plate. Once all screws are in place, tighten all eight screws securely. -
データケーブルを再接続してください。

画像8:データケーブルを再接続しました。
-
電源ハーネスを再接続してください。

画像9:電源ハーネス再接続。
-
Perform laser alignment.
After installation, perform a full laser alignment as described in the Epilog Technical Note: Zing Laser Alignment.