所要時間:15~20分 •難易度:初心者向け
このガイドでは、EpilogLegend EXTレーザーシステムの窓およびドアインターロックの交換手順を説明します。これらの安全インターロックは、アクセスパネルが開いている際にレーザーが発射されるのを防ぐように設計されています。損傷している場合や正常に機能していない場合、レーザーの発射を完全に阻止したり、動作中に断続的に発射を引き起こしたりする可能性があります。故障したインターロックを交換することで、レーザーの安定した性能を回復し、機械の安全な動作を確保します。
この手順を完了するには、ナットドライバーと六角レンチを使用してインターロックを外す必要があります。手順には、インターロックの取り外し、新しいインターロックの取り付け、そして正常な機能を確認するための最終テストの実施が含まれます。
インターロック解除
-
Power down and disconnect the machine.
Turn off the engraver and disconnect it from its power source before beginning any work. -
Open the lid.
Lift the top lid of the machine to access the interlock panels. -
Remove the two lid panels.
Each panel is secured by four (4) nuts. Remove all eight nuts and lift the panels away from the lid.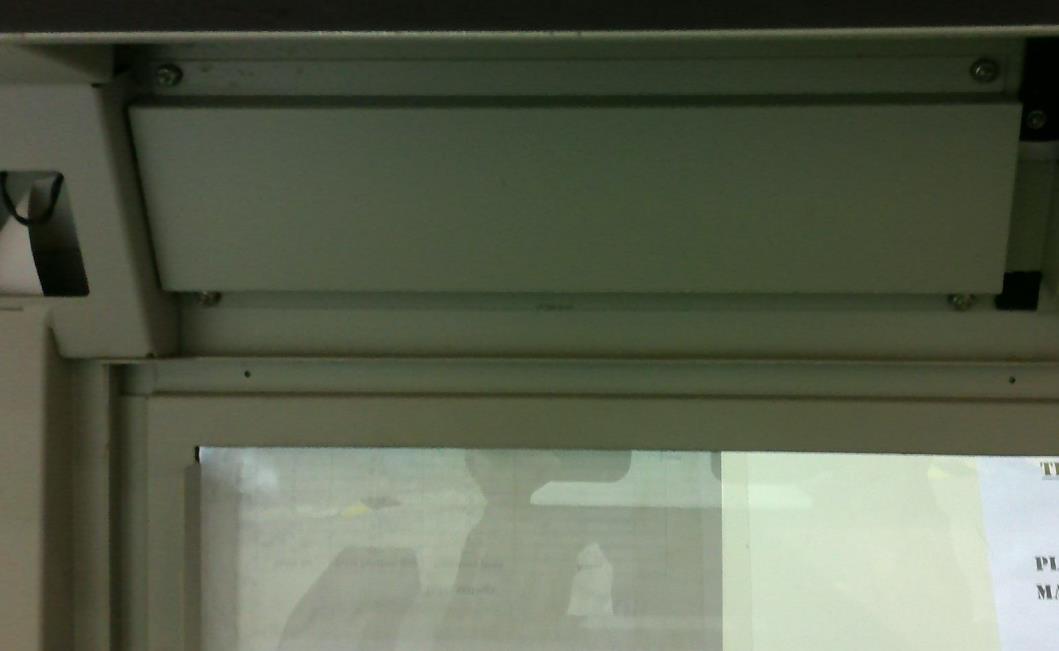
画像1:機械の蓋にあるパネル。
-
Disconnect the interlock connectors.
Locate and disconnect the small black connectors attached to the interlocks — there are three (3) on the right side and one (1) on the left.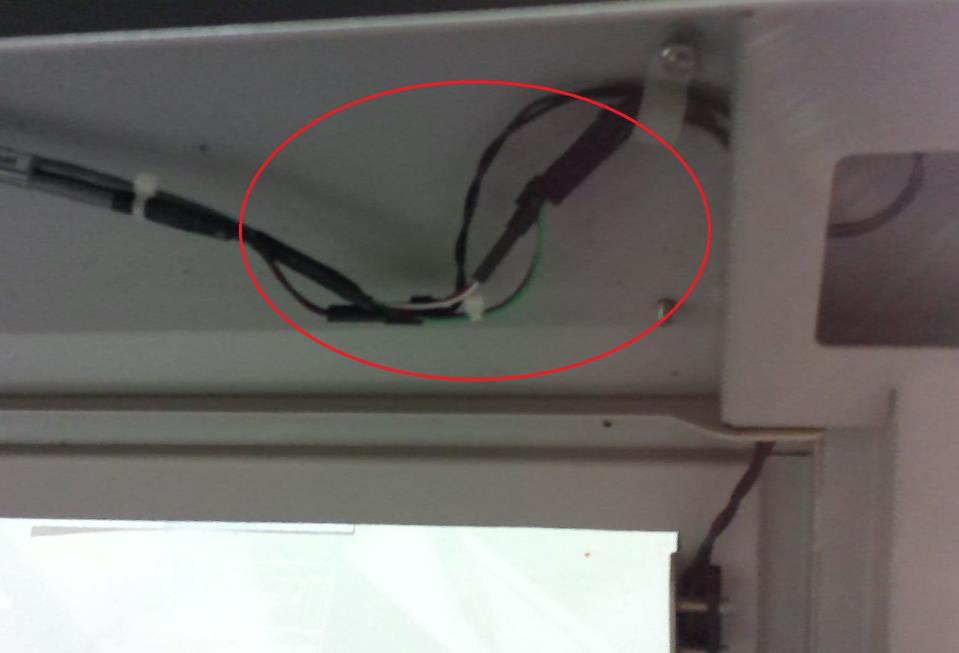
画像2:右側のコネクタ。
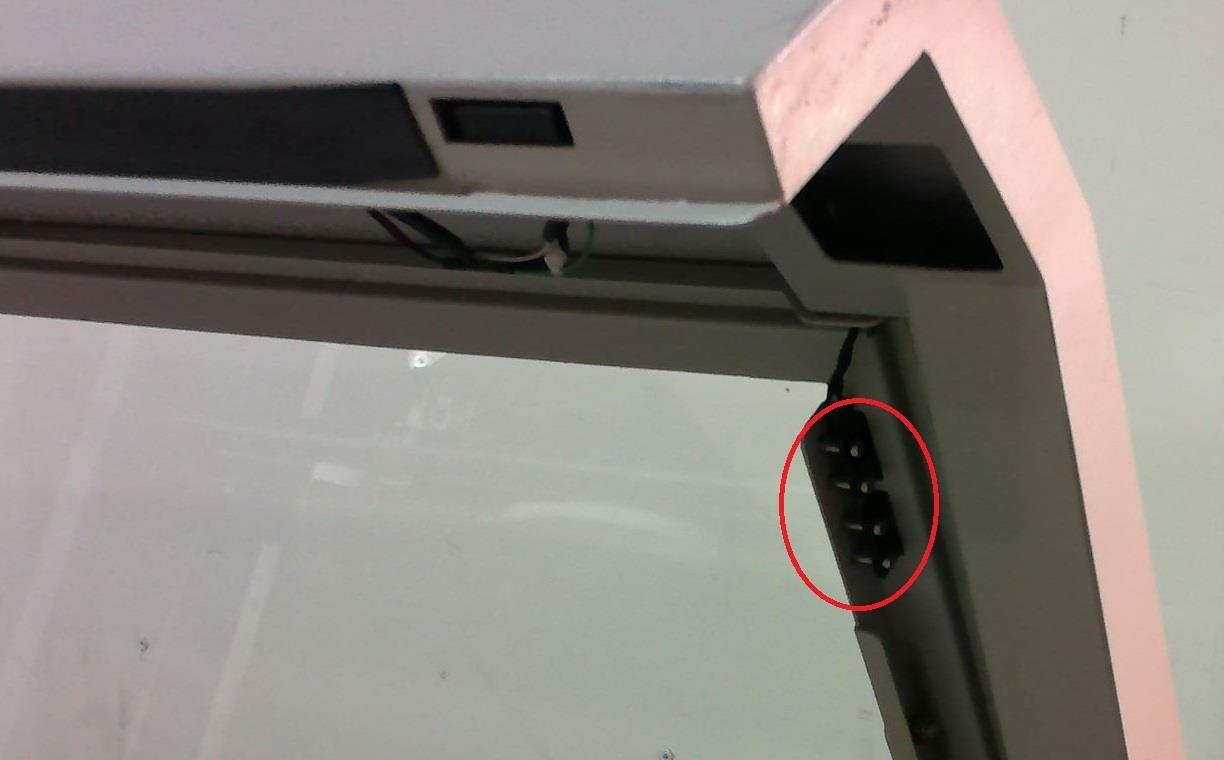
画像3:左側のコネクタ。
-
Remove the window interlocks.
Use a hex key to remove the two (2) screws securing each window interlock. Once the screws are removed, lift the interlocks out. -
Remove the door interlocks.
The door interlocks are located in each corner of the door. Remove them by loosening the hex screws and pulling the interlocks up and out.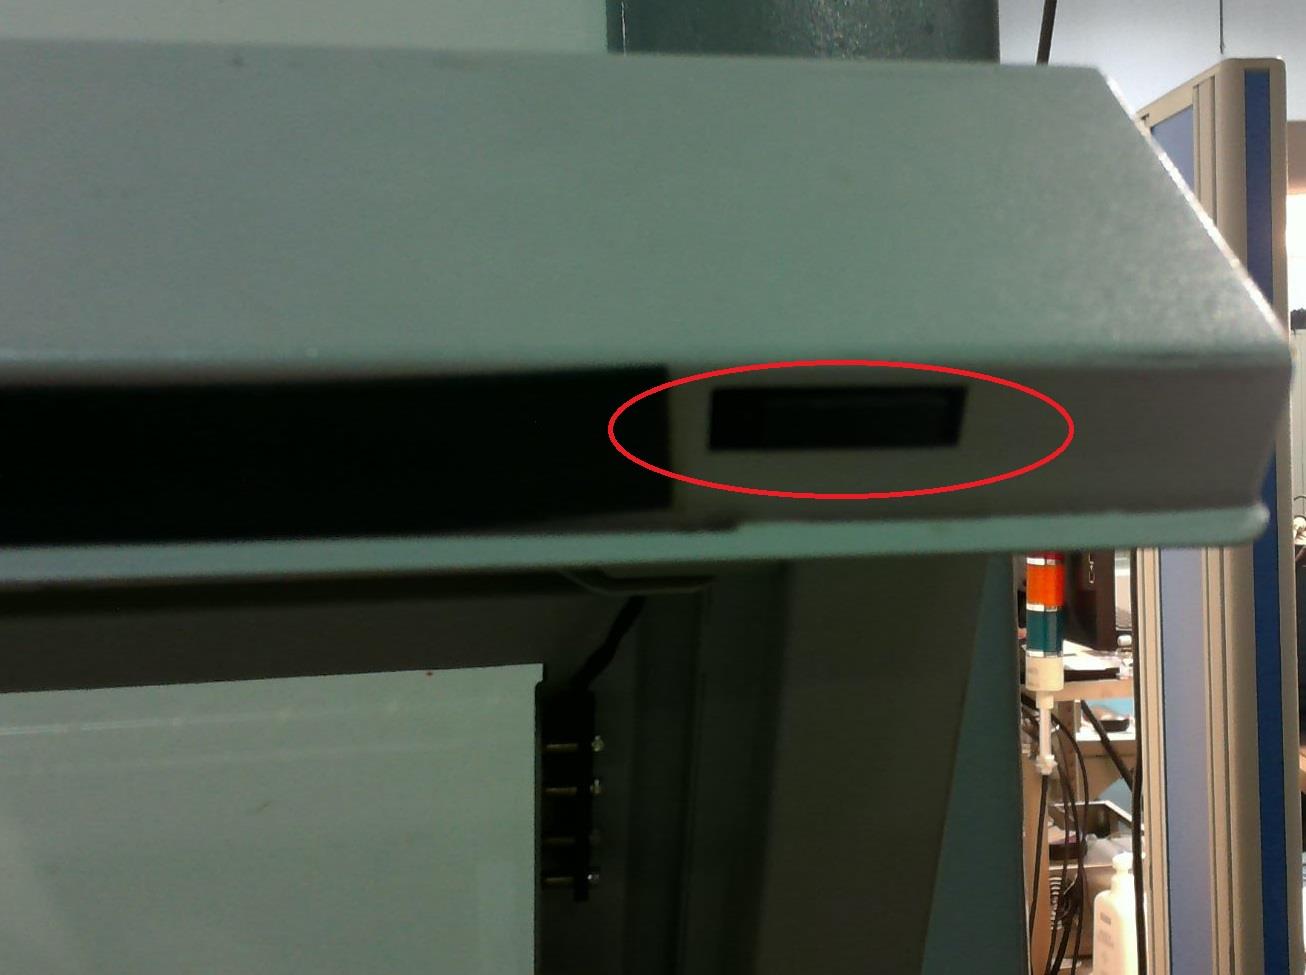
画像4:ドアインターロックの位置。
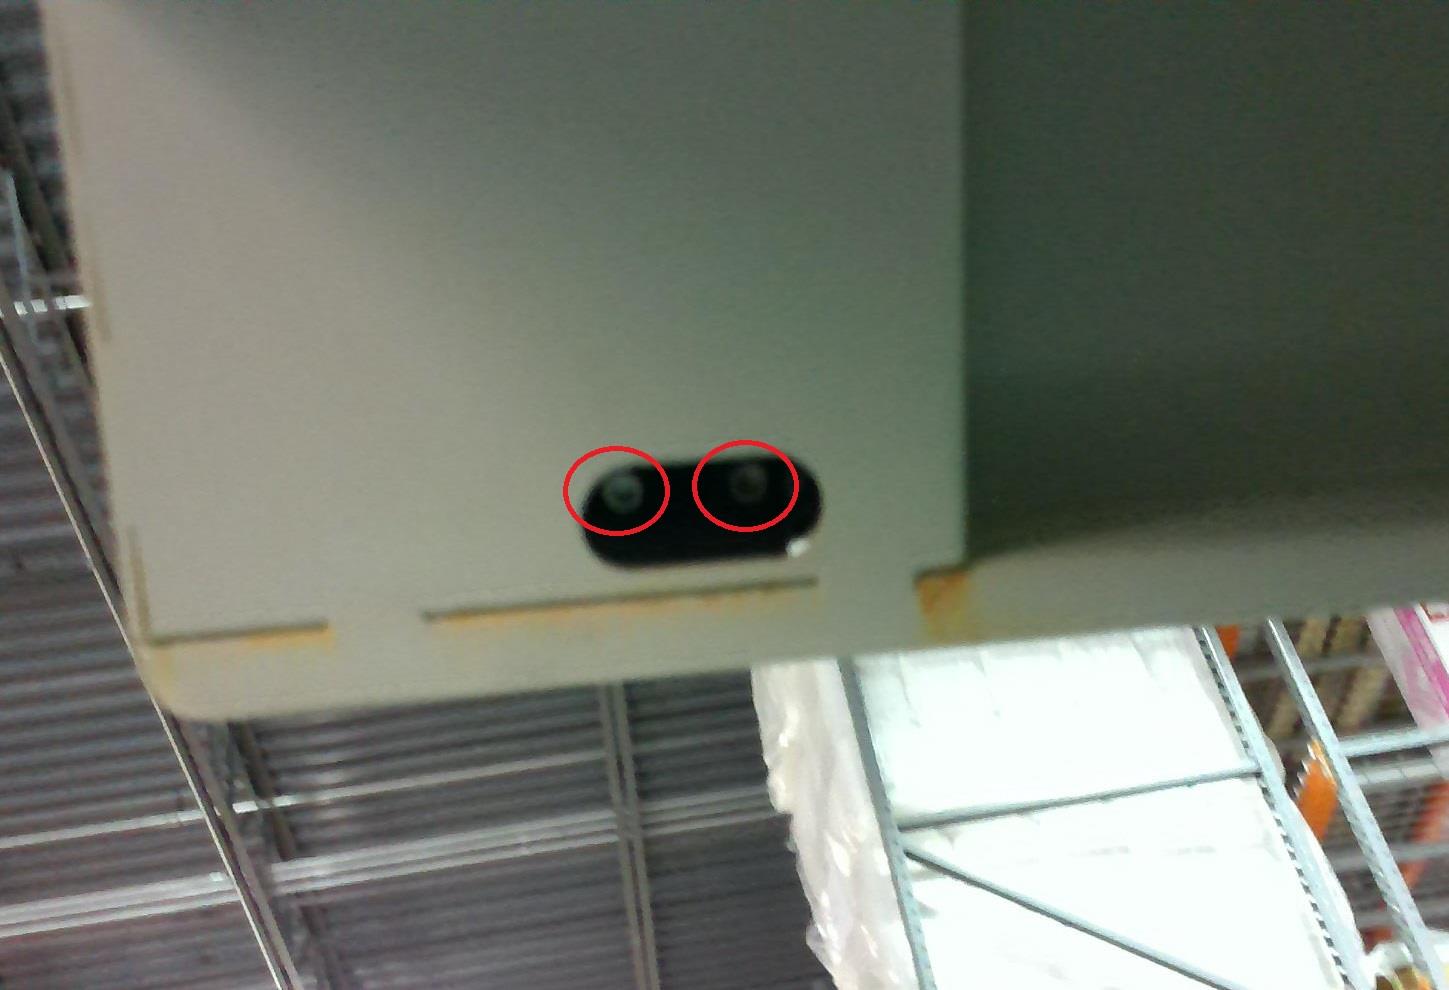
画像5:ネジが見えるドアインターロックのクローズアップ。