Expanding Thin Shapes for Laser Cutting
How do I thicken a line or shape to make it stronger when laser cut?
How to thicken a line or shape to make it stronger when laser cut.
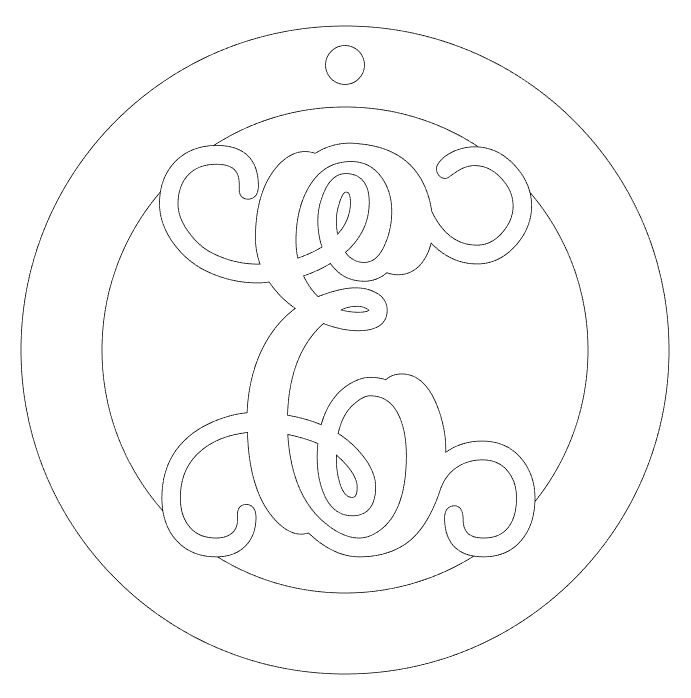
When cutting out very thin or intricate patterns with the laser, the final cuts can sometimes be so thin that they may break during everyday handling. In this article, we will show you how to expand thin objects with Adobe Illustrator CC 2014 and combine objects together to make them stronger once cut with an Epilog Laser system.
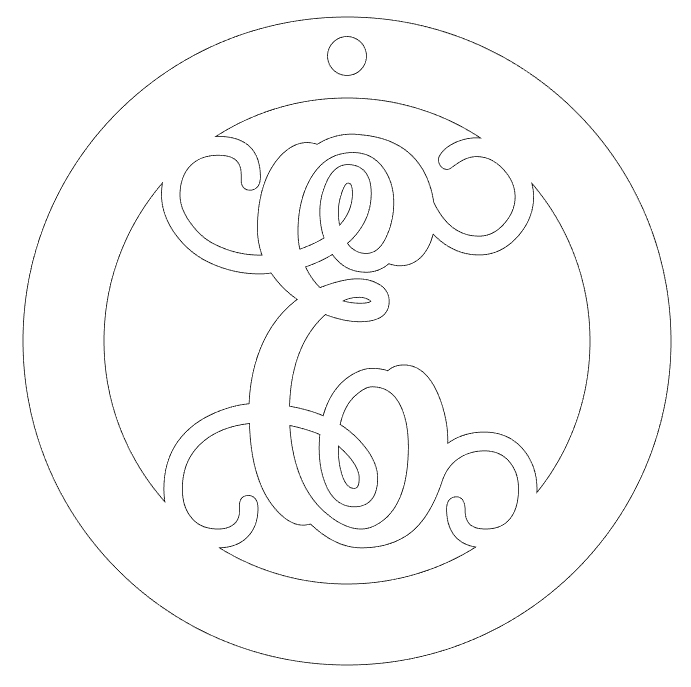
In this monogram pendant example, the thinnest part of the monogram font is where the script E character overlaps the outer circle. The thin swirl that will become the connection between the E and the pendant is approximately 0.047", this is where we want to focus attention when we expand the character to add strength to the final product. Let's get started!
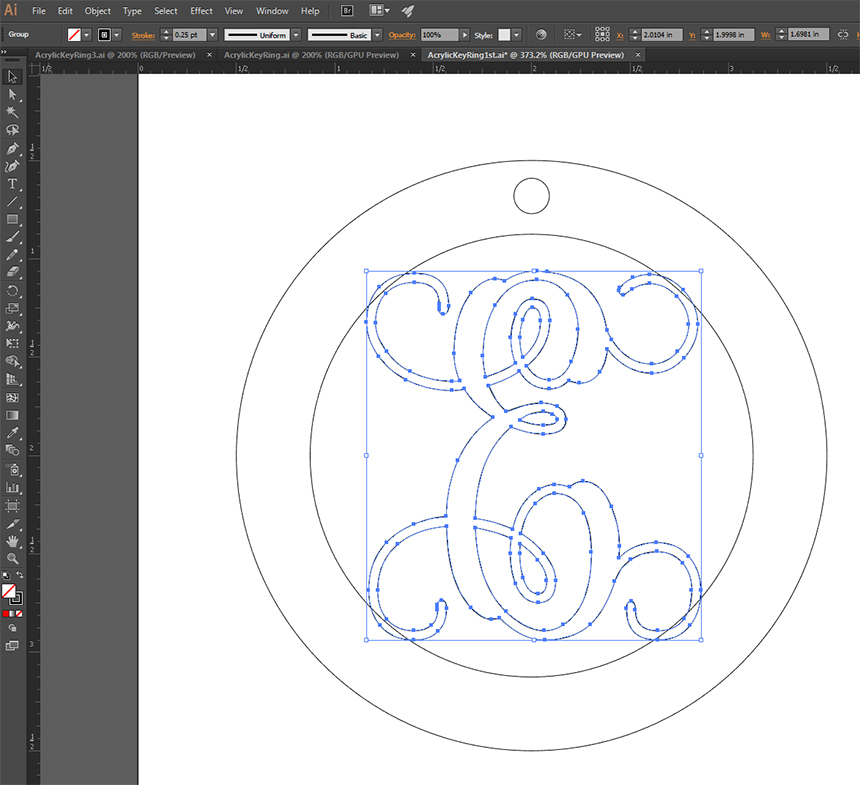
- Start by selecting the artwork you want to expand.
- Then open the Offset Path options palette by choosing Object / Path / Offset Path from the drop-down menus.
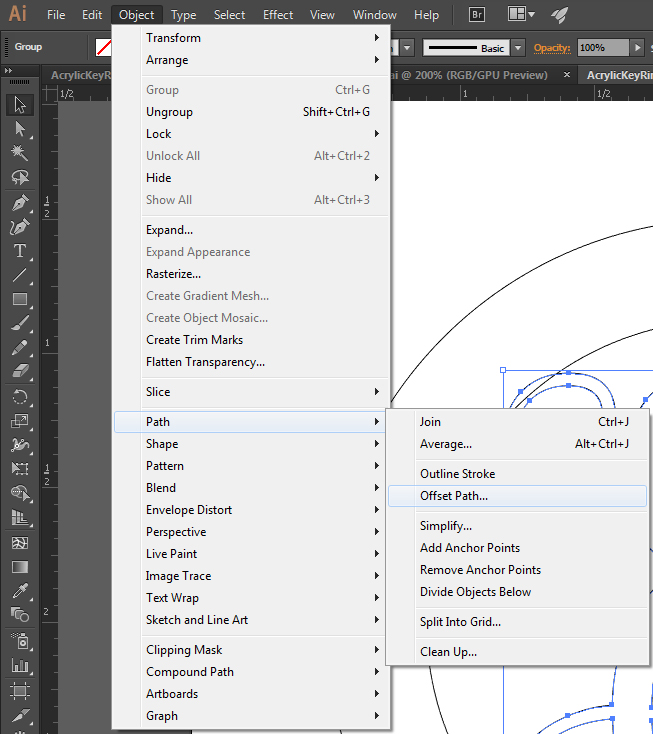
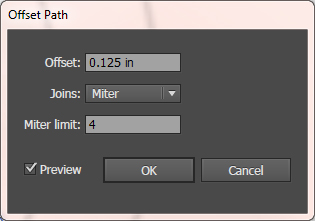
- With the Offeset Path palette open, set the Offset to 0.02 in and click OK.
Note: The size of the offset will vary depending on the thickness of the area you want to expand and the complexity of your graphic. Experiment with the Offset values to find the value that best fits your needs.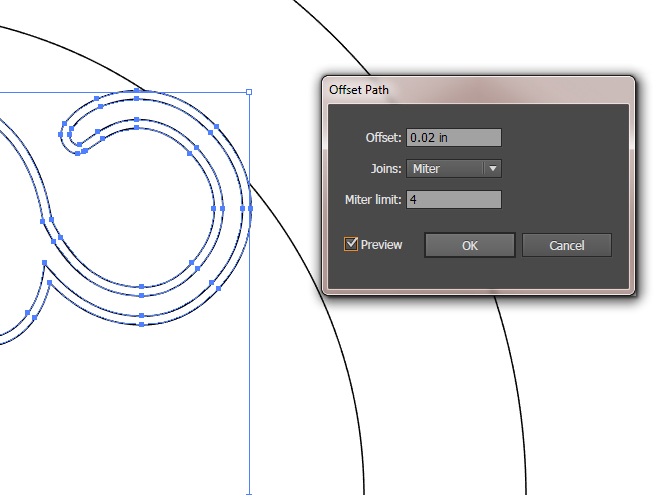
- After you have applied an offset and expanded your graphic, you will need to remove the original shape. With the Selection tool click on the inner line and Delete the shape.
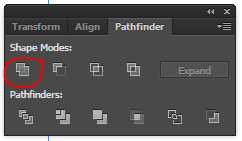
- Now we are going to join the E character shape to the outer ring of the pendant. Open the Pathfinder palette by selecting Window / Pathfinder from the drop-down menu at the top of the page.
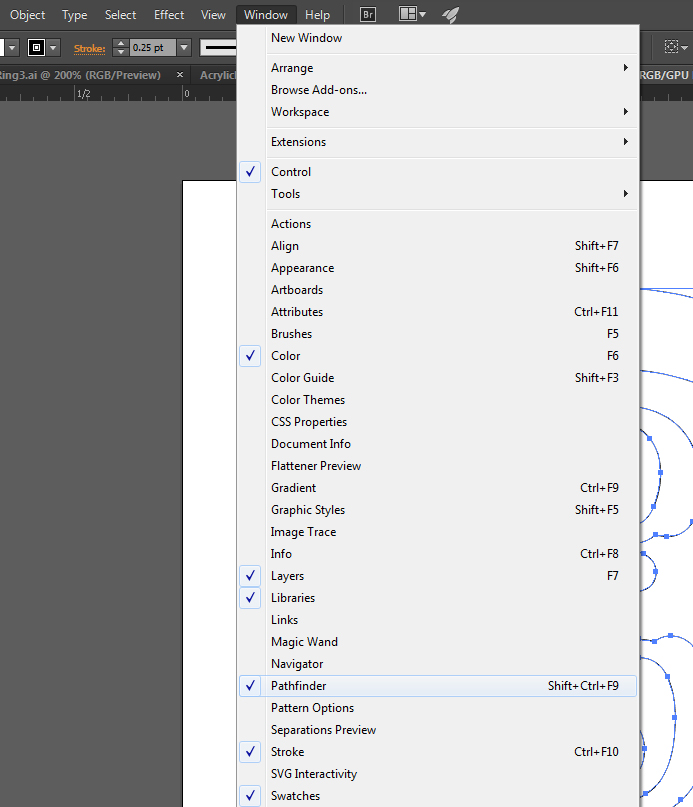
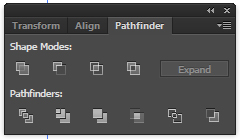
- Select both the E shape and the outer ring shapes, and click the Unite option in the Pathfinder palette to join the two objects where they overlap.