Using the Center-Center Option in the Epilog Laser Dashboard
How can I use the Center-Center option in the print driver for easy positining of my engraving?
When engraving a uniquely-shaped item, the Center-Center option within the Epilog Laser Dashboard can be an invaluable tool. The Center-Center option allows you to define the center of your artwork as the primary reference point (home position) of your engraving or cutting. Designed to be used in conjunction with the moveable home position, the Center-Center feature differs from standard printing where the upper left corner of the page and the upper left corner of the laser table define your primary reference point.
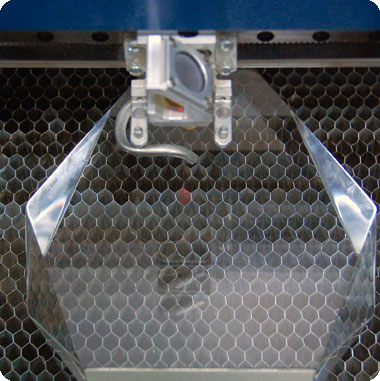
Here we'll use the Center-Center engraving option for an award that does not easily fit in the upper left corner of the machine.
First, measure the area to be engraved so you know what kind of space you have to work with. In this case the area was about 3" x 3" in the center of the award.
Next, turn on the red dot pointer and move the home position to the center of your engraving area.

Open a new file in CorelDRAW and set the page size to the size of the engraving area, in our case 3" x 3". To preview the position of the job, draw a vector box around the engraving and send ONLY that job to the laser (with the door open and the red dot pointer on.) That way you can ensure the engraving is placed precisely where you want.
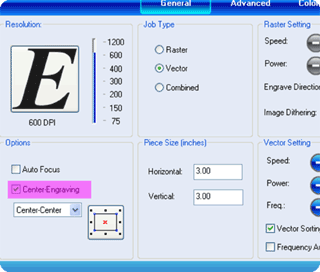
Make sure the Center-Center engraving box is checked!

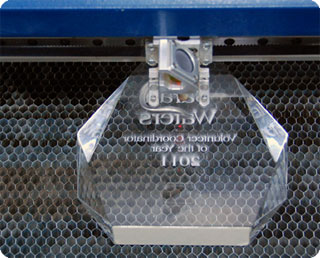
When you're happy with where the engraving will appear, remove the vector box and send the engraving job to the laser - your engraving will be perfectly centered to the home position you selected.

If further assistance is required, please visit www.epiloglaser.com/support to contact Epilog Laser Technical Support.
Attachments:
No attachments.