8000 - Mini/Helix Y-Axis Motor Replacement
How do I replace the y-motor in my Epilog Mini or Helix?
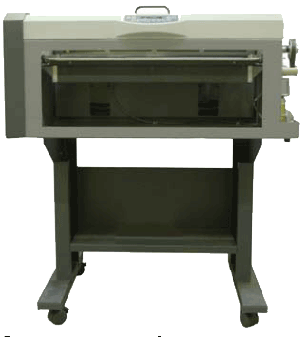
Machine Type:Epilog Mini 18/24 and Helix
Tools Needed:
Philips head screw driver
1/16 hex tool
Intro:
This procedure details steps to removing the Y-motor in the Mini. The Y-motor drives the I-beam forward and backward. Before starting this procedure unplug the power cord from the machine
Procedure:
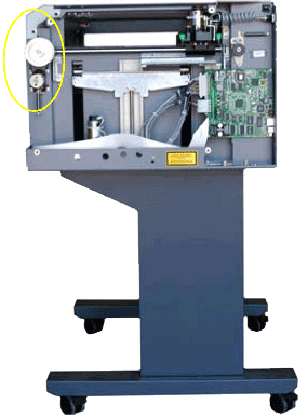
Remove the right side panel.

Remove or lower the front service panel.
Locate the Y-motor.
Get a feel for how tight the y-motor belt is by squeezing the sides. This will be used as a reference when tightening the belt back up after installing the new assembly.
Remove the spring holding the motor. Let the spring hang from the bottom peg.
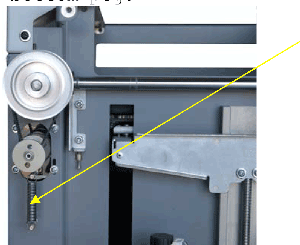
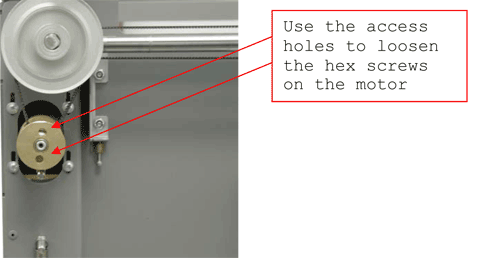
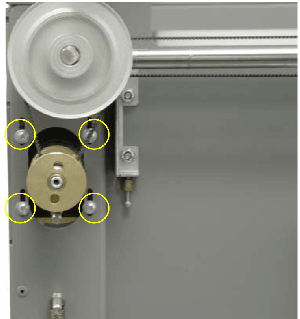
Loosen the four screws holding the motor bracket. With the four screws loosened slip the y-motor belt around and off the large top pulley. Now remove the four Phillip head screws completely.
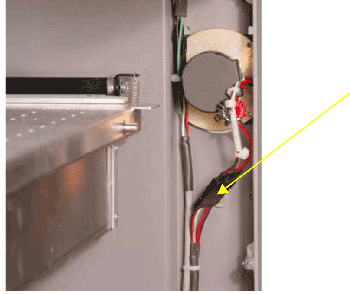
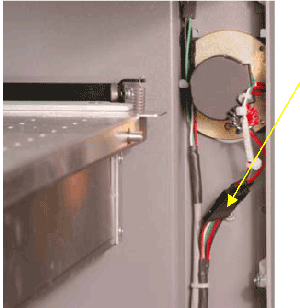
Disconnect the motor lead. This connector is in the inside of the machine.Pull the entire assembly out.
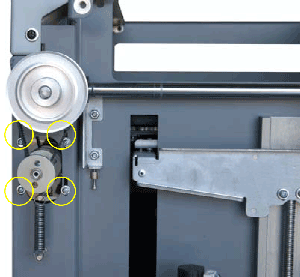
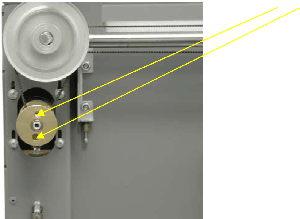
Unscrew the two screws inside the motor bracket with a 1/16 hex tool.
Remove the motor by taking it out from inside the machine. Obtain a new motor.
Re-Installing the motor
Insert the motor into the bracket. Make sure the belt is squarely on the spindle.
Tighten the two hexagonal screws.
Place the spring back on the upper peg and on the farthest back notch.
Pull the motor bracket down and tighten the four screws.
Reconnect the motor lead.
Replace right side panel
Replace front panel.
Attachments:
No attachments.