Layering a Clip Art Image
How do I create a multiple level engraving effect from a piece of clipart?
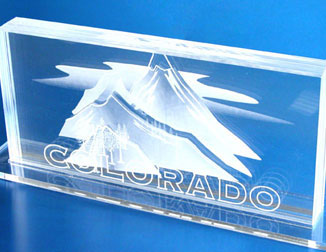
In our 3D acrylic Sample Club download, we engraved parts of a clip art image on five cut pieces of acrylic. When placed together, the engraved acrylic creates a 3D effect because of the different levels of each engraving. In this article we're going to show you how you can layer a piece of clip art to create this effect.
Download the Corel file here clicking here.
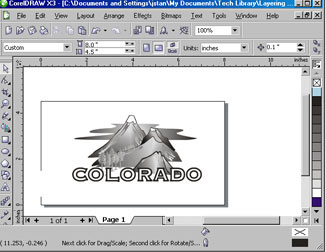
1) First we need to decide what part of the graphic we want on each of the different layers. To do this, we need to create a color guide that will show what we're going to engrave on each sheet of acrylic. Duplicate the image for our color guide. Assign a color to each of the five layers and fill in each piece that will be engraved on that layer with the corresponding color.
For the back layer (layer 5), we assigned light blue and chose the cloud and the fill on the back mountain.
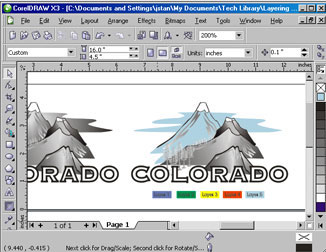
2) Continue filling in each piece of the clip art with the colors for the different layers. This is the time to play around and try moving pieces between levels. The color layout will give you a good idea of what the final engraving will look like.
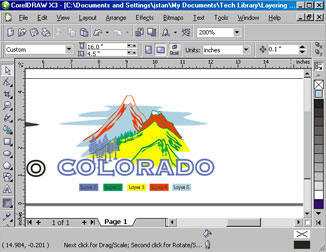
3) Now we're ready to start setting up each layer. Go back to your original clip art image and draw a box that is the size of the final piece. For this sample we are creating 8.5" x 4" cutouts.
Duplicate your image five times - once for each layer we are going to engrave. Keep your color guide within view to make the layer separation easy.
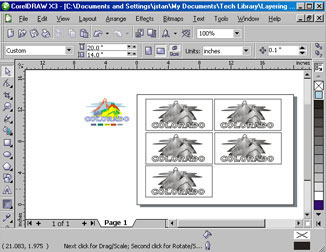
4) We'll begin with the back layer, or layer 5. Compare the image to our color guide and delete everything from the clip art that is not light blue.
Continue to setup each layer with the matching pieces of clip art from your color guide.
What happens if you decide you want to move the outline of the front mountain forward from layer 2 to layer 1. You have to make sure it is perfectly placed within the graphic when it is moved, but how can you do this easily? Let's walk through it.
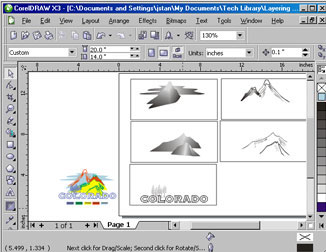
5) Start by creating a duplicate of the layer we are moving the piece from (layer 2). Delete everything except the outline and the piece you want to move forward.
Group everything on the copy of layer 2, then group everything on layer 1.
Next we need to line up our images from layer 1 and the copy of layer 2. With both layers selected, select Arrange from the Menu Bar at the top of the screen, Align and Distribute and Align Bottom.
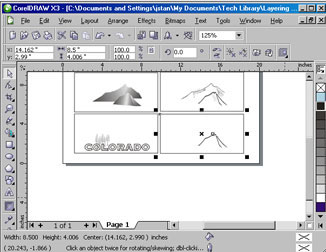
6) Next we need to align the left sides of the boxes. With both layers selected choose Arrange, Align and Distribute, and Align Left.
Your new layer 1 is almost ready! When we combined layer 1 and the copy of layer 2, we still had two outlines and need to delete one of them. Ungroup the layer and delete the outline and your new layer is complete.
Back on layer 2, delete the section of the mountain we moved forward.
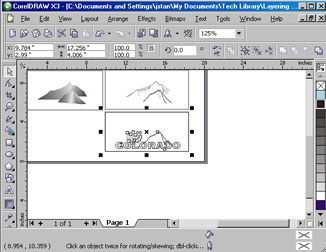
7) And you're done! Cut out the pieces along with an acrylic base and you've created a beautiful 3D piece of artwork for display!
If further assistance is required, please visit www.epiloglaser.com/support to contact Epilog Laser Technical Support.