16000 - Fusion Pro Beam Combiner Replacement.
How do I replace the beam combiner in my Fusion Pro machine?
Overview
Dual-source machines are equipped with both CO2 and Fiber lasers. To enable these lasers to work in unison, their beams must be combined, which is achieved through a component known as the beam combiner. This optic allows the CO2 laser to pass through while reflecting the Fiber laser. Although it’s uncommon, there are situations where the beam combiner may need to be replaced. The following steps will guide you through the process of removing and replacing the beam combiner in a Pro dual-source machine.
Required Tools
- 5/32" Hex Wrench
- 3/32" Hex Wrench
Getting Started
-
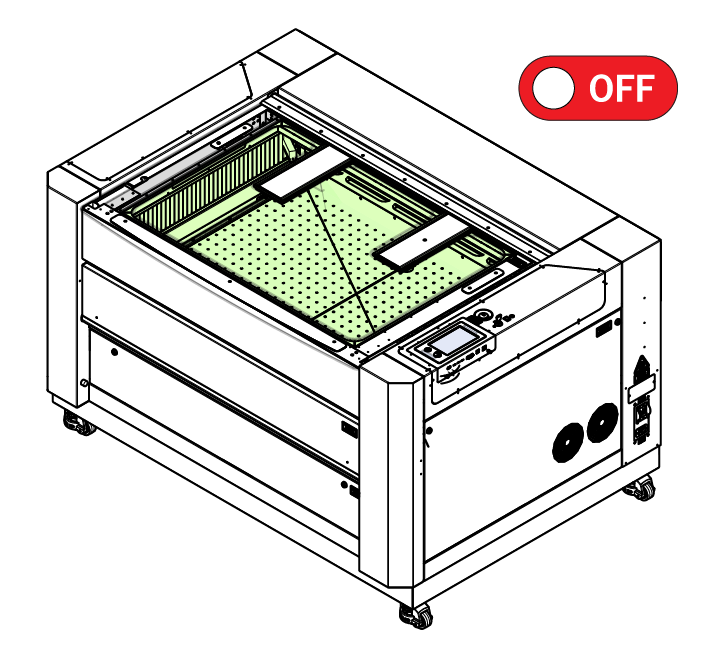
Power OFF machine.
-
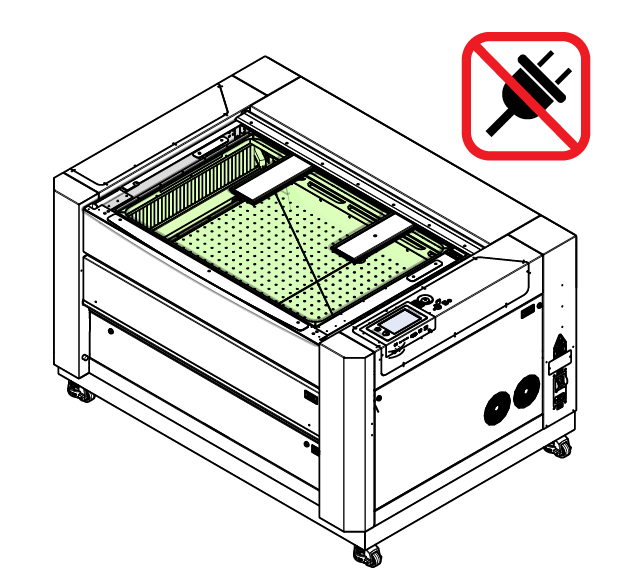
Unplug machine.
-
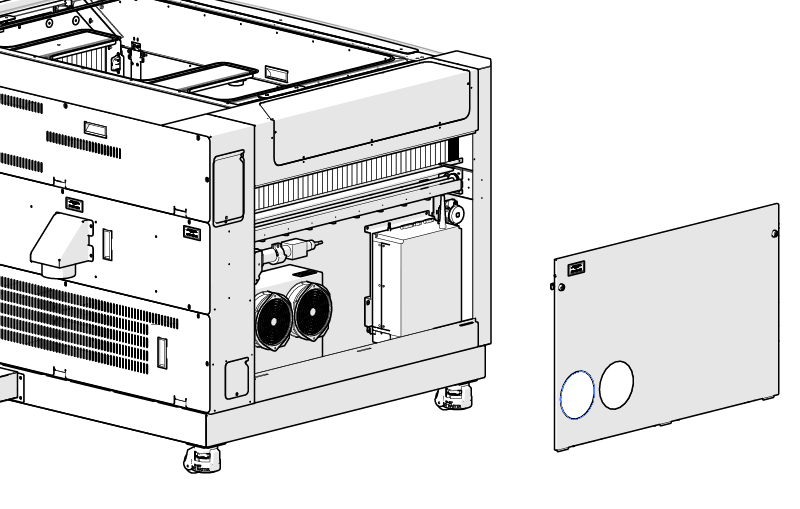
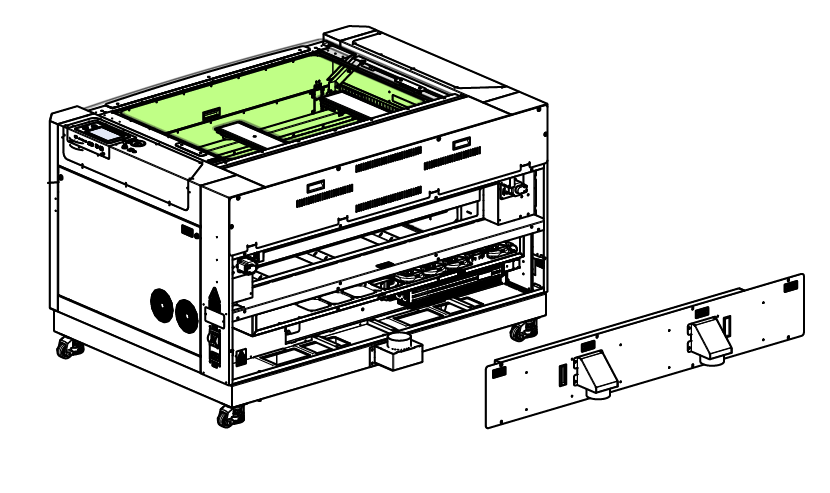
Remove left side panel.
-
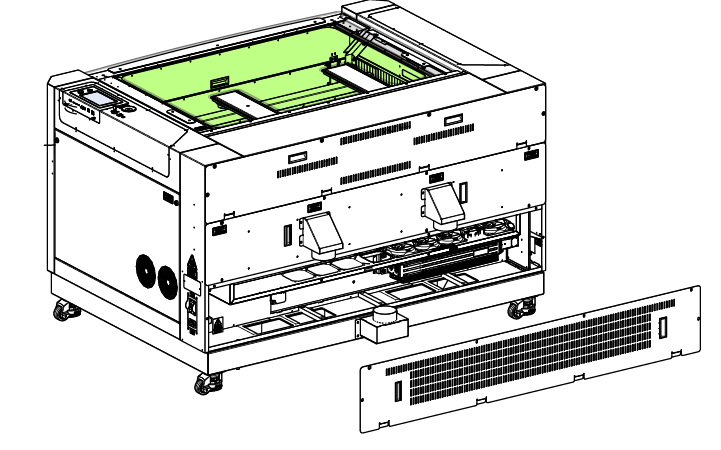
Remove bottom rear panel.
-
Remove middle rear panel.
-
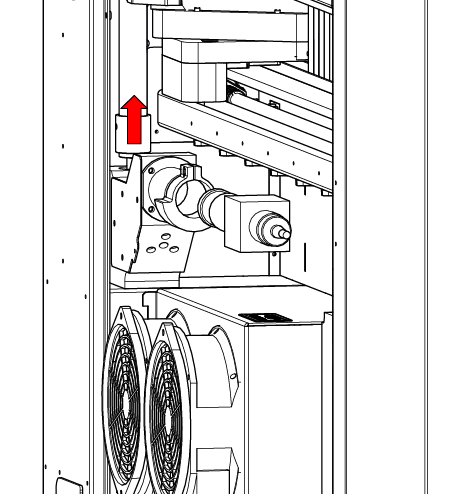
Loosen thumb screw and remove periscope.
-
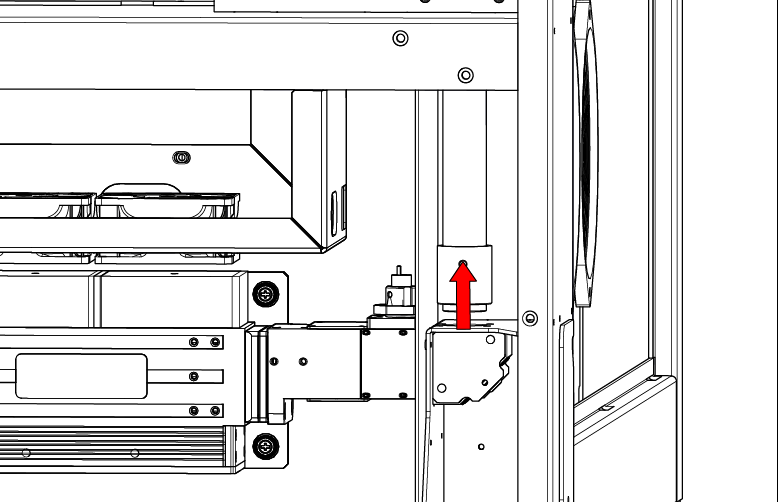
Loosen thumb screw and remove periscope.
-
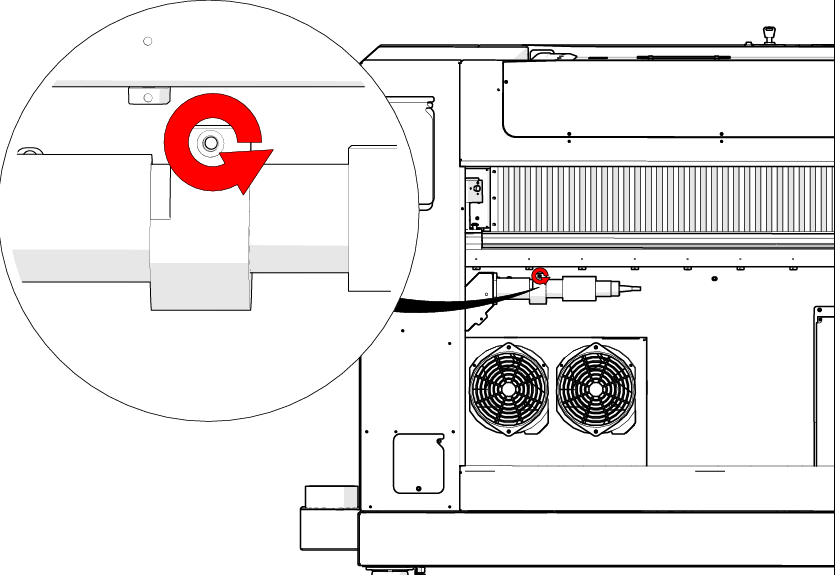
Loosen 5/32" screw.
-
Remove fiber head assembly.
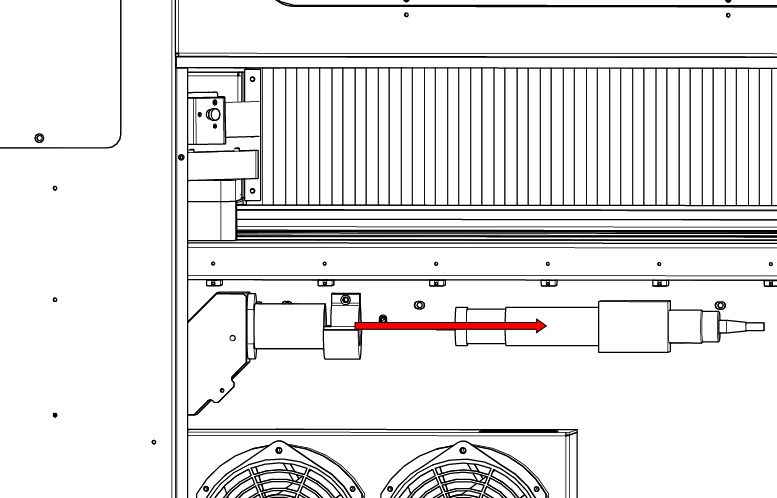
-
Remove four (4) 5/32" screws from rear of machine.
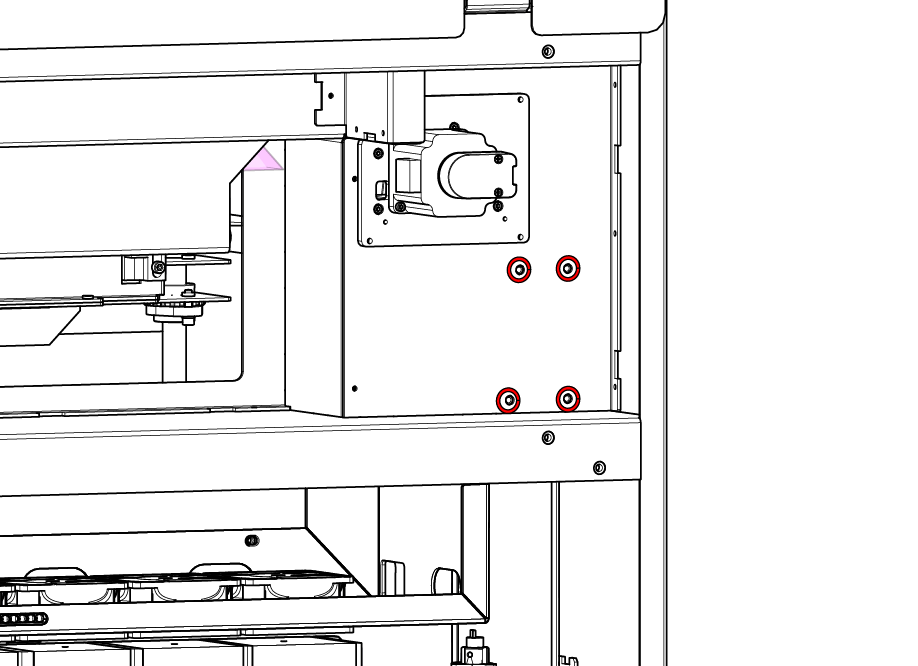
-
Remove four (4) 5/32" screws.
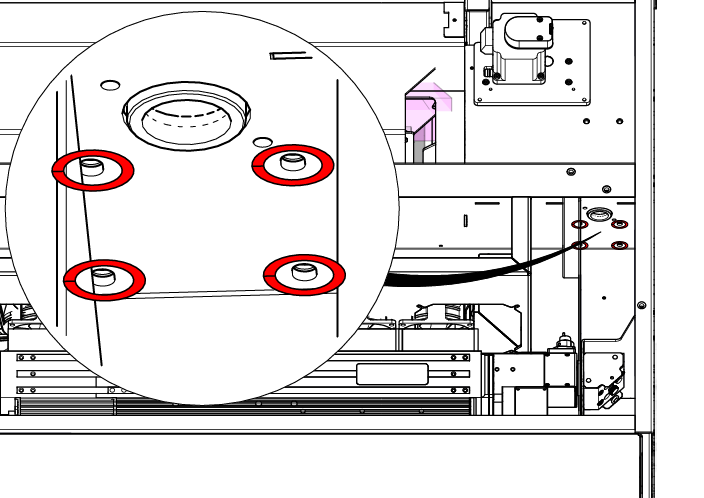
-
Remove fiber optics assembly.
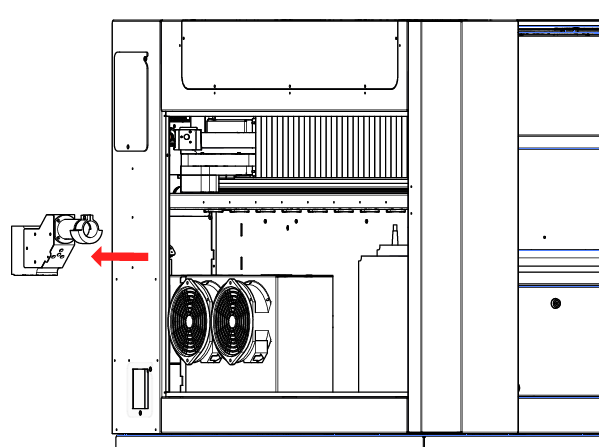
-
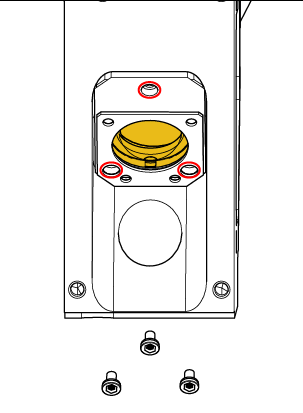
Remove three (3) 3/32" screws holding beam combiner.
-
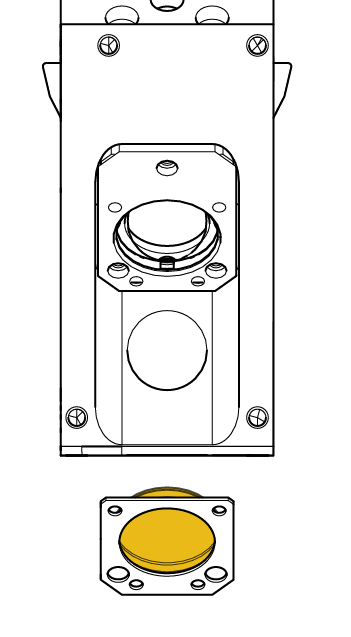
Replace beam combiner.
-
Install three (3) 3/32" screws.

-
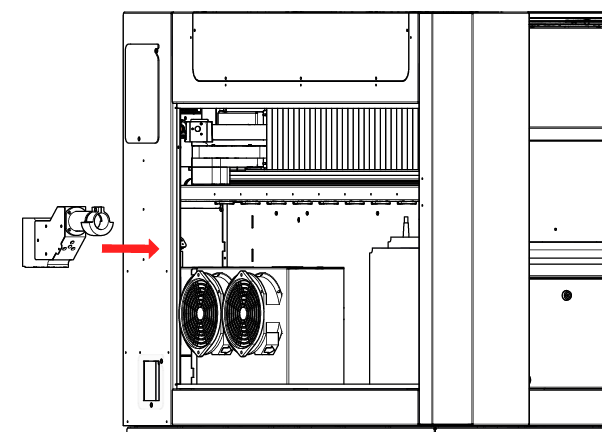
Insall fiber optics assembly.
-
Install four (4) 5/32" screws.

-
Install four (4) 5/32" screws.

-
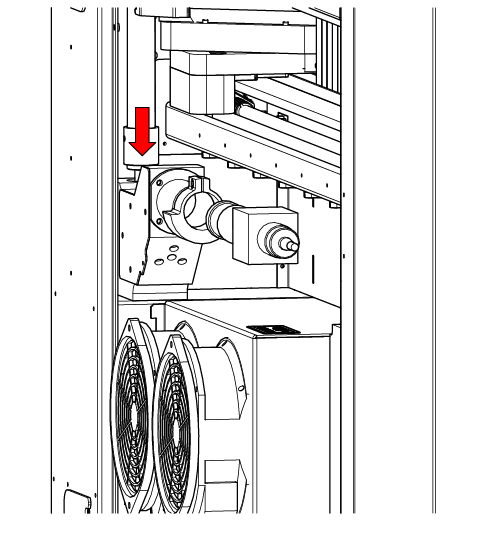
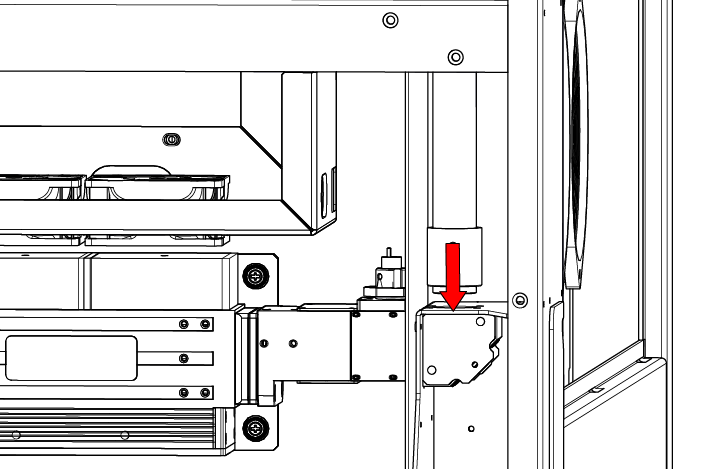
Install top periscopes.
-
Install bottom periscope.
-
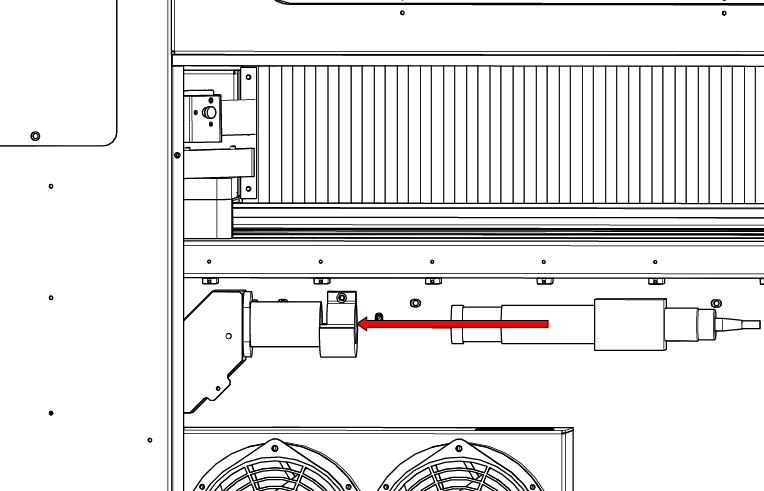
Insert Fiber head assembly into optics holder.
-
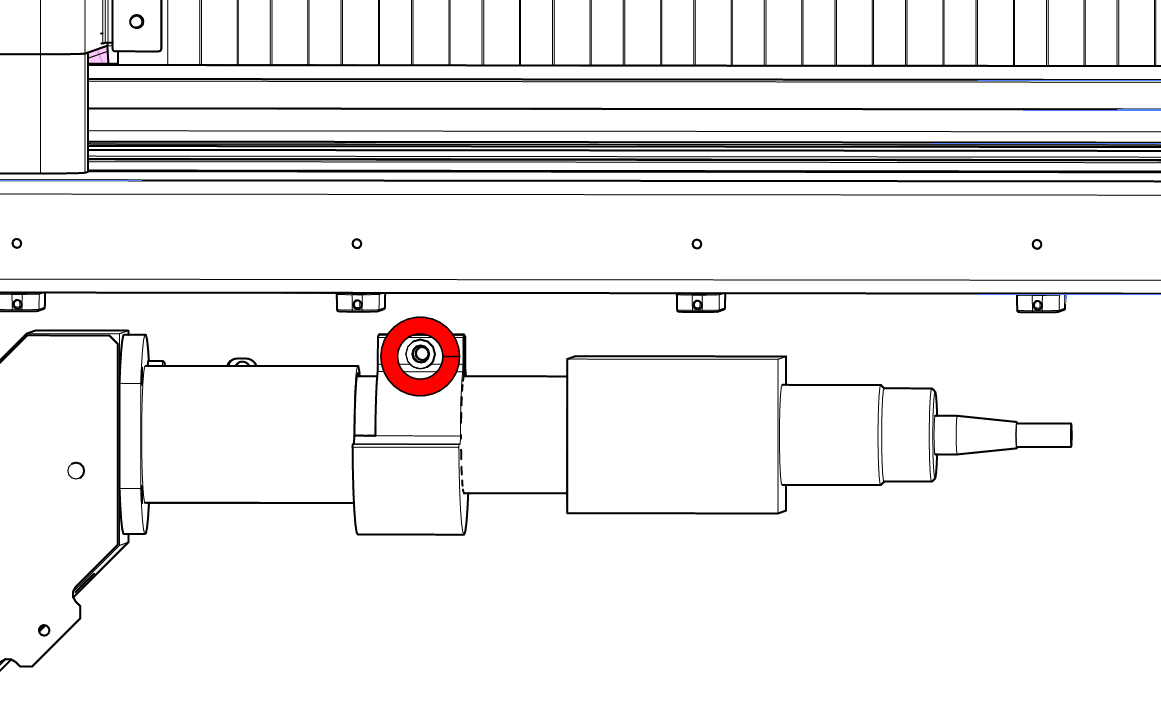
Tighten 5/32" screw.
-
Install rear panels.


-
Install side panel.

-
Follow the alignment procedure.
If further assistance is required, please visit www.epiloglaser.com/support to contact Epilog Laser Technical Support.
Attachments:
No attachments.