メインコンテンツへスキップ

電源の問題を解決する:電源ユニットの交換

Mini /Helix 電源ユニットの交換方法

はじめに

このレッスンでは、Epilog MiniまたはHelHelixの単一電源ユニットの交換手順を説明します。

古い電源装置を取り外す

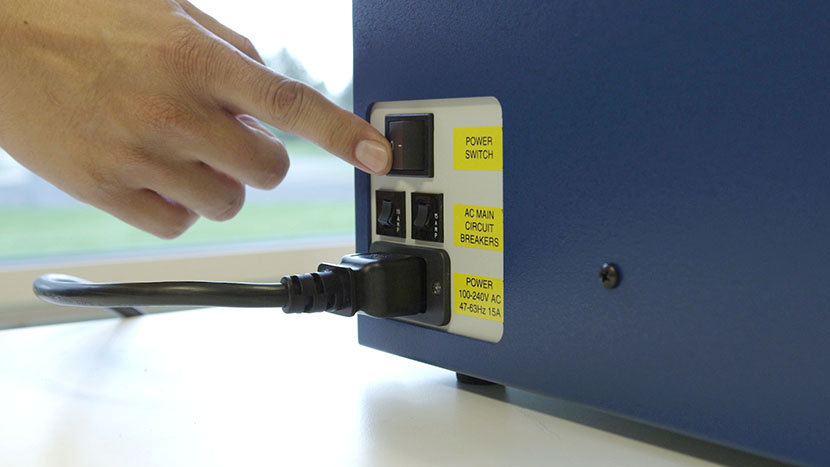
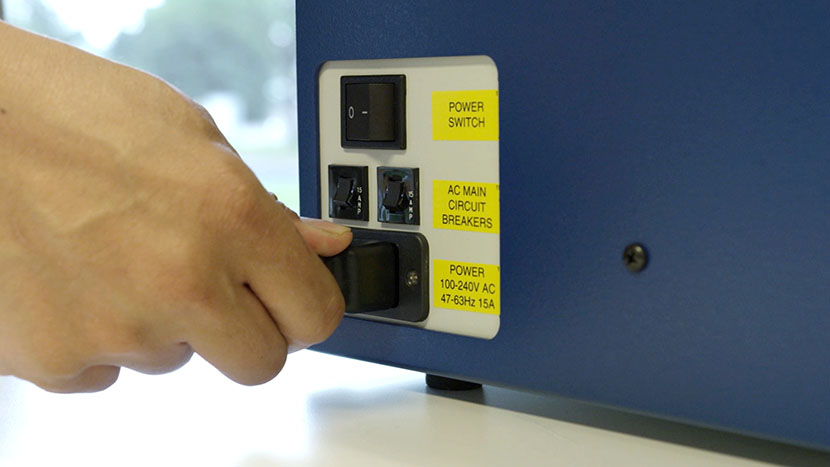
レーザーを停止し、機械から電源コードを抜いてください。
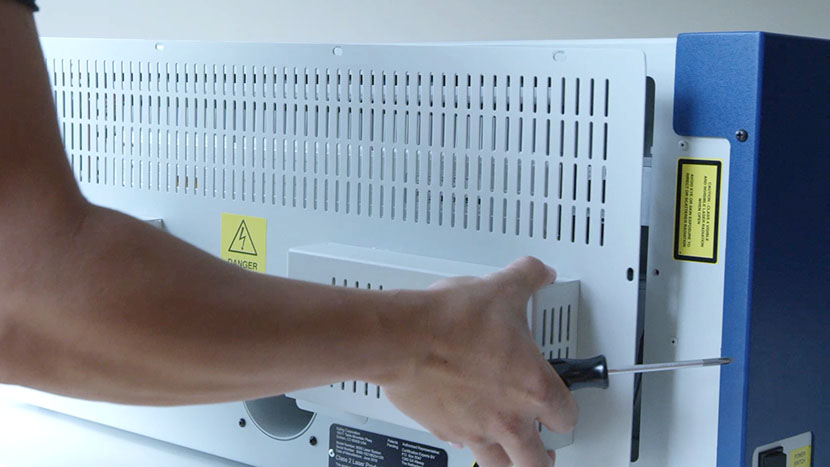
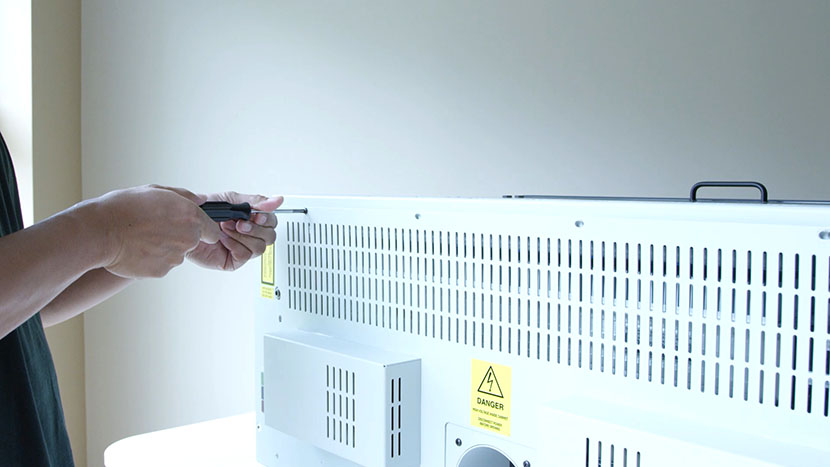
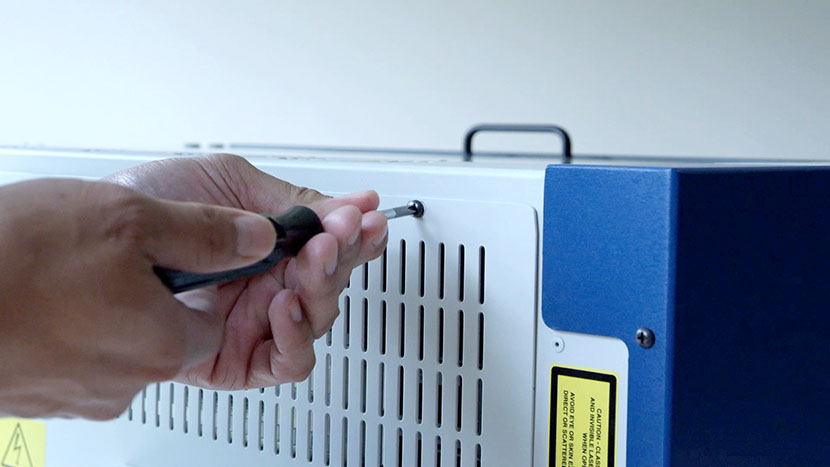
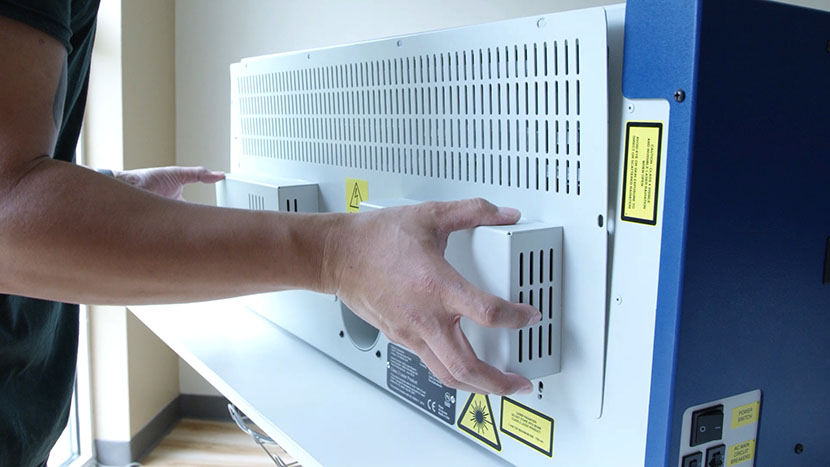
機械背面の8本のネジを緩め、背面サービスパネルを取り外してください。
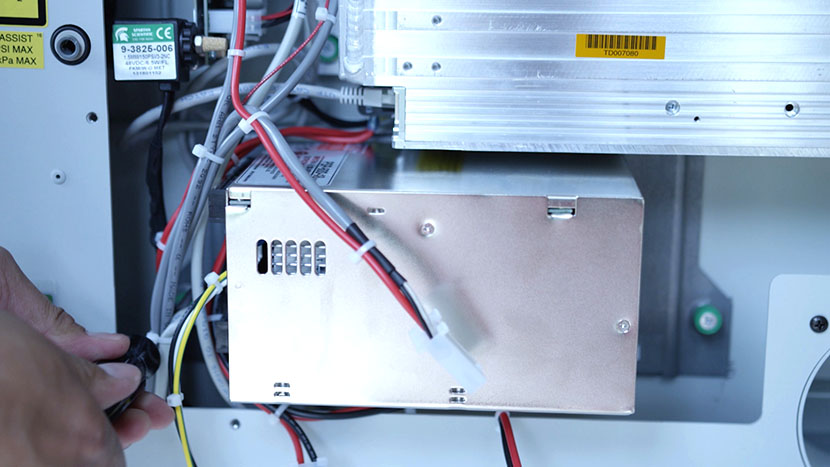
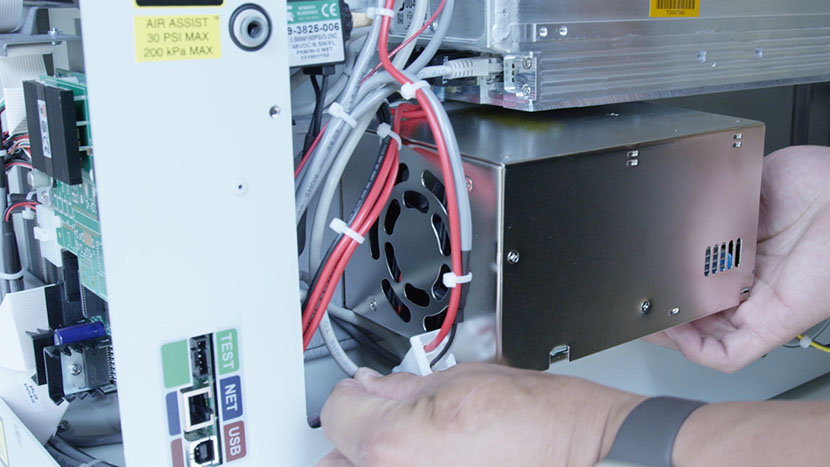
機械の左側にある電源装置を探してください。

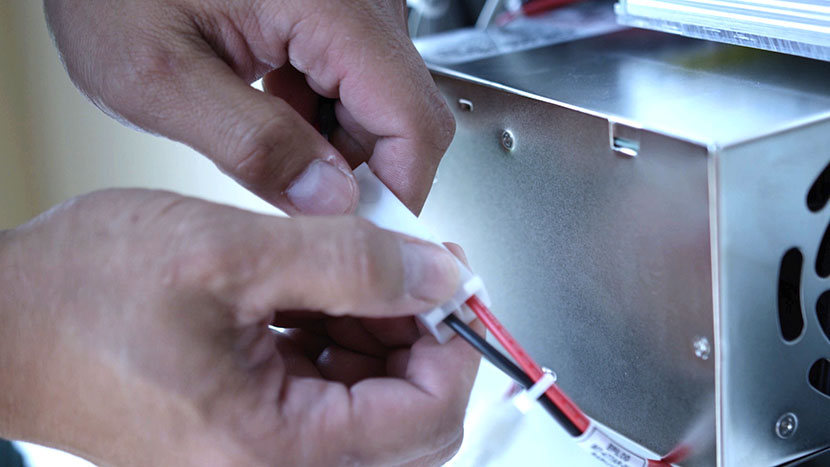
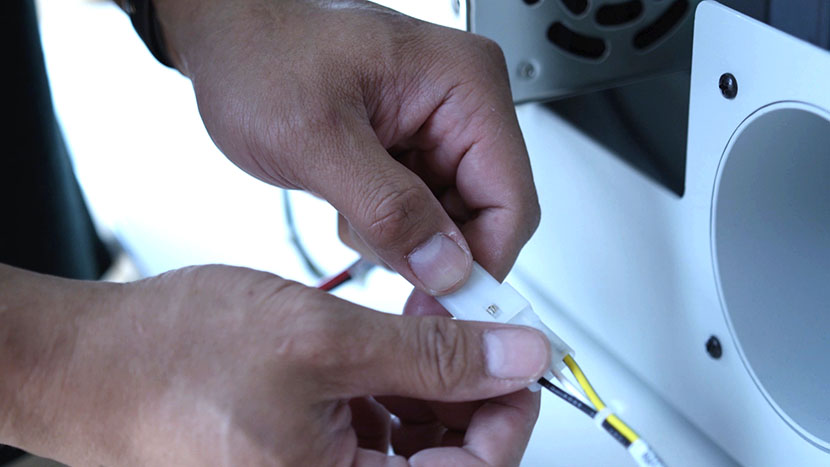
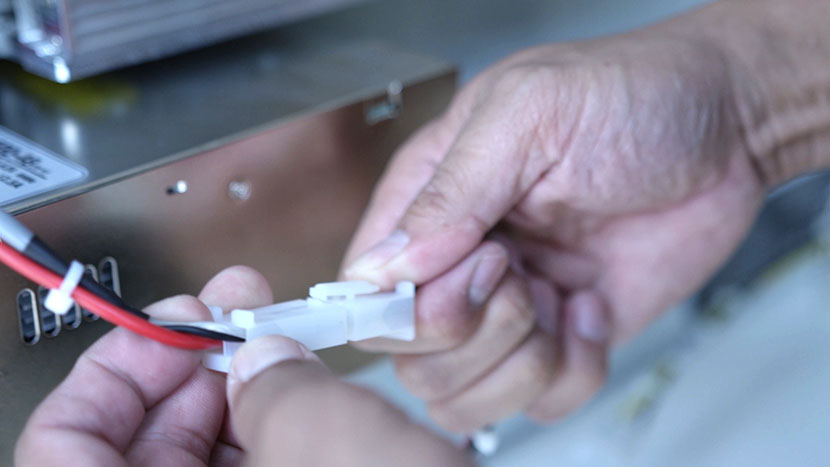
3本の電気リード線を外してください。
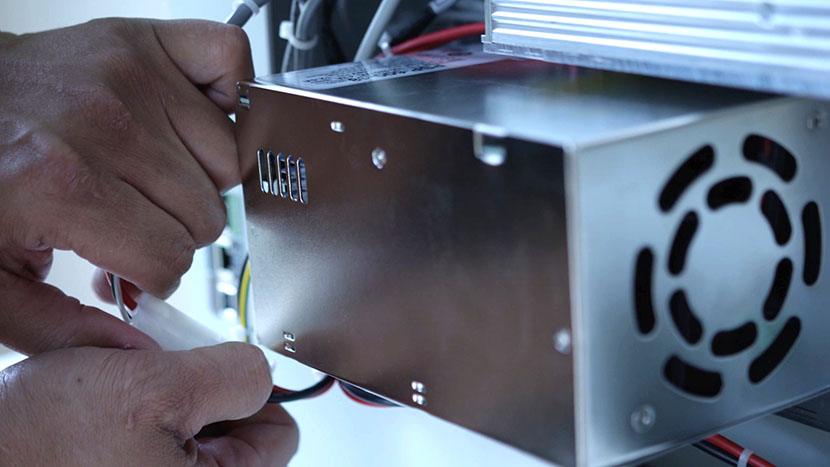
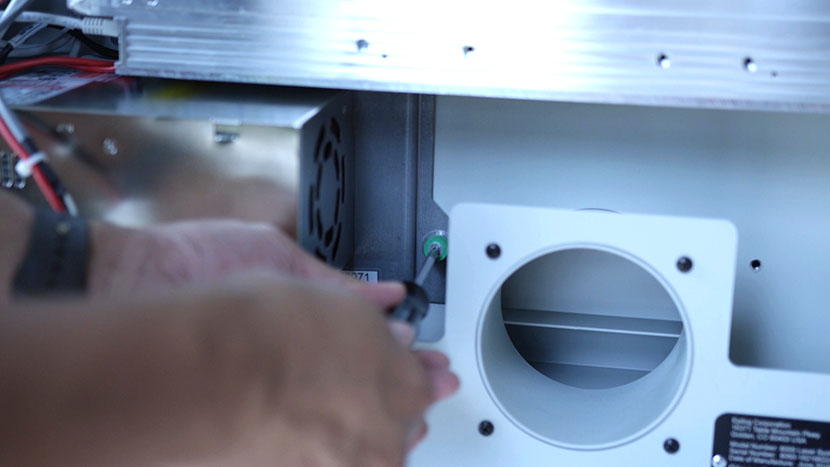
プラスドライバーで、電源装置の両側にある緑色のネジを緩めて外してください。
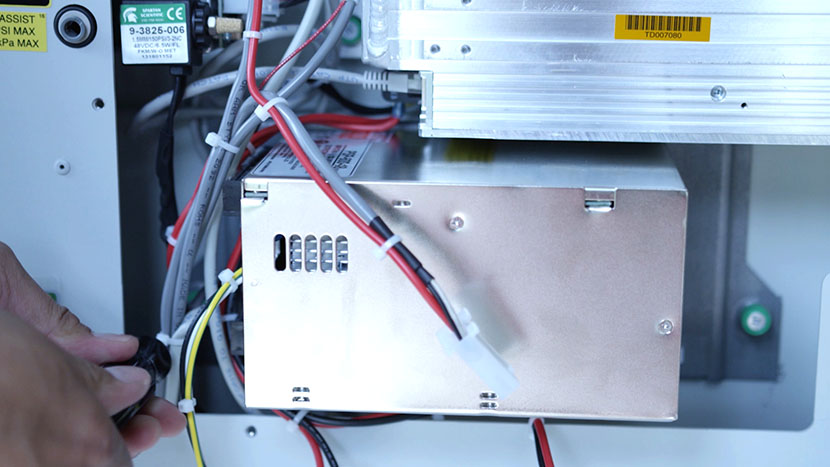
機械から電源を取り外してください。
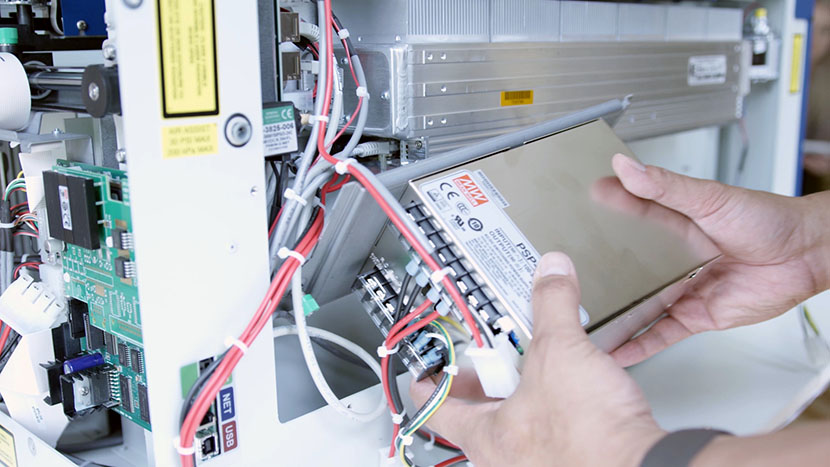
新しい電源装置を取り付ける

古い電源装置を新しいものと交換してください。電源装置を機械内に設置する際は、底面の緑色の固定ネジを必ず使用してください。
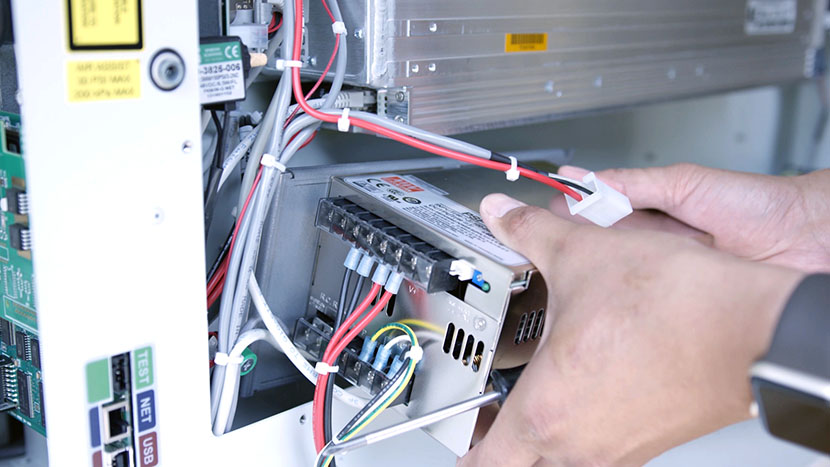
緑色の固定ネジを締めてください。
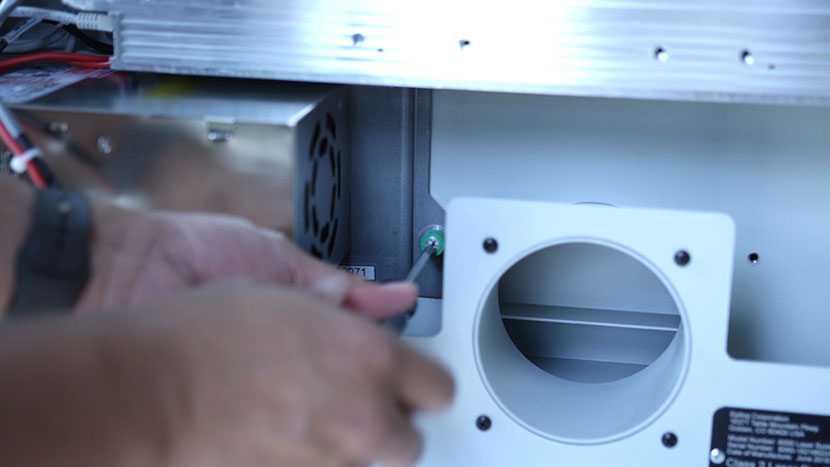
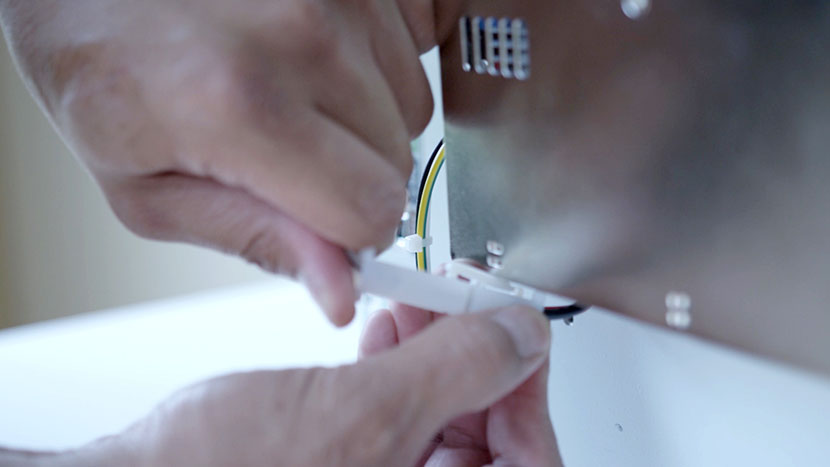
3本の電気リード線を再接続してください。緑地に黄色のストライプが入ったリード線を、電源スイッチから伸びている2本のリード線のうち長い方に再接続してください。
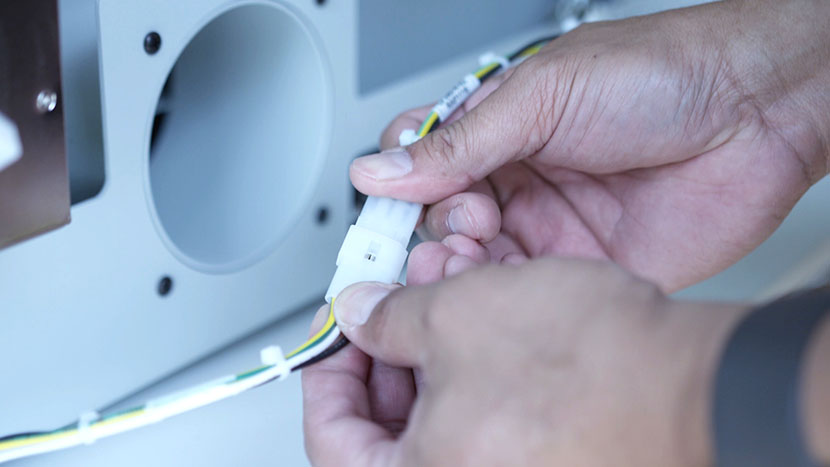
電源装置の下に配線を収納してください。
背面サービスパネルを元に戻し、8本のネジをすべて締め付けてください。
機械のプラグを差し込み、電源を入れてください。
[helpful]
  • ID:
    TA-100
  • 日付:
    2025年10月14日

ツール:

  • #1 プラスドライバー

レーザー治療の旅を続けましょう

過去のレッスンを復習するか、次のステップに進んで新たな発見を!
/* === Aggressive removal of PrintFriendly injected header elements === */ #printfriendly #pf-title, #printfriendly #pf-src, #printfriendly .pf-header, #printfriendly header, #printfriendly .printfriendly-header, #printfriendly h1:first-of-type, #printfriendly .page-header, #printfriendly [class*="header"], #printfriendly [id*="header"] { display: none !important; visibility: hidden !important; height: 0 !important; margin: 0 !important; padding: 0 !important; } /* Hide any top bar or source URL container */ #printfriendly #pf-src, #printfriendly .pf-src, #printfriendly [class*="src"], #printfriendly [class*="url"] { display: none !important; } /* Force page margins and centered page numbers */ @page { size: letter portrait; margin: 0.7in 0.5in; } @page :left, @page :right { @top-left { content: none !important; } @top-center { content: none !important; } @top-right { content: none !important; } @bottom-center { content: counter(page); font-size: 0.95em; padding-bottom: 25px; } }