メインコンテンツへスキップ

大口径フュージョンプロ光学系へのサーマルコンパウンド塗布

はじめに

大口径Fusion Proシステムでは、光学系はミラーとホルダーの間にサーマルコンパウンドを塗布した設計となっています。交換用ミラーには、このコンパウンドがミラー裏面に予め塗布されています。日常的な清掃やメンテナンスでは、追加のサーマルコンパウンドは不要です。既存の層がミラーからヒートシンク(ミラーホルダー)への効果的な熱伝達に十分です。ただし、再塗布が必要な場合は、適切な取り付けを確保するため、以下の手順に従ってください。

サーマルコンパウンドの塗布

  1. ミラーとホルダーの両方が清潔で、ほこりやごみが付着していないことを確認してください。
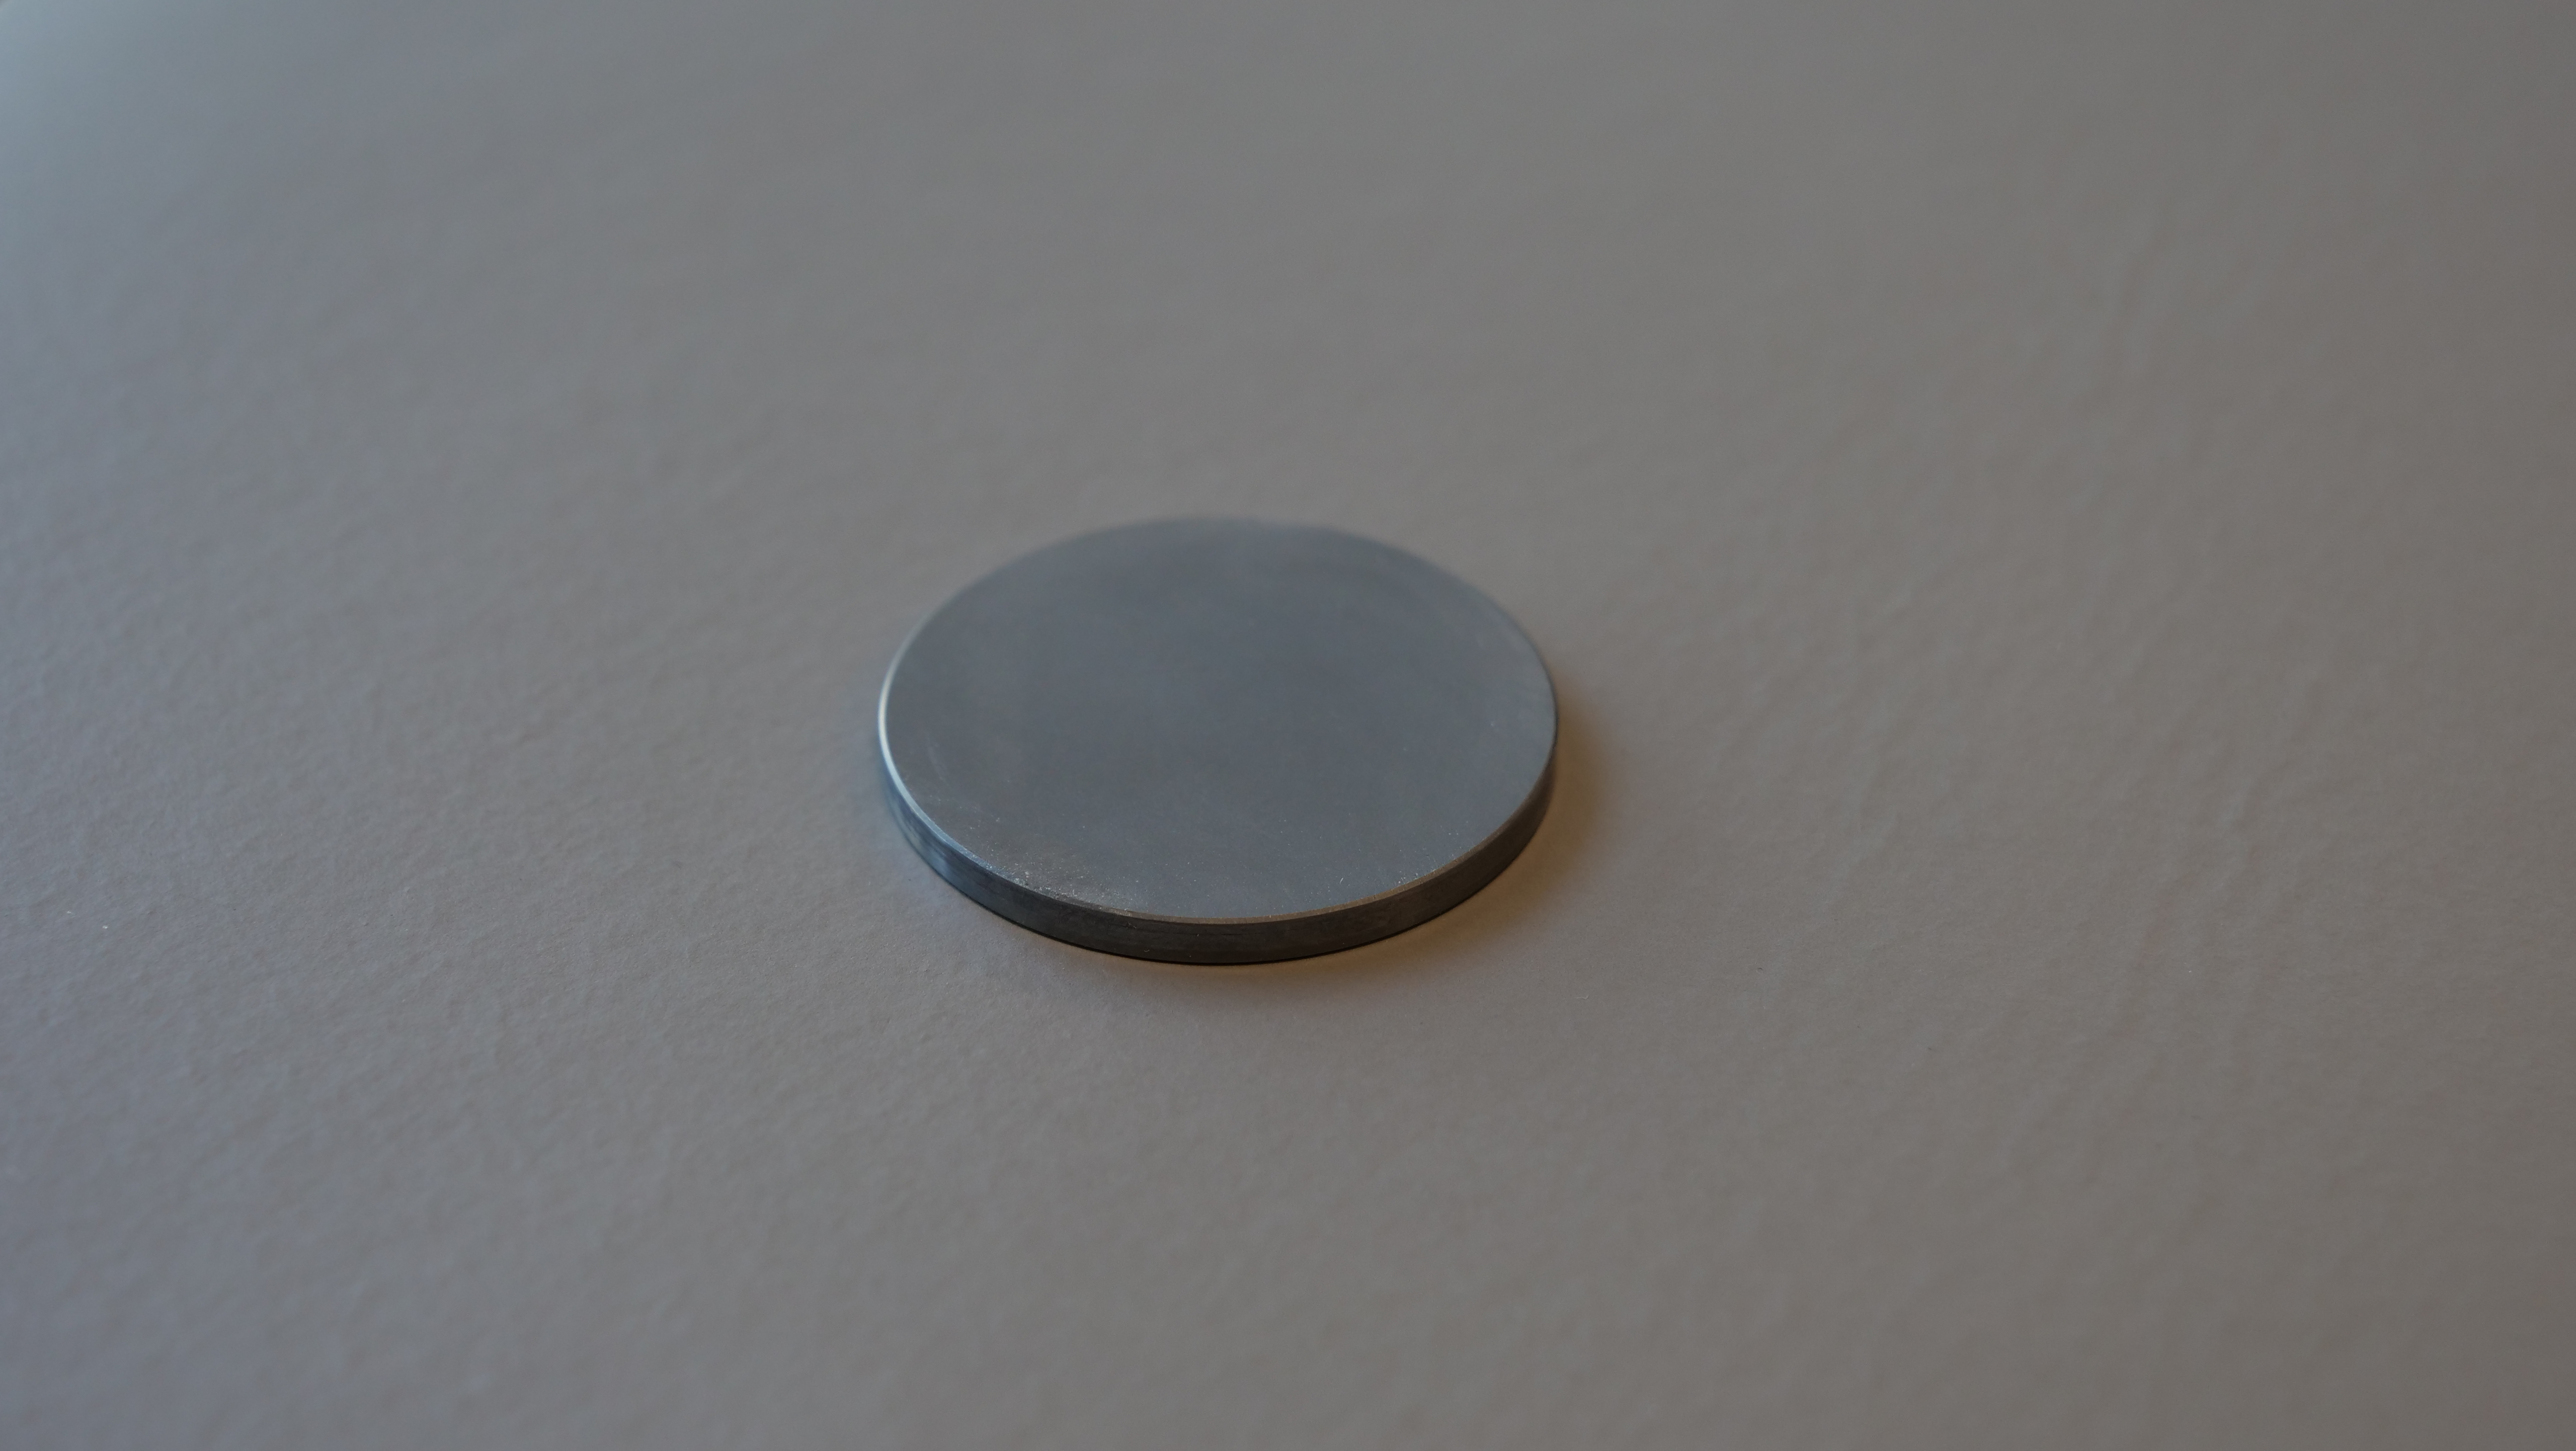
    きれいな鏡

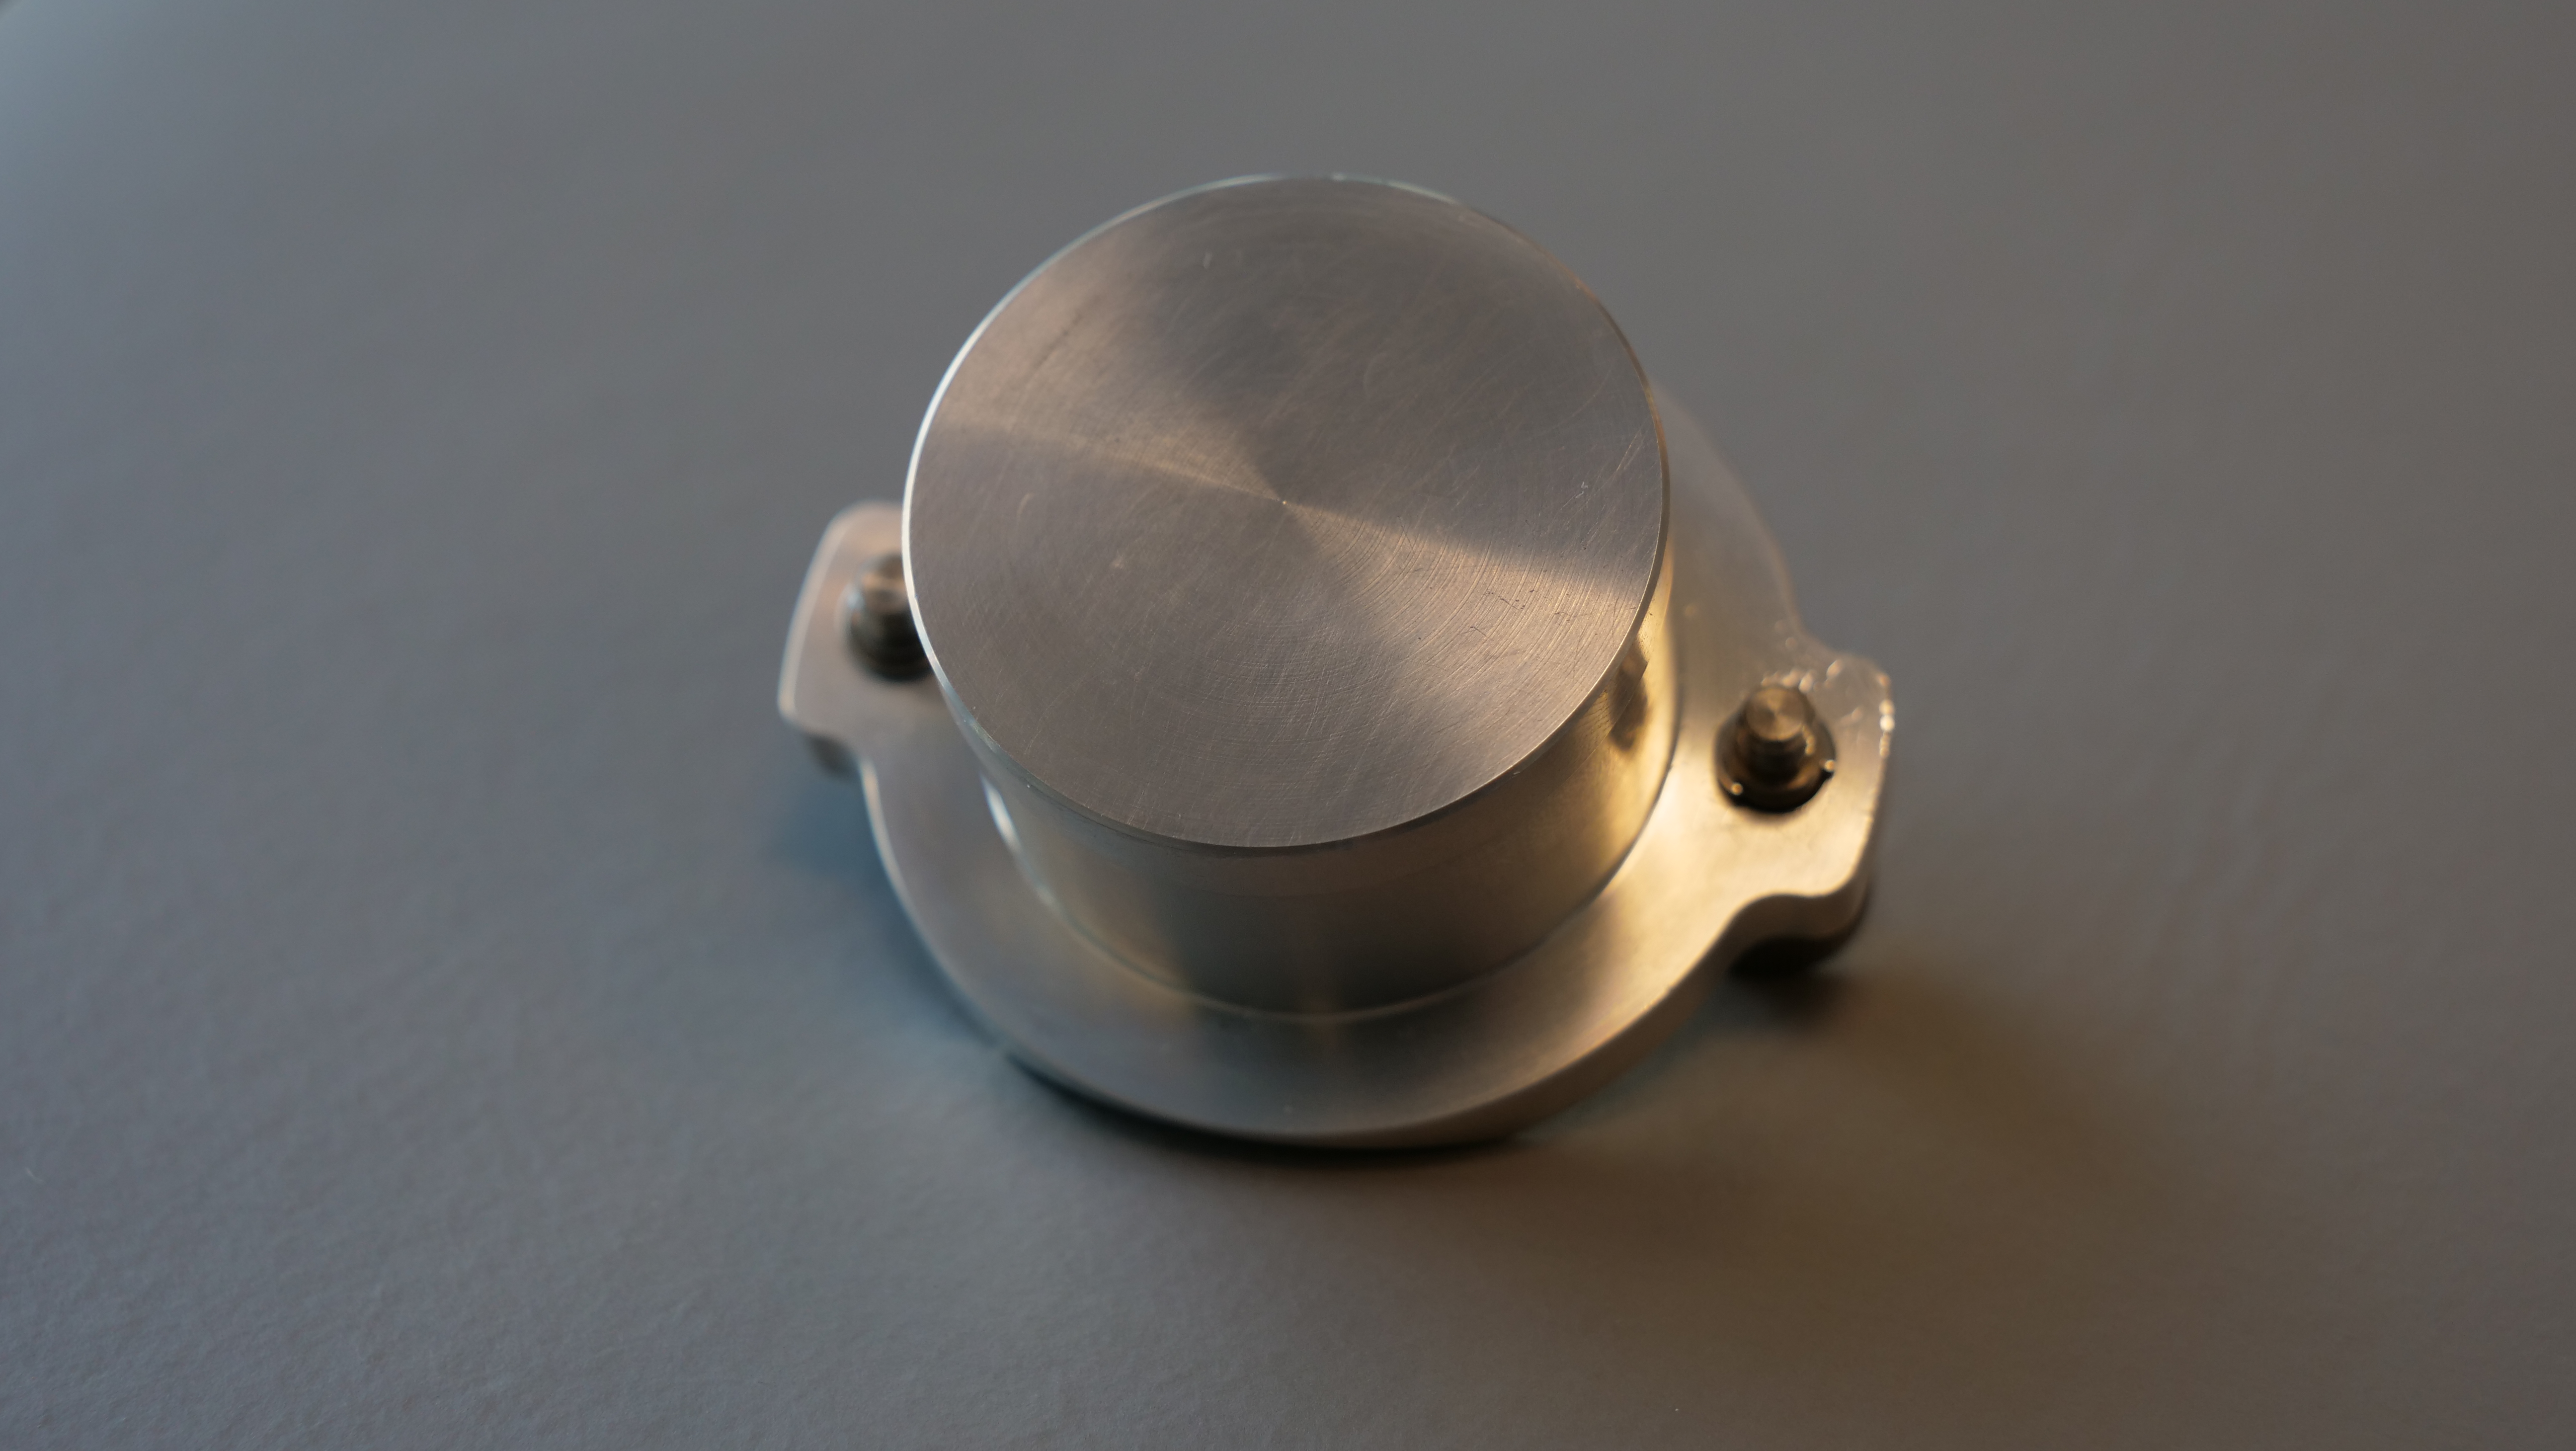
    清潔な鏡ホルダー

    ミラーホルダー

  2. ミラーの裏面中央に、熱伝導グリスを少量(約0.2インチまたは5mm)塗布してください。
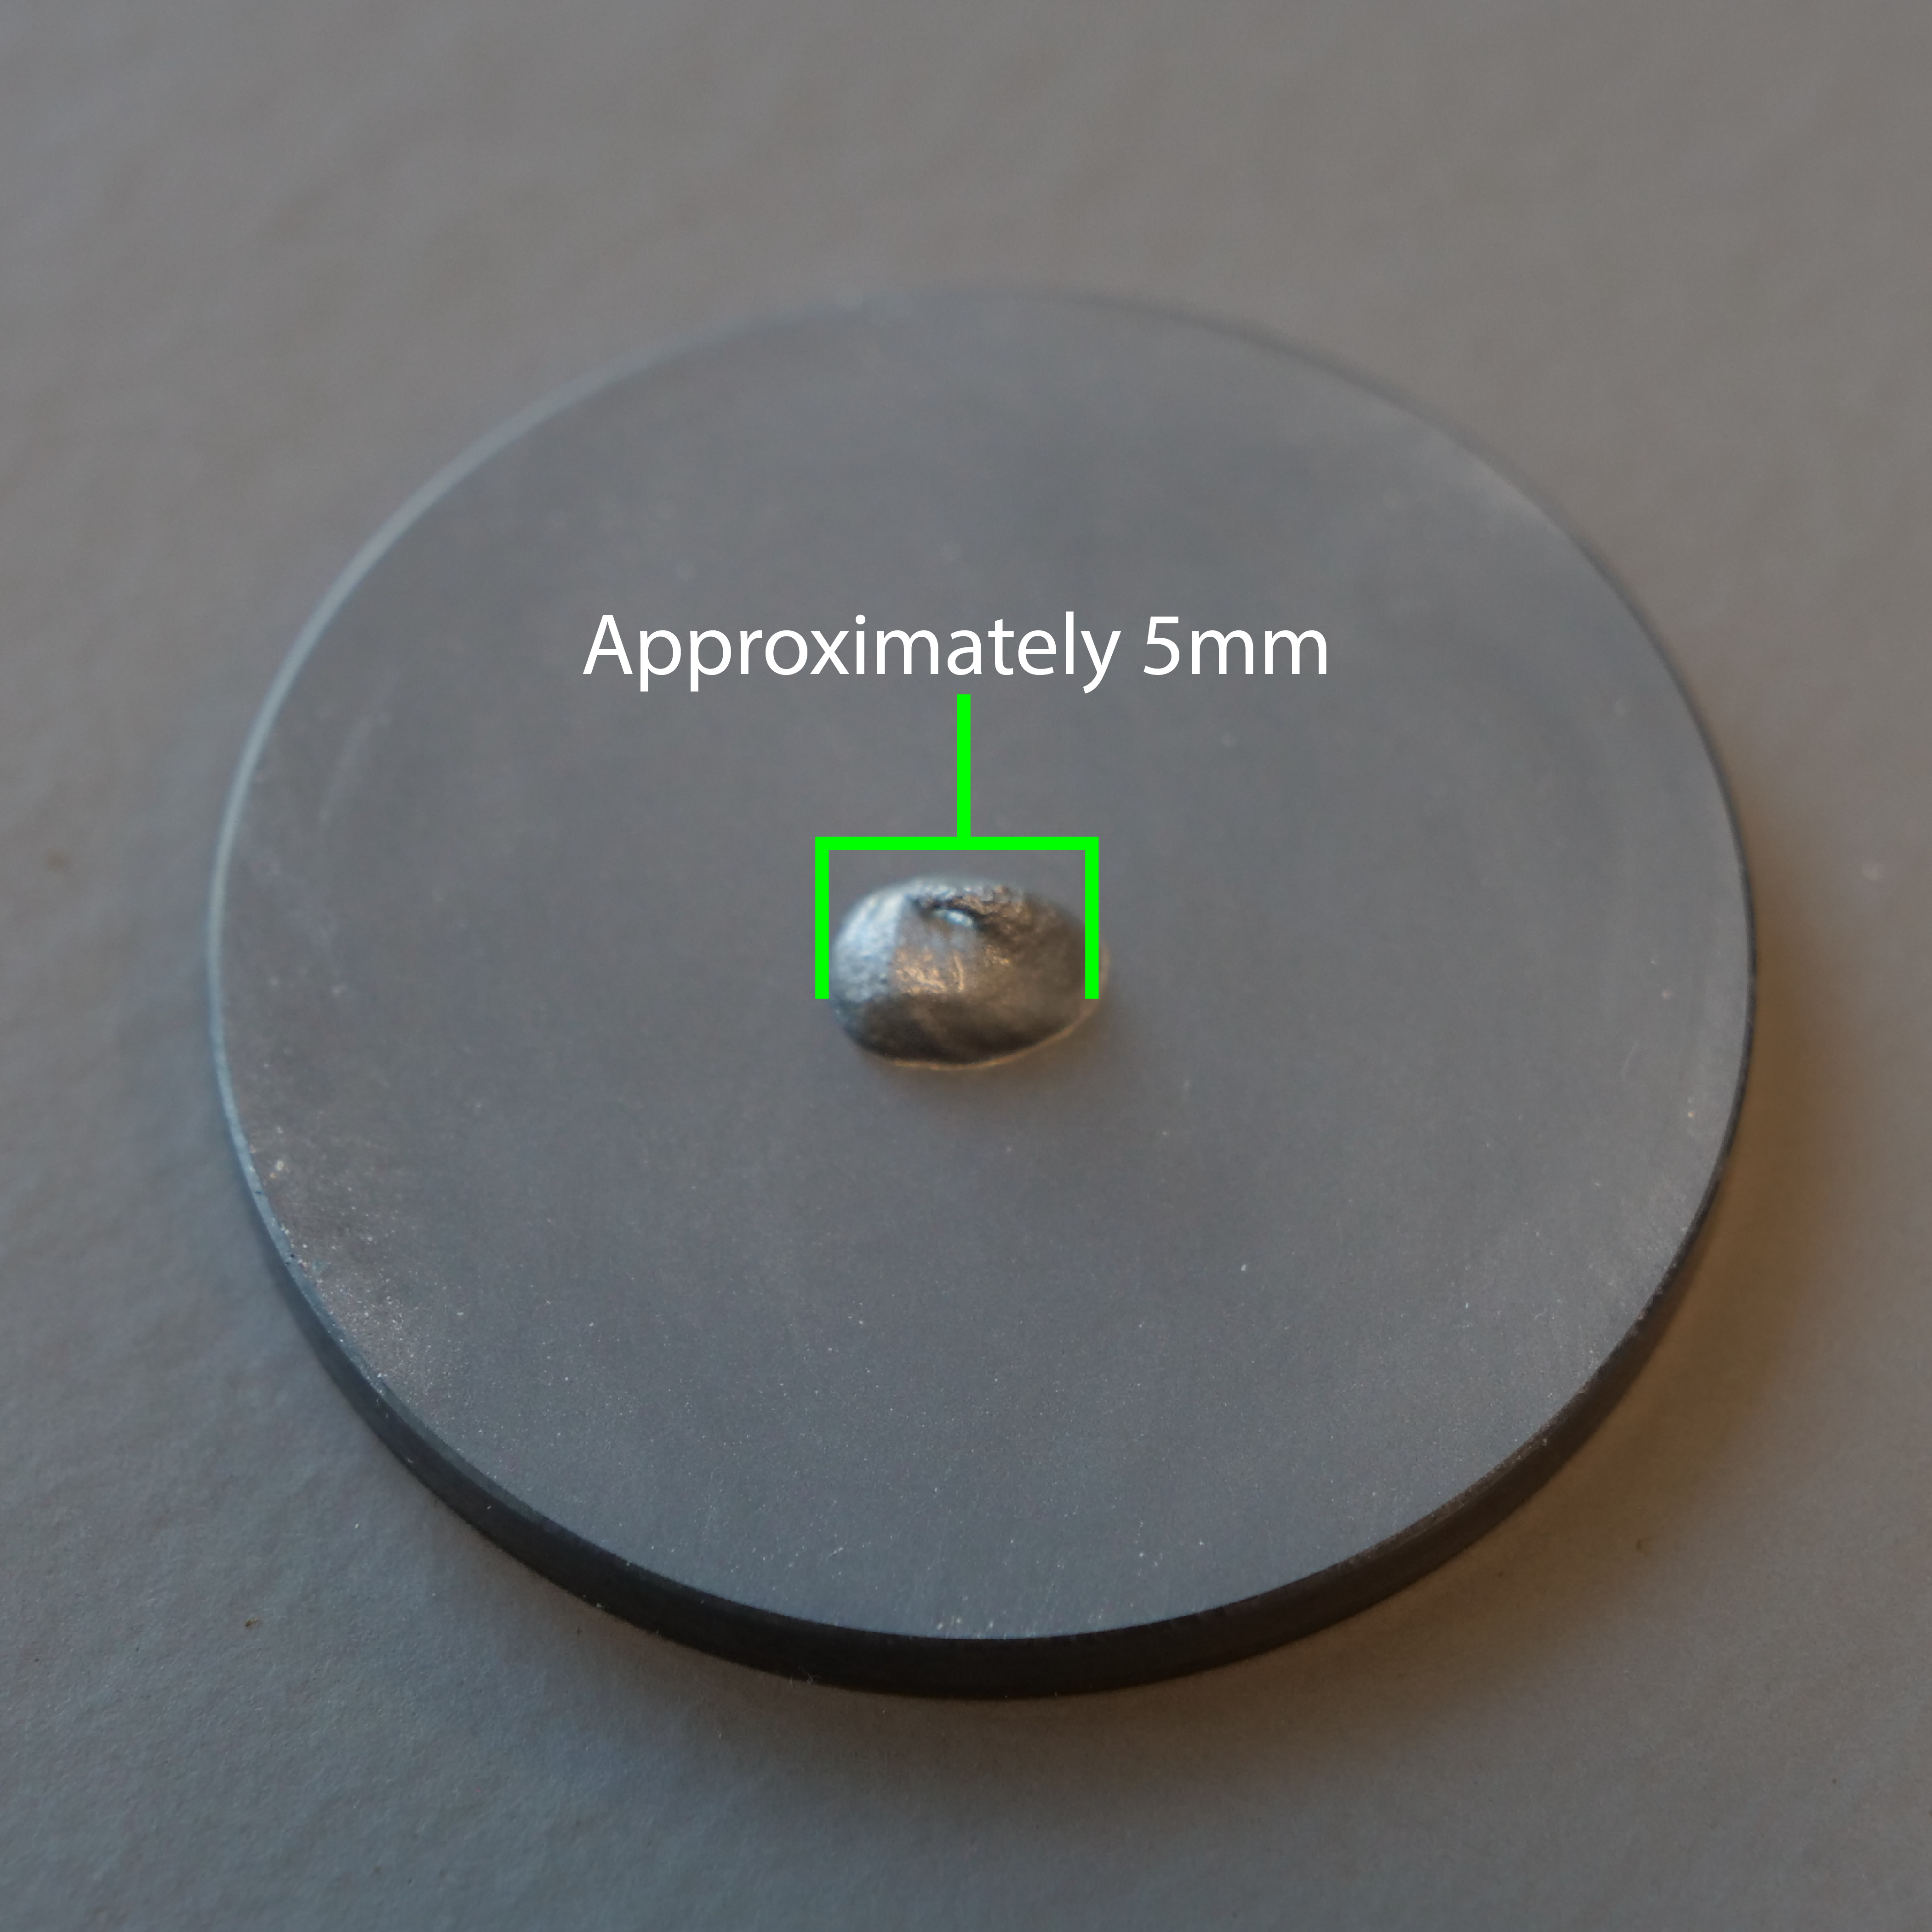
    ミラーに塗布されたサーマルコンパウンド

  3. ミラーをホルダーにしっかりと押し当て、軽く回転させて表面間に研磨剤を均一に広げてください。
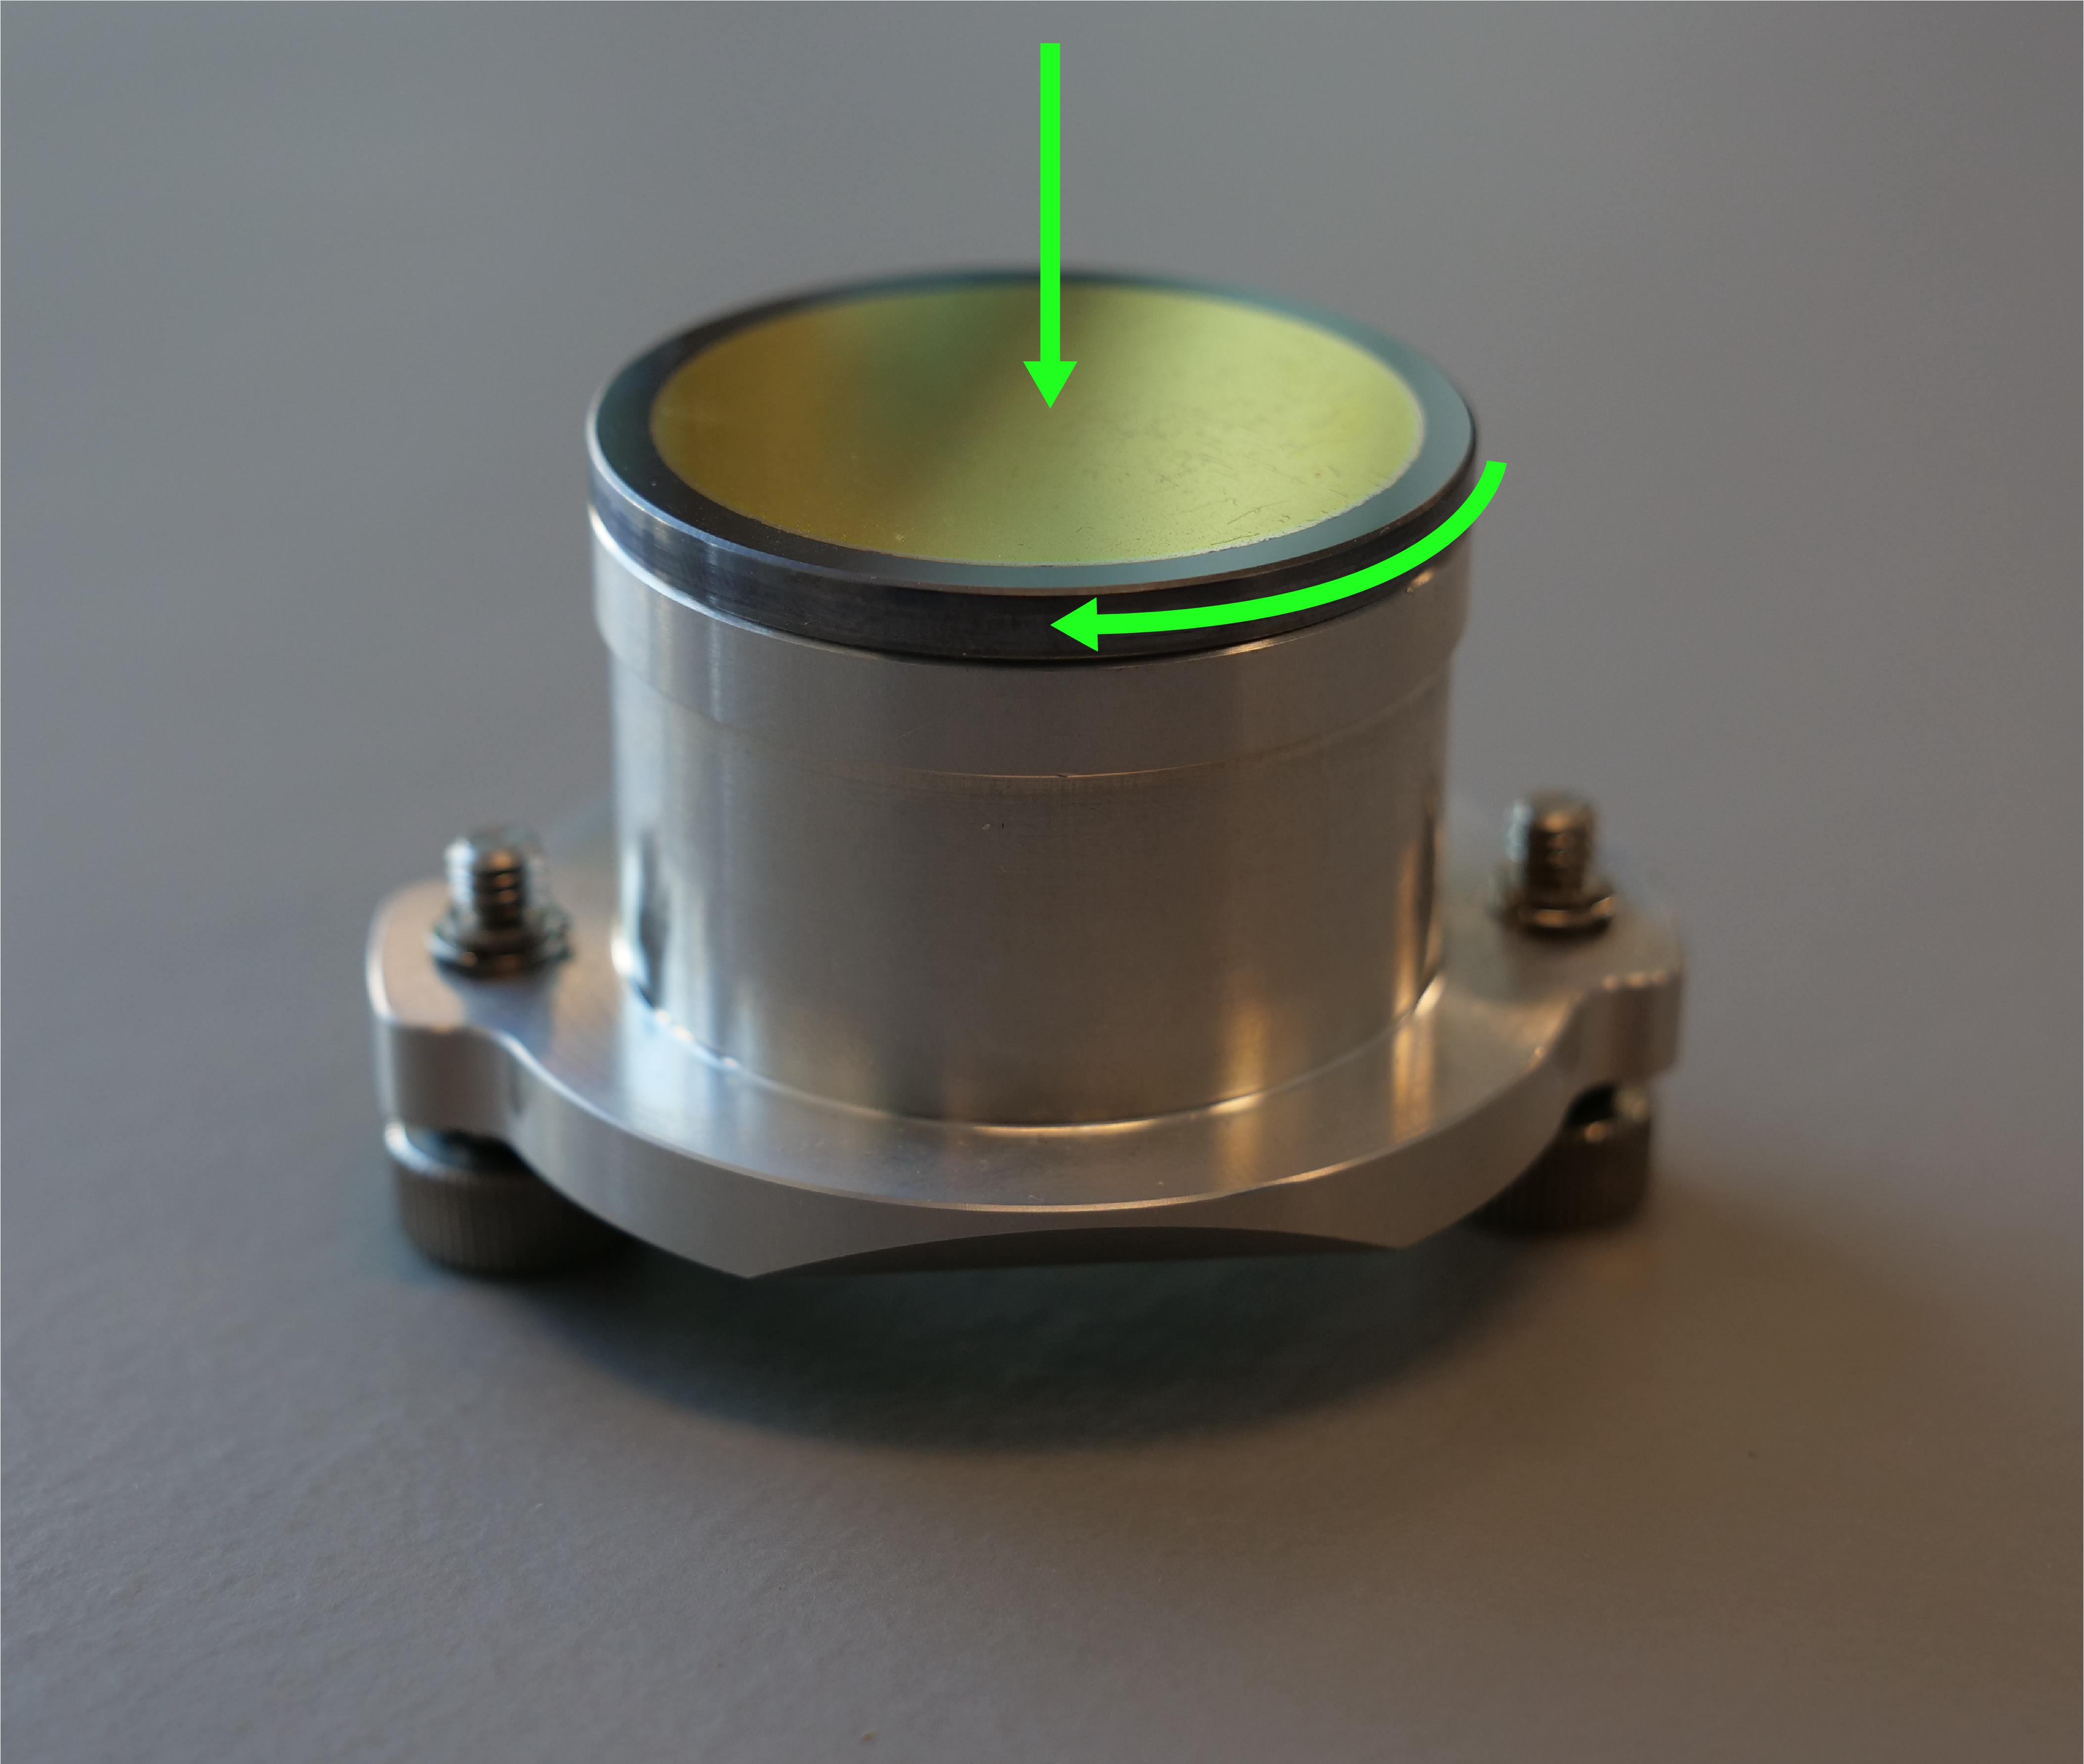
    ミラーを押しながらホルダーに回転させて装着する

  4. 鏡の縁に余分なコンパウンドが見えないようにしてください。内部に薄い層が残っている状態に保つこと。
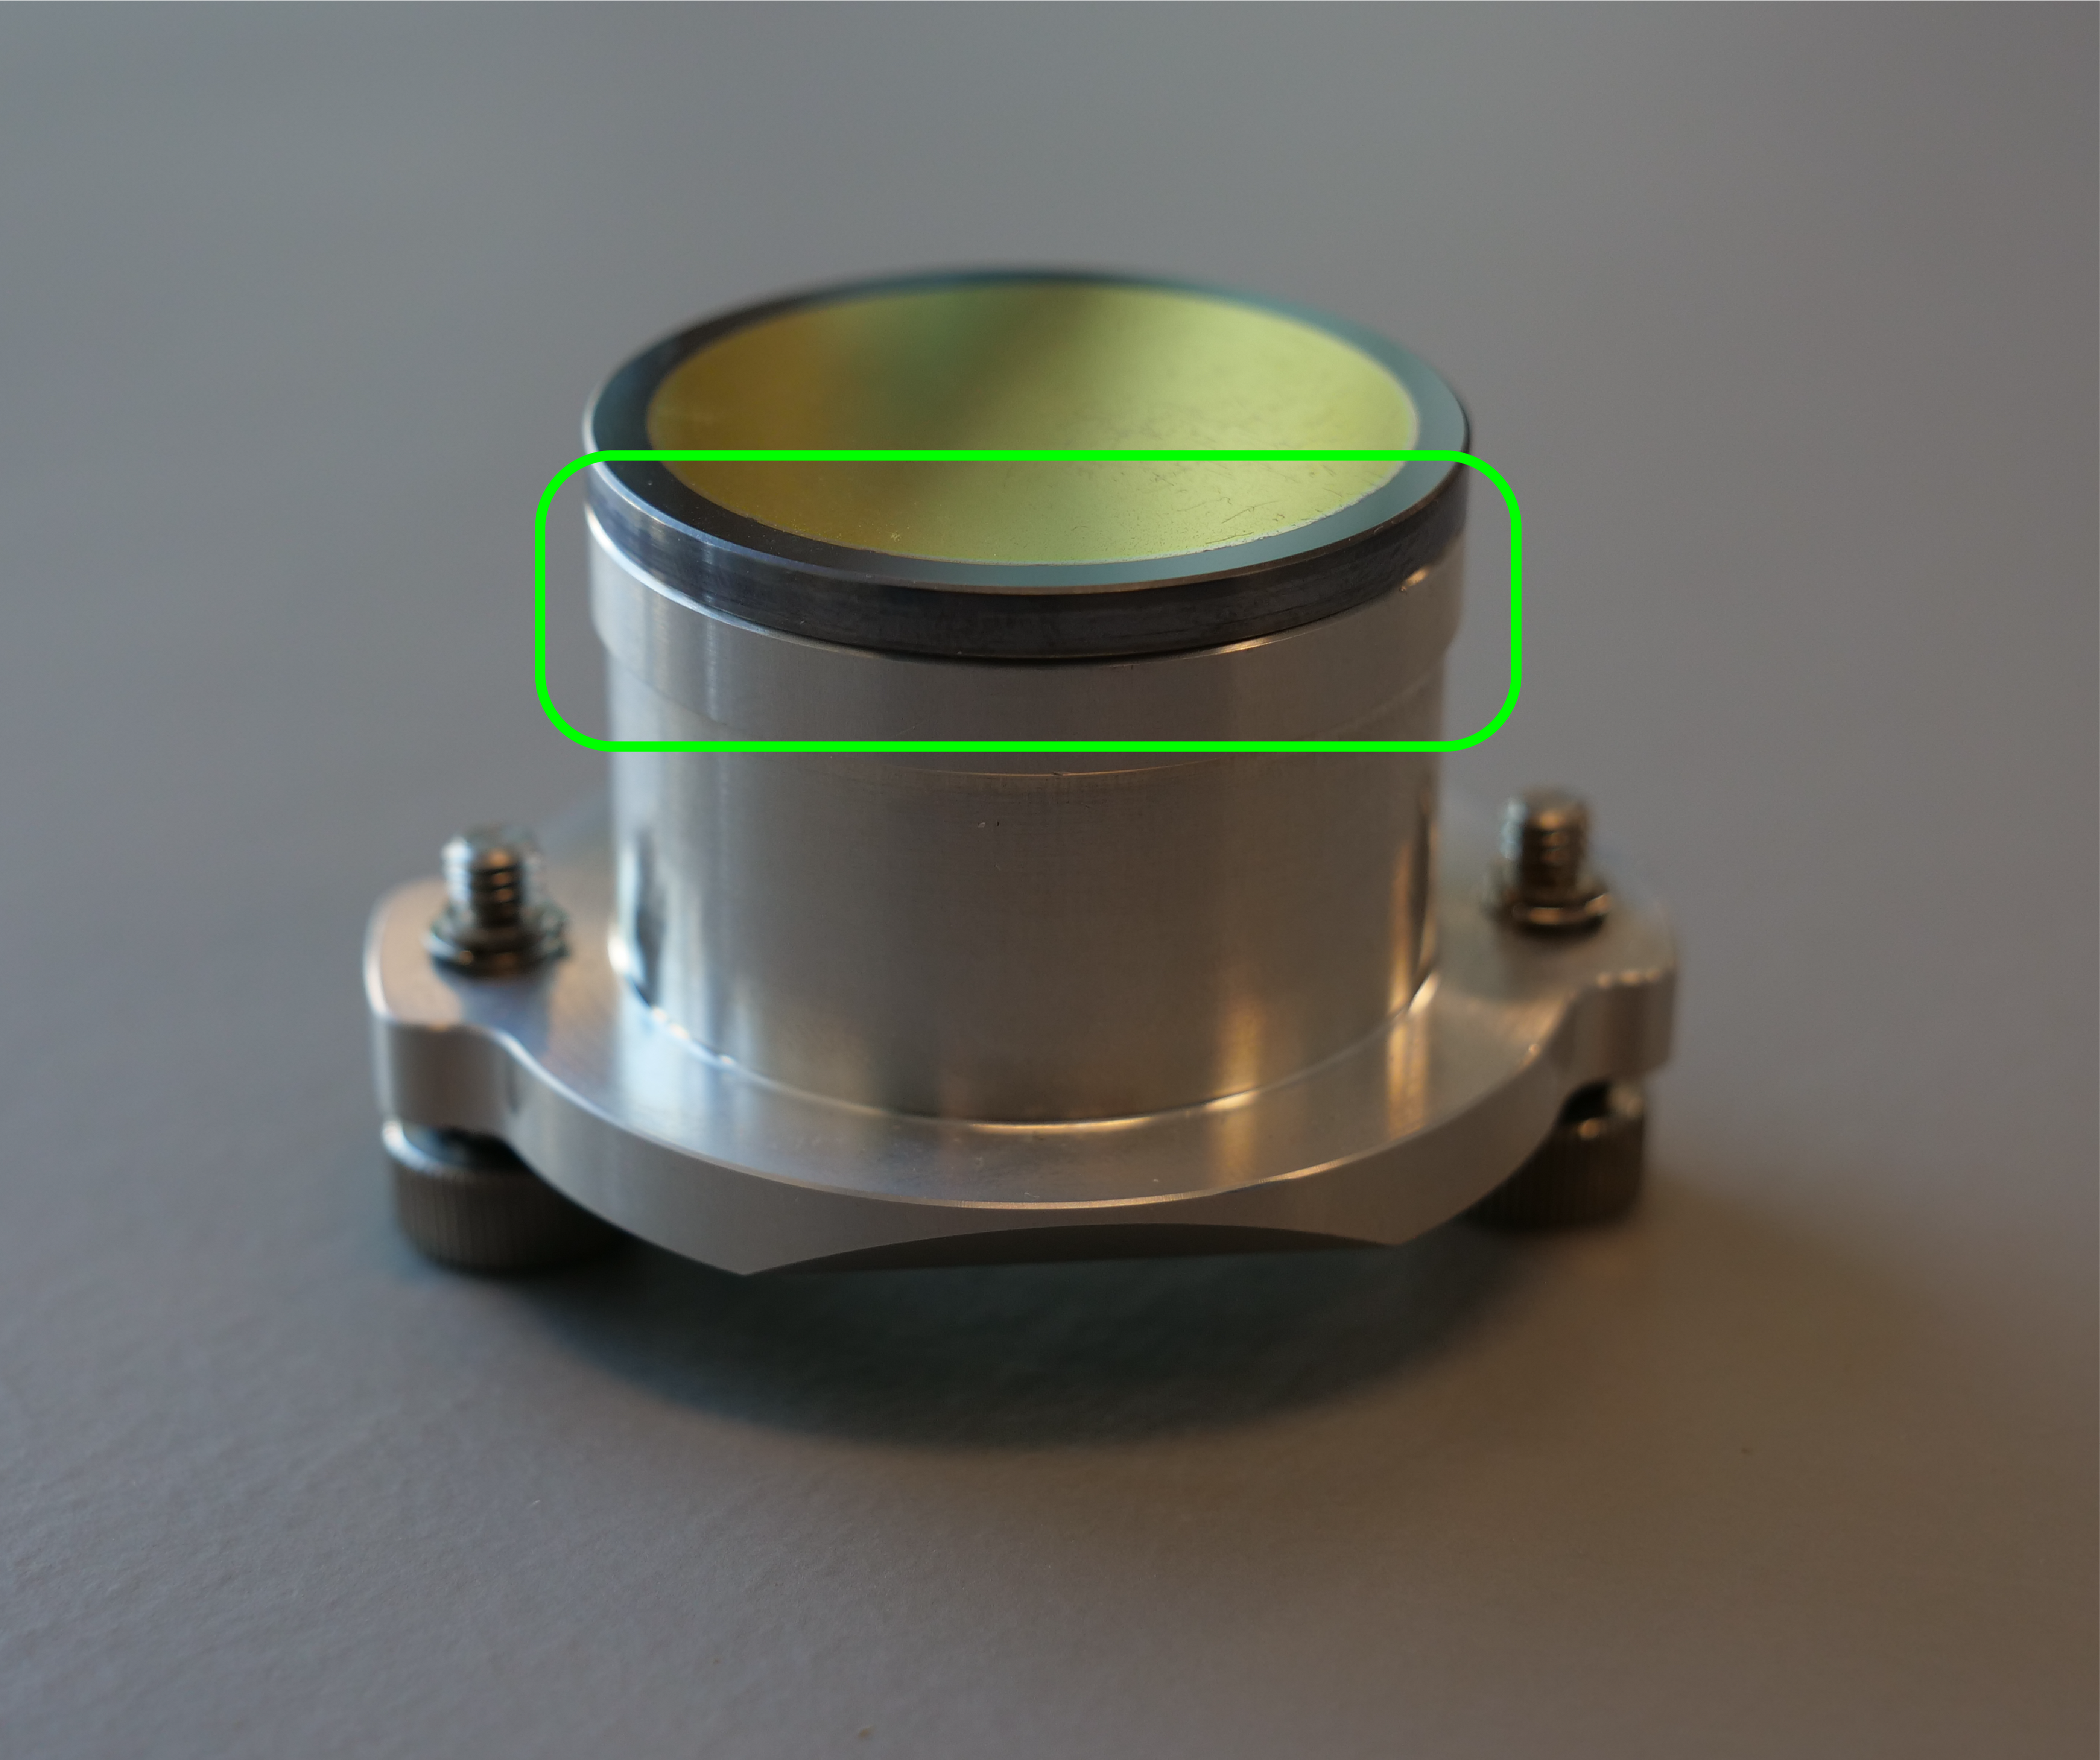
    端部にサーマルコンパウンドが見えない

  5. 目標は、接合領域内に留まり、ミラーの外縁に達しない、非常に薄く均一に分散されたサーマルコンパウンドの層である。
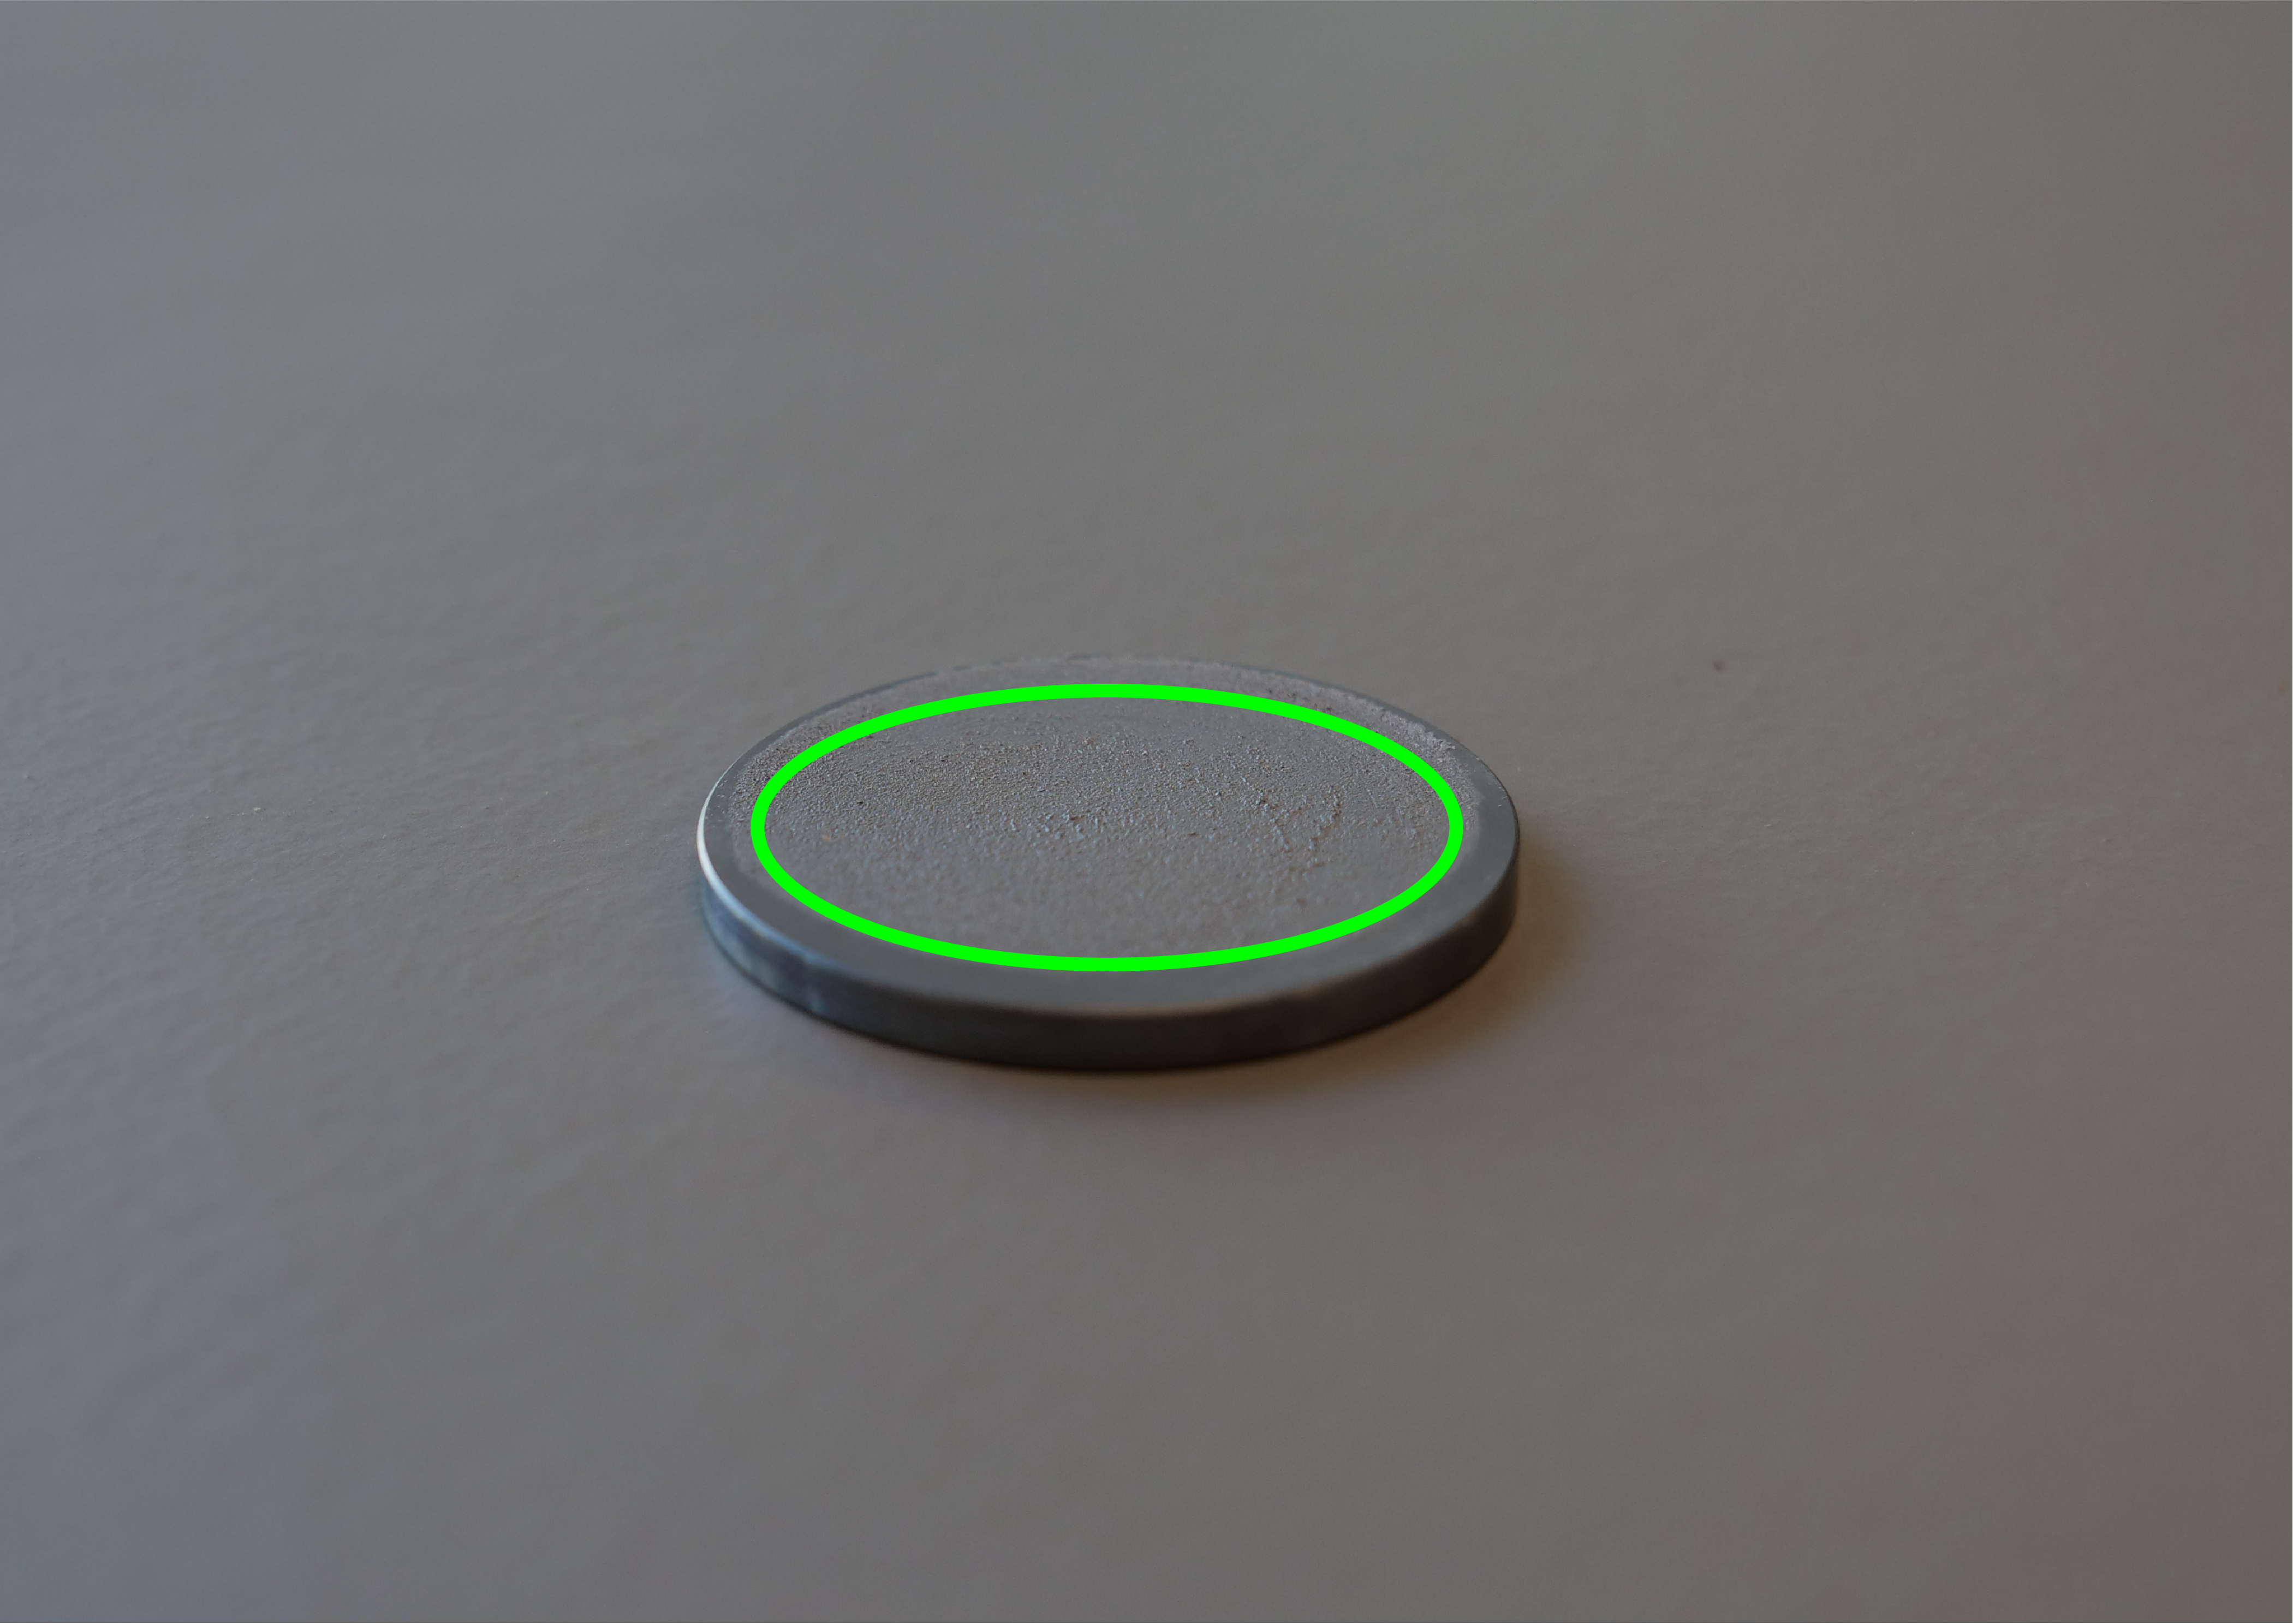
    コンパウンドの適切な薄層(はみ出しなし)

[helpful]
  • ID:
    KA-01692
  • 日付:
    2025年7月11日

部品とリソース:

  • LC1369 サーマルコンパウンド

レーザー治療の旅を続けましょう

過去のレッスンを復習するか、次のステップに進んで新たな発見を!
/* === Aggressive removal of PrintFriendly injected header elements === */ #printfriendly #pf-title, #printfriendly #pf-src, #printfriendly .pf-header, #printfriendly header, #printfriendly .printfriendly-header, #printfriendly h1:first-of-type, #printfriendly .page-header, #printfriendly [class*="header"], #printfriendly [id*="header"] { display: none !important; visibility: hidden !important; height: 0 !important; margin: 0 !important; padding: 0 !important; } /* Hide any top bar or source URL container */ #printfriendly #pf-src, #printfriendly .pf-src, #printfriendly [class*="src"], #printfriendly [class*="url"] { display: none !important; } /* Force page margins and centered page numbers */ @page { size: letter portrait; margin: 0.7in 0.5in; } @page :left, @page :right { @top-left { content: none !important; } @top-center { content: none !important; } @top-right { content: none !important; } @bottom-center { content: counter(page); font-size: 0.95em; padding-bottom: 25px; } }