メインコンテンツへスキップ

X軸減速機駆動ベルト交換(大口径)

X-Axis :


はじめに

このガイドは、大口径Fusion ProレーザーシステムにおけるX軸減速機駆動ベルトの取り外しおよび取り付け手順を段階的に説明します。安全かつ効率的な作業を確保するため、各手順を注意深く実行してください。メンテナンス作業を開始する前に、必ず電源を切断してください。

除去

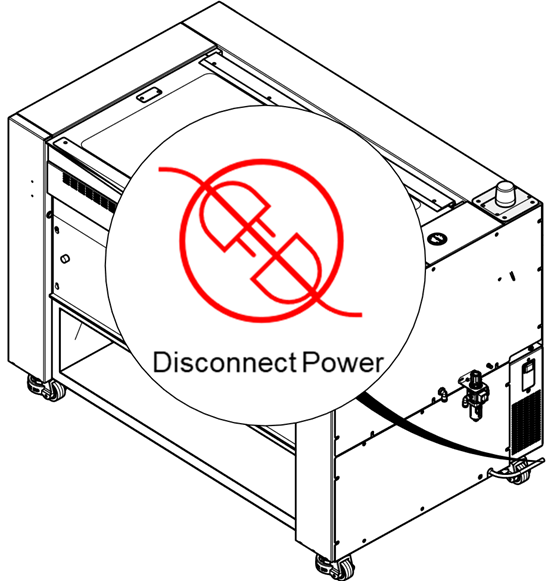
  1. 機械の電源を切り、電源ケーブルを抜いてください。

    電源を切り、機械のプラグを抜く

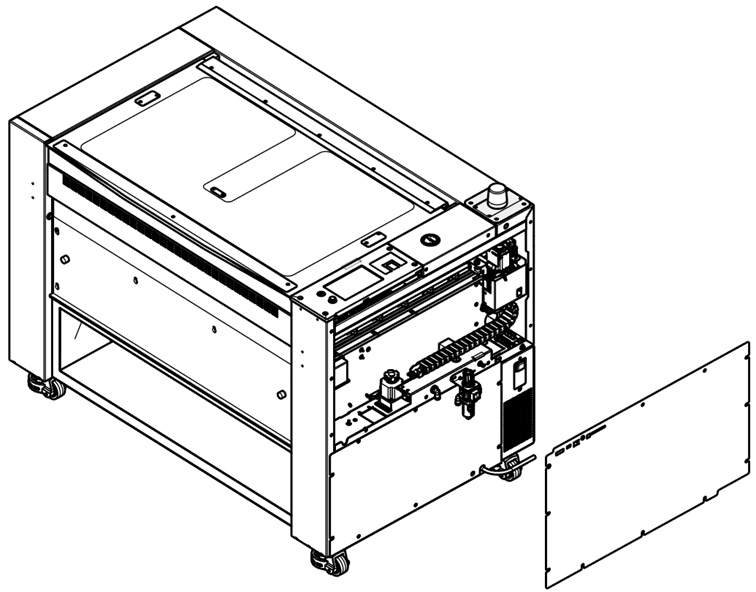
  2. 右側のパネルを取り外してください。

    右側パネルの取り外し

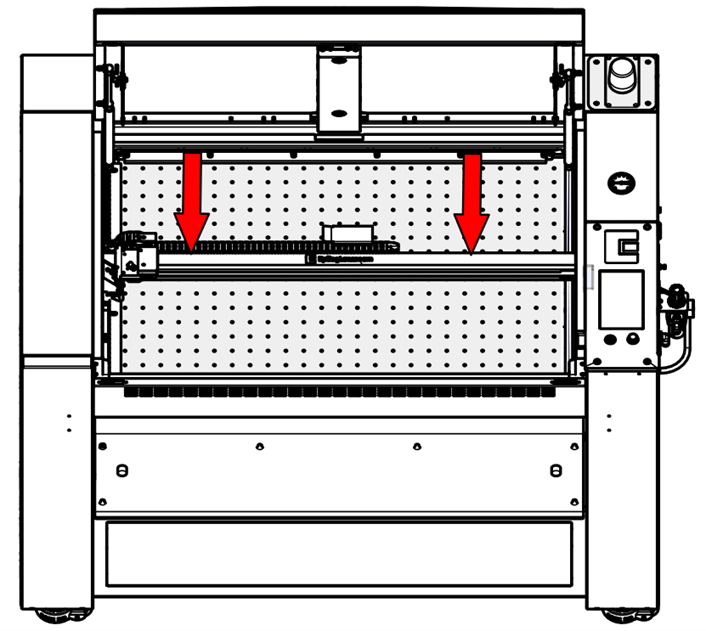
  3. X軸レールを機械の中心に移動させてください。

    X軸レールは中央に配置

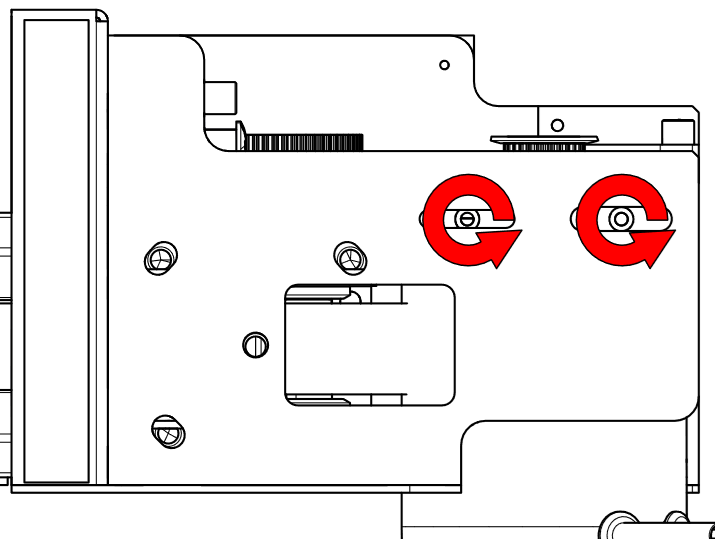
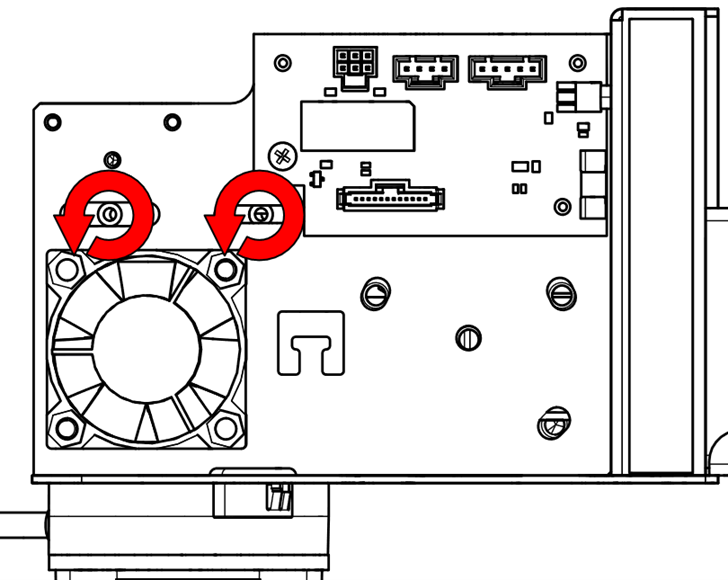
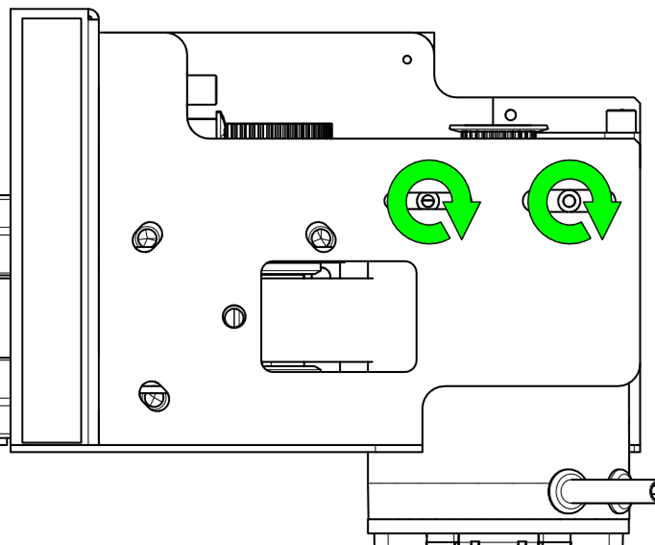
  4. モーターの取付ネジを緩めてください。

    モーター取付ネジを緩める
    モーター取付ネジを緩める

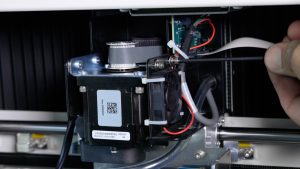
  5. モーターテンショナーのネジを緩める。

    モーターテンショナーネジを緩める

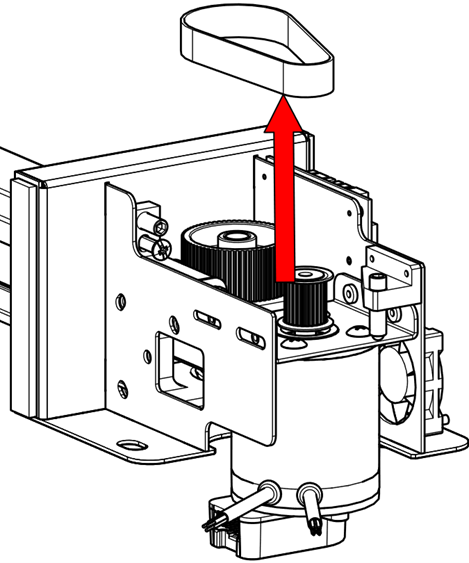
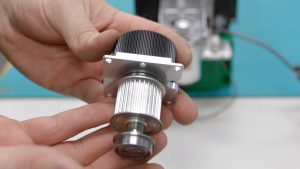
  6. 減速ベルトを取り外す。

    減速機ベルトの取り外し

インストール

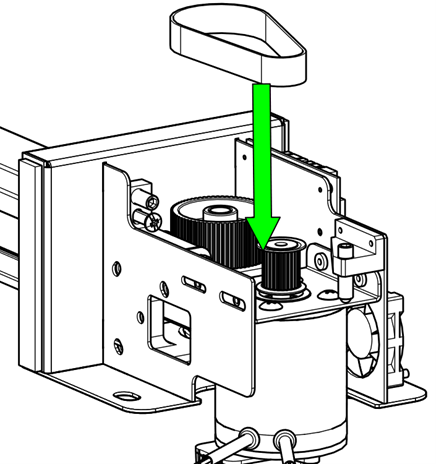
  1. 減速機ベルトをプーリーに取り付ける。

    減速機ベルトを取り付ける

  2. ベルトに適切な張力をかけなさい。

    注:ベルトは過度に締め付けないでください。側面から押した際に、約1/8インチ(3mm)ほどたわむ程度が適切です。

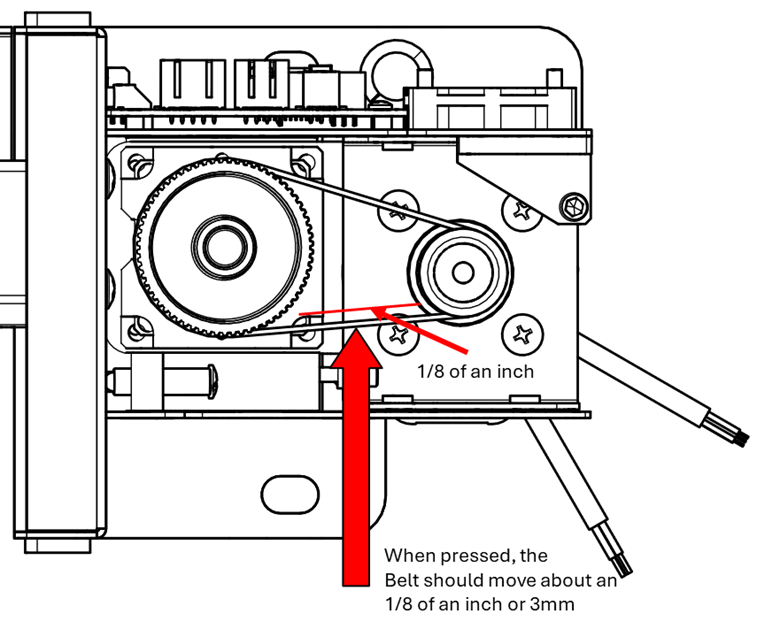
    減速機ベルトへの張力のかけ方
    減速機ベルトへの張力のかけ方

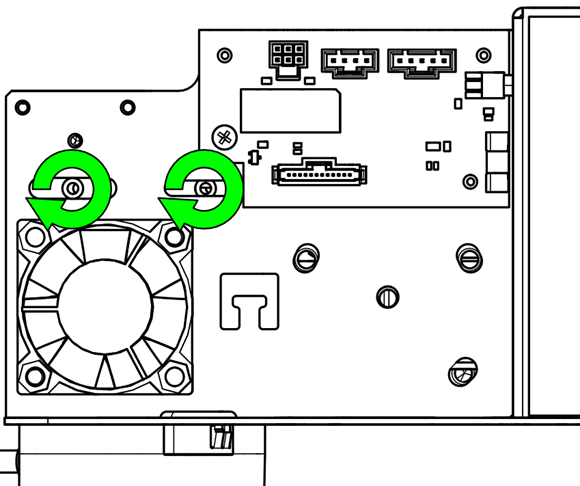
  3. モーター取付ネジをしっかり締めてください。

    モーター取付ネジの締め付け
    モーター取付ネジの締め付け

  4. 右側パネルを再取り付けしてください。

    右側パネルの再取り付け

[helpful]
  • ID:
    KA-01679
  • 日付:
    2025年5月28日

ツール:

  • 7/64インチ六角レンチ
  • 5/32インチ六角レンチ
/* === Aggressive removal of PrintFriendly injected header elements === */ #printfriendly #pf-title, #printfriendly #pf-src, #printfriendly .pf-header, #printfriendly header, #printfriendly .printfriendly-header, #printfriendly h1:first-of-type, #printfriendly .page-header, #printfriendly [class*="header"], #printfriendly [id*="header"] { display: none !important; visibility: hidden !important; height: 0 !important; margin: 0 !important; padding: 0 !important; } /* Hide any top bar or source URL container */ #printfriendly #pf-src, #printfriendly .pf-src, #printfriendly [class*="src"], #printfriendly [class*="url"] { display: none !important; } /* Force page margins and centered page numbers */ @page { size: letter portrait; margin: 0.7in 0.5in; } @page :left, @page :right { @top-left { content: none !important; } @top-center { content: none !important; } @top-right { content: none !important; } @bottom-center { content: counter(page); font-size: 0.95em; padding-bottom: 25px; } }