メインコンテンツへスキップ

X軸テンションベルト

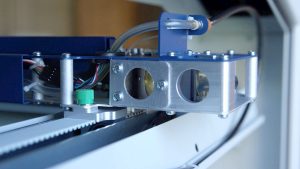
レーザーヘッドの動きを制御するベルトを調整してください。

はじめに

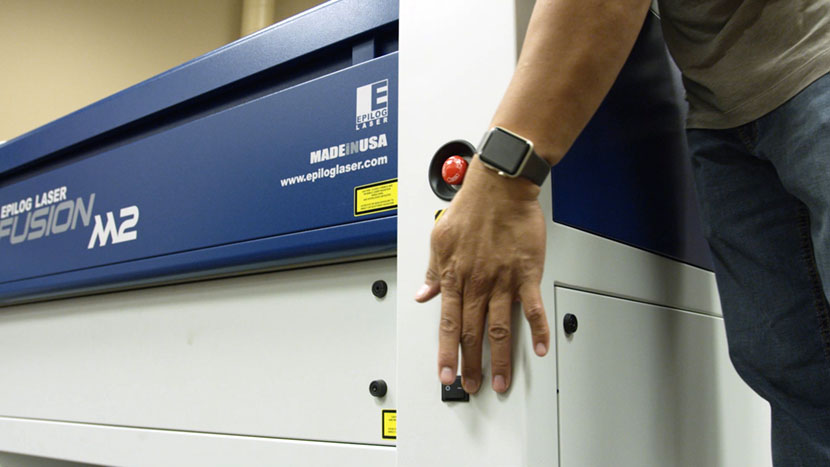
このレッスンでは、EpilogFusion M2X軸ベルトの張りを調整する手順を説明します。

パネルを取り外す

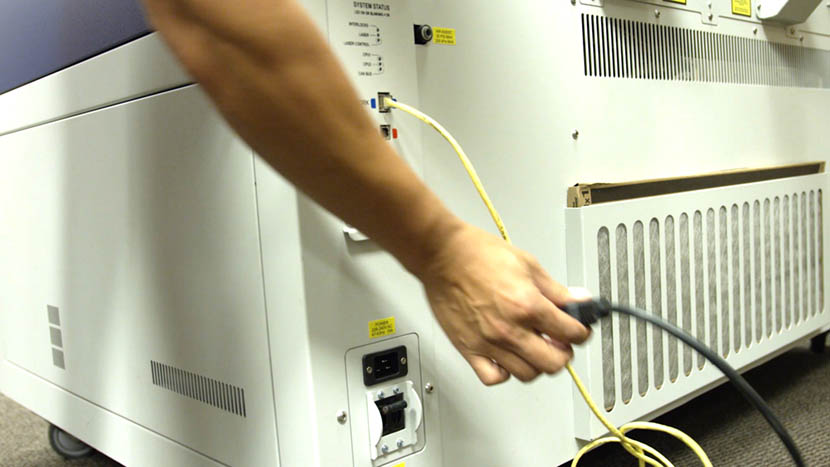
レーザーを停止し、機械から電源コードを抜いてください。
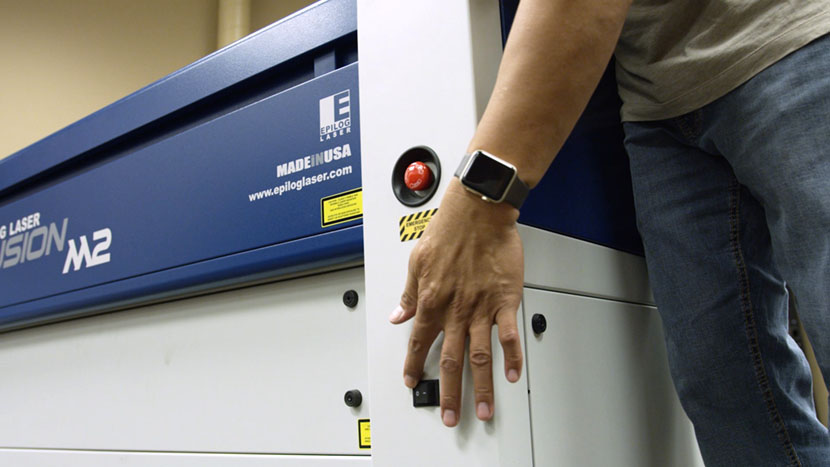
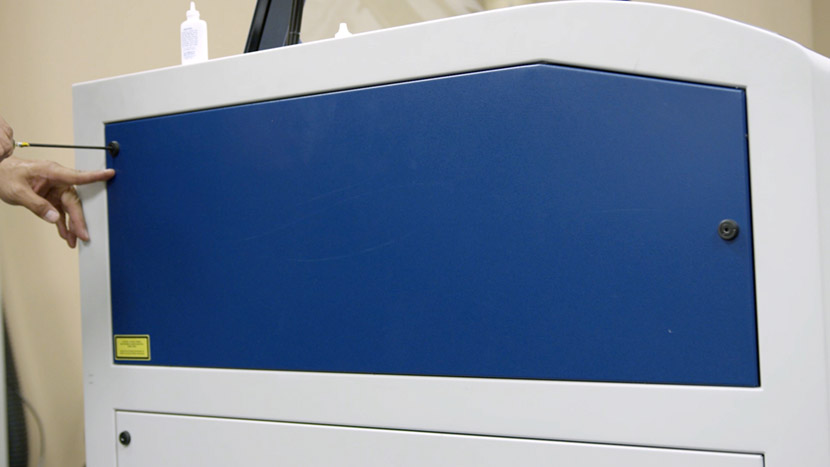
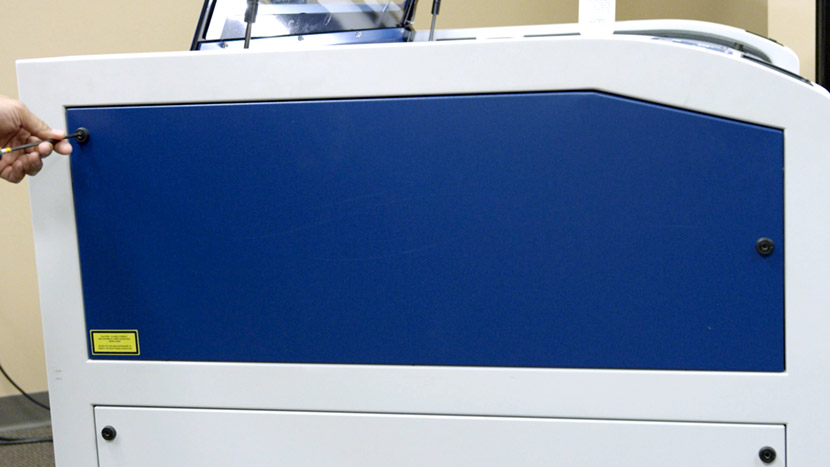
機械の左側にある上部アクセスパネルを取り外すには、5/32インチの六角レンチを使用して、黒いパネルロックを反時計回りに3/4回転まで回します。
ベルトの張りを調整する

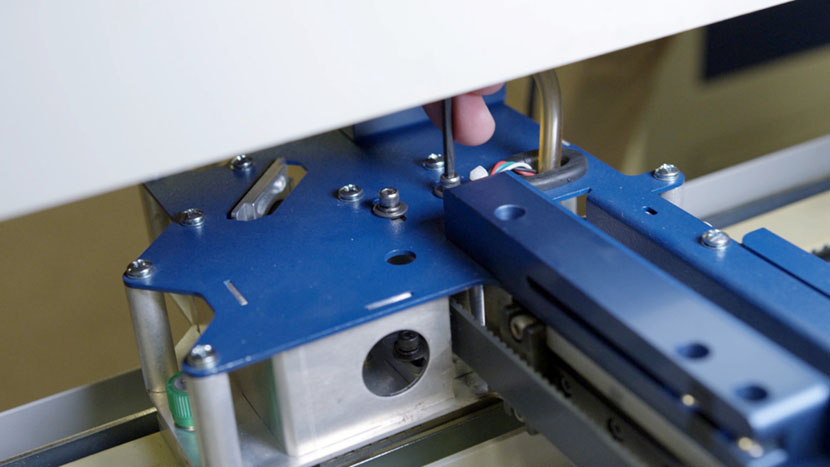
7/64インチの六角レンチを使用して、X軸ベルト前面にあるX軸プーリー取付ネジを緩めます。このネジはX軸アセンブリ上部の円形穴からアクセス可能です。次に、X軸ベルト後方の開放チャネル内にある2つ目の取付ネジを緩めます。
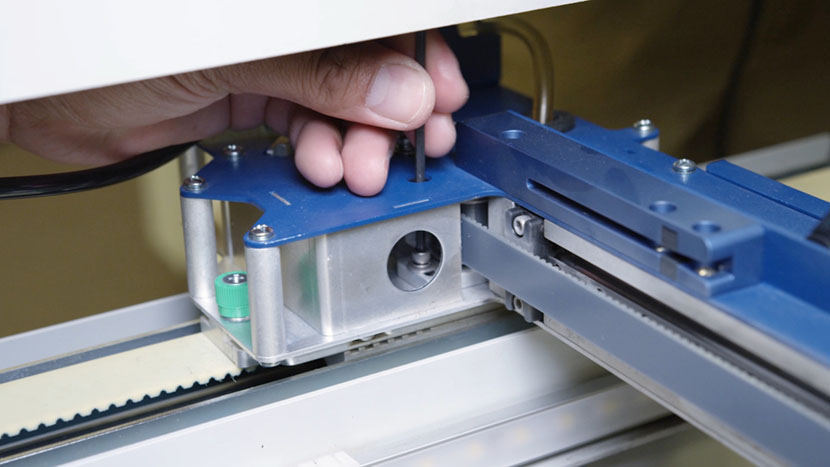
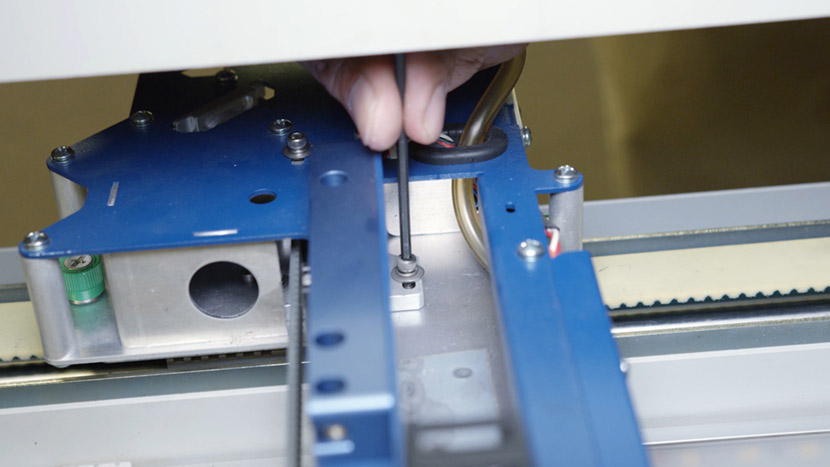
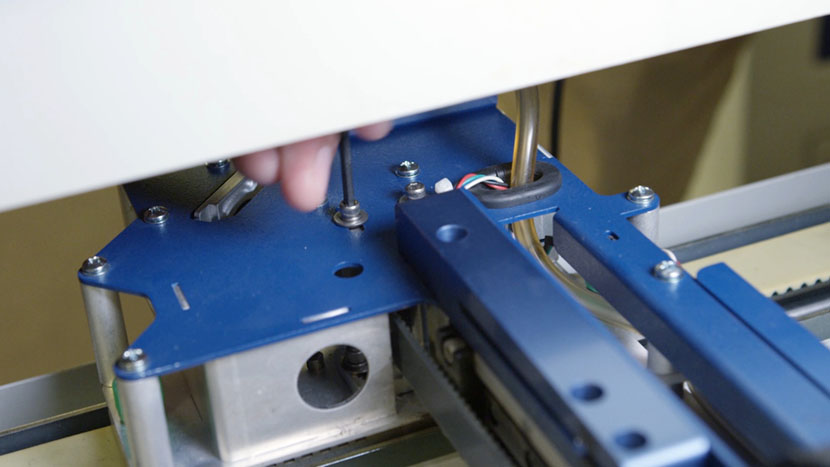
次に、X軸アセンブリ上部に位置する2本のX軸プーリー取付ネジを緩めます。
X軸アセンブリの端からアクセス可能なテンション調整ネジを、5/32インチの六角レンチで調整してください。
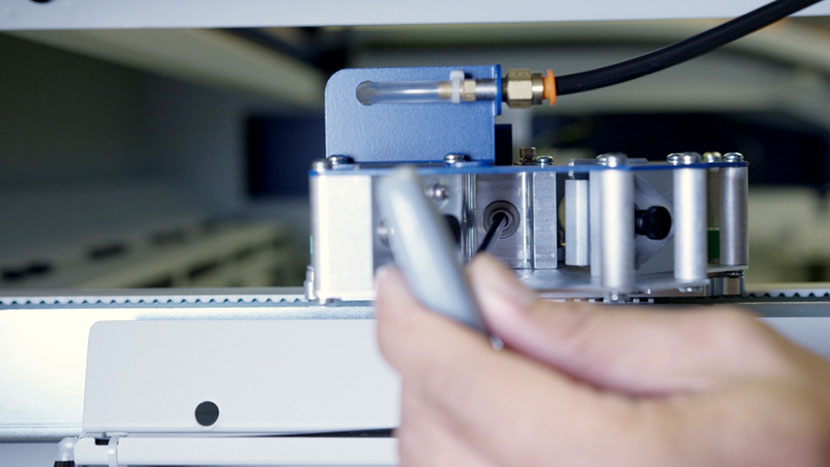
ネジを緩めるとベルトが緩みます。ネジを締めるとベルトが締まります。
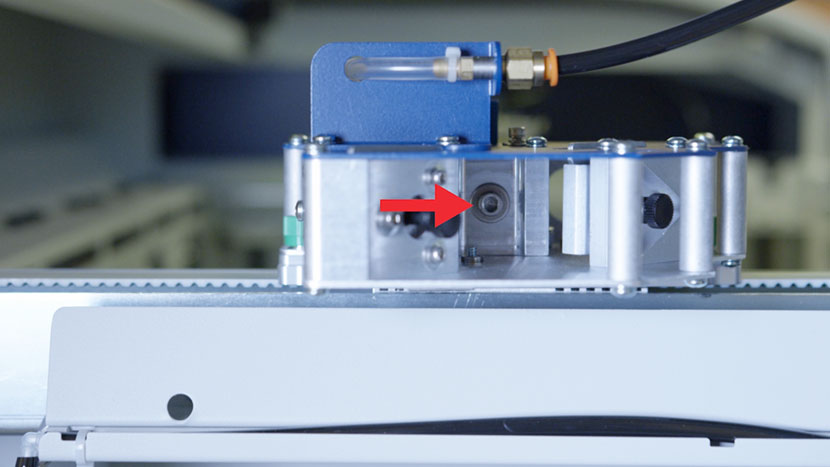
理想的な張力を得たら、7/64インチの六角レンチを使用して、2本のプーリー取付ネジを再度締め付けます。
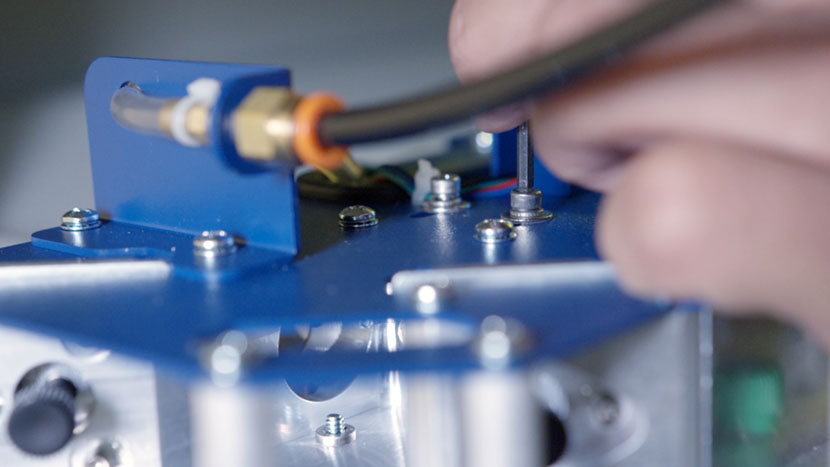
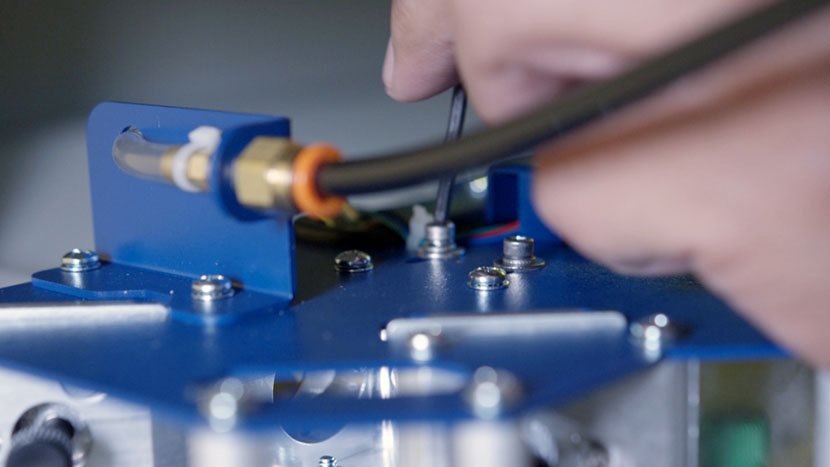
パネルの再インストール

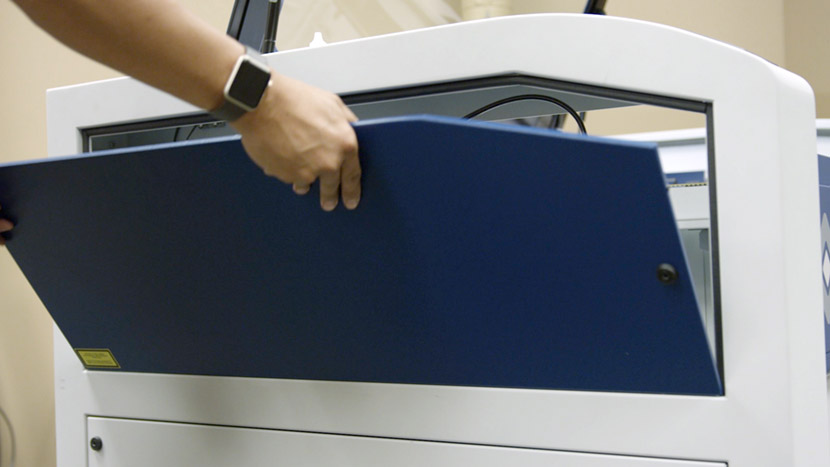
機械左側の上部アクセスパネルを、5/32インチの六角レンチを使用して、黒いパネルロックを時計回りに3/4回転まで回して取り付けてください。
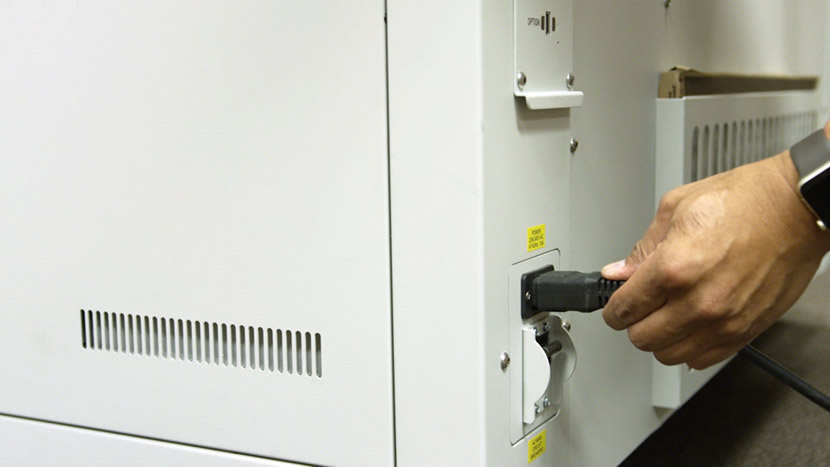
機械のプラグを差し込み、電源を入れてください。
[helpful]
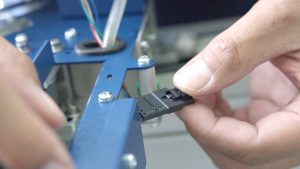
  • ID:
    TA-115
  • 日付:
    2024年9月24日

ツール:

  • 5/32インチ六角レンチ
  • 7/64インチ六角レンチ

部品とリソース:

  • 新型テンションベルト
/* === Aggressive removal of PrintFriendly injected header elements === */ #printfriendly #pf-title, #printfriendly #pf-src, #printfriendly .pf-header, #printfriendly header, #printfriendly .printfriendly-header, #printfriendly h1:first-of-type, #printfriendly .page-header, #printfriendly [class*="header"], #printfriendly [id*="header"] { display: none !important; visibility: hidden !important; height: 0 !important; margin: 0 !important; padding: 0 !important; } /* Hide any top bar or source URL container */ #printfriendly #pf-src, #printfriendly .pf-src, #printfriendly [class*="src"], #printfriendly [class*="url"] { display: none !important; } /* Force page margins and centered page numbers */ @page { size: letter portrait; margin: 0.7in 0.5in; } @page :left, @page :right { @top-left { content: none !important; } @top-center { content: none !important; } @top-right { content: none !important; } @bottom-center { content: counter(page); font-size: 0.95em; padding-bottom: 25px; } }