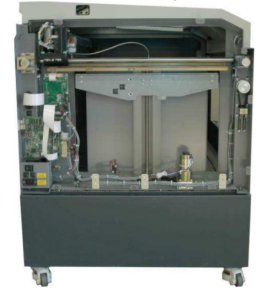
この手順書は、Legend X軸エンコーダリーダーの交換に必要な手順を説明します。X軸エンコーダリーダーは、レンズキャリッジアセンブリの正確な動作追跡に不可欠な部品です。時間の経過とともに、マシンの継続的な精度と円滑な動作を確保するため、この部品のメンテナンスまたは交換が必要になる場合があります。指示を注意深く従い、必要な工具を使用することで、X軸エンコーダリーダーを安全に交換し、マシンの性能を回復させることができます。 電気的な危険を避けるため、メンテナンス作業を開始する前に必ず電源が切れていることを確認してください。
エンコーダリーダーの取り外し
-
Make sure power is turned off and power cord is unplugged from the
wall outlet. -
Open up the main door to gain access to the I-beam. The I-beam is
the long horizontal bar with a blue cover over it and has the
Epilog website written on top-right side of it. -
Use a #2 Phillips head screw driver to loosen up the 10 Phillips
head screws, 5 of them are located on the front and 5 are on the back of
the blue cover. These screws do not need to be removed completely
because the bottom of the blue cover is slotted. -
Once the blue cover is removed, locate the X-Axis encoder reader
board. This board travels along with the lens carriage assembly
when you manually slide it with the machine turned off.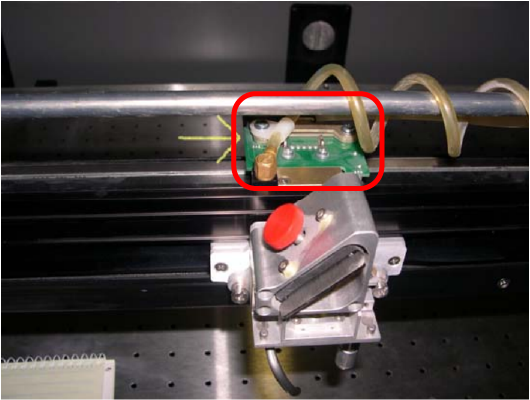
-
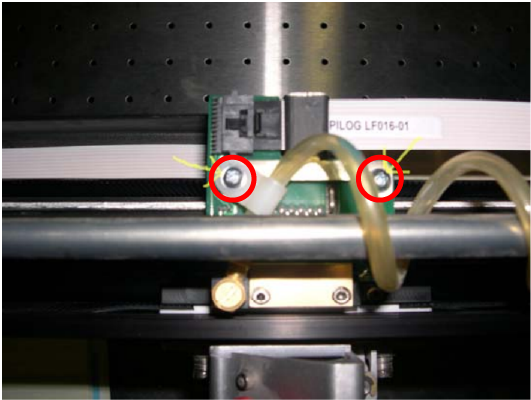
#1のプラスドライバーを使用して、下図で丸で囲まれた2本のネジを外してください。
-
Once you have the bracket removed, disconnect the white ribbon
cable from the X-Axis encoder reader. This cable does not pull
straight out; you have to push down the plastic latch to release
the lock.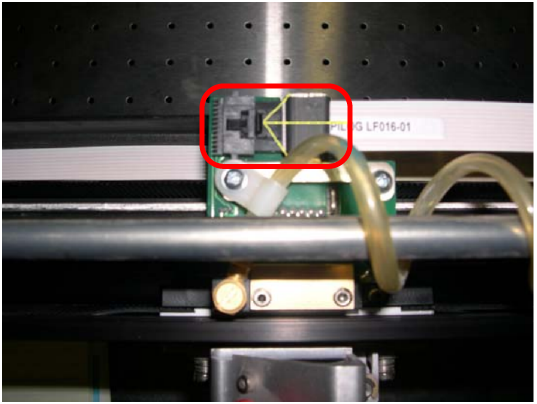
-
以下の丸で囲まれた2本の六角ネジを、3/32インチの六角レンチで取り外してください。
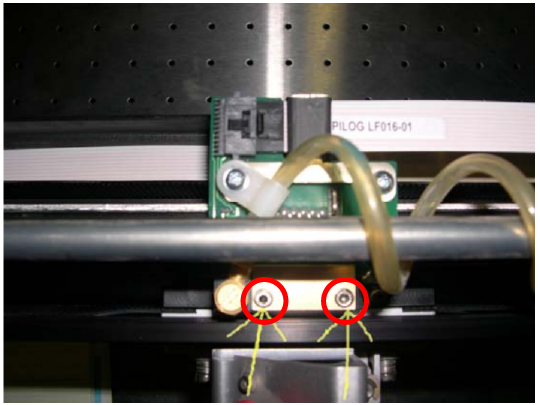
-
Check that the read head is positioned correctly. The read head is the
brown piece attached on the bottom side of the X-Axis encoder reader. You want the
encoder strip sitting in the middle of the read head. -
To install the new X-Axis encoder reader, simply reverse steps 7
through 2.