メインコンテンツへスキップ

オートフォーカススイッチ交換 – Pro 48(大口径)

X-Axis :


はじめに

このガイドは、Fusion Pro 48 オートフォーカススイッチを交換するための手順を段階的に説明します。必要なすべての取り外しおよび取り付け手順、ならびに必要な工具と部品が含まれています。メンテナンス作業を開始する前に、安全上の注意を必ず守り、装置の電源を切ってください。

除去

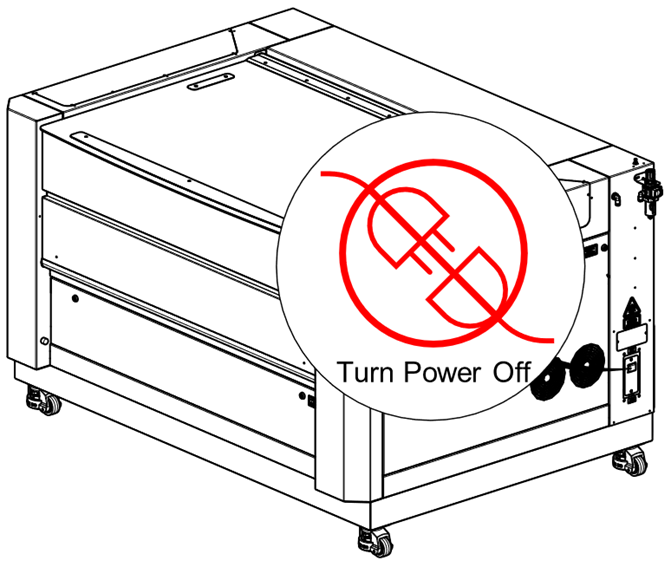
  1. 機械の電源を切り、電源ケーブルを抜いてください。

    Fusion Pro 48 電源を切ってプラグを抜く

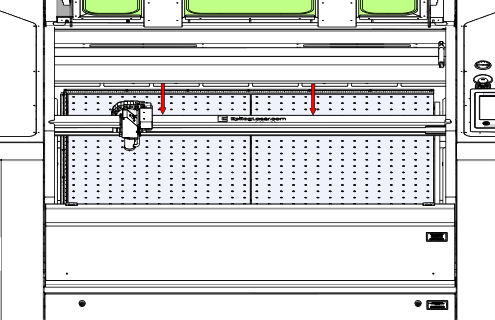
  2. X軸レールを機械の中心に移動させてください。

    Fusion Pro 48におけるX軸レール中心位置

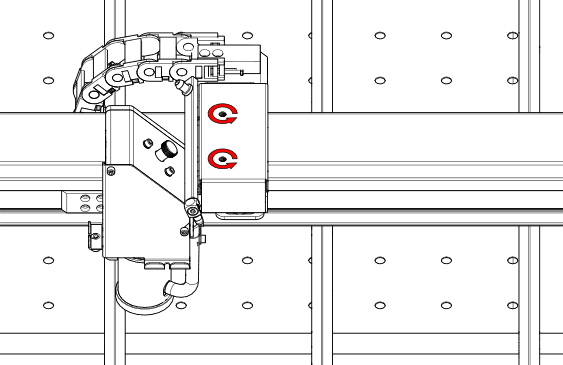
  3. キャリッジを機械の中央に移動させてください。

    キャリッジはX軸レールの中央に位置する

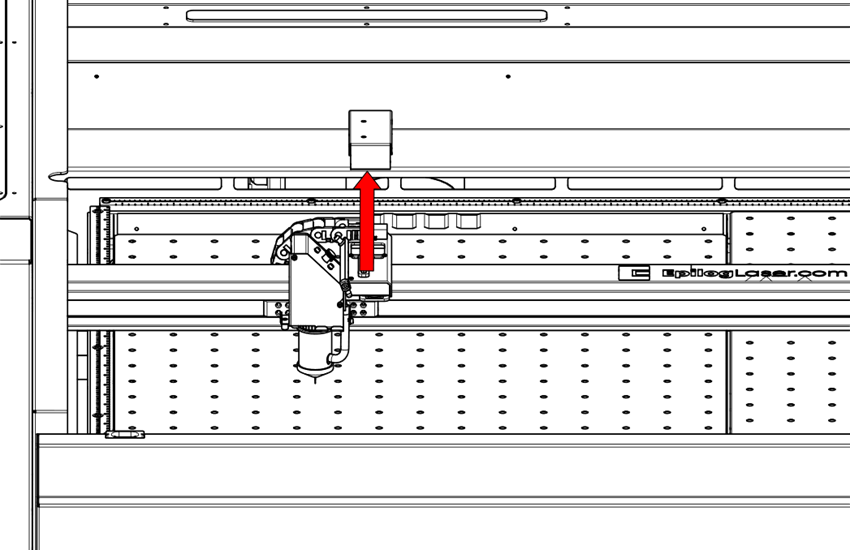
  4. キャリッジカメラカバーを取り外してください。

    キャリッジカメラカバーの取り外し – 正面図
    キャリッジカメラカバーの取り外し – 側面図

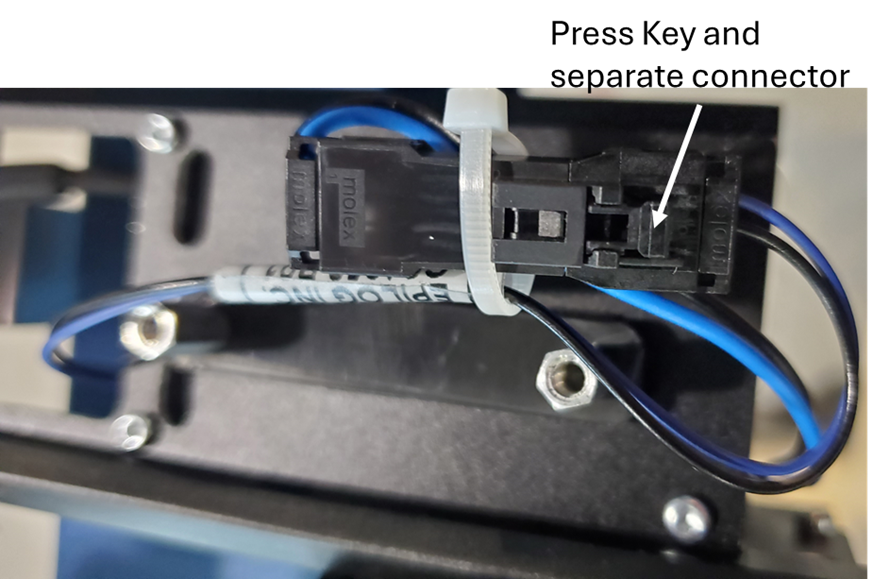
  5. オートフォーカススイッチへの電気ハーネスを外してください。

    オートフォーカス切断スイッチの電気ハーネス

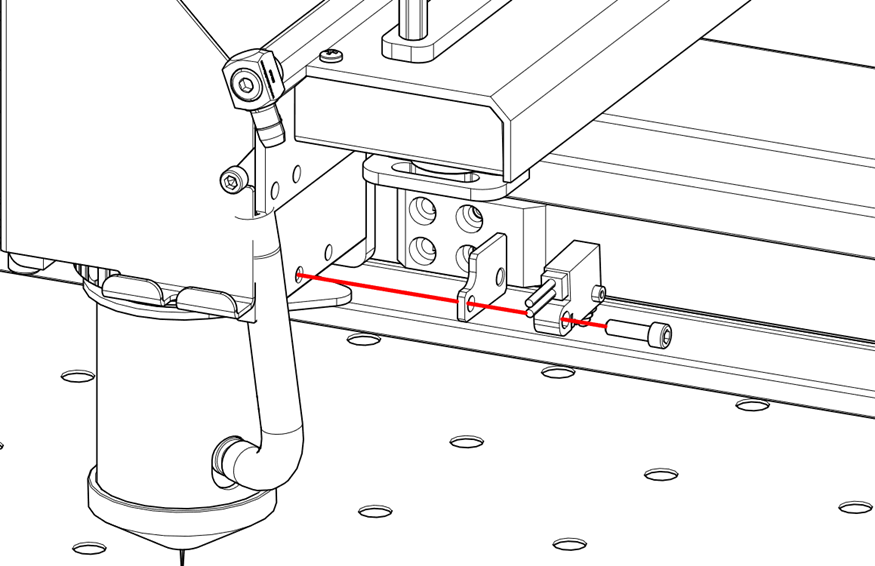
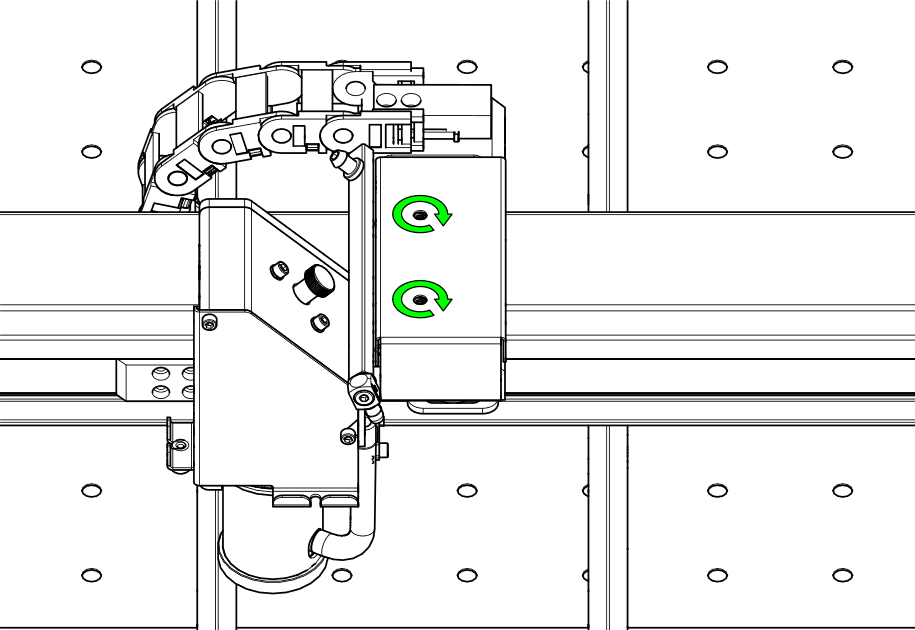
  6. オートフォーカススイッチを固定しているネジを外してください。

    キャリッジからオートフォーカススイッチネジを取り外す

インストール

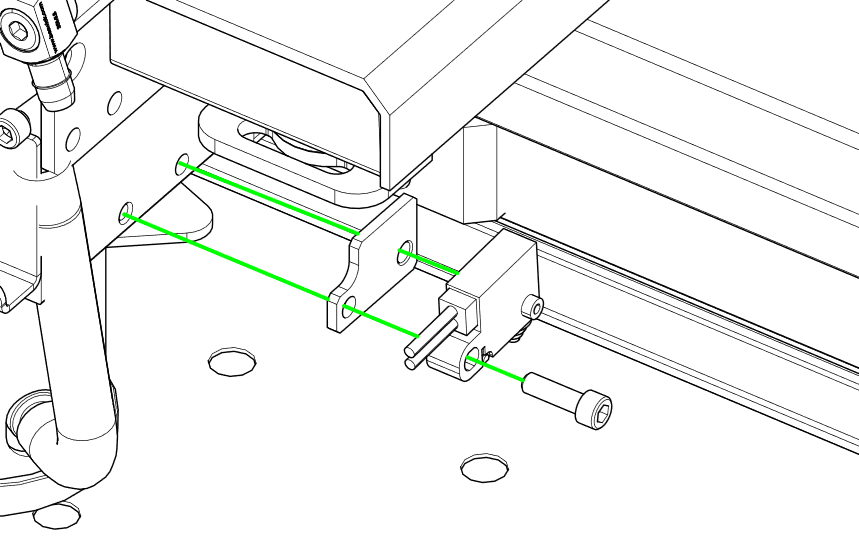
  1. オートフォーカススイッチをキャリッジに取り付けます。

    Fusion Pro 48 へのオートフォーカススイッチの取り付け

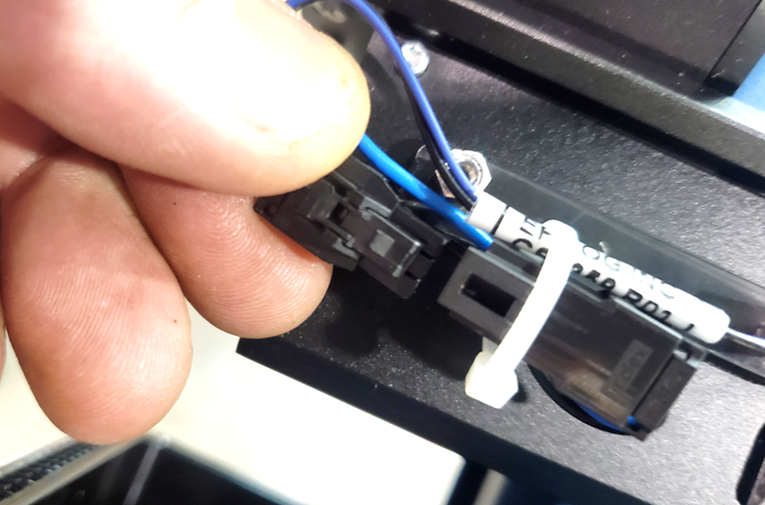
  2. オートフォーカススイッチに電気ハーネスを再接続してください。

    オートフォーカス再接続スイッチ電気ハーネス

  3. キャリッジカメラカバーを再装着してください。

    キャリッジカメラカバーの取り付け – 正面図
    キャリッジカメラカバーの取り付け – 上面図

[helpful]
  • ID:
    KA-01681
  • 日付:
    2025年5月30日

ツール:

  • プラスドライバー
  • 3/32インチ六角レンチ

部品とリソース:

  • LC1352-TS オートフォーカススイッチ

レーザー治療の旅を続けましょう

過去のレッスンを復習するか、次のステップに進んで新たな発見を!
/* === Aggressive removal of PrintFriendly injected header elements === */ #printfriendly #pf-title, #printfriendly #pf-src, #printfriendly .pf-header, #printfriendly header, #printfriendly .printfriendly-header, #printfriendly h1:first-of-type, #printfriendly .page-header, #printfriendly [class*="header"], #printfriendly [id*="header"] { display: none !important; visibility: hidden !important; height: 0 !important; margin: 0 !important; padding: 0 !important; } /* Hide any top bar or source URL container */ #printfriendly #pf-src, #printfriendly .pf-src, #printfriendly [class*="src"], #printfriendly [class*="url"] { display: none !important; } /* Force page margins and centered page numbers */ @page { size: letter portrait; margin: 0.7in 0.5in; } @page :left, @page :right { @top-left { content: none !important; } @top-center { content: none !important; } @top-right { content: none !important; } @bottom-center { content: counter(page); font-size: 0.95em; padding-bottom: 25px; } }