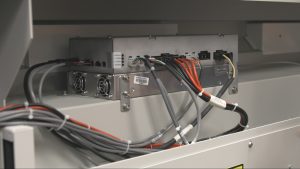
WARNING: Servicing the power supply while the engraver is powered on can cause serious injury or damage to internal components. Always disconnect all power sources before beginning.
Power Supply Removal
-
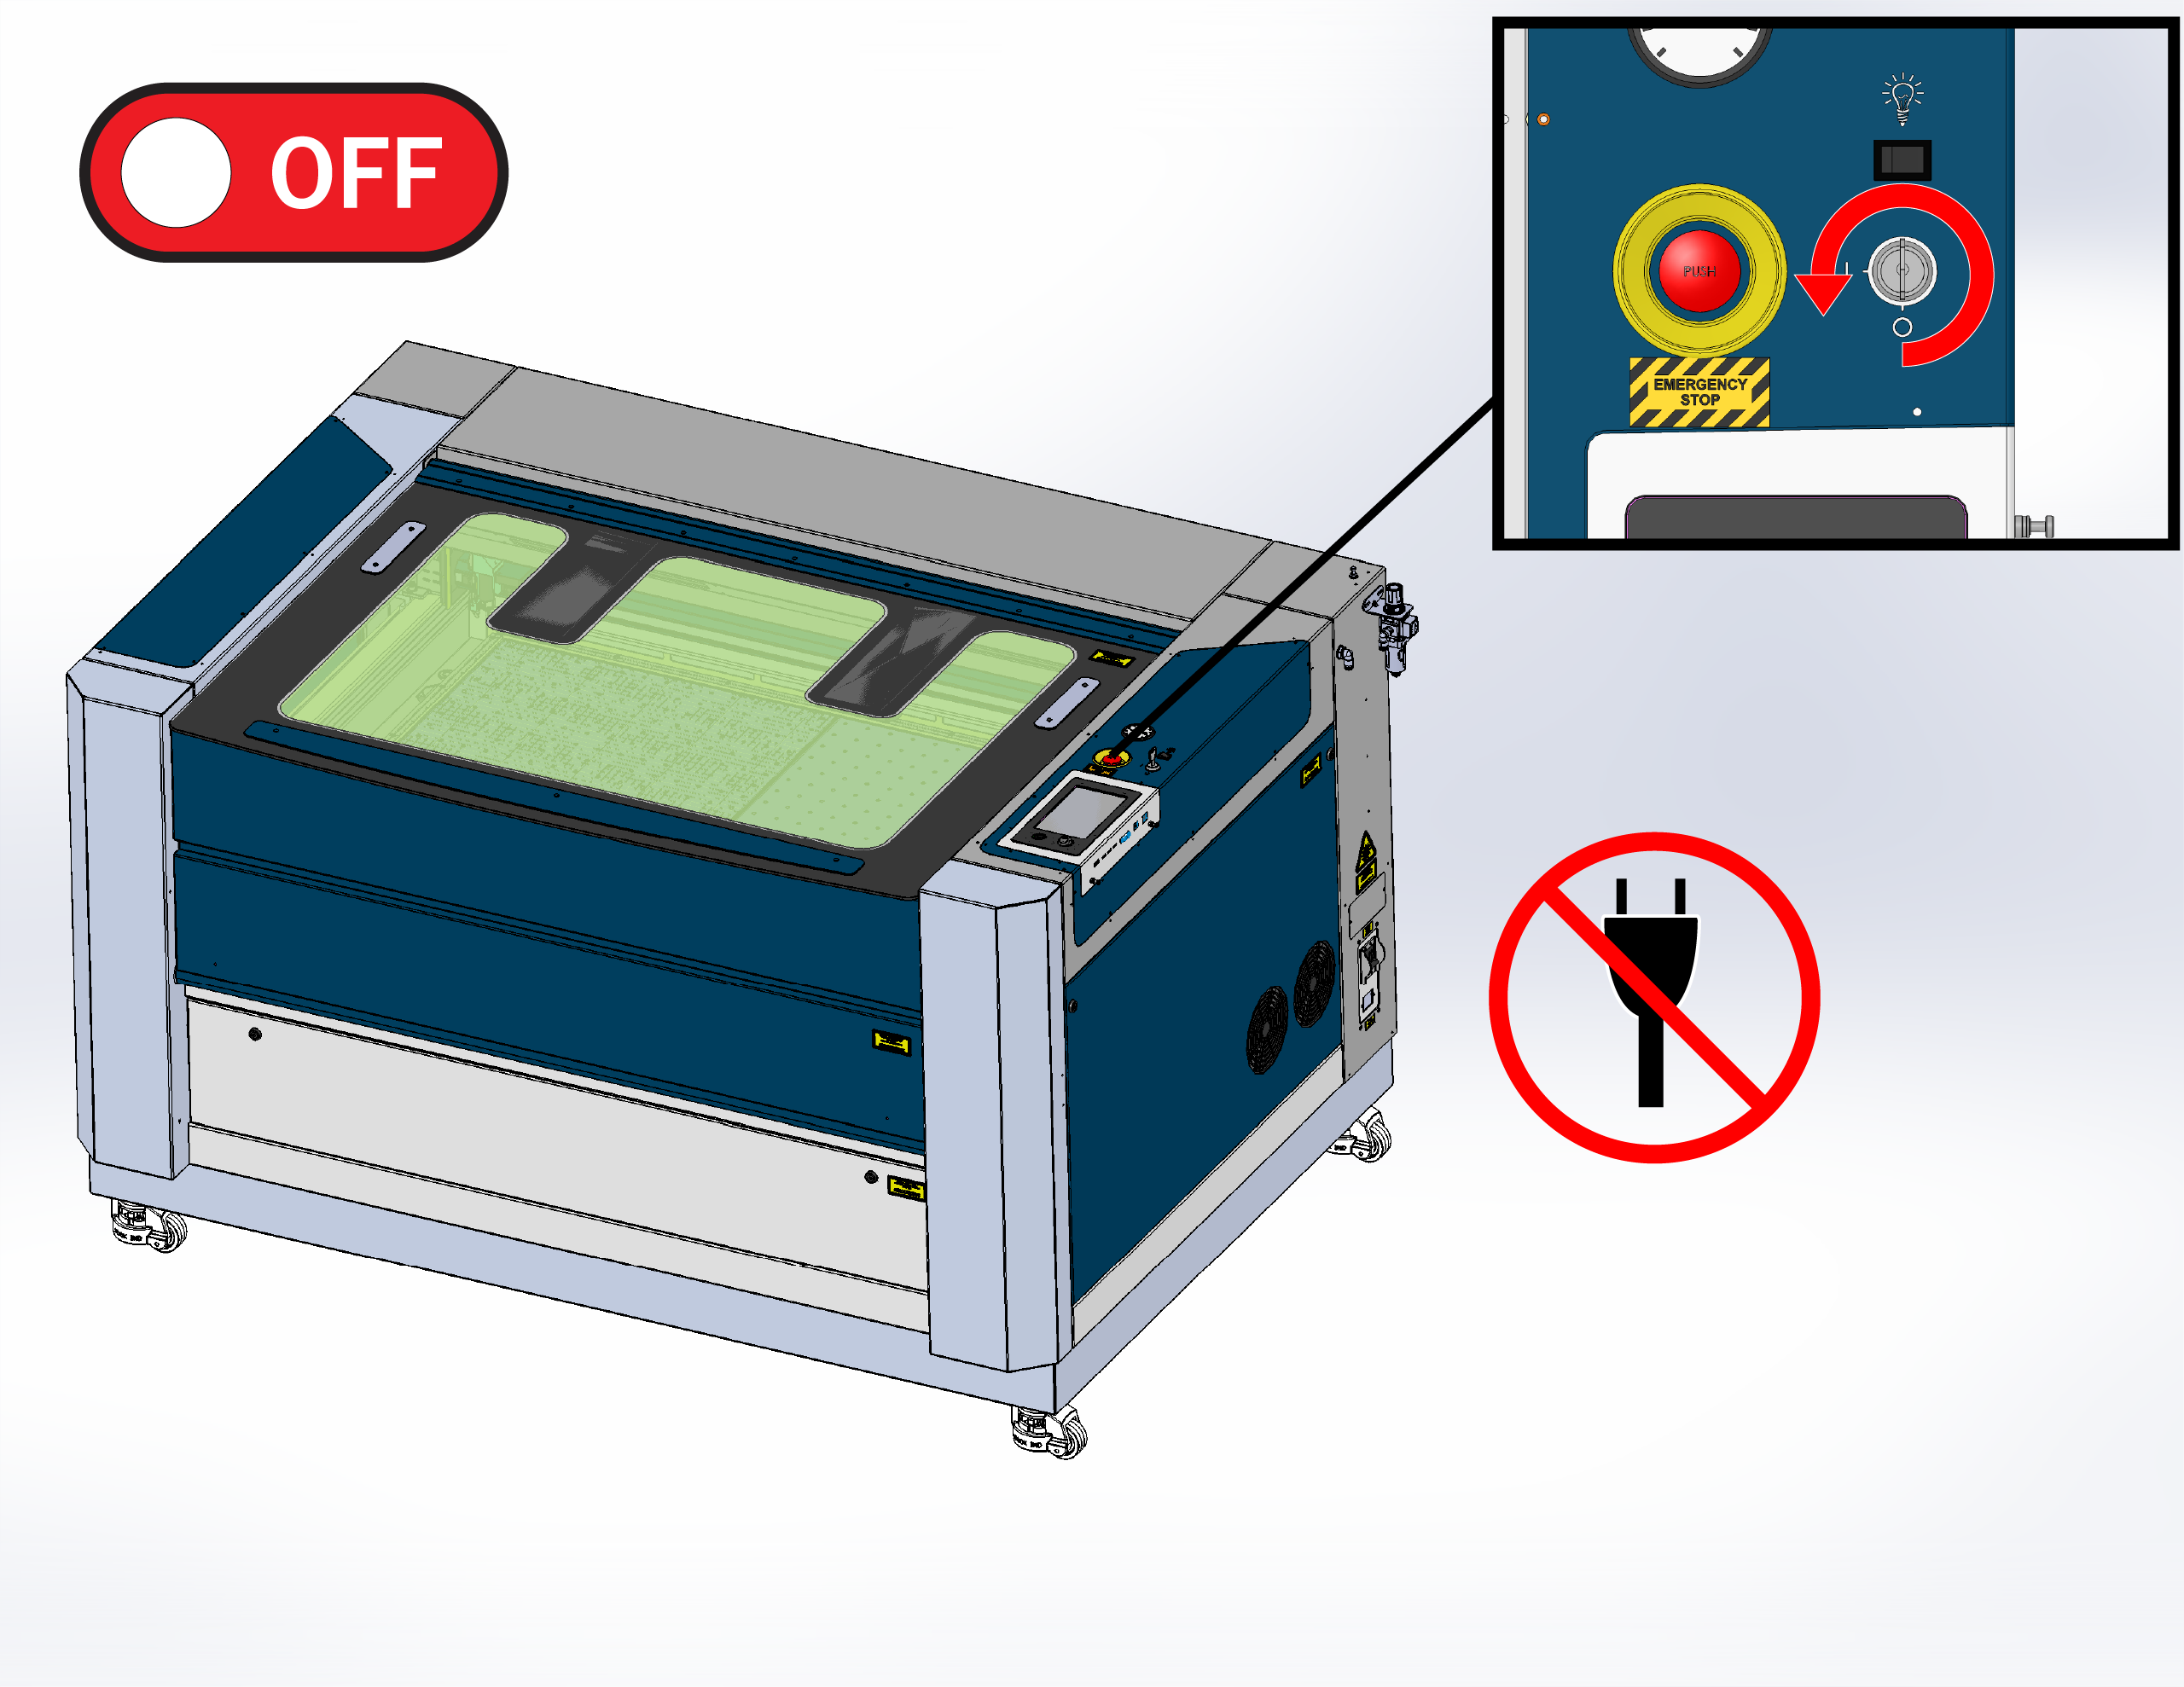
Power OFF the system and disconnect the power cable.
-
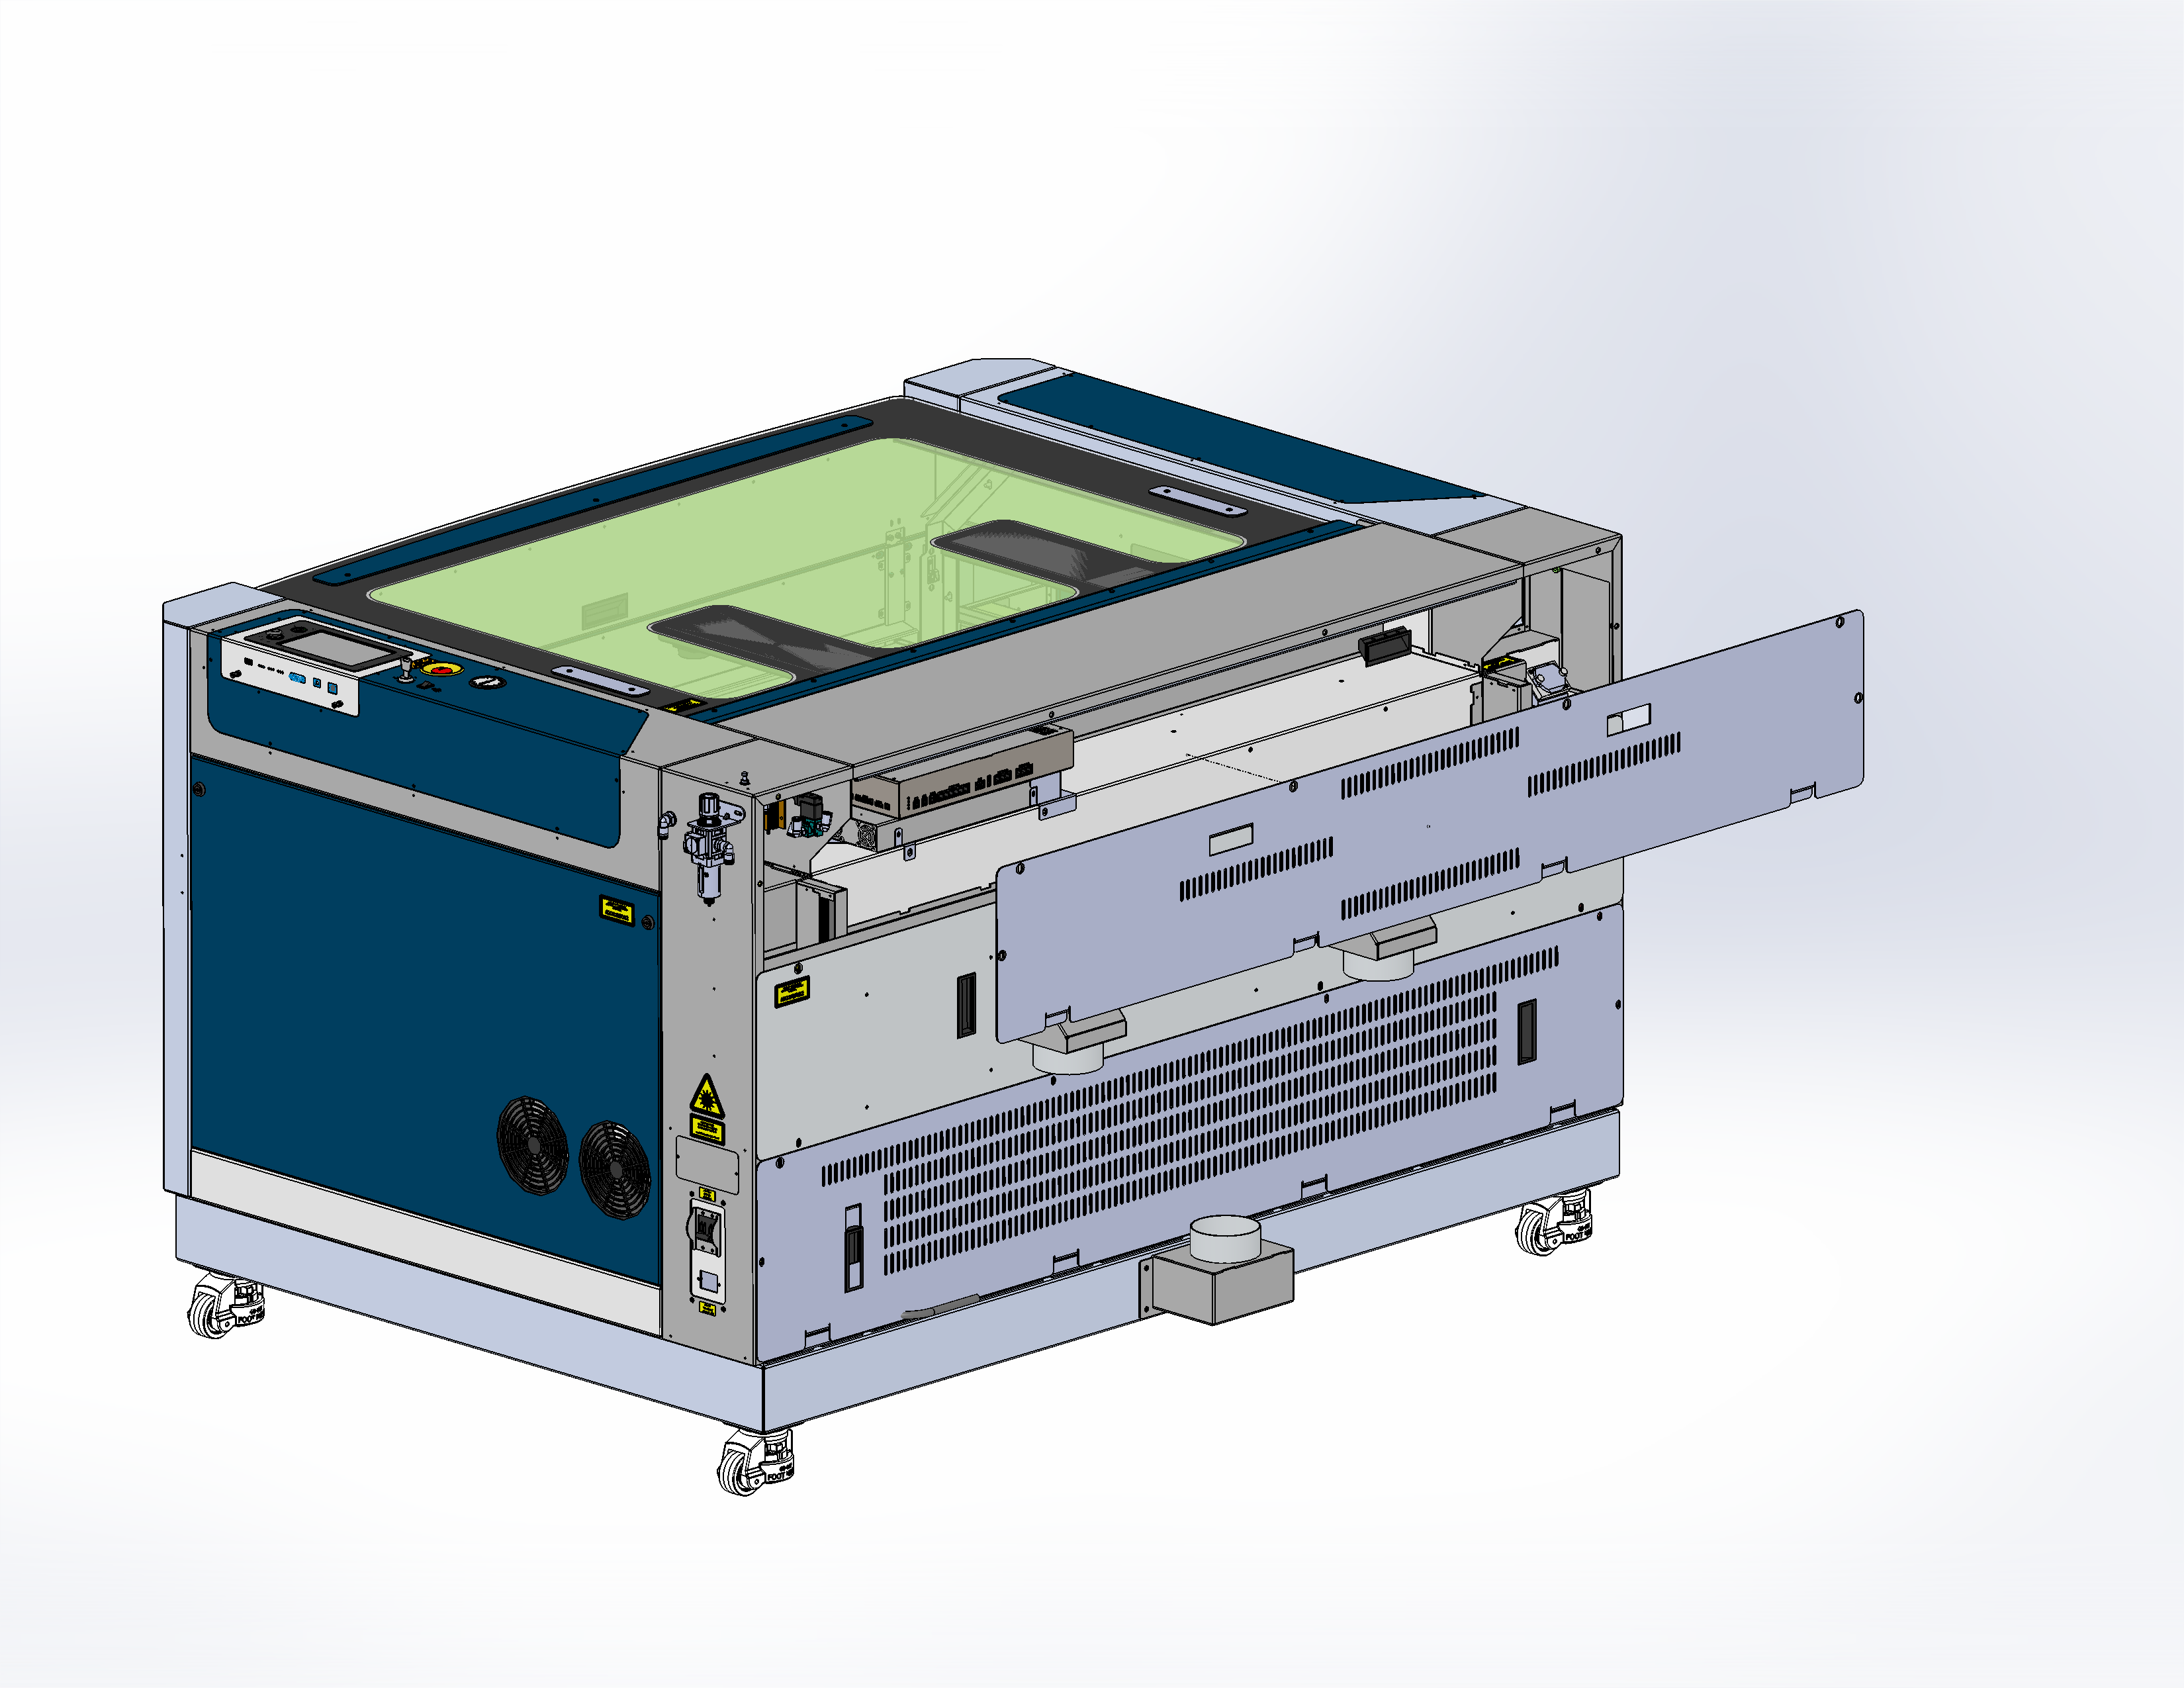
Remove the rear-top panel.
-
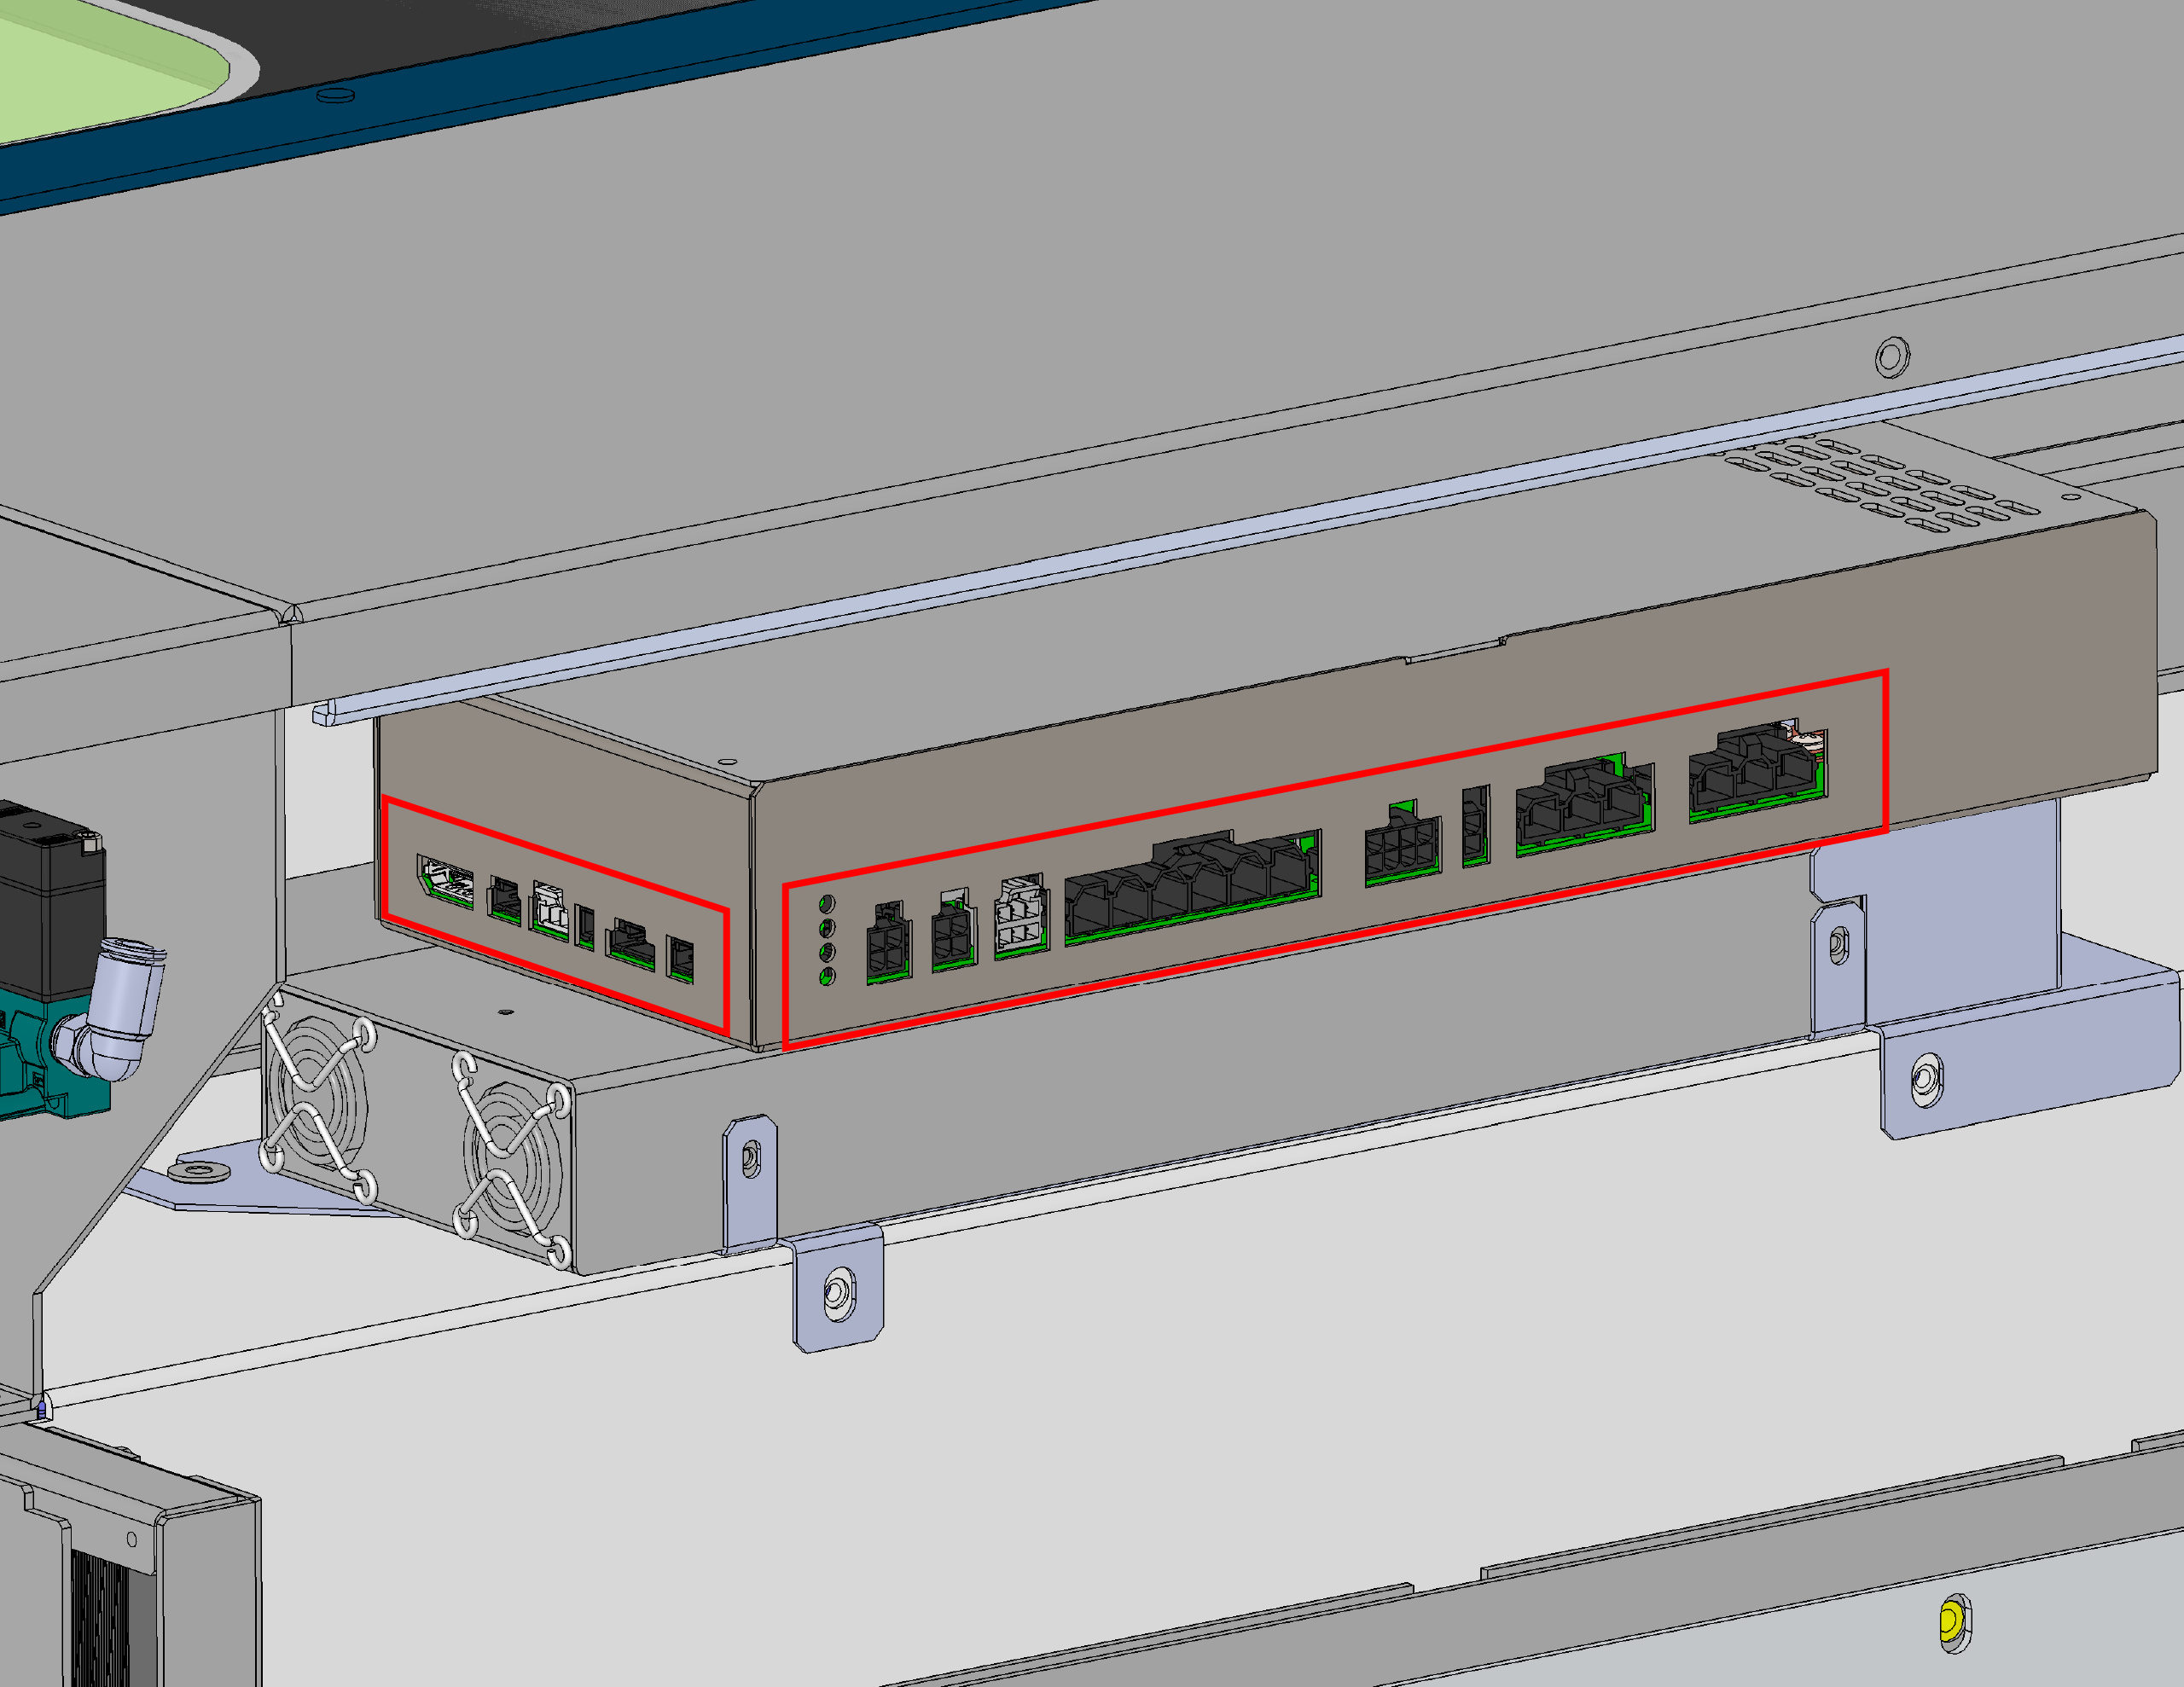
Disconnect all electrical harnesses from the power supply.
Note: Take a photo of the electrical harnessing before disconnecting it to use as a reference during reinstallation.
-
Remove the mounting screws securing the power supply.
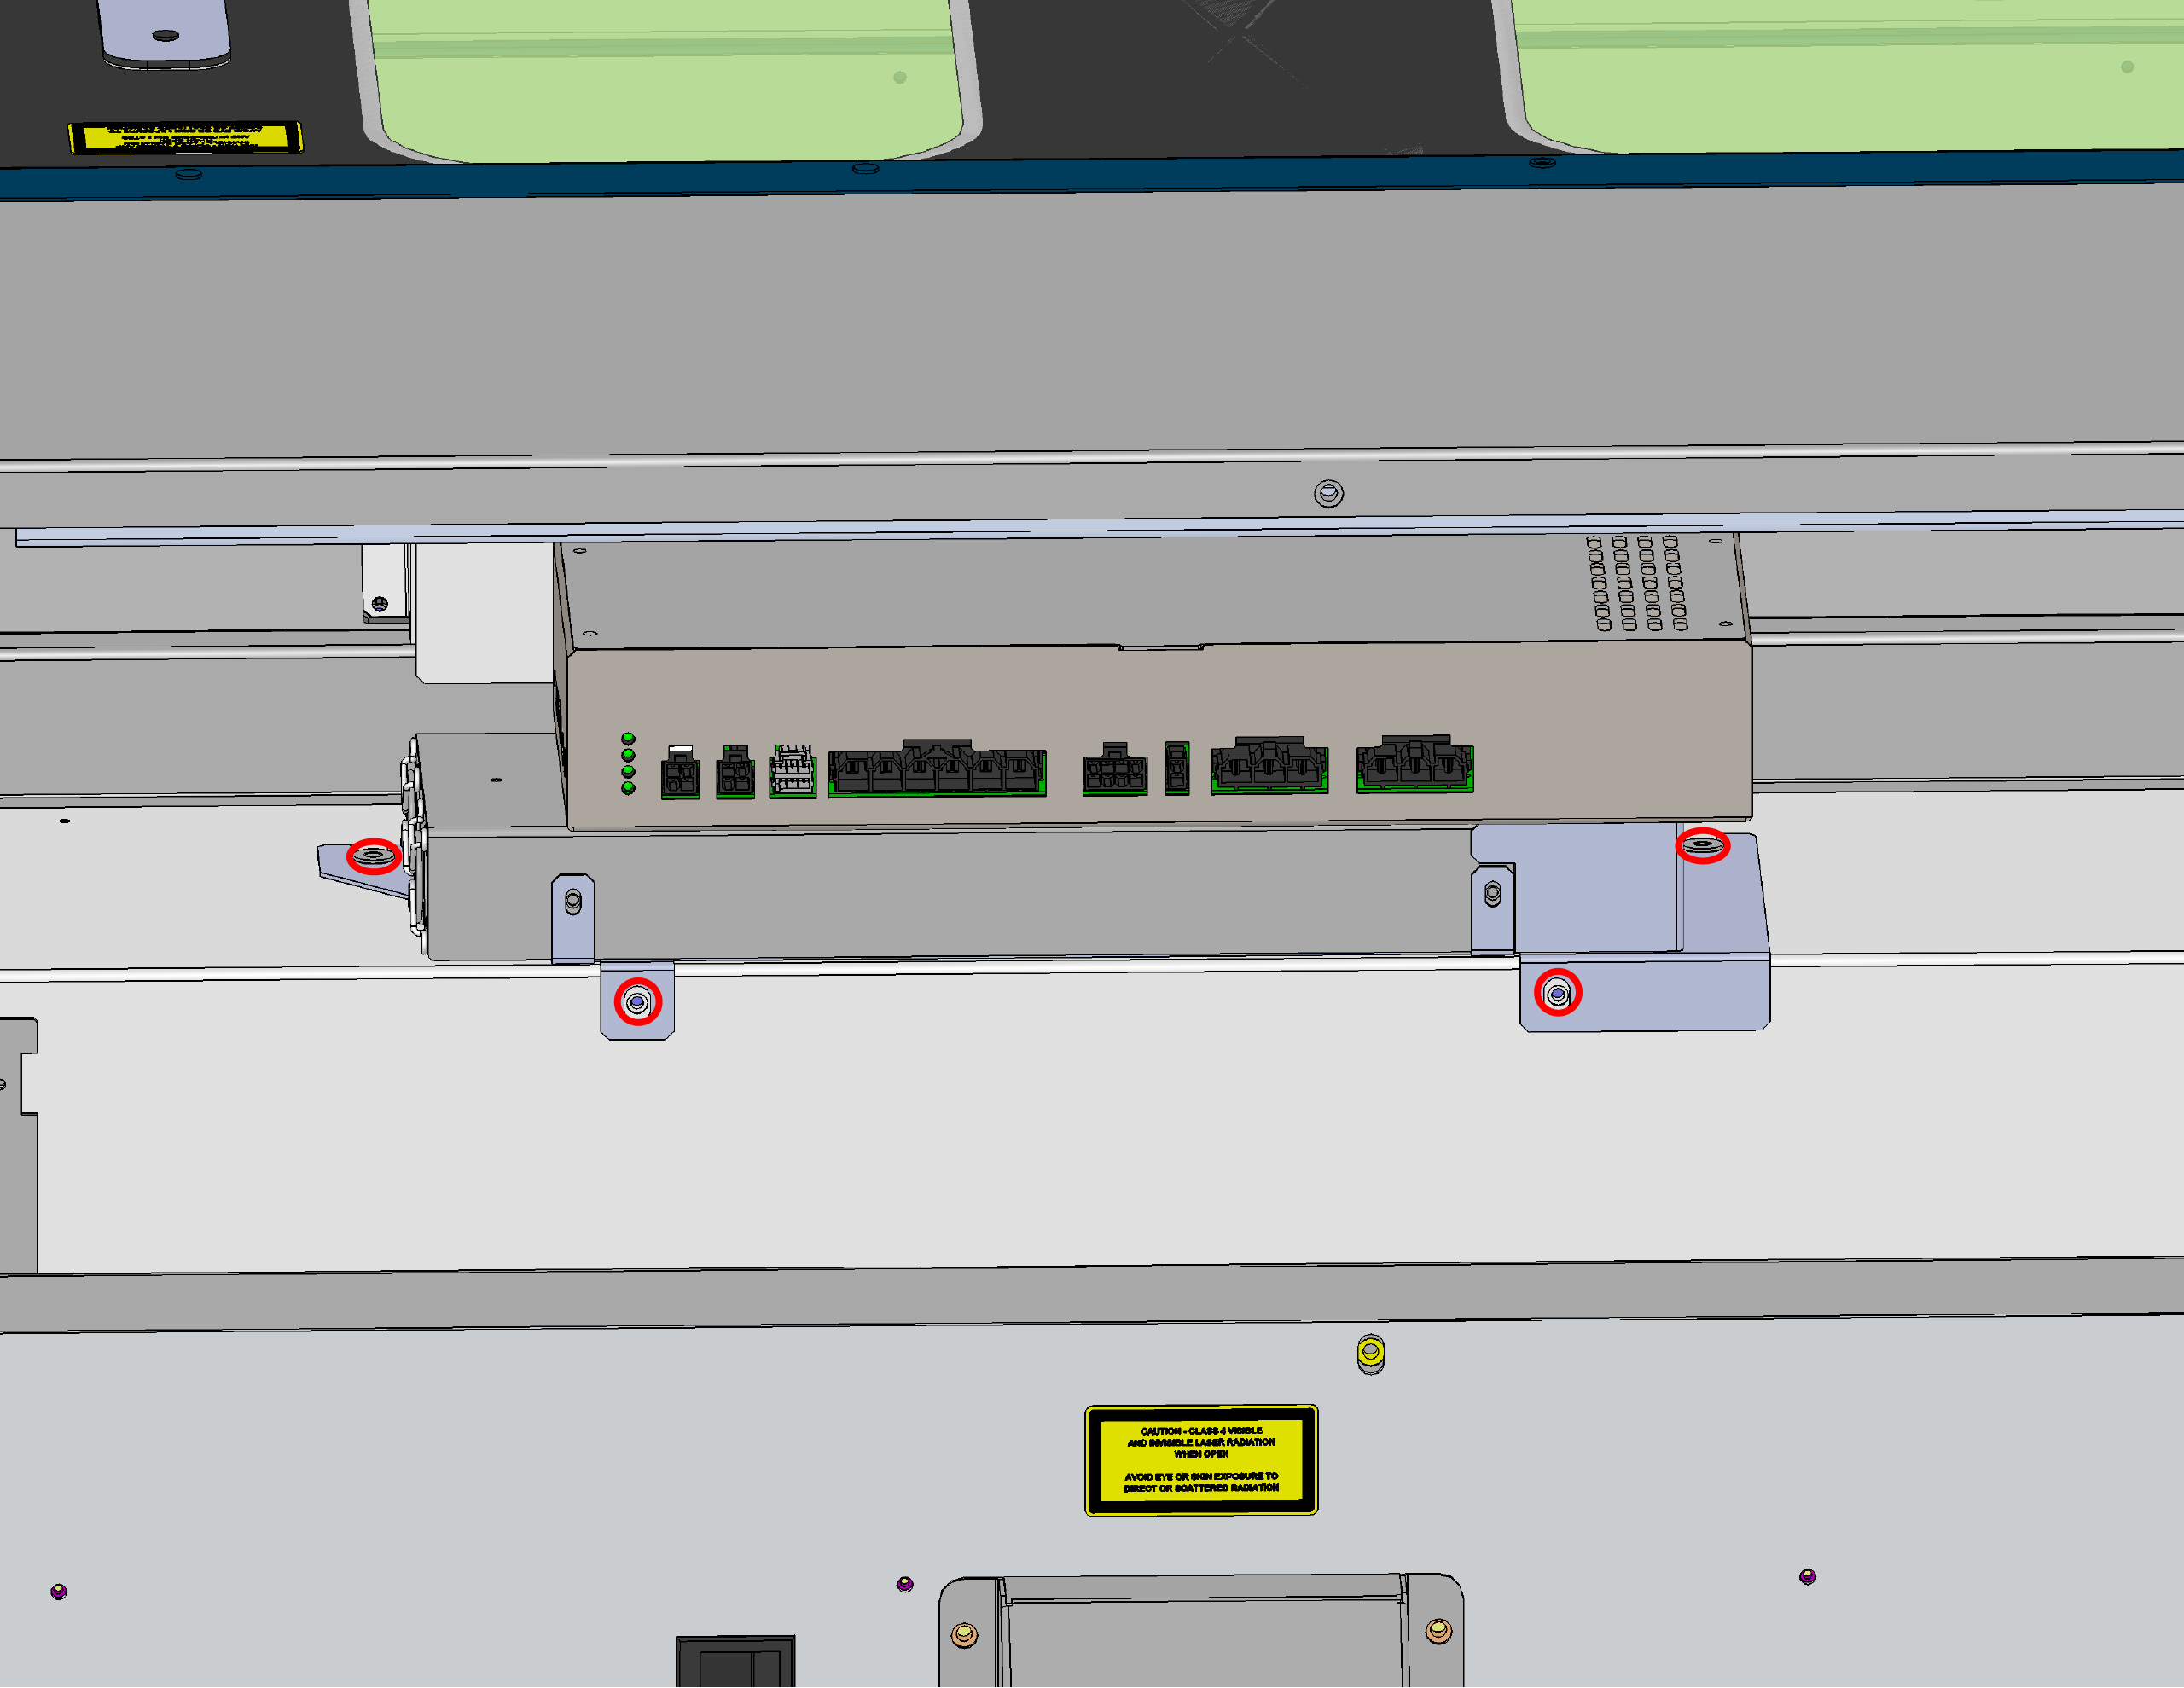
-
Carefully remove the power supply from the machine.
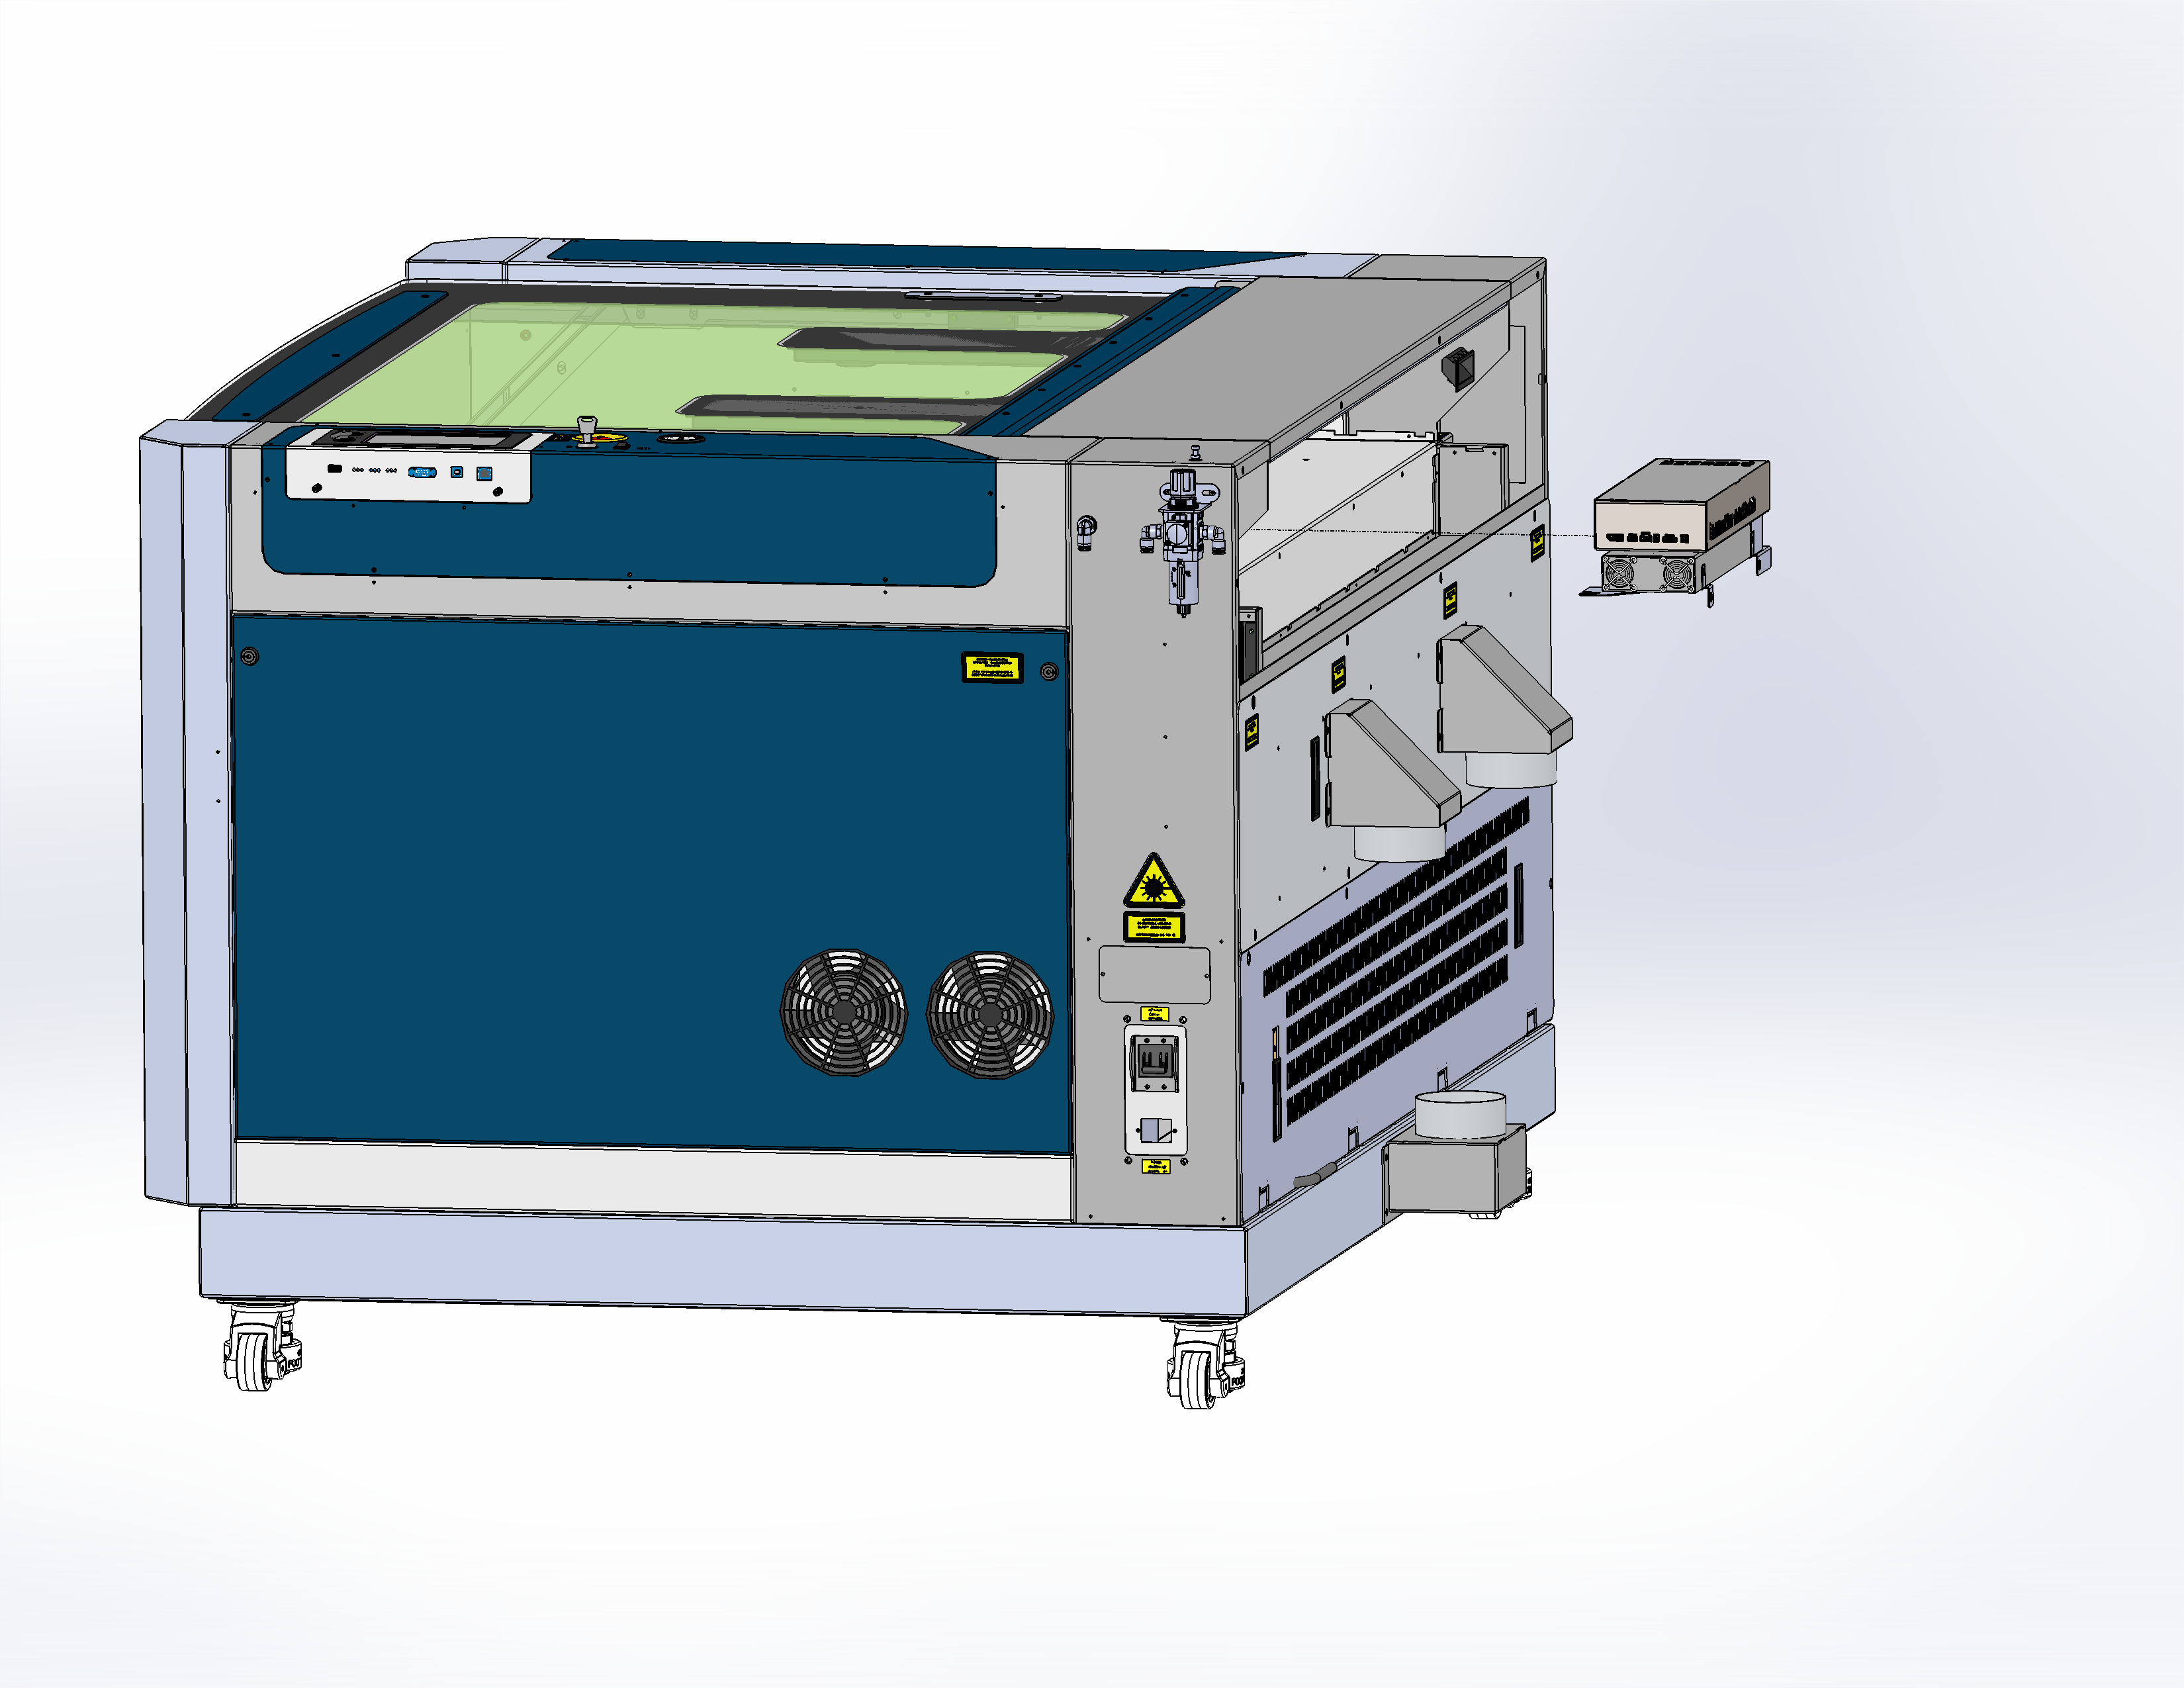
Power Supply Installation
-
Insert the replacement power supply into the compartment.
-
Secure the power supply using the mounting screws.
-
Reconnect all electrical harnesses to the replacement power supply.
-
Reinstall the rear-top panel.
-
Reconnect the power cable and power ON the system.
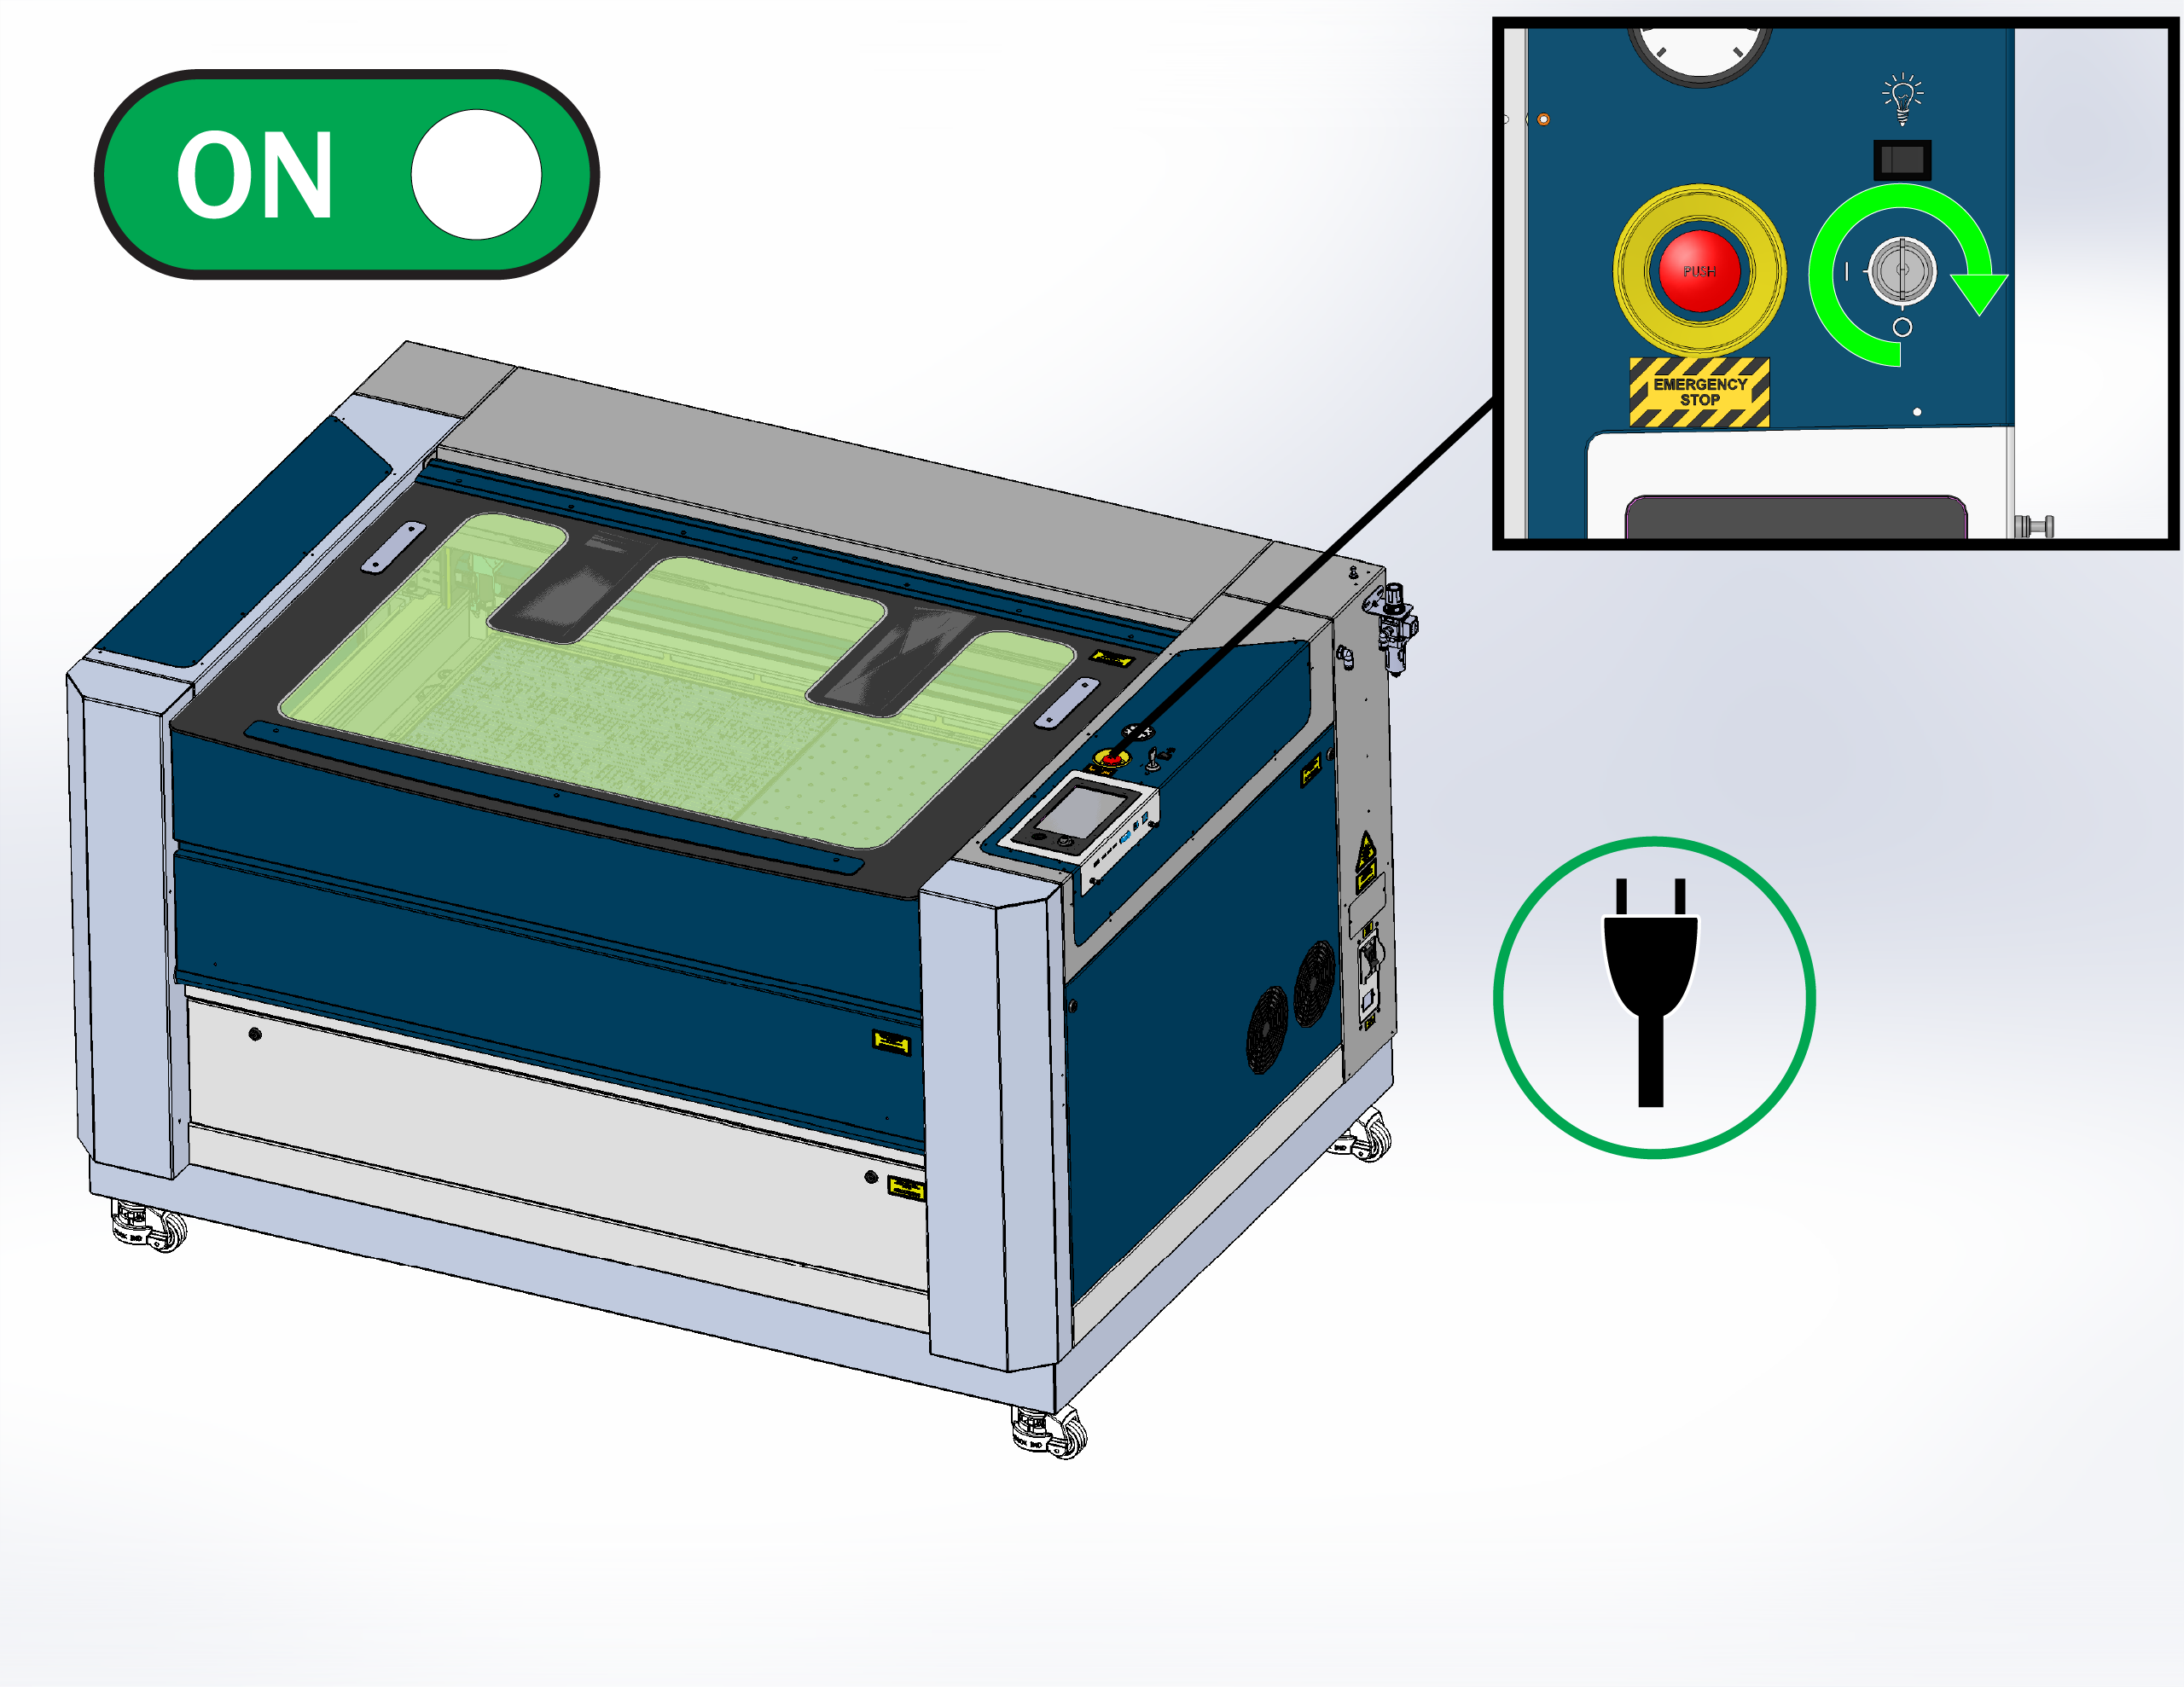
Programming Peripherals
-
At the display panel, press the gear icon in the upper-right corner to open the Settings menu.

-
Press Update.

-
Press Program Peripherals.

-
Once in the Peripheral Update menu, select Power Supply and press Update.

-
Allow the engraver to complete the update process.
Warning: Do not power off the engraver during the update. The screen may go dark temporarily—this is normal. Once the update is complete, the system will prompt you to restart the engraver.
-
When prompted, power cycle the engraver to complete the update.