メインコンテンツへスキップ

マニュアルフォーカスゲージのキャリブレーション – Fusion Maker、Edge、Pro

Fusion Maker、Edge、またはProマシンにおけるマニュアルフォーカスゲージの調整方法を学びましょう。

はじめに

この手順は、フォーカスキャリブレーションウィザード完了後にマニュアルフォーカスゲージを校正するために必要な手順を説明します。適切な校正により、ゲージがキャリブレーションウィザードで決定された正しい焦点高さを正確に反映することが保証されます。

注記:キャリブレーションウィザードは、ファームウェアバージョン1.1.2.1以降でのみ利用可能です。ファームウェアを更新するには、[サポート] > [ソフトウェアおよびファームウェアのダウンロード] に移動してください。

マニュアルフォーカスゲージの調整

  1. フォーカスキャリブレーションウィザードを完了した後、キャリッジを手動で操作し、刻印された陽極酸化アルミニウムのテストパターン上に位置合わせしてください。
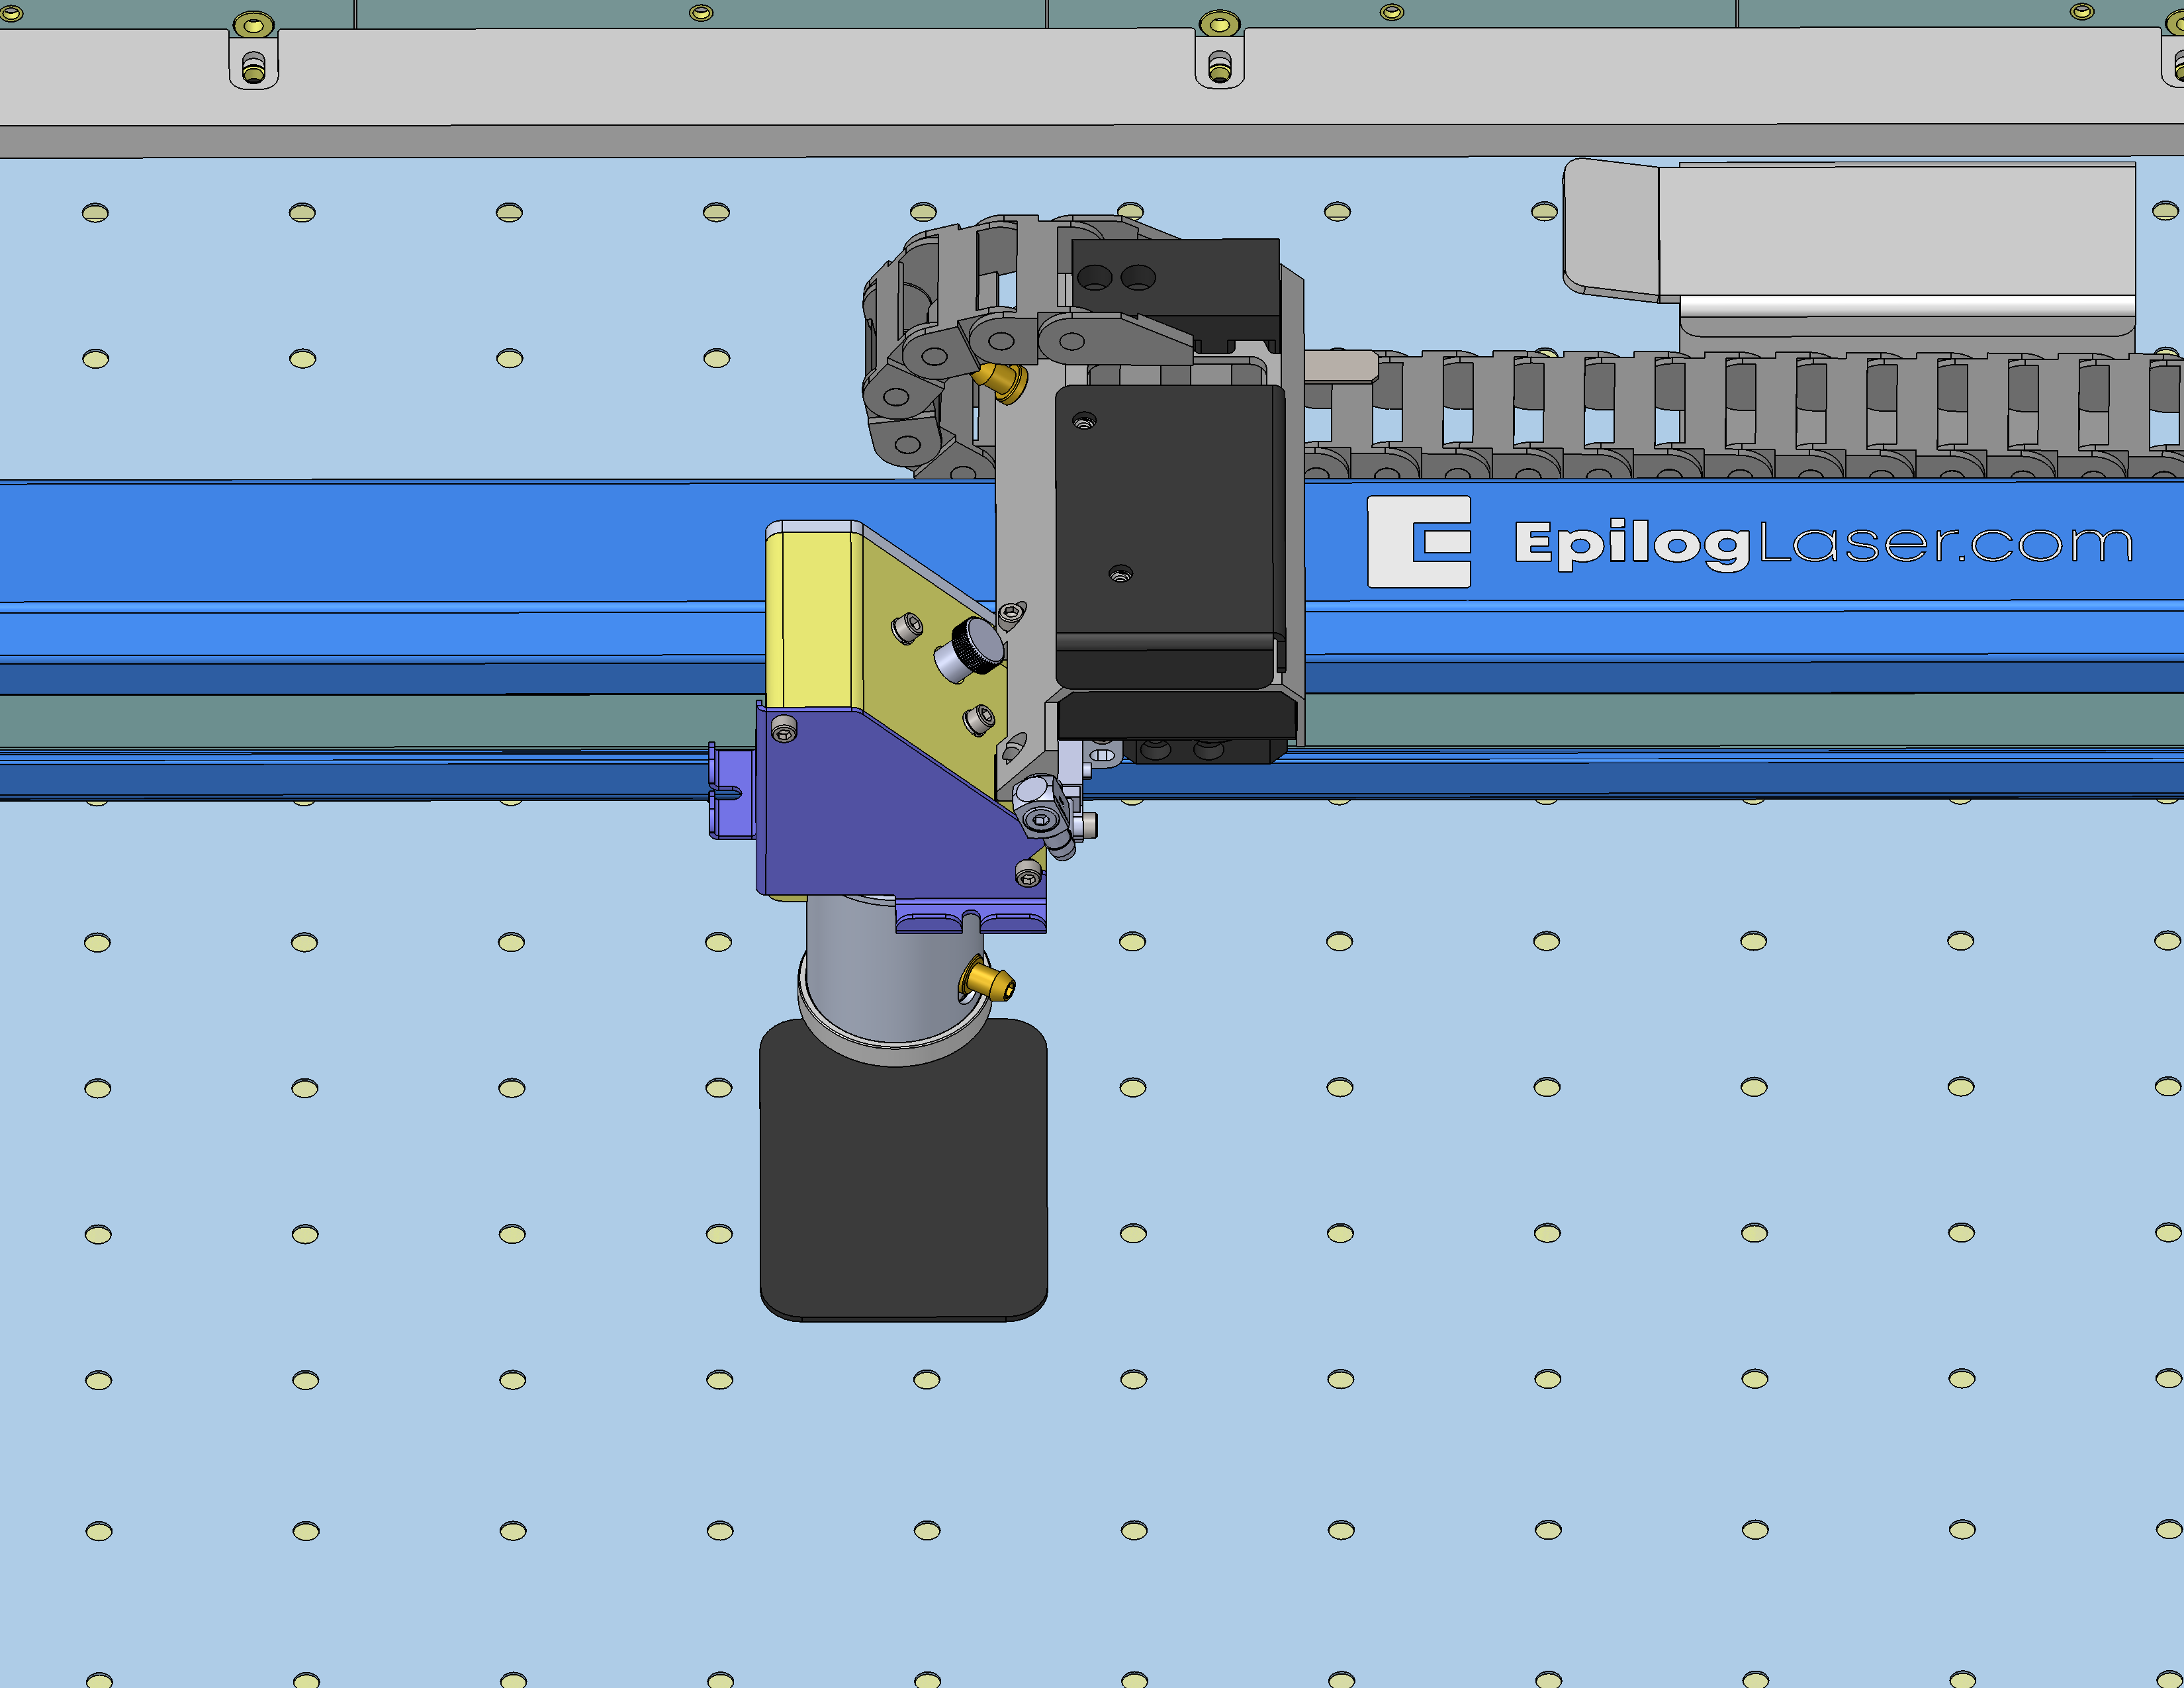
    陽極酸化処理されたキャリッジをジョグする

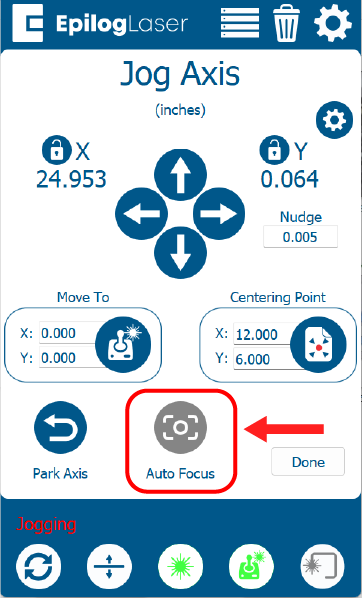
  2. オートフォーカスを押す。

    オートフォーカスを押す

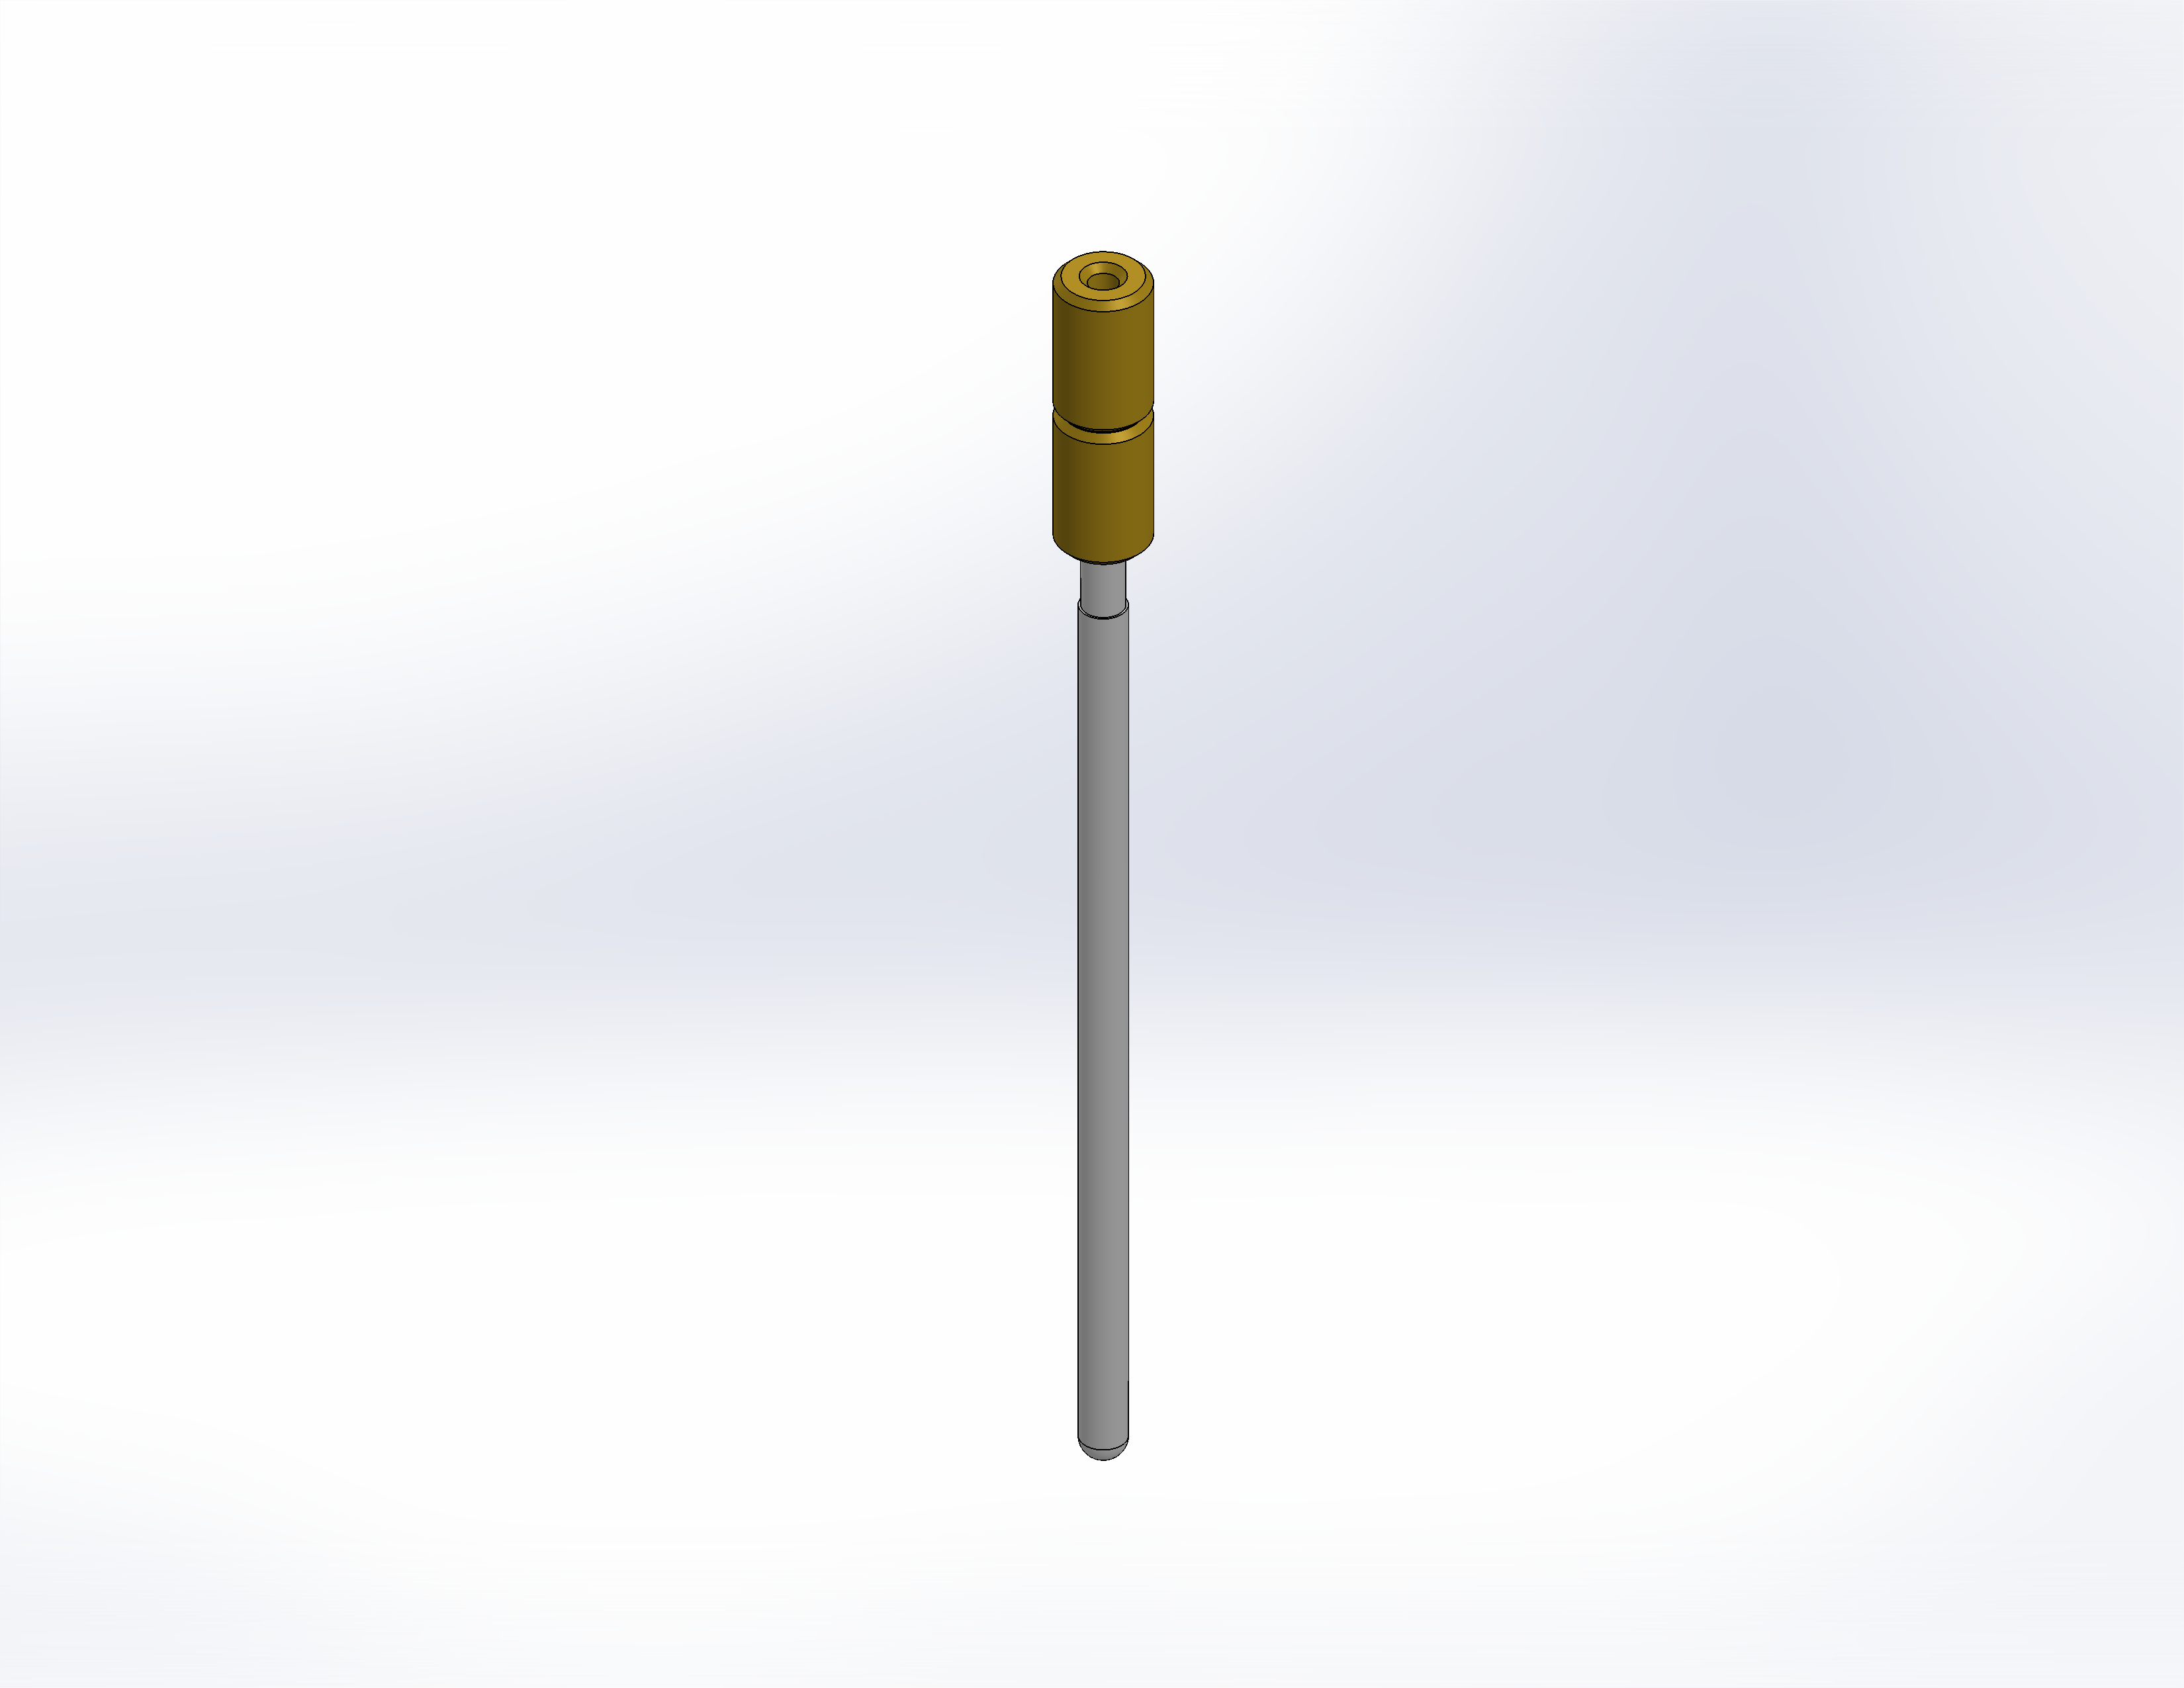
  3. マニュアルフォーカスゲージをキャリッジの指定された取付位置に設置してください。
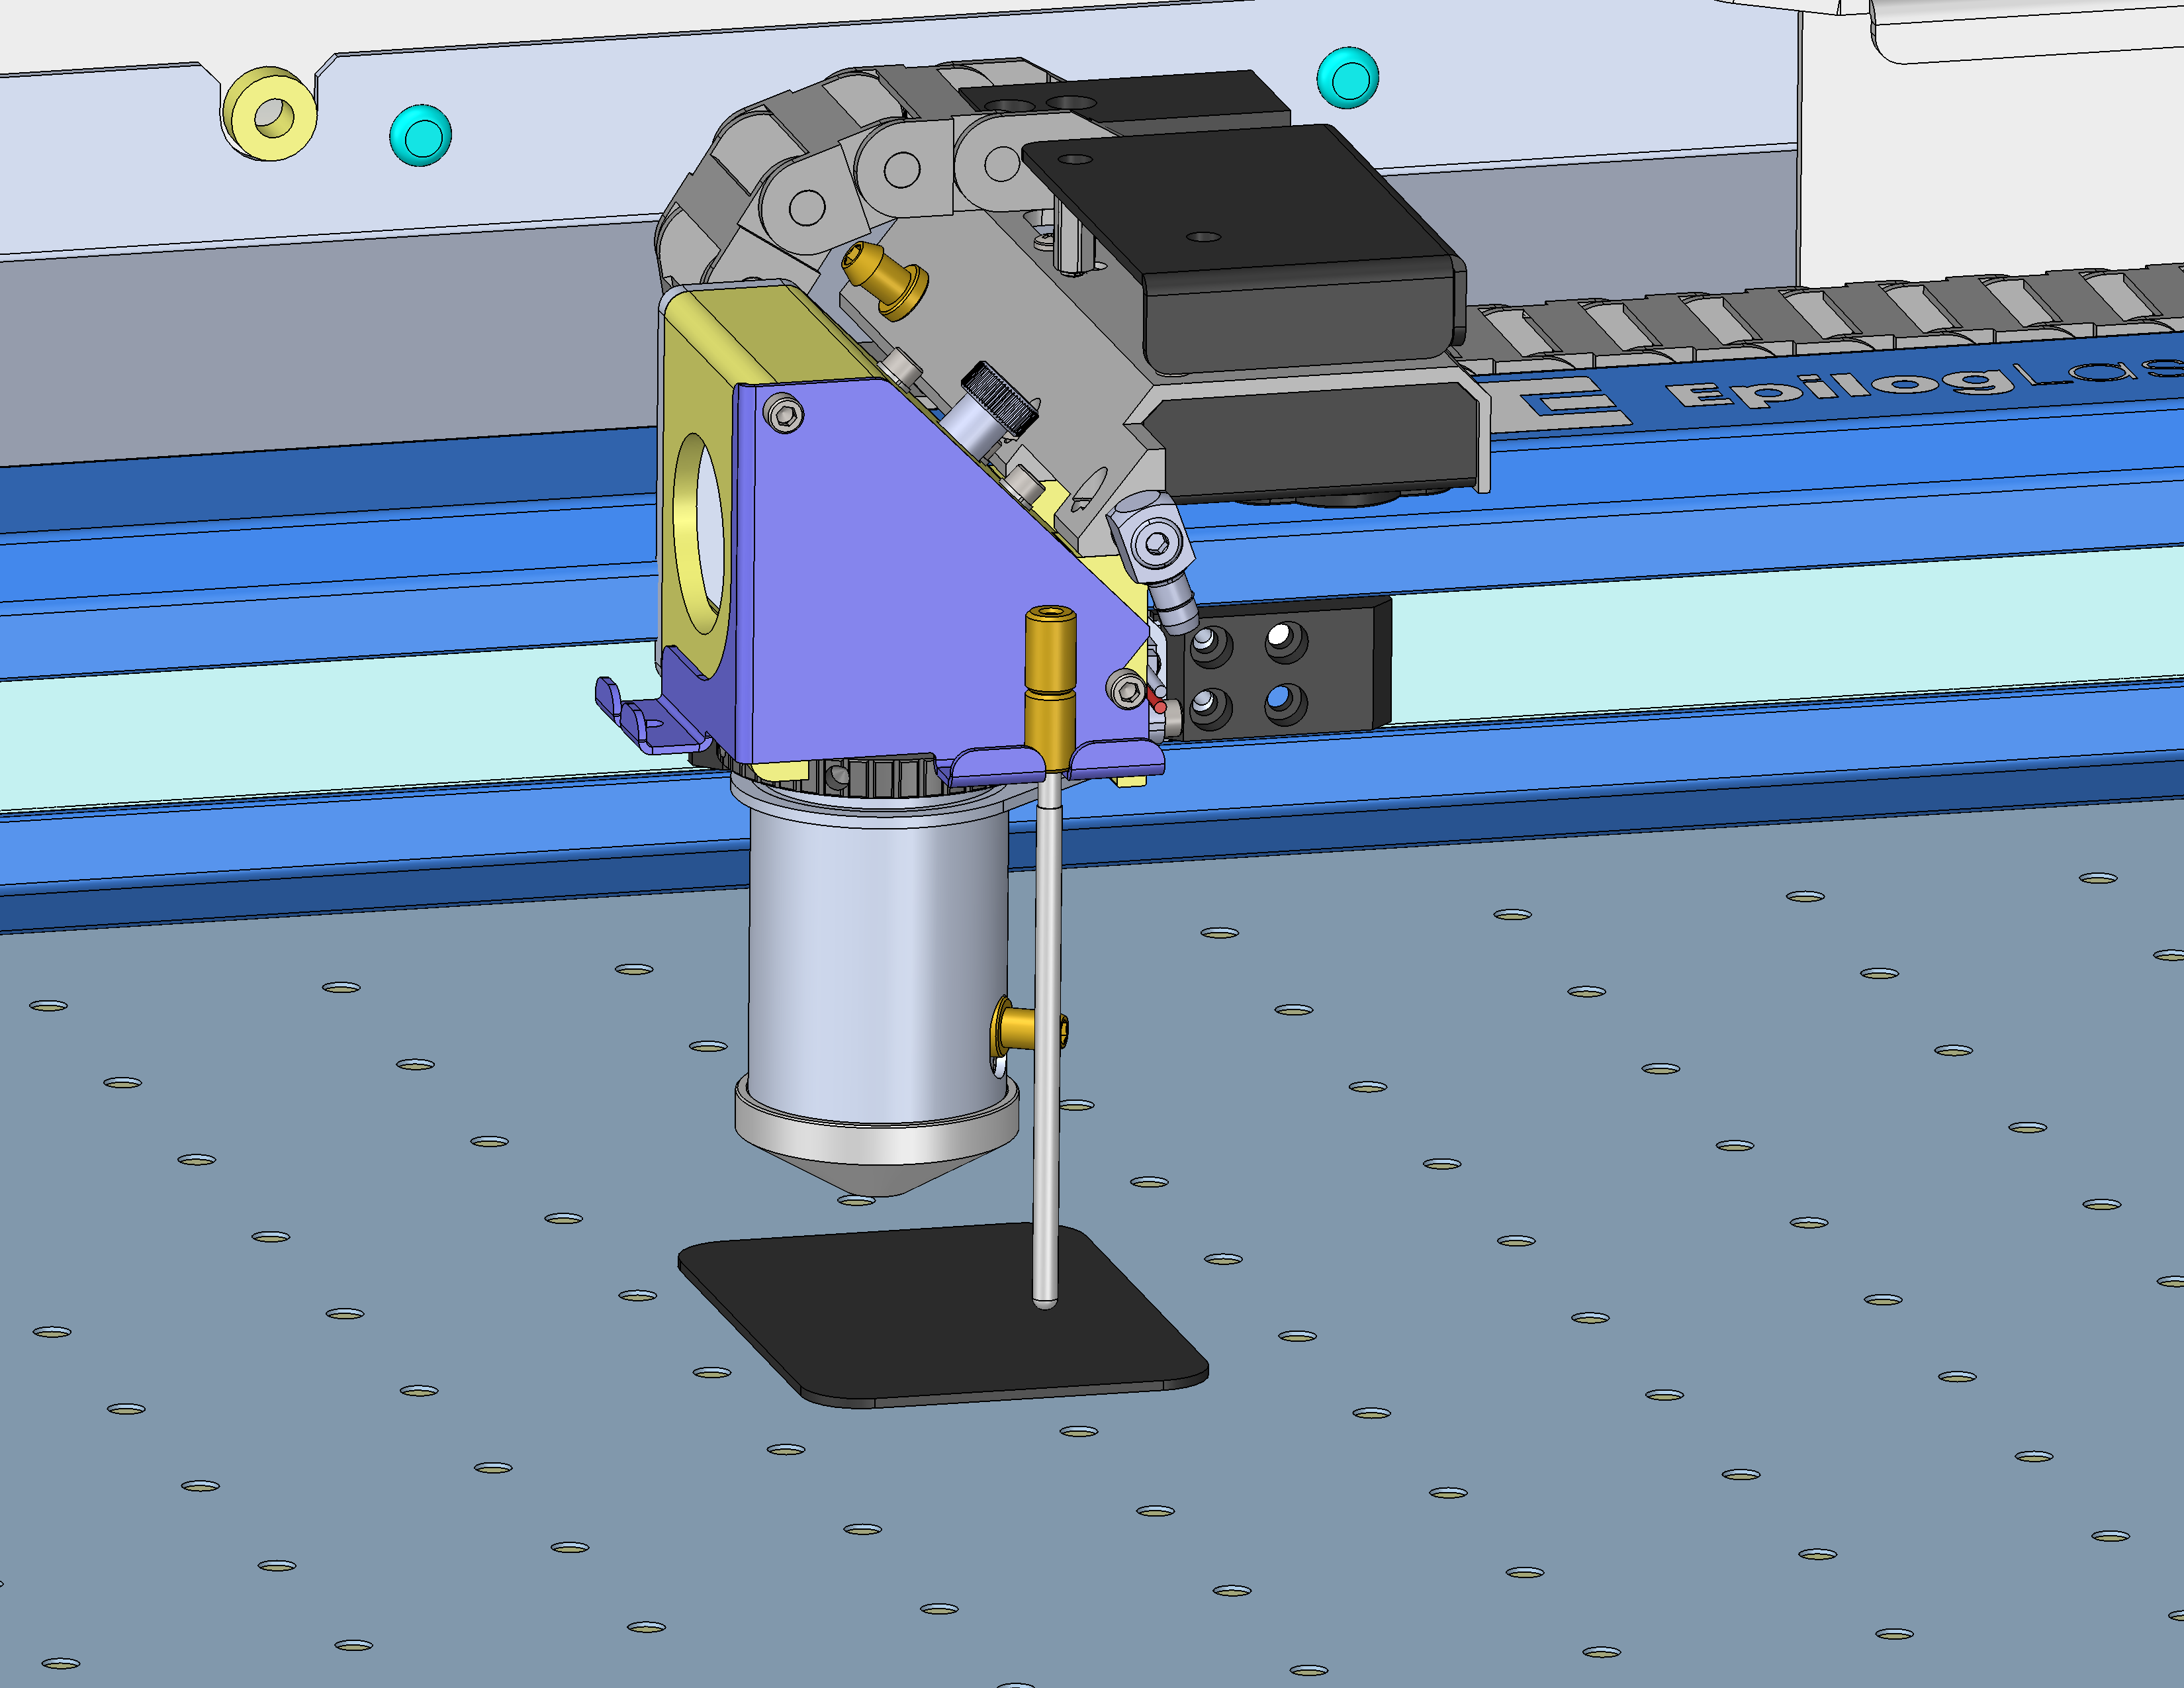
    キャリッジ上の焦点ゲージ

  4. フォーカスツールの先端が素材の表面に軽く接触していることを確認してください。
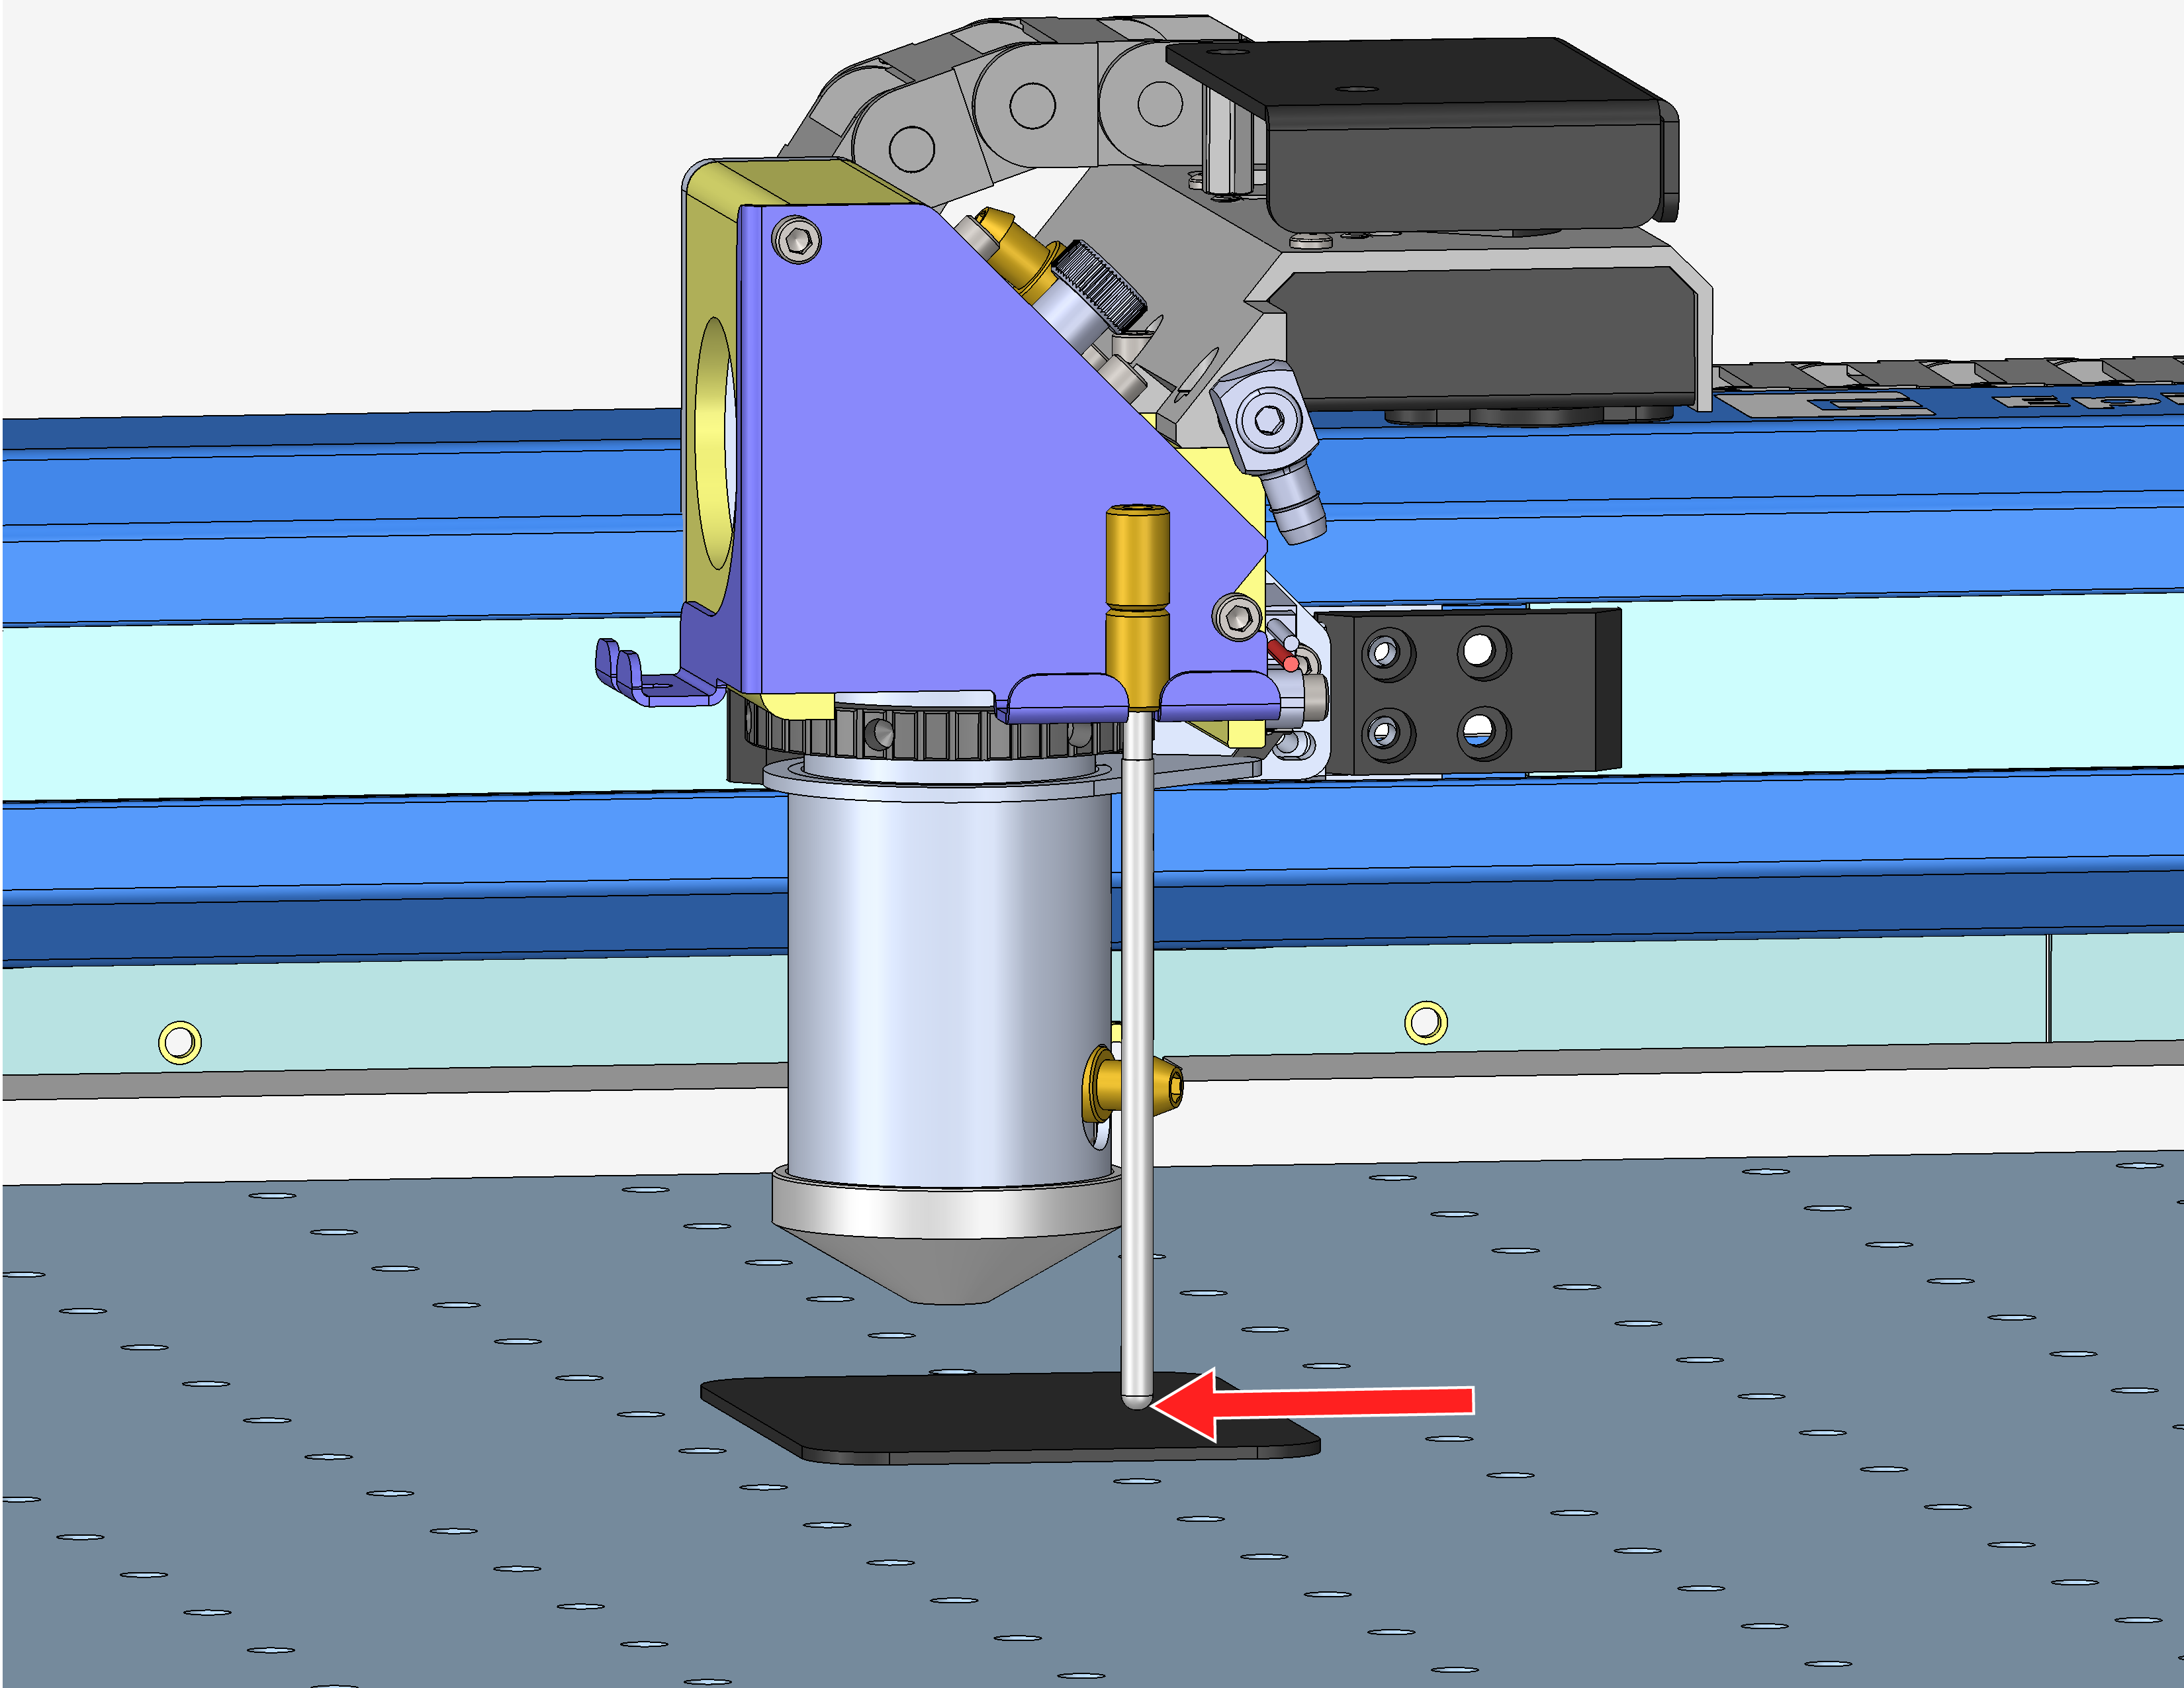
    工具が材料に触れる

  5. 調整が必要な場合は、ゲージの端にある2つの真鍮製継手を緩めてください。

    真鍮製継手を調整する

  6. 下部の真鍮製継手を回してゲージを上下させ、先端が材料に軽く触れる位置に調整してください。
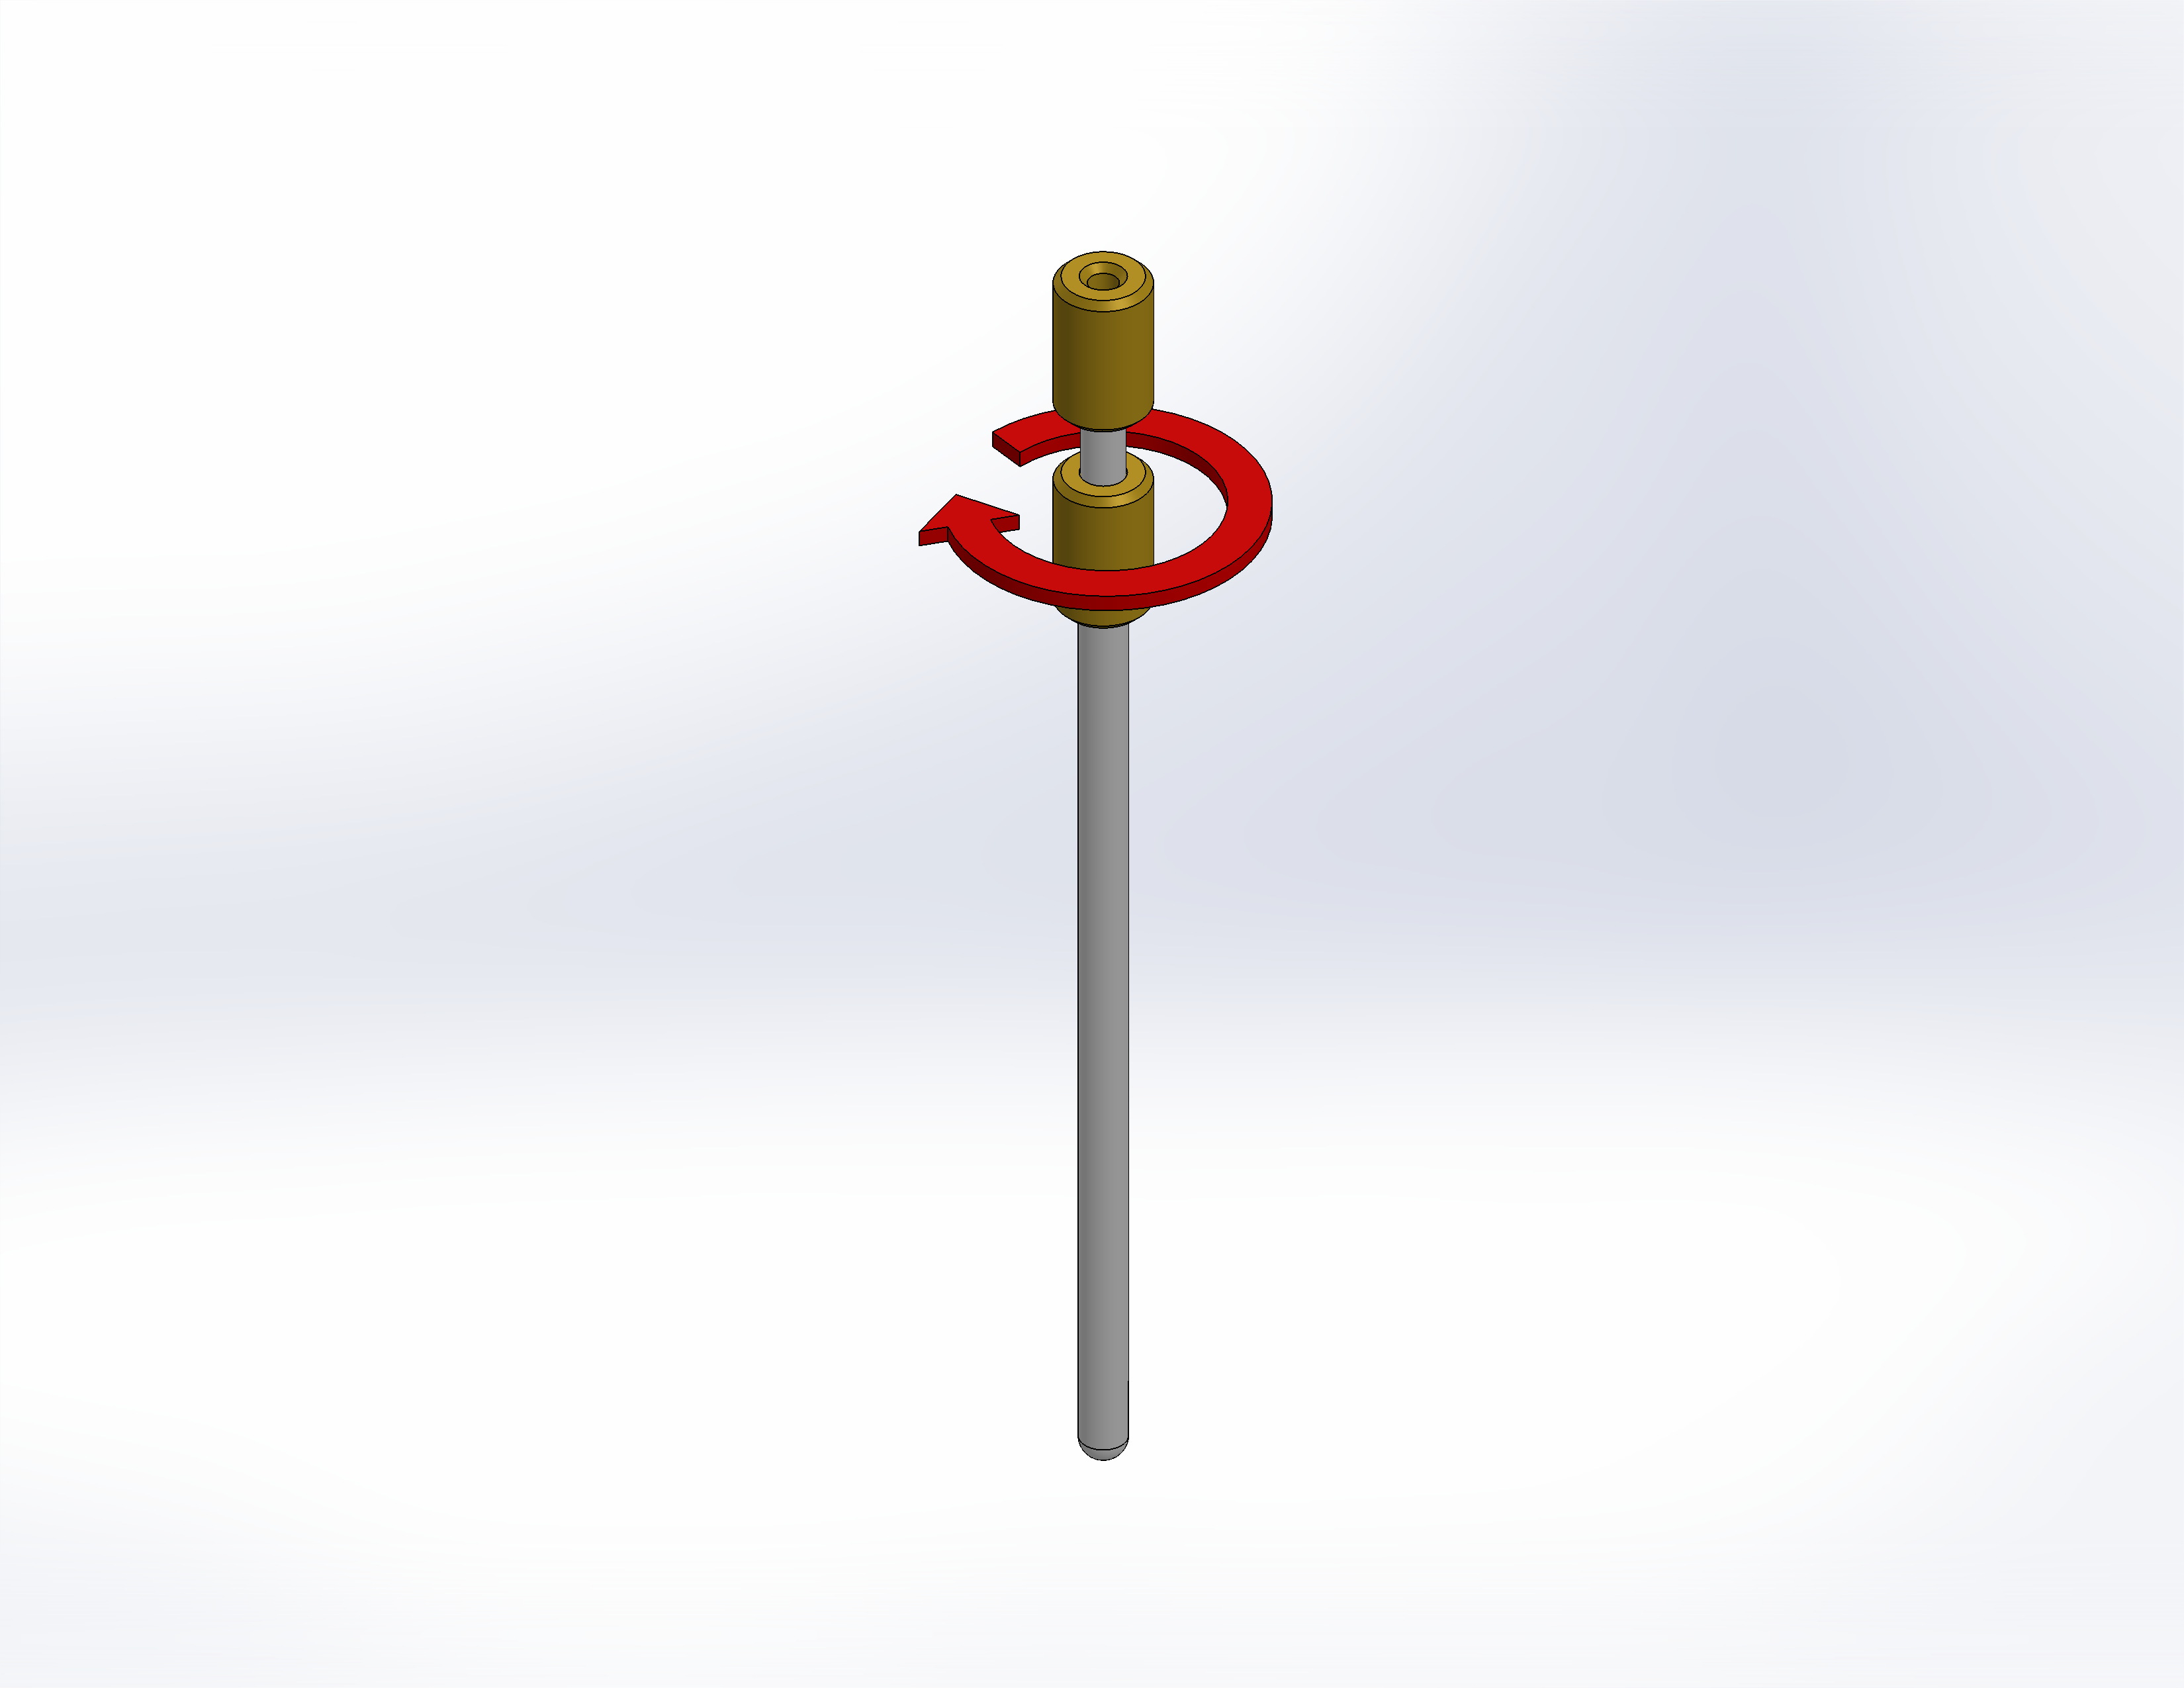
    真鍮継手を緩める

  7. フォーカスツールの先端が素材の表面に軽く接触していることを確認してください。

    工具が材料に触れる

  8. 正しい高さが設定されたら、下部の継手を押さえながら上部の真鍮製継手を締め付けてください。
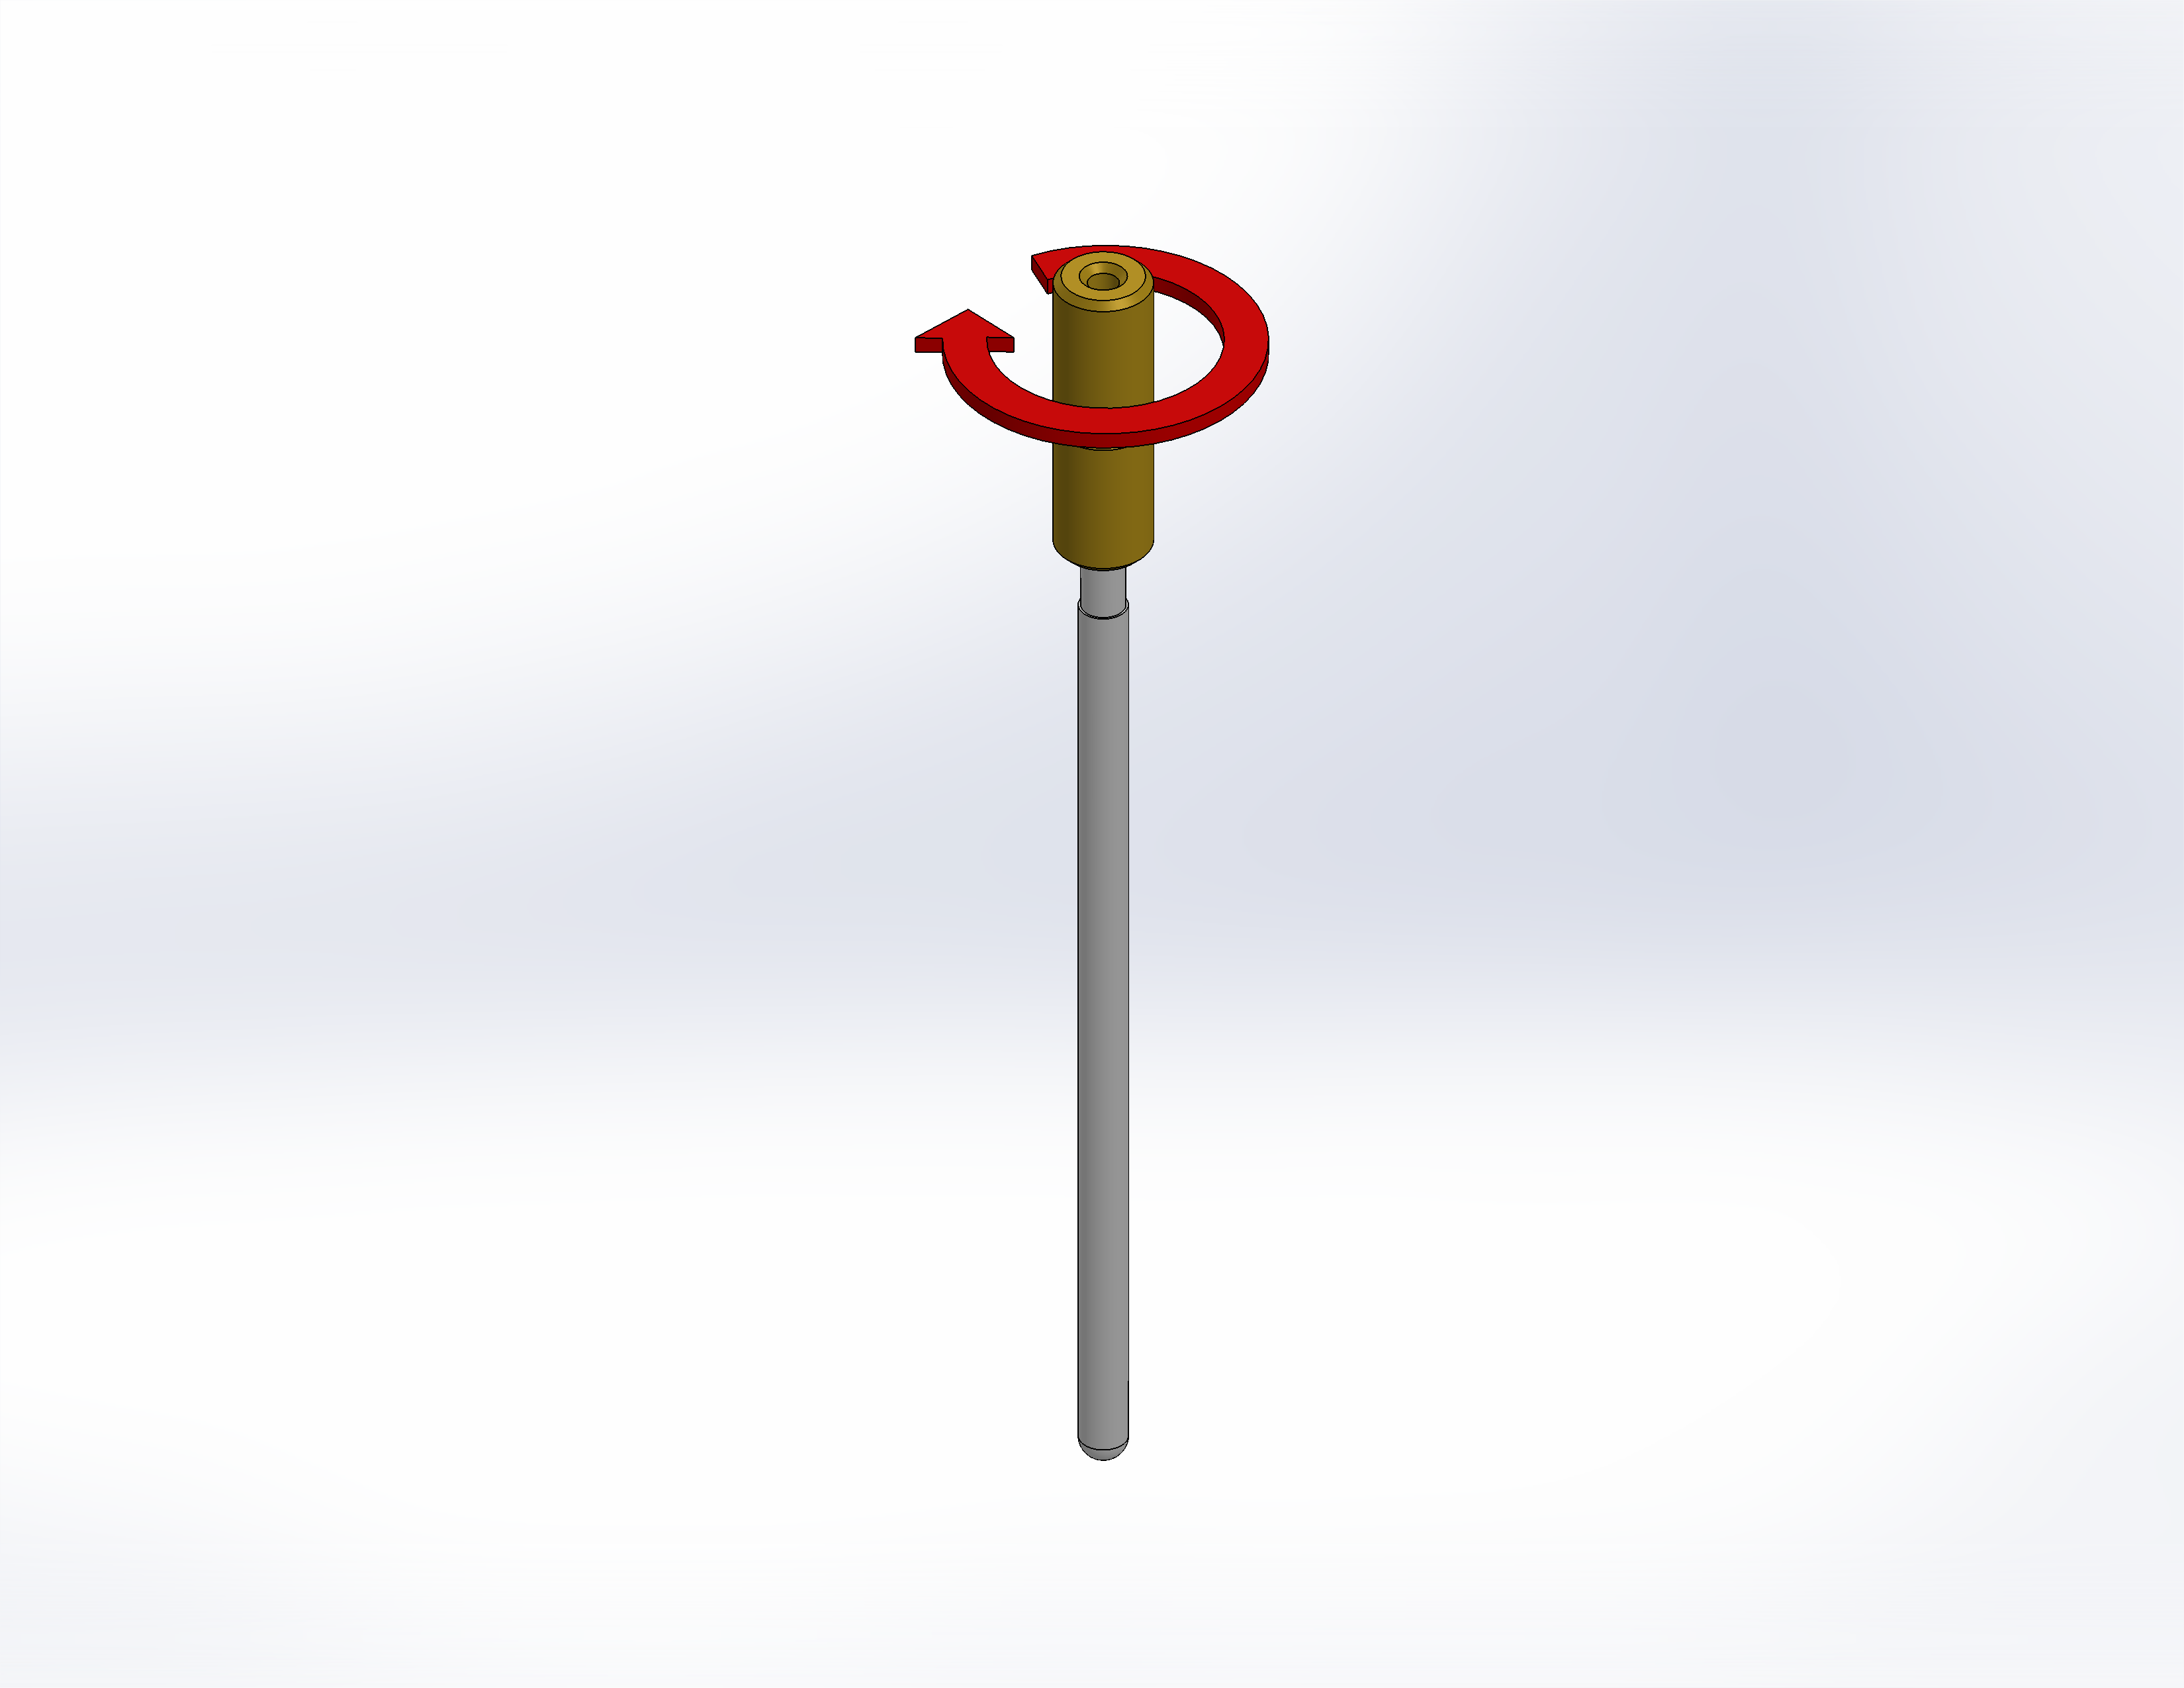
    真鍮継手を締める

[helpful]
  • ID:
    KA-01670
  • 日付:
    2025年12月31日
/* === Aggressive removal of PrintFriendly injected header elements === */ #printfriendly #pf-title, #printfriendly #pf-src, #printfriendly .pf-header, #printfriendly header, #printfriendly .printfriendly-header, #printfriendly h1:first-of-type, #printfriendly .page-header, #printfriendly [class*="header"], #printfriendly [id*="header"] { display: none !important; visibility: hidden !important; height: 0 !important; margin: 0 !important; padding: 0 !important; } /* Hide any top bar or source URL container */ #printfriendly #pf-src, #printfriendly .pf-src, #printfriendly [class*="src"], #printfriendly [class*="url"] { display: none !important; } /* Force page margins and centered page numbers */ @page { size: letter portrait; margin: 0.7in 0.5in; } @page :left, @page :right { @top-left { content: none !important; } @top-center { content: none !important; } @top-right { content: none !important; } @bottom-center { content: counter(page); font-size: 0.95em; padding-bottom: 25px; } }