メインコンテンツへスキップ

コントロールパネルの交換

お使いの機械の表示パネル/キーパッドを交換してください。

Control / Circuit Boards :


はじめに

このレッスンでは、EpilogFusion M2キーパッドアセンブリの交換手順を順を追って説明します。

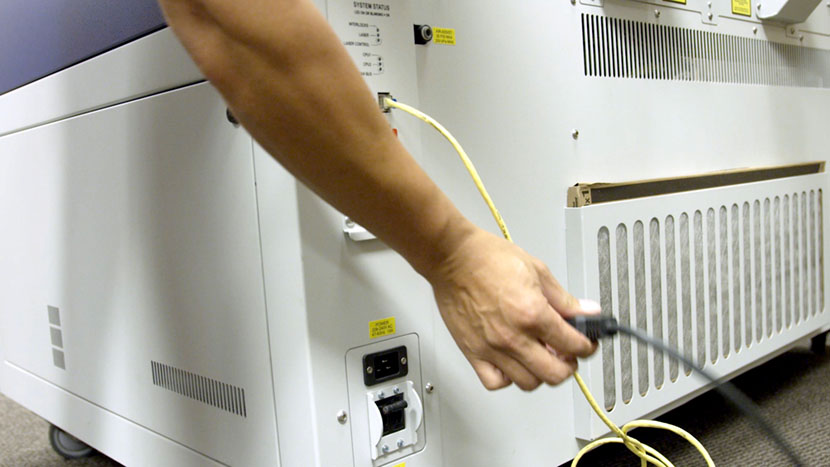
レーザーを停止し、機械から電源コードを抜いてください。
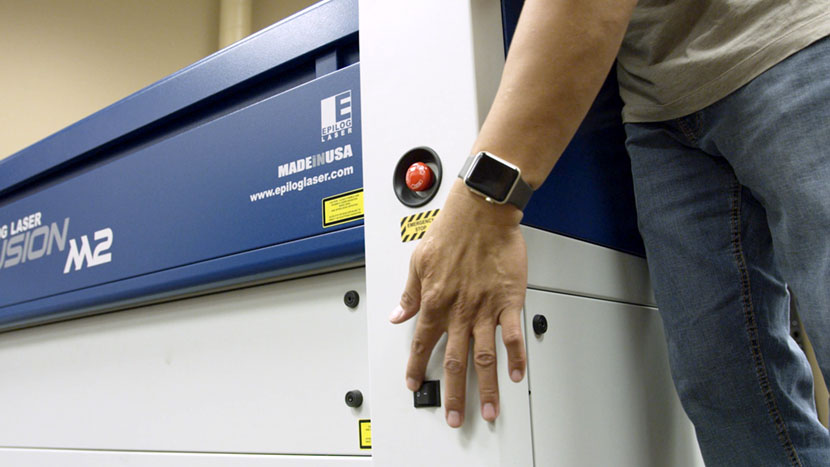
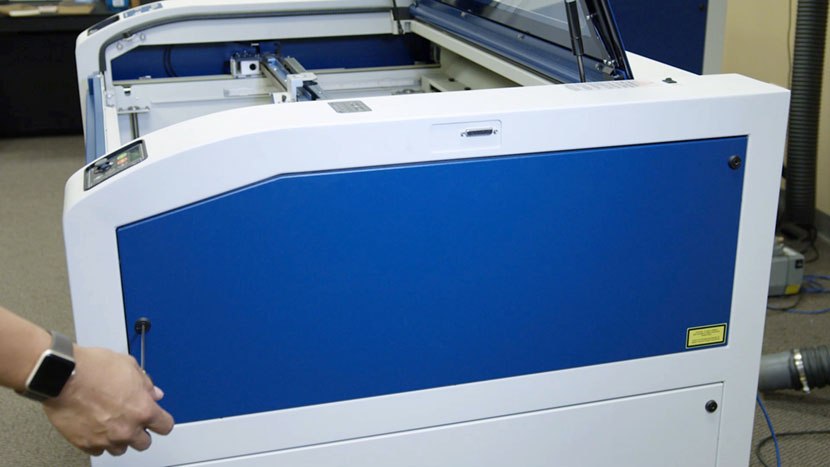
パネルを取り外す

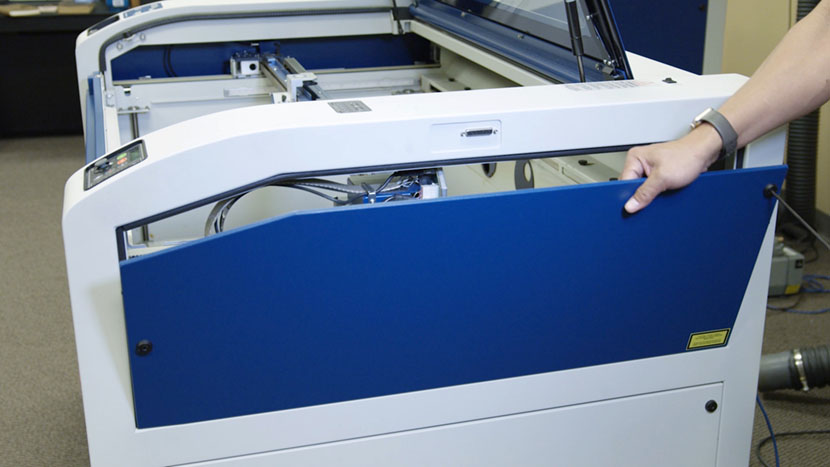
機械の右側にある上部アクセスパネルを取り外すには、5/32インチの六角レンチを使用して、黒いパネルロックを反時計回りに3/4回転まで回します。
古いキーパッドを取り外す

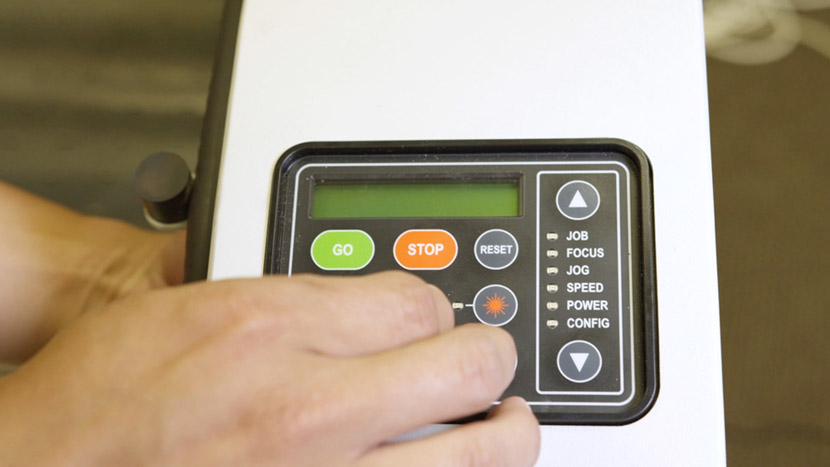
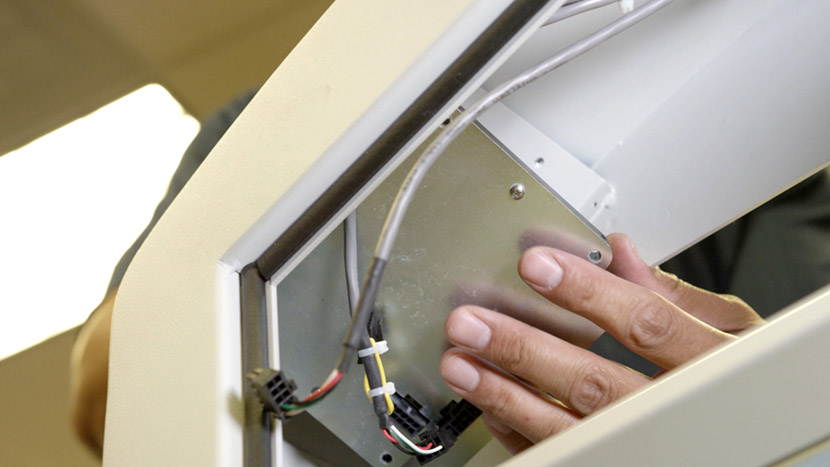
下側から、キーパッド裏面のワイヤーハーネスを探し、外してください。
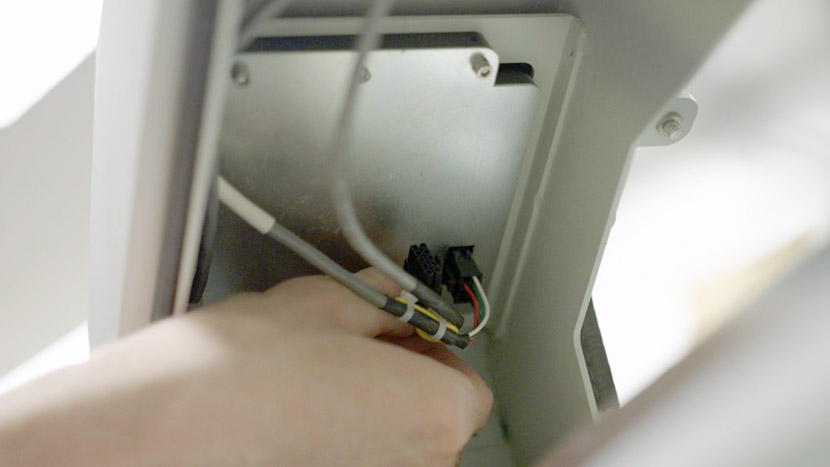
ワイヤーハーネスを取り外したら、7/64インチの六角レンチを使用して、キーパッド背面コーナー付近の4本のネジを外します。キーパッドアセンブリを取り外してください。
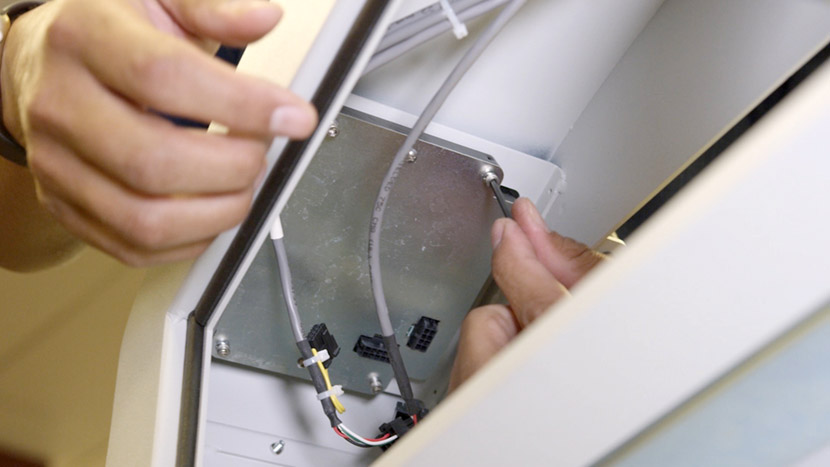
新しいキーパッドを取り付ける

新しいキーパッドアセンブリを彫刻機の切り欠き部分に配置してください。
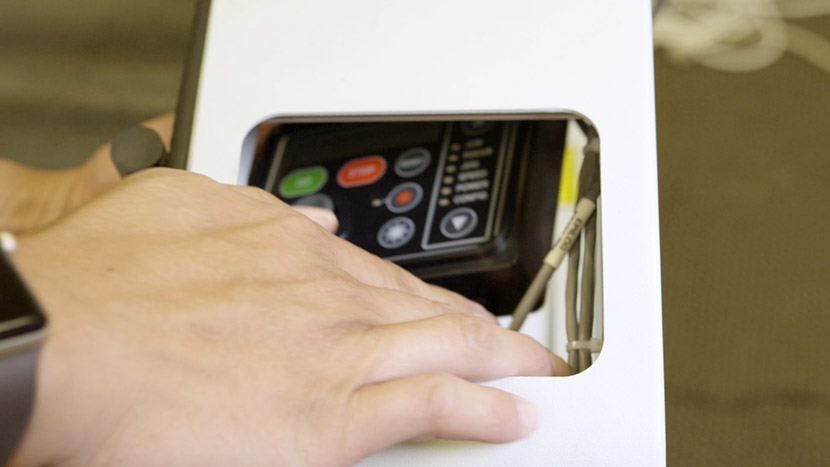
7/64インチの六角レンチを使用して、4本のネジを挿入し、新しいキーパッドアセンブリを固定してください。
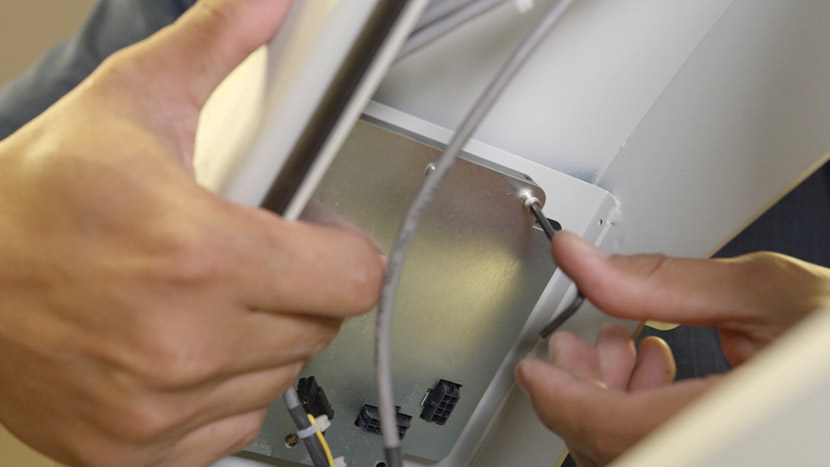
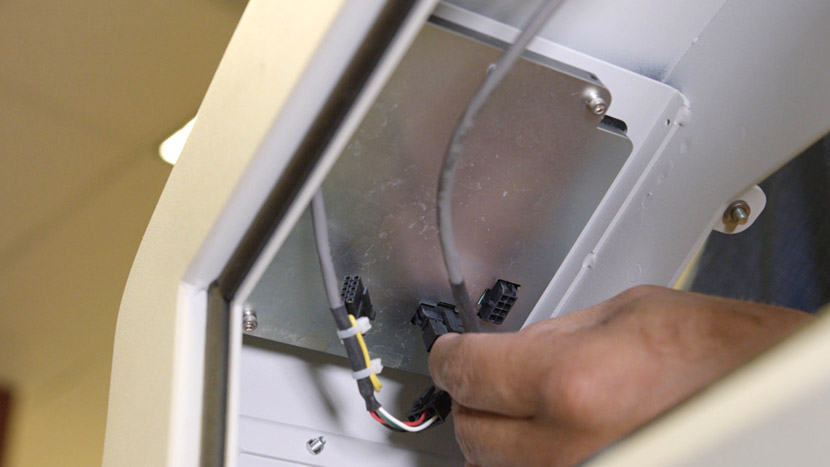
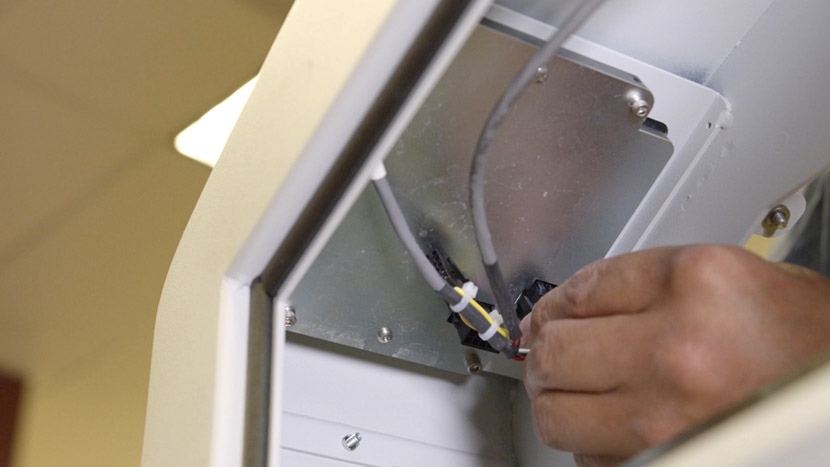
キーパッドアセンブリの背面へワイヤーハーネスを再接続します。下側のコネクタには、主に黄色の配線が接続されたワイヤーハーネスの脚部を接続します。上側のコネクタには、5本の多色配線が接続されたハーネスを接続します。
パネルの再インストール

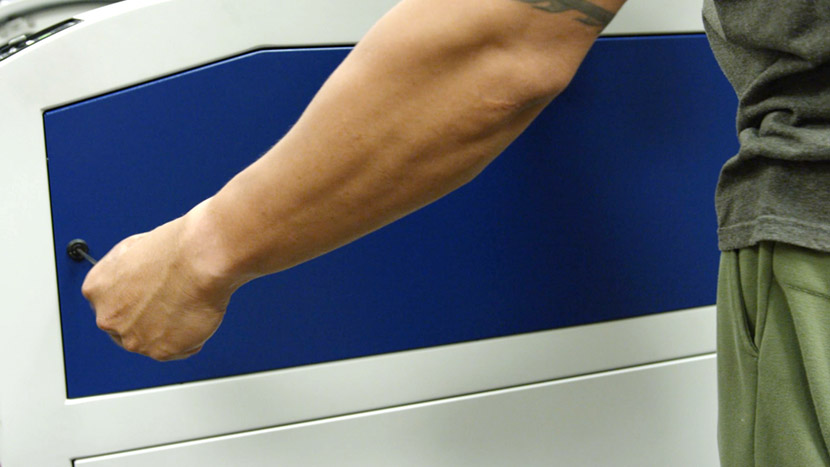
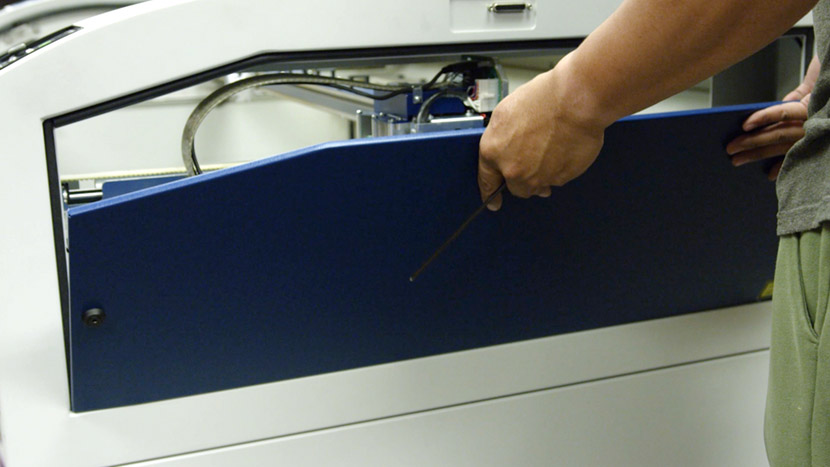
機械の右側にある上部アクセスパネルを、5/32インチの六角レンチを使用して、黒いパネルロックを時計回りに3/4回転まで回して取り付けてください。
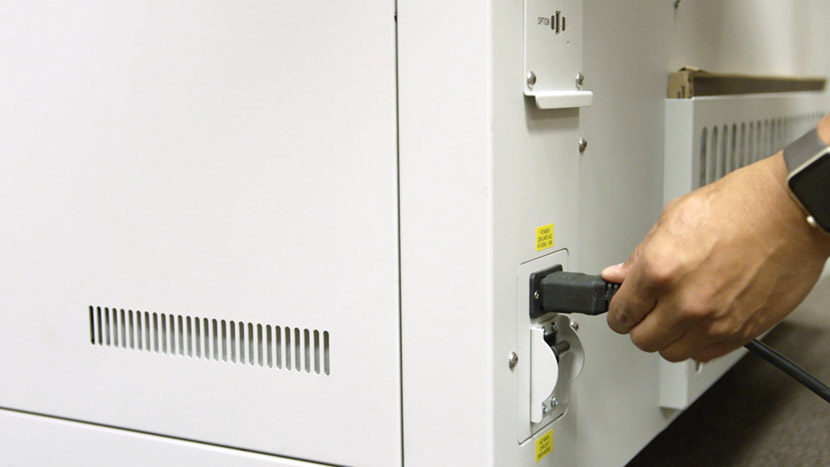
機械のプラグを差し込み、電源を入れてください。
機械の起動が完了したら、ディスプレイの指示に従ってください。彫刻機の他の部分のファームウェアが新しい部品と同期し更新する必要がある場合があります。ディスプレイに「Job」と表示されるまで彫刻機の電源を切らないでください。

[helpful]
  • ID:
    TA-96
  • 日付:
    2024年9月24日

ツール:

  • 5/32インチ六角レンチ
  • 7/64インチ六角レンチ
  • 静電気防止リストストラップ

レーザー治療の旅を続けましょう

過去のレッスンを復習するか、次のステップに進んで新たな発見を!
/* === Aggressive removal of PrintFriendly injected header elements === */ #printfriendly #pf-title, #printfriendly #pf-src, #printfriendly .pf-header, #printfriendly header, #printfriendly .printfriendly-header, #printfriendly h1:first-of-type, #printfriendly .page-header, #printfriendly [class*="header"], #printfriendly [id*="header"] { display: none !important; visibility: hidden !important; height: 0 !important; margin: 0 !important; padding: 0 !important; } /* Hide any top bar or source URL container */ #printfriendly #pf-src, #printfriendly .pf-src, #printfriendly [class*="src"], #printfriendly [class*="url"] { display: none !important; } /* Force page margins and centered page numbers */ @page { size: letter portrait; margin: 0.7in 0.5in; } @page :left, @page :right { @top-left { content: none !important; } @top-center { content: none !important; } @top-right { content: none !important; } @bottom-center { content: counter(page); font-size: 0.95em; padding-bottom: 25px; } }