メインコンテンツへスキップ

コントロールパネルの交換

Fusion Pro 32 または 48 のディスプレイパネルを交換してください。

Control / Circuit Boards :


はじめに

このレッスンでは、Fusion Pro 32または48レーザーシステムのコントロールパネルの交換手順を詳しくご説明します。

コントロールパネルの交換

作業を始める前に、Fusion Proの電源を切り、コンセントからプラグを抜いてください。

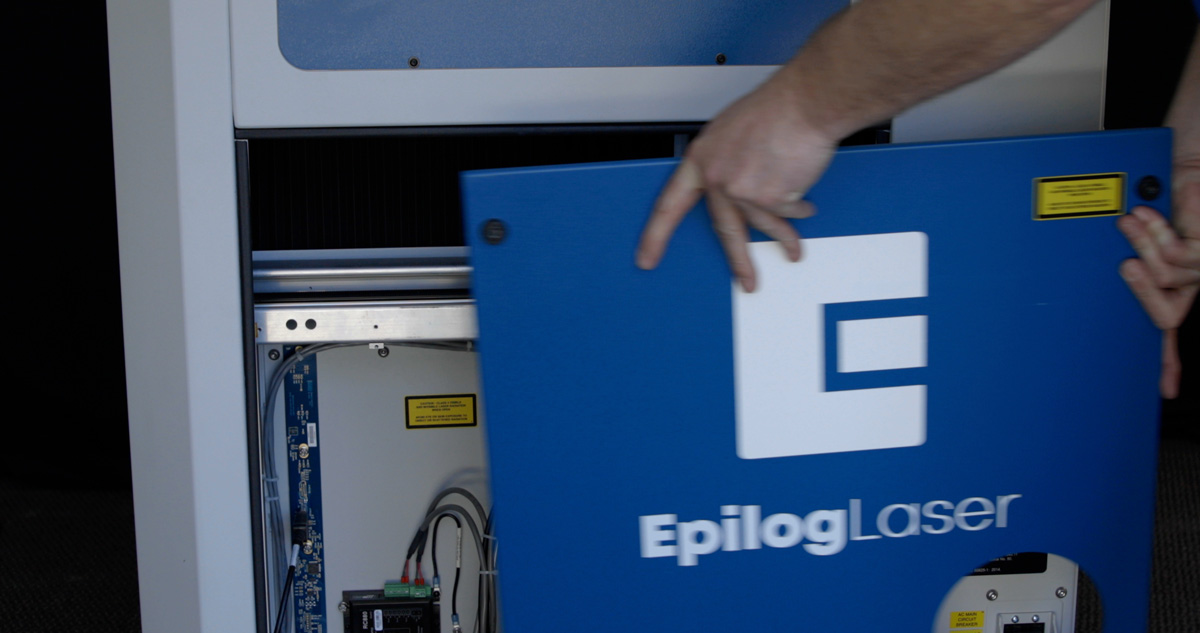
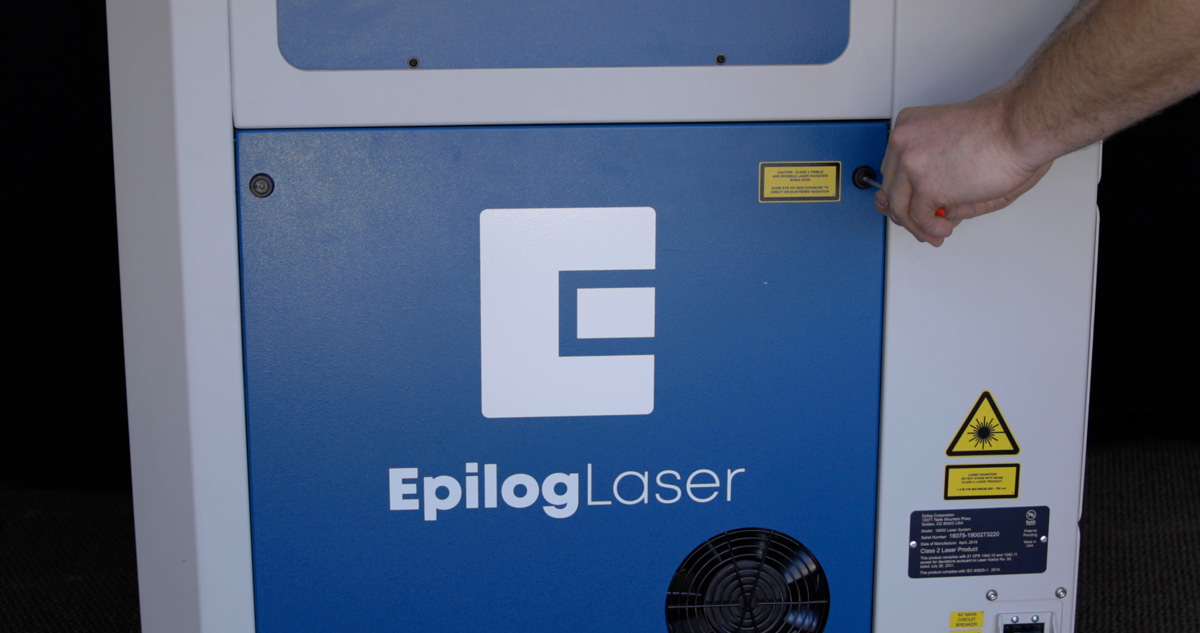
5/32インチの六角レンチを使用して、機械の右側パネルを取り外してください。
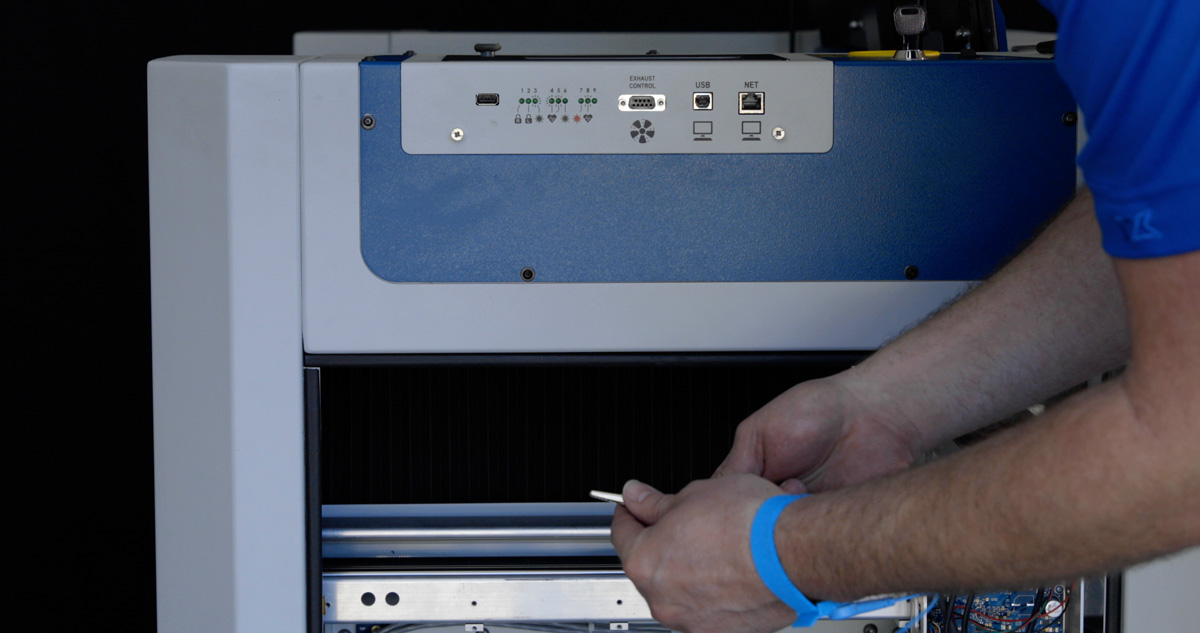
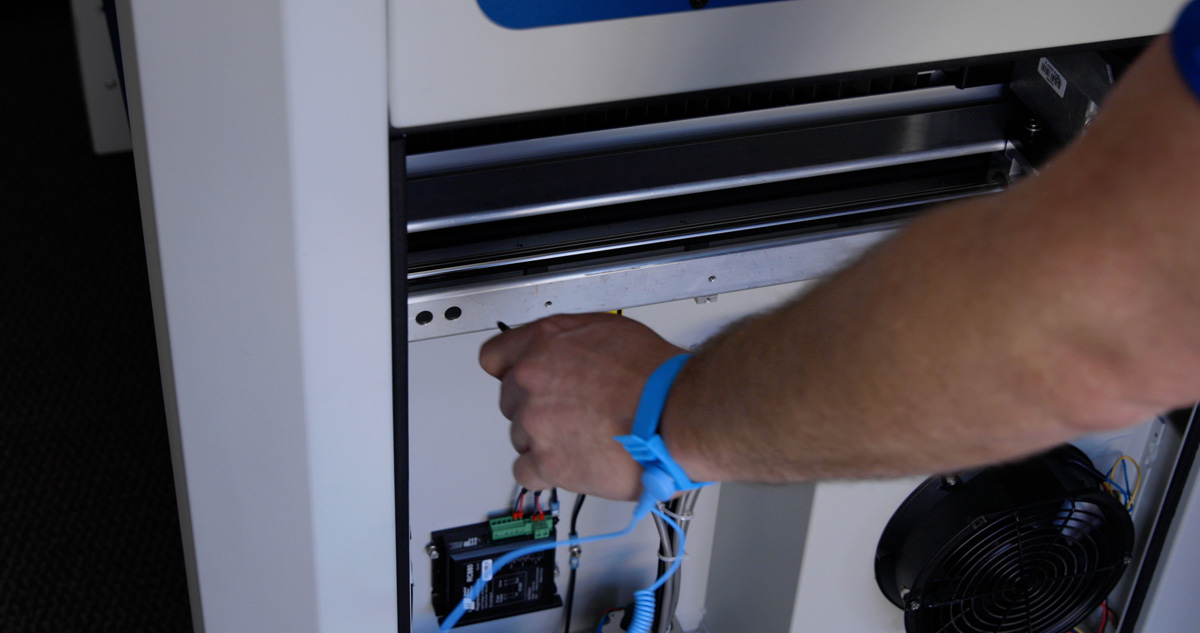
受け取ったディスプレイパネルのパッケージを開封し、静電気防止リストバンドを着用してください。
ストラップを機械の金属部分にクリップで留めてください。
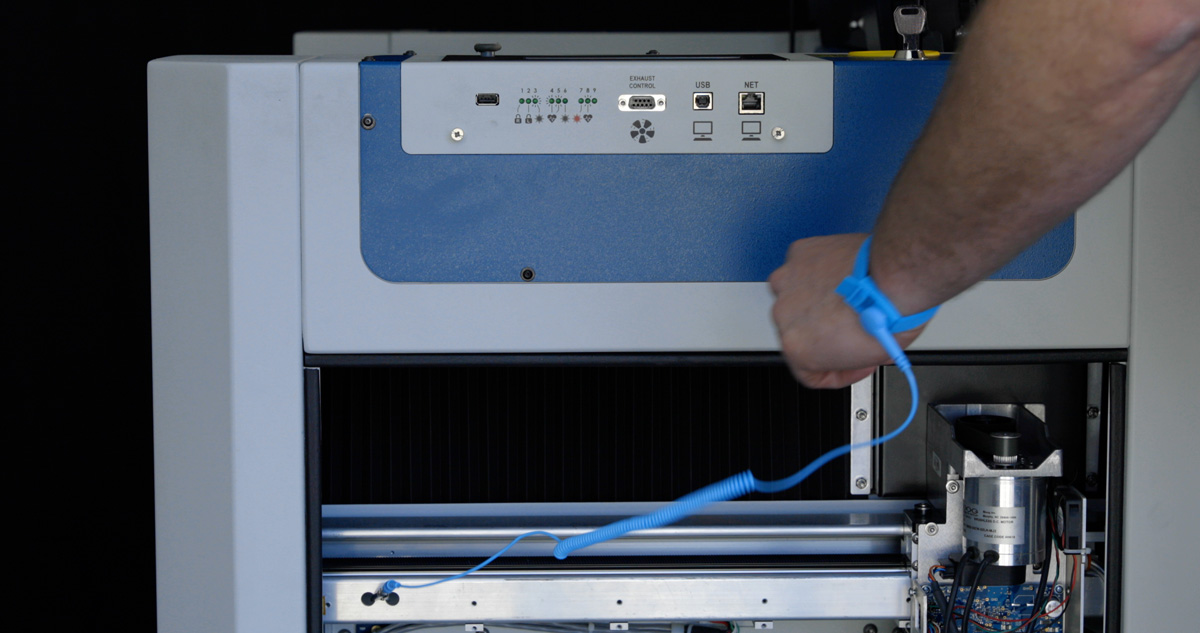
この手順では、損傷を防ぐため、常に静電気防止バンドを着用してください。

プラスドライバーを使用して、コントロールパネルの右側にある2本のネジを緩めてください。
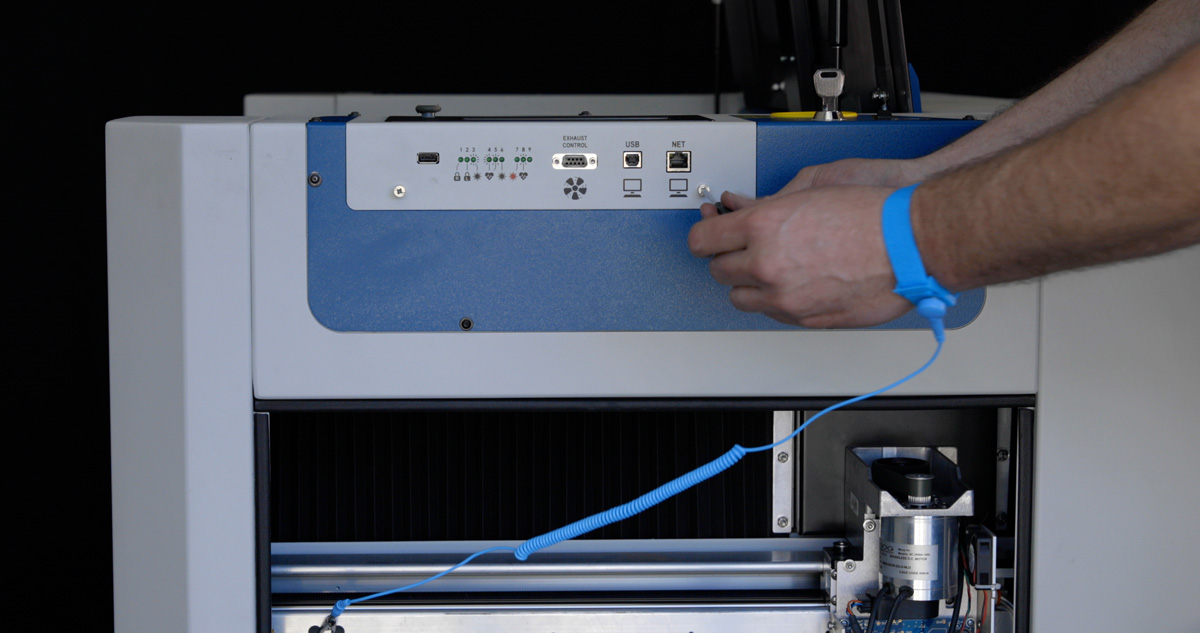
古いパネルを取り外す

親指をパネルの上部に置き、機械の右側からコントロールパネルを引き出して取り外してください。
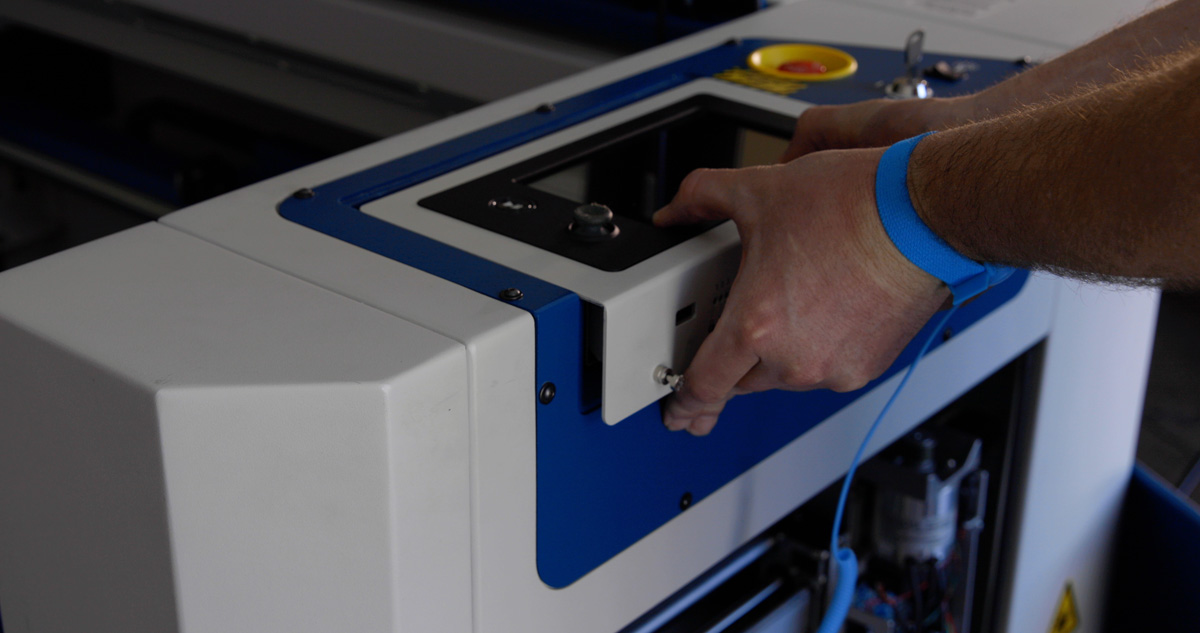
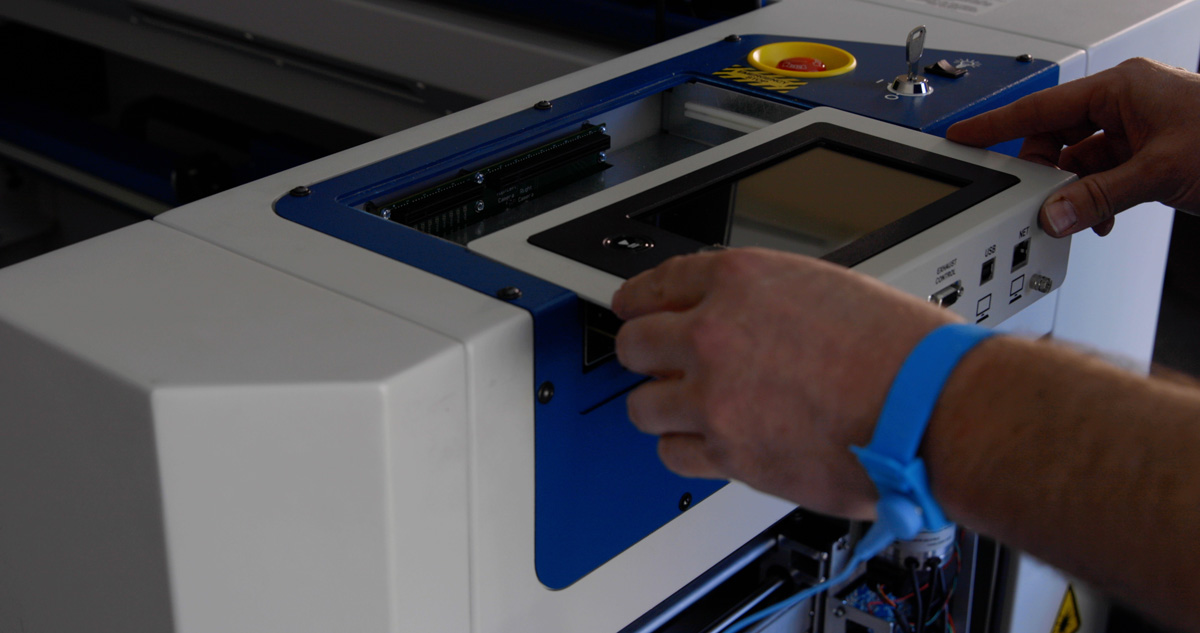
新しいパネルを取り付ける

新しいコントロールパネルを取り付けます。機械の右側からスライドさせて所定の位置に収める際、コネクタが正しく位置合わせされていることを確認してください。
プラスドライバーを使用して、コントロールパネルの右側にある2本のネジを締めてください。
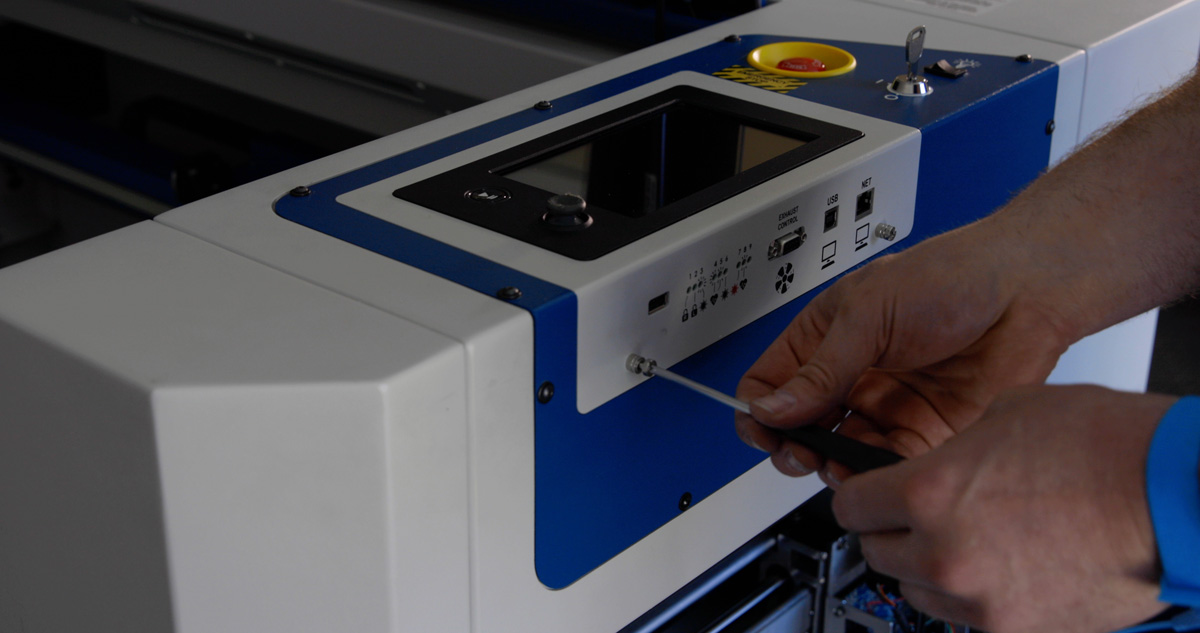
静電気防止ストラップを機械から外しても結構です。
右側パネルを元に戻し、機械に固定しているネジを締めてください。
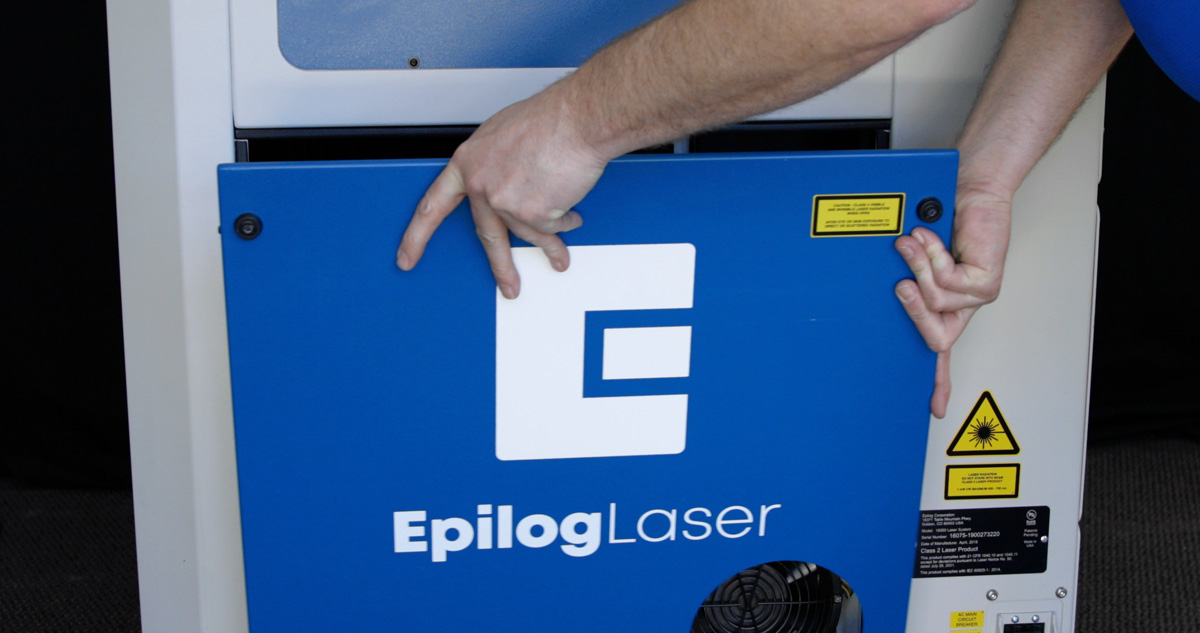
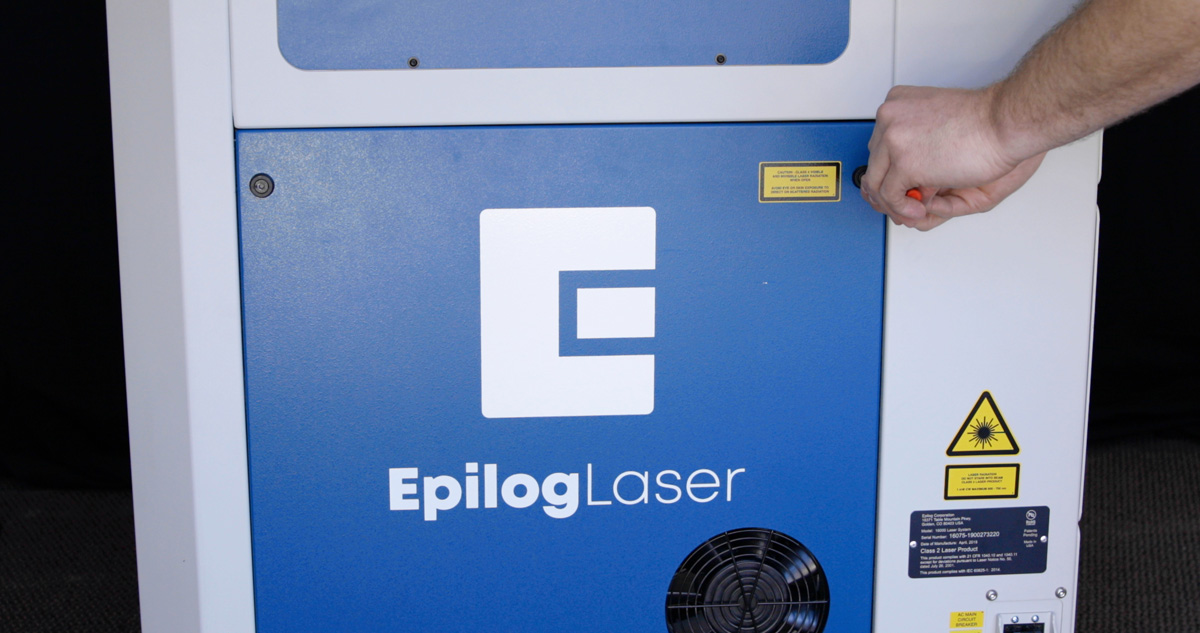
プラグを差し込み、機械の電源を入れてください。

マシンが完全に起動したら、ネットワーク、IP、サブネット、ゲートウェイの設定を行ってください。
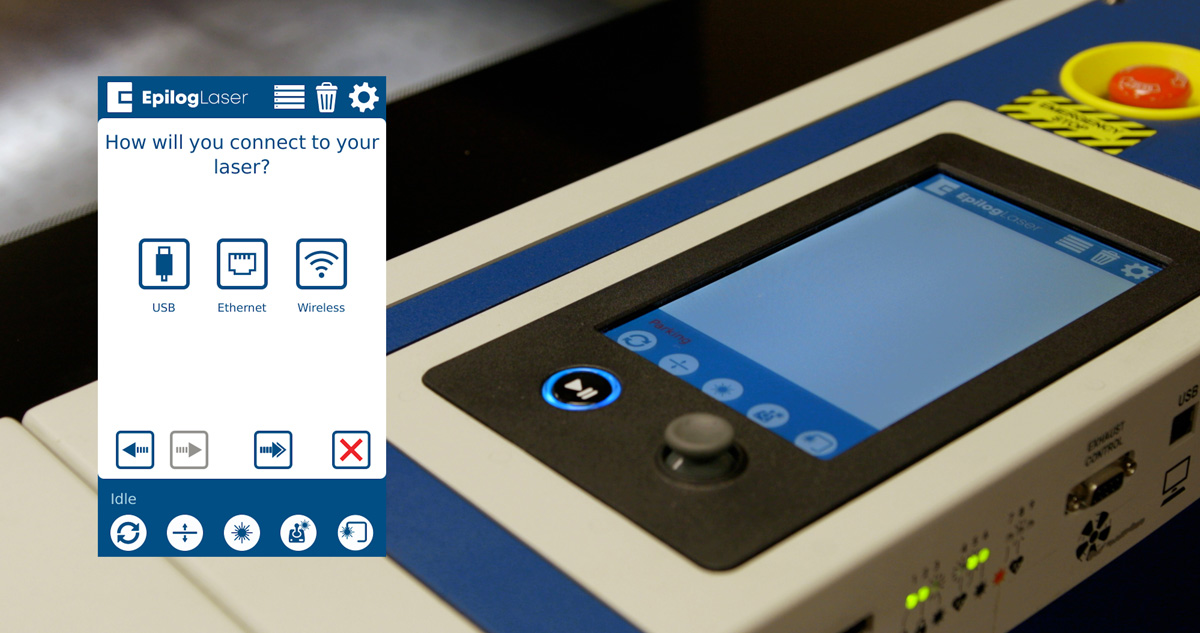
以前、マシンにジョブを送信するために使用したUSBケーブルまたはイーサネットケーブルを再接続してください。

[helpful]
  • ID:
    TA-92
  • 日付:
    2024年9月24日

ツール:

  • 5/32インチ六角レンチ
  • #1 プラスドライバー
  • 静電気防止リストストラップ

レーザー治療の旅を続けましょう

過去のレッスンを復習するか、次のステップに進んで新たな発見を!
/* === Aggressive removal of PrintFriendly injected header elements === */ #printfriendly #pf-title, #printfriendly #pf-src, #printfriendly .pf-header, #printfriendly header, #printfriendly .printfriendly-header, #printfriendly h1:first-of-type, #printfriendly .page-header, #printfriendly [class*="header"], #printfriendly [id*="header"] { display: none !important; visibility: hidden !important; height: 0 !important; margin: 0 !important; padding: 0 !important; } /* Hide any top bar or source URL container */ #printfriendly #pf-src, #printfriendly .pf-src, #printfriendly [class*="src"], #printfriendly [class*="url"] { display: none !important; } /* Force page margins and centered page numbers */ @page { size: letter portrait; margin: 0.7in 0.5in; } @page :left, @page :right { @top-left { content: none !important; } @top-center { content: none !important; } @top-right { content: none !important; } @bottom-center { content: counter(page); font-size: 0.95em; padding-bottom: 25px; } }