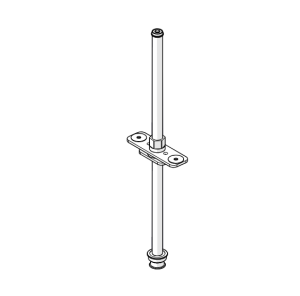
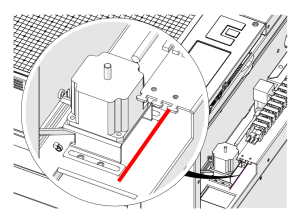
This guide covers replacing the table (z-axis) motor on the Fusion Pro 32 and 48. The motor is behind the right panel, and its position sets the tension on the table belt, so it is marked before removal and the new motor is lined up with that mark.
Parts Required
- FT1008 – Table Motor Assy, Fusion
Tools / Materials Required
- 5/32" and 7/64" Allen Wrenches
- Pencil or Marker
Safety First: Ensure the engraver is completely powered off and the power cord is disconnected before removing any panels or touching internal components.
Table Motor Removal
Turn Off Engraver
Turn off the engraver.

Disconnect from Power
Unplug the engraver from its power source.
Remove Right Panel
Remove the right panel of the engraver.
Mark the Motor Position
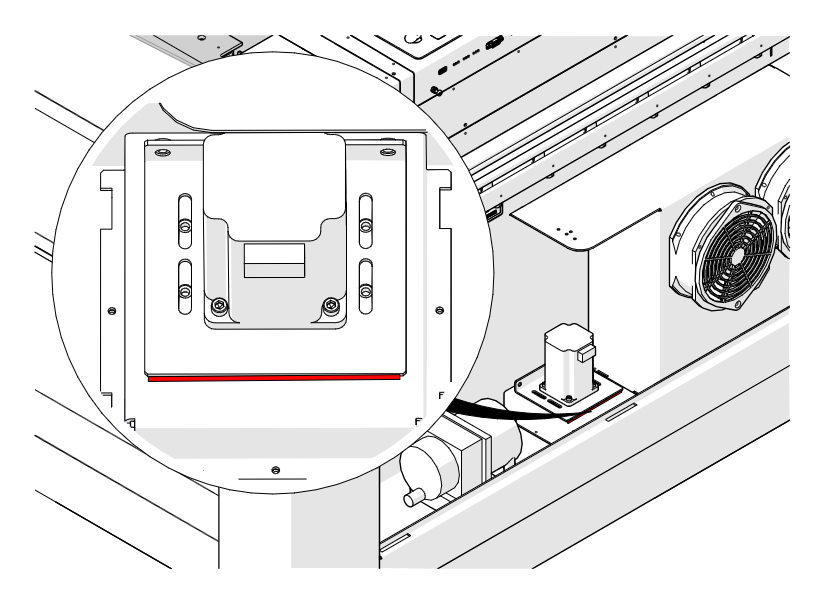
Use a pencil or marker to mark the engraver chassis at the leading edge of the table motor body (shown in red). This mark is used to set the belt tension during installation.
Disconnect Motor Harness
Disconnect the table motor electrical harness.
Release Belt Tension
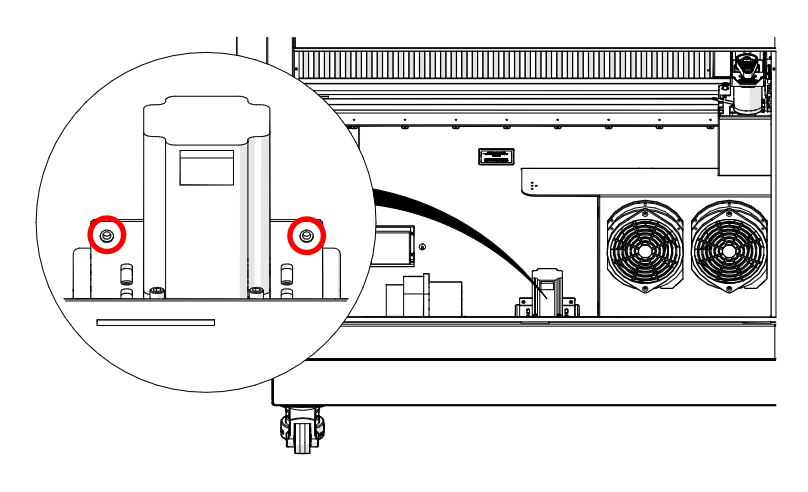
Loosen, but do not remove, the two 7/64" Allen screws on the tensioner (circled in red) to release the tension on the table belt.
Remove Motor Screws
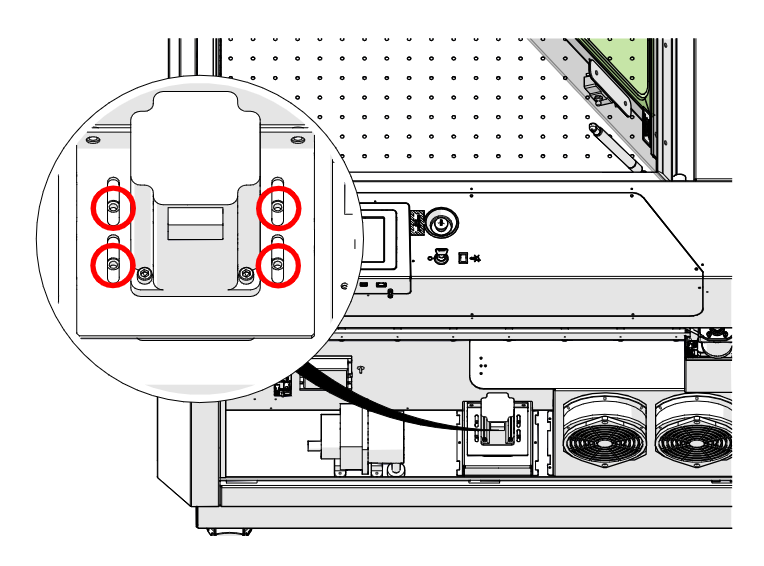
Loosen and remove the four 7/64" Allen screws that secure the table motor to the engraver chassis (circled in red).
Remove the Table Motor
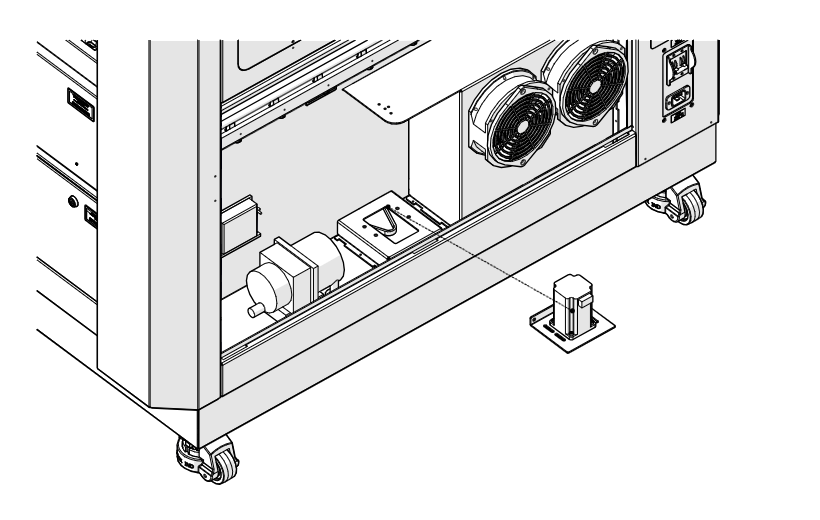
Remove the table motor from the engraver.
Table Motor Installation
Place the New Motor
Place the new FT1008 table motor in the engraver. Make sure the motor pulley sits inside the table belt.
Install Motor Screws
Install, but do not fully tighten, the four 7/64" Allen screws that secure the table motor to the engraver chassis.
Check the Lead Screw Pulleys
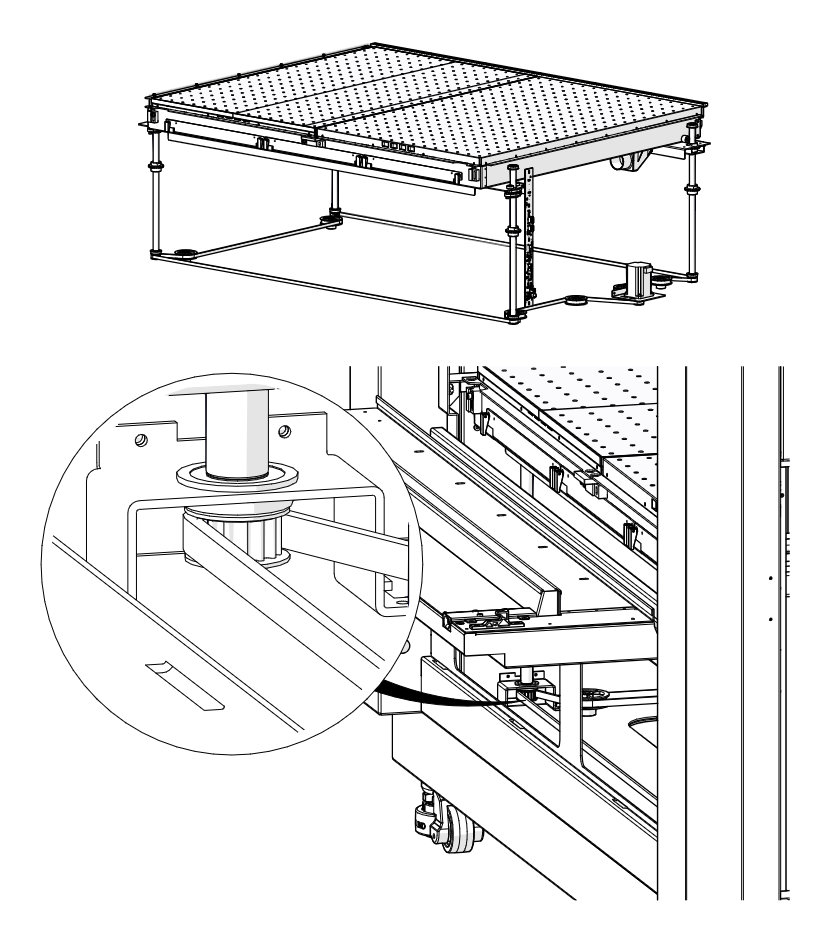
Inspect each lead screw pulley in the engraver to make sure the table belt has stayed in place. If the belt has dropped below any lead screw pulley, reposition it around the pulley.
Begin Tensioning the Belt
Tighten the two 7/64" Allen screws on the tensioner to begin tensioning the table belt.
Align With the Mark
Keep tightening the tensioner screws until the leading edge of the table motor lines up with the pencil mark made in step 4.
Tighten Motor Screws
Tighten the four 7/64" Allen screws that secure the table motor to the engraver chassis.
Connect Motor Harness
Connect the table motor electrical harness.
Install Right Panel
Install the right panel of the engraver.