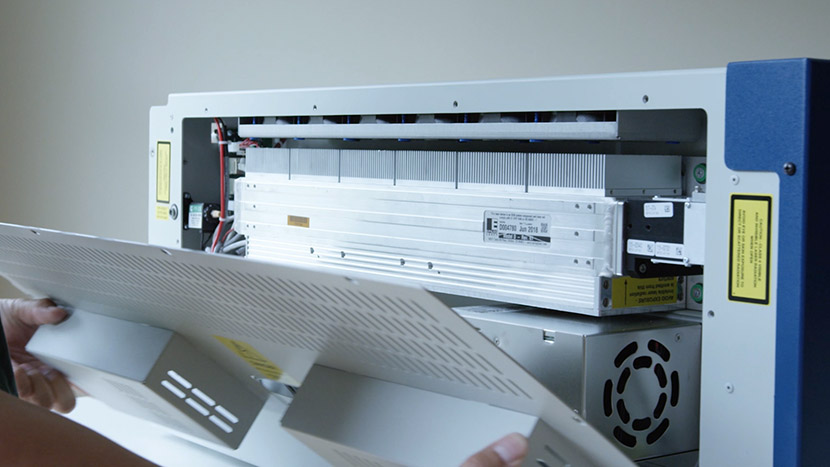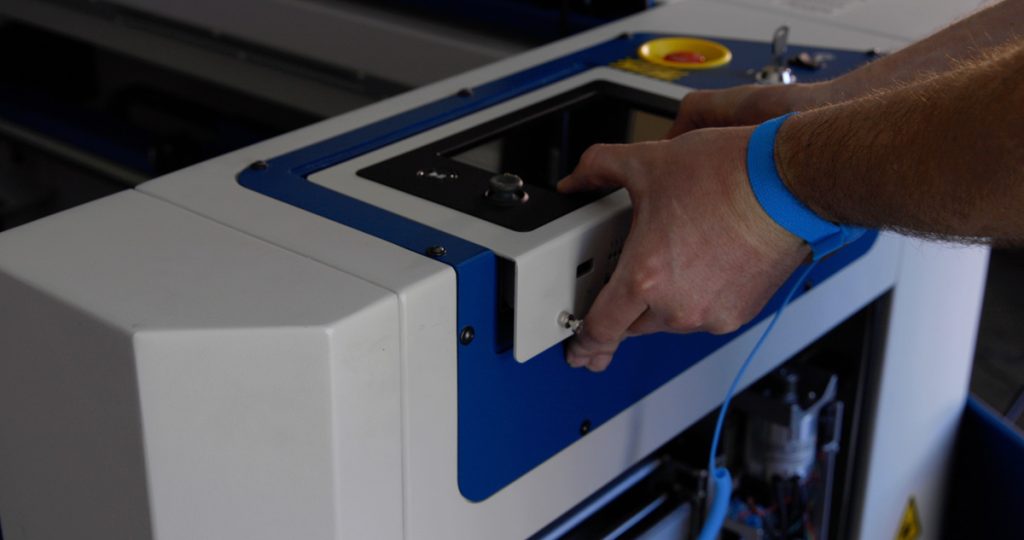
Replacing the Control Panel Before we begin, turn off and unplug the Fusion Pro. Using a 5/32” Allen Key, remove the right side panel from the machine. Open the display panel package you received and put on the anti-static strap. Clip the strap onto any metal part of the machine. (...)

CO2 Laser Tickle Settings
Introduced in the Epilog Mini and Helix engravers, laser tickle settings allow the user to customize certain CO2 laser characteristics by modifying the radio frequency (RF) signals sent to the laser tube. The role of the RF signal is to excite and energize the gas mixture within the CO2 laser (...)
Optics Replacement – Mini/Helix
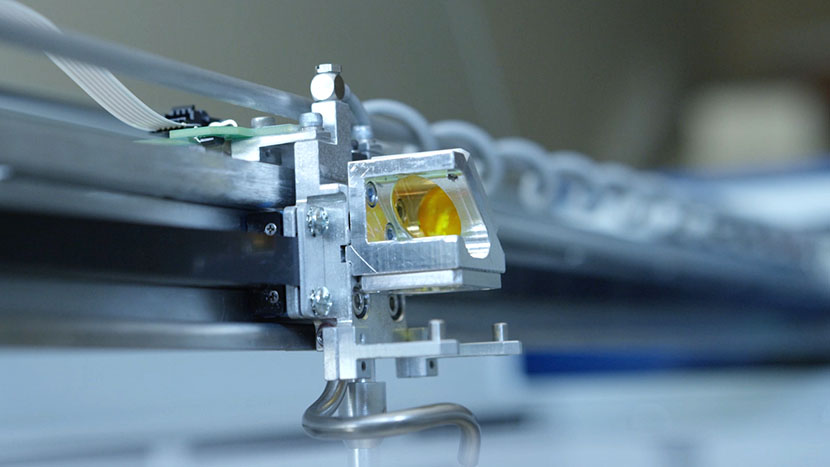
This guide provides step-by-step instructions for replacing the carriage, steering, and periscope optics in your laser system. Follow the outlined procedures carefully to ensure proper installation and alignment. Always handle optics with care and refer to the provided alignment links after replacement to maintain optimal performance. Replacing Carriage Optics Move (...)
Power Supply Replacement – Fusion Pro 32 & 48
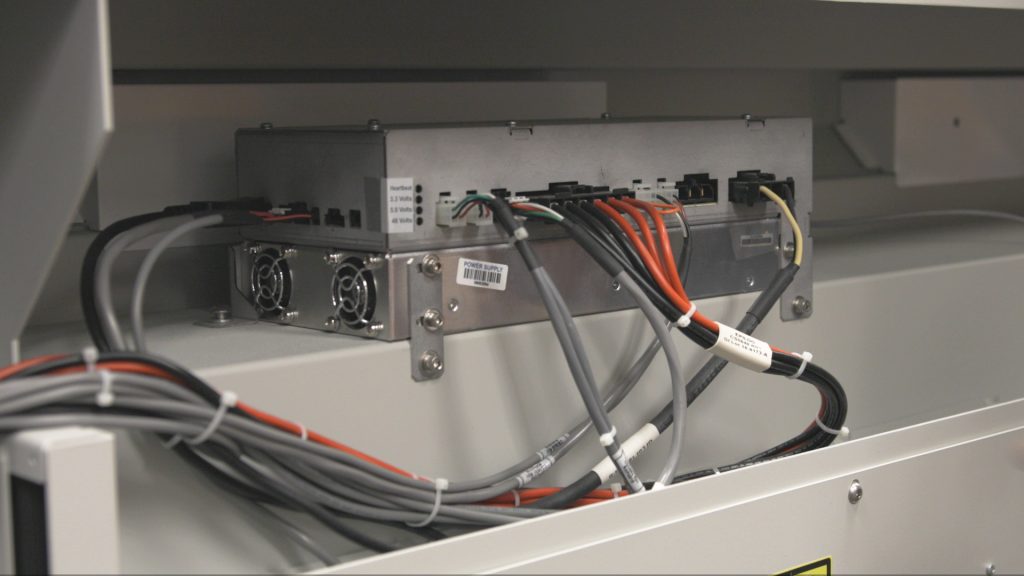
Power Supply Locations CO2- Only Fusion Pro This model will contain only the CO2 power supply shown above. One (1) 48V 2kW power supply Fiber- Only Fusion Pro This model will contain the CO2 and fiber power supplies shown above One (1) 48V 2kW power supply One (1) 24V 1kW (...)
Extended Cold Start Guide
Lasers that have been inactive for a period of time may not fire right away. There are settings in the machine to help warm the laser before use. Please start with the CO2 Laser Tickle Settings guide first. If the laser has been inactive for an extended period of time, (...)
Checking and Leveling the Table
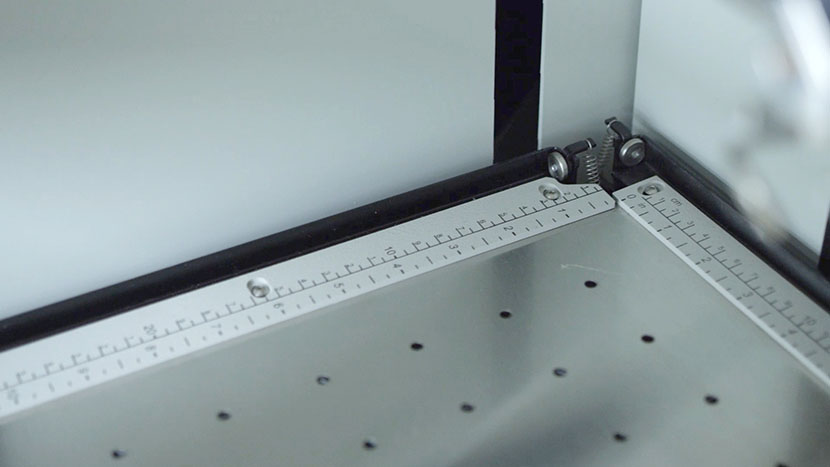
Estimated time: 15-20 minutes • Skill: Beginner A perfectly level engraving table is essential for accurate focusing and consistent engraving results. This guide will walk you through checking and adjusting the table level on your Epilog Mini or Helix laser system. Checking Table Level Access the table. Power on the (...)
Fan Replacement on the Epilog Mini and Helix Systems
Machine Type: Epilog Mini 18/24 and Helix Tools Needed: #2 Phillips head screwdriver, 6/32 Nut driver Flat head screwdriver or wire cutter Turn engraver off and unplug it from the wall. Face the back of the machine where the exhaust is located. Remove the 8 screws holding the back panel (...)
Laser Engrave or Cut a City Map (Adobe Illustrator)
Laser engraved or cut city maps are easy to create and will quickly become a great new addition to your popular laser engraved and cut products. Create your own local city maps and laser engrave them on cutting boards, marble tiles, and small tables, or create laser cut versions using (...)
Laser Engrave or Cut a City Map (CorelDRAW)
Laser engraved or cut city maps are easy to create and will quickly become a great new addition to your popular laser engraved and cut products. Create your own local city maps and laser engrave them on cutting boards, marble tiles, and small tables, or create laser cut versions using (...)
Creating an Appliqué
With a few easy steps you can create your own custom cut appliqué out of two-ply twills! Follow these instructions to see how we’ve taken a piece of clipart and optimized it to create this stunning design! First, ungroup the entire image. Next, we need to add an outline around (...)
How to Create Monograms for Your Laser
Monogram necklaces are exceptionally popular gifts. Here we’ll walk you through the steps of creating a monogram in CorelDRAW and manipulating it so the laser cuts it as a single piece. All you need to do is loop a chain through and you have a wonderful, personalized gift ideal for (...)
Creating a Skateboard Jig in CorelDRAW X5
Because of their large work area and laser-friendly material, skateboards are becoming a fast favorite for custom engraving. While the task can seem a bit challenging, we’ll show you how, with just a few supplies from your hardware store you can create a very useful jig that will hold your (...)