
This guide covers removing and replacing the top door assembly on the Fusion Ascent.
Parts Required
- Top Door Assembly
Tools Required
- Nut Driver or Socket Set
- Small Flat Head Screwdriver
Safety First: Ensure the engraver is completely powered off and the power cord is disconnected before removing any panels or touching internal components.
Two People Required: The top door is heavy. Have a second person support it whenever the gas shocks or base nuts are off.
Top Door Removal
Power Off Engraver
Turn off the engraver.
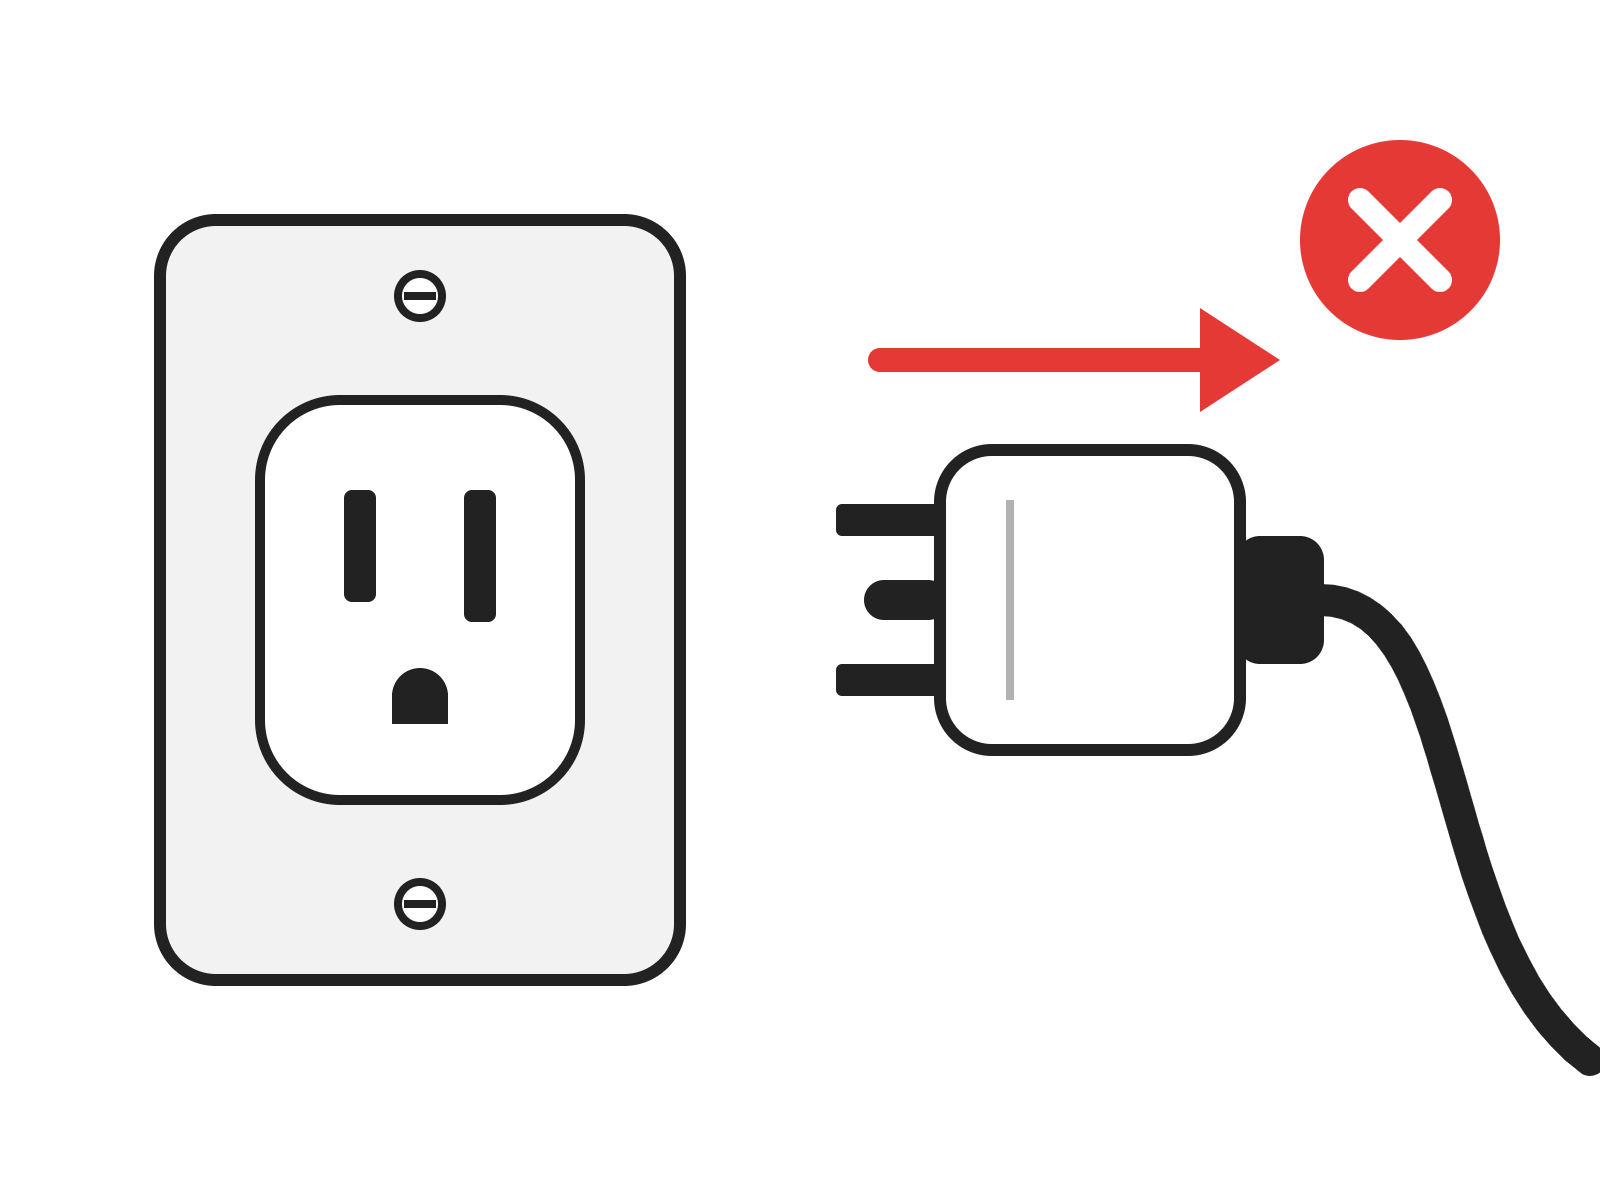
Disconnect From Power
Unplug the power cord from the engraver.
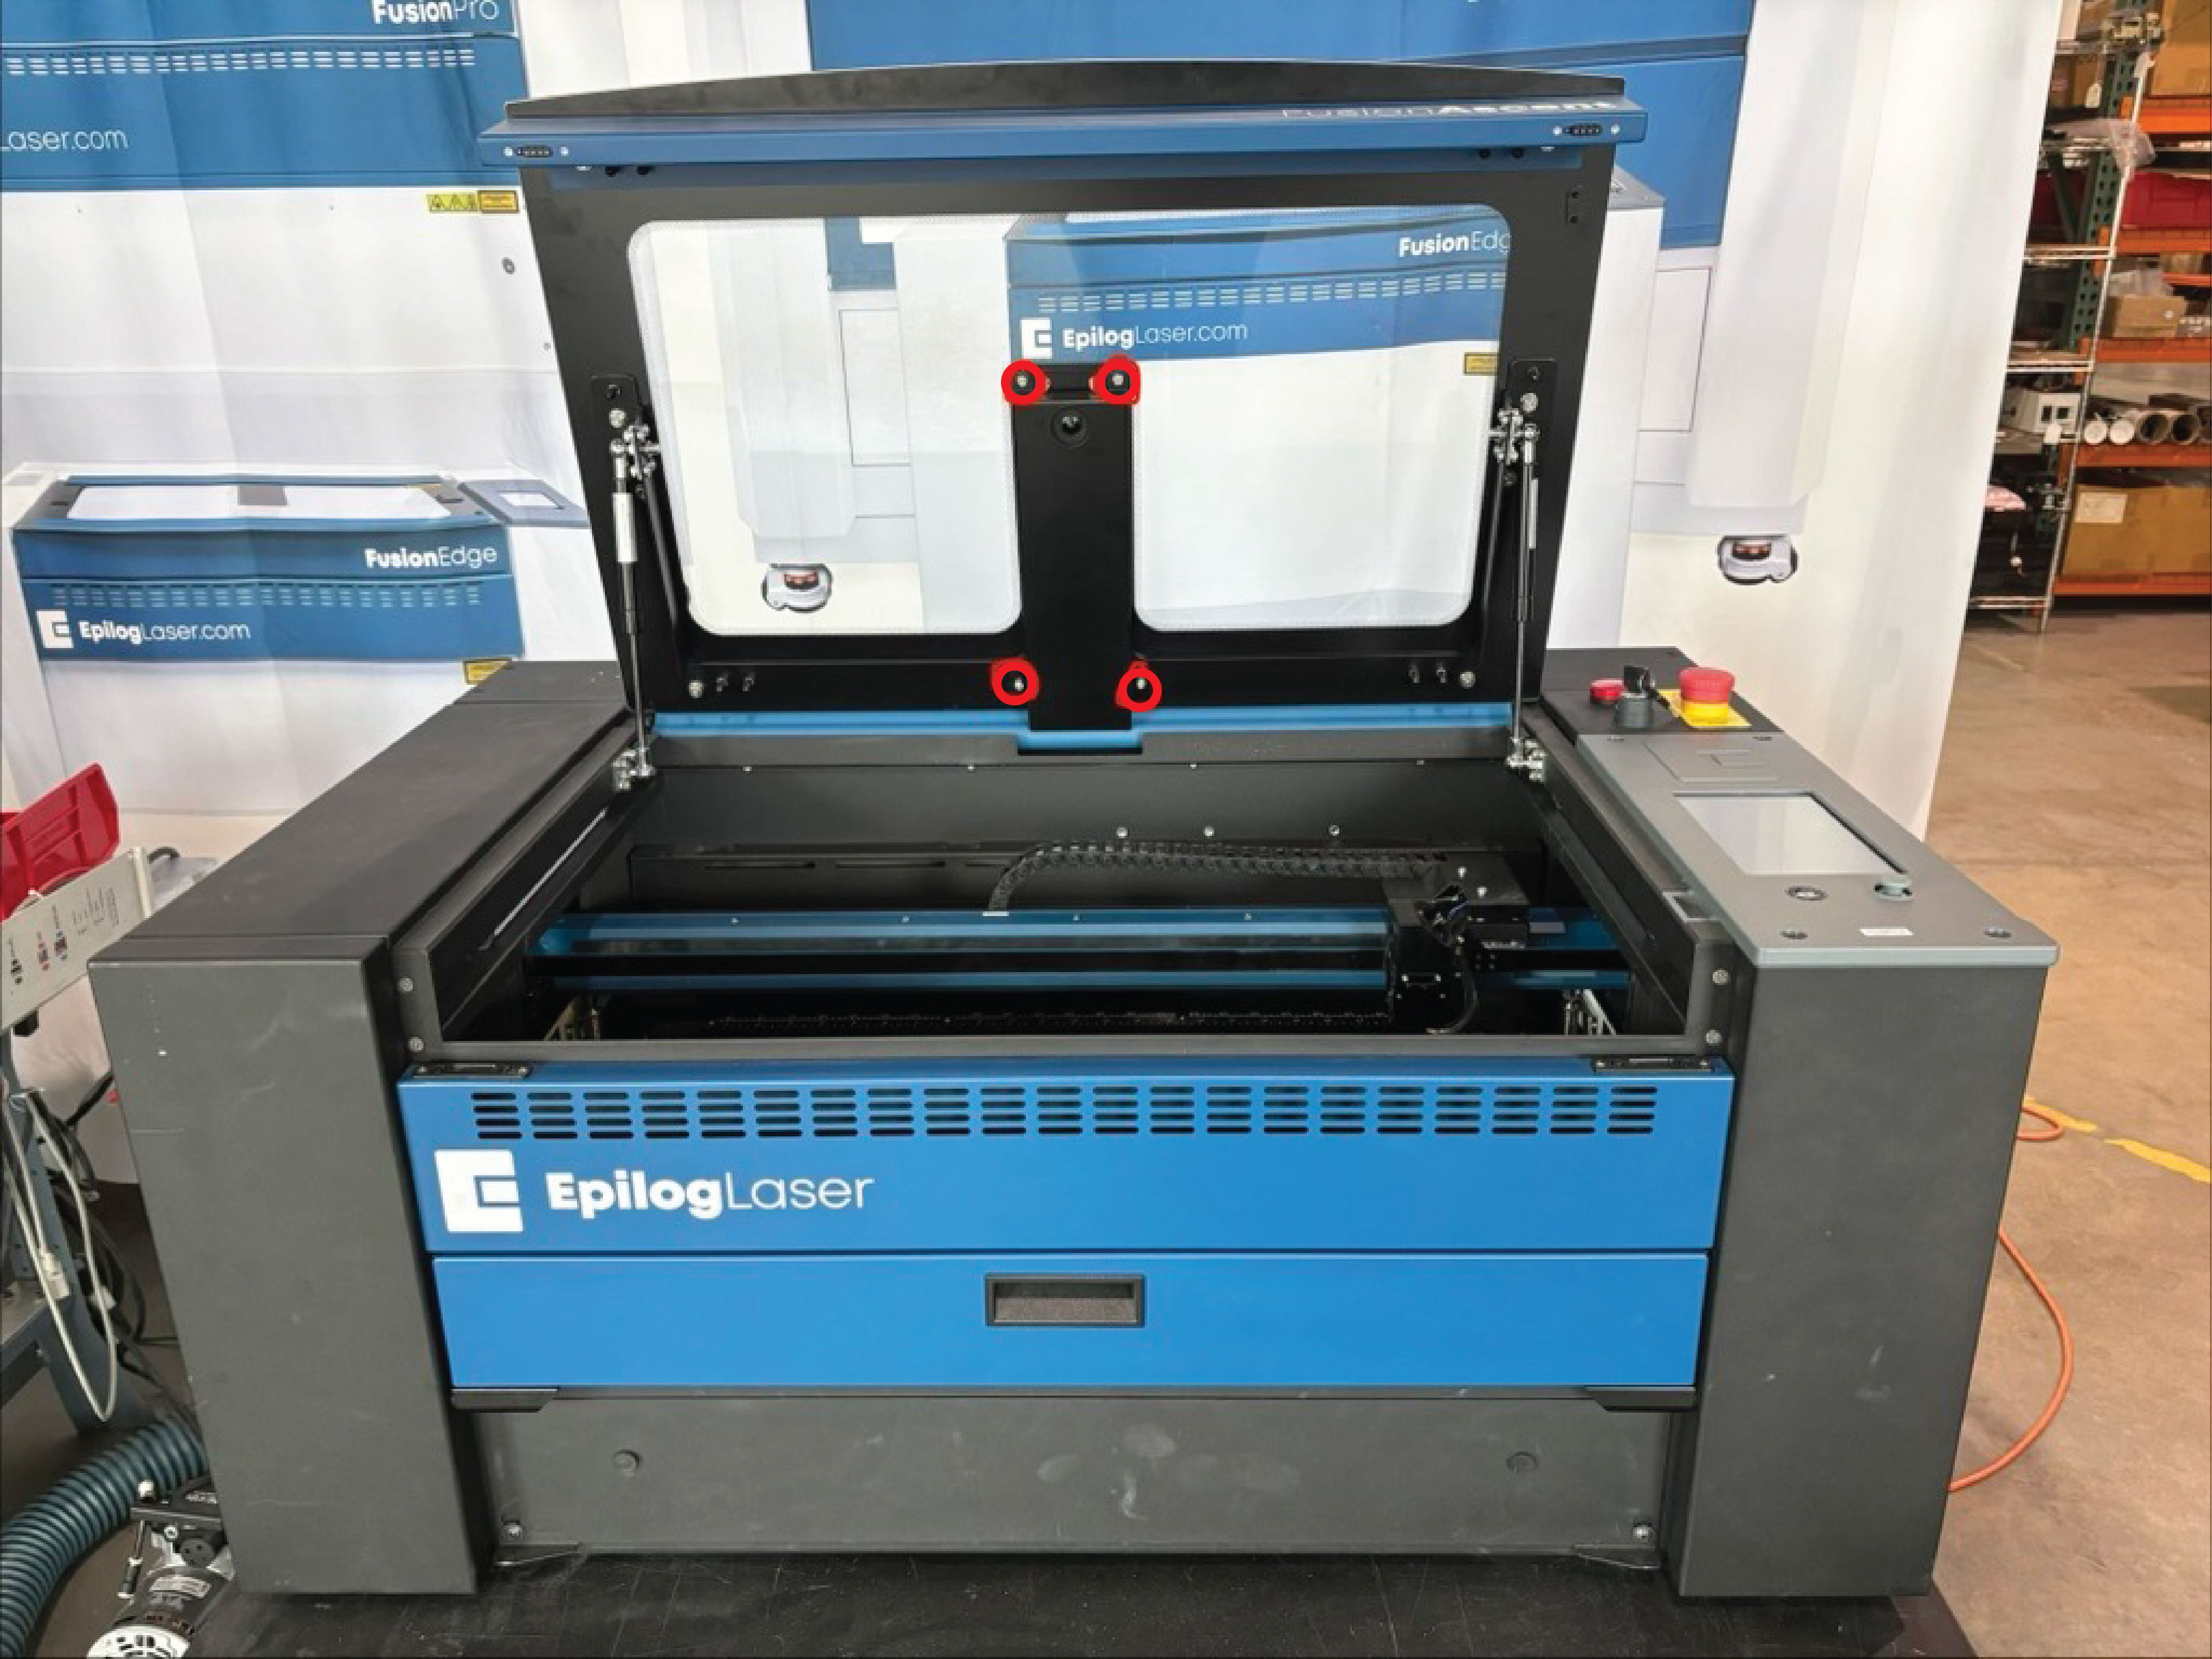
Remove the Camera Cover
Remove the nuts holding the camera cover (4 or 6, depending on the model) and lift the cover off.
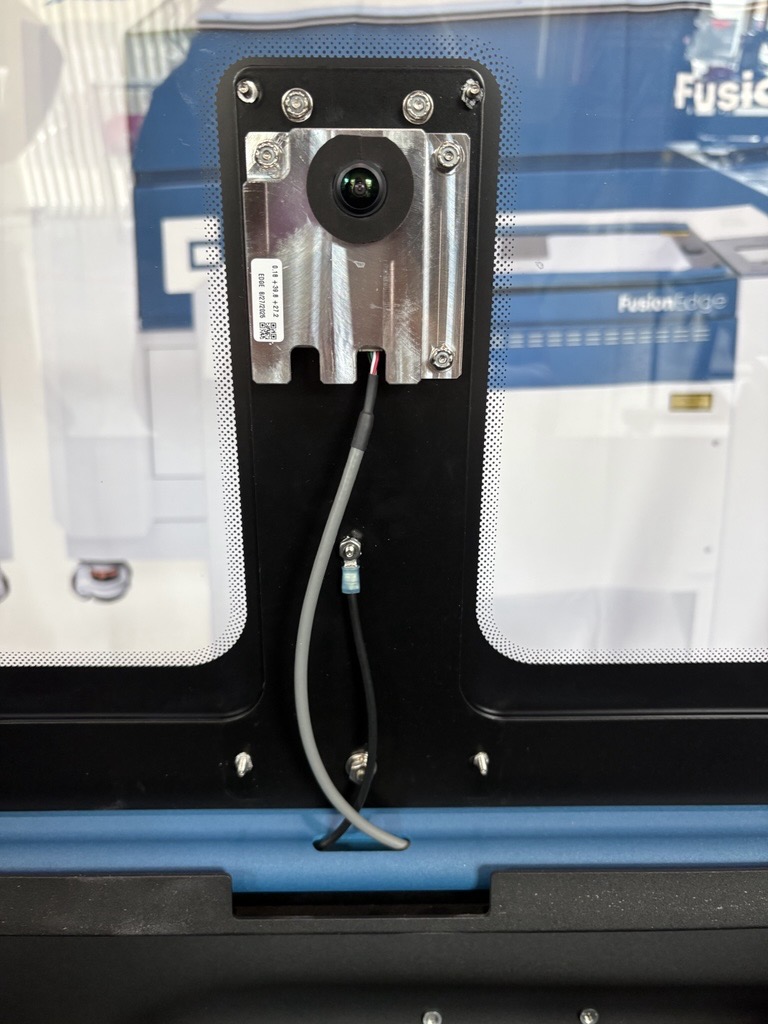
Photograph the Harness Connections
Take a photo of the wiring harness layout to refer to during reassembly.
Note: This photo shows an Ascent 12. The Ascent 24 and 36 look different.
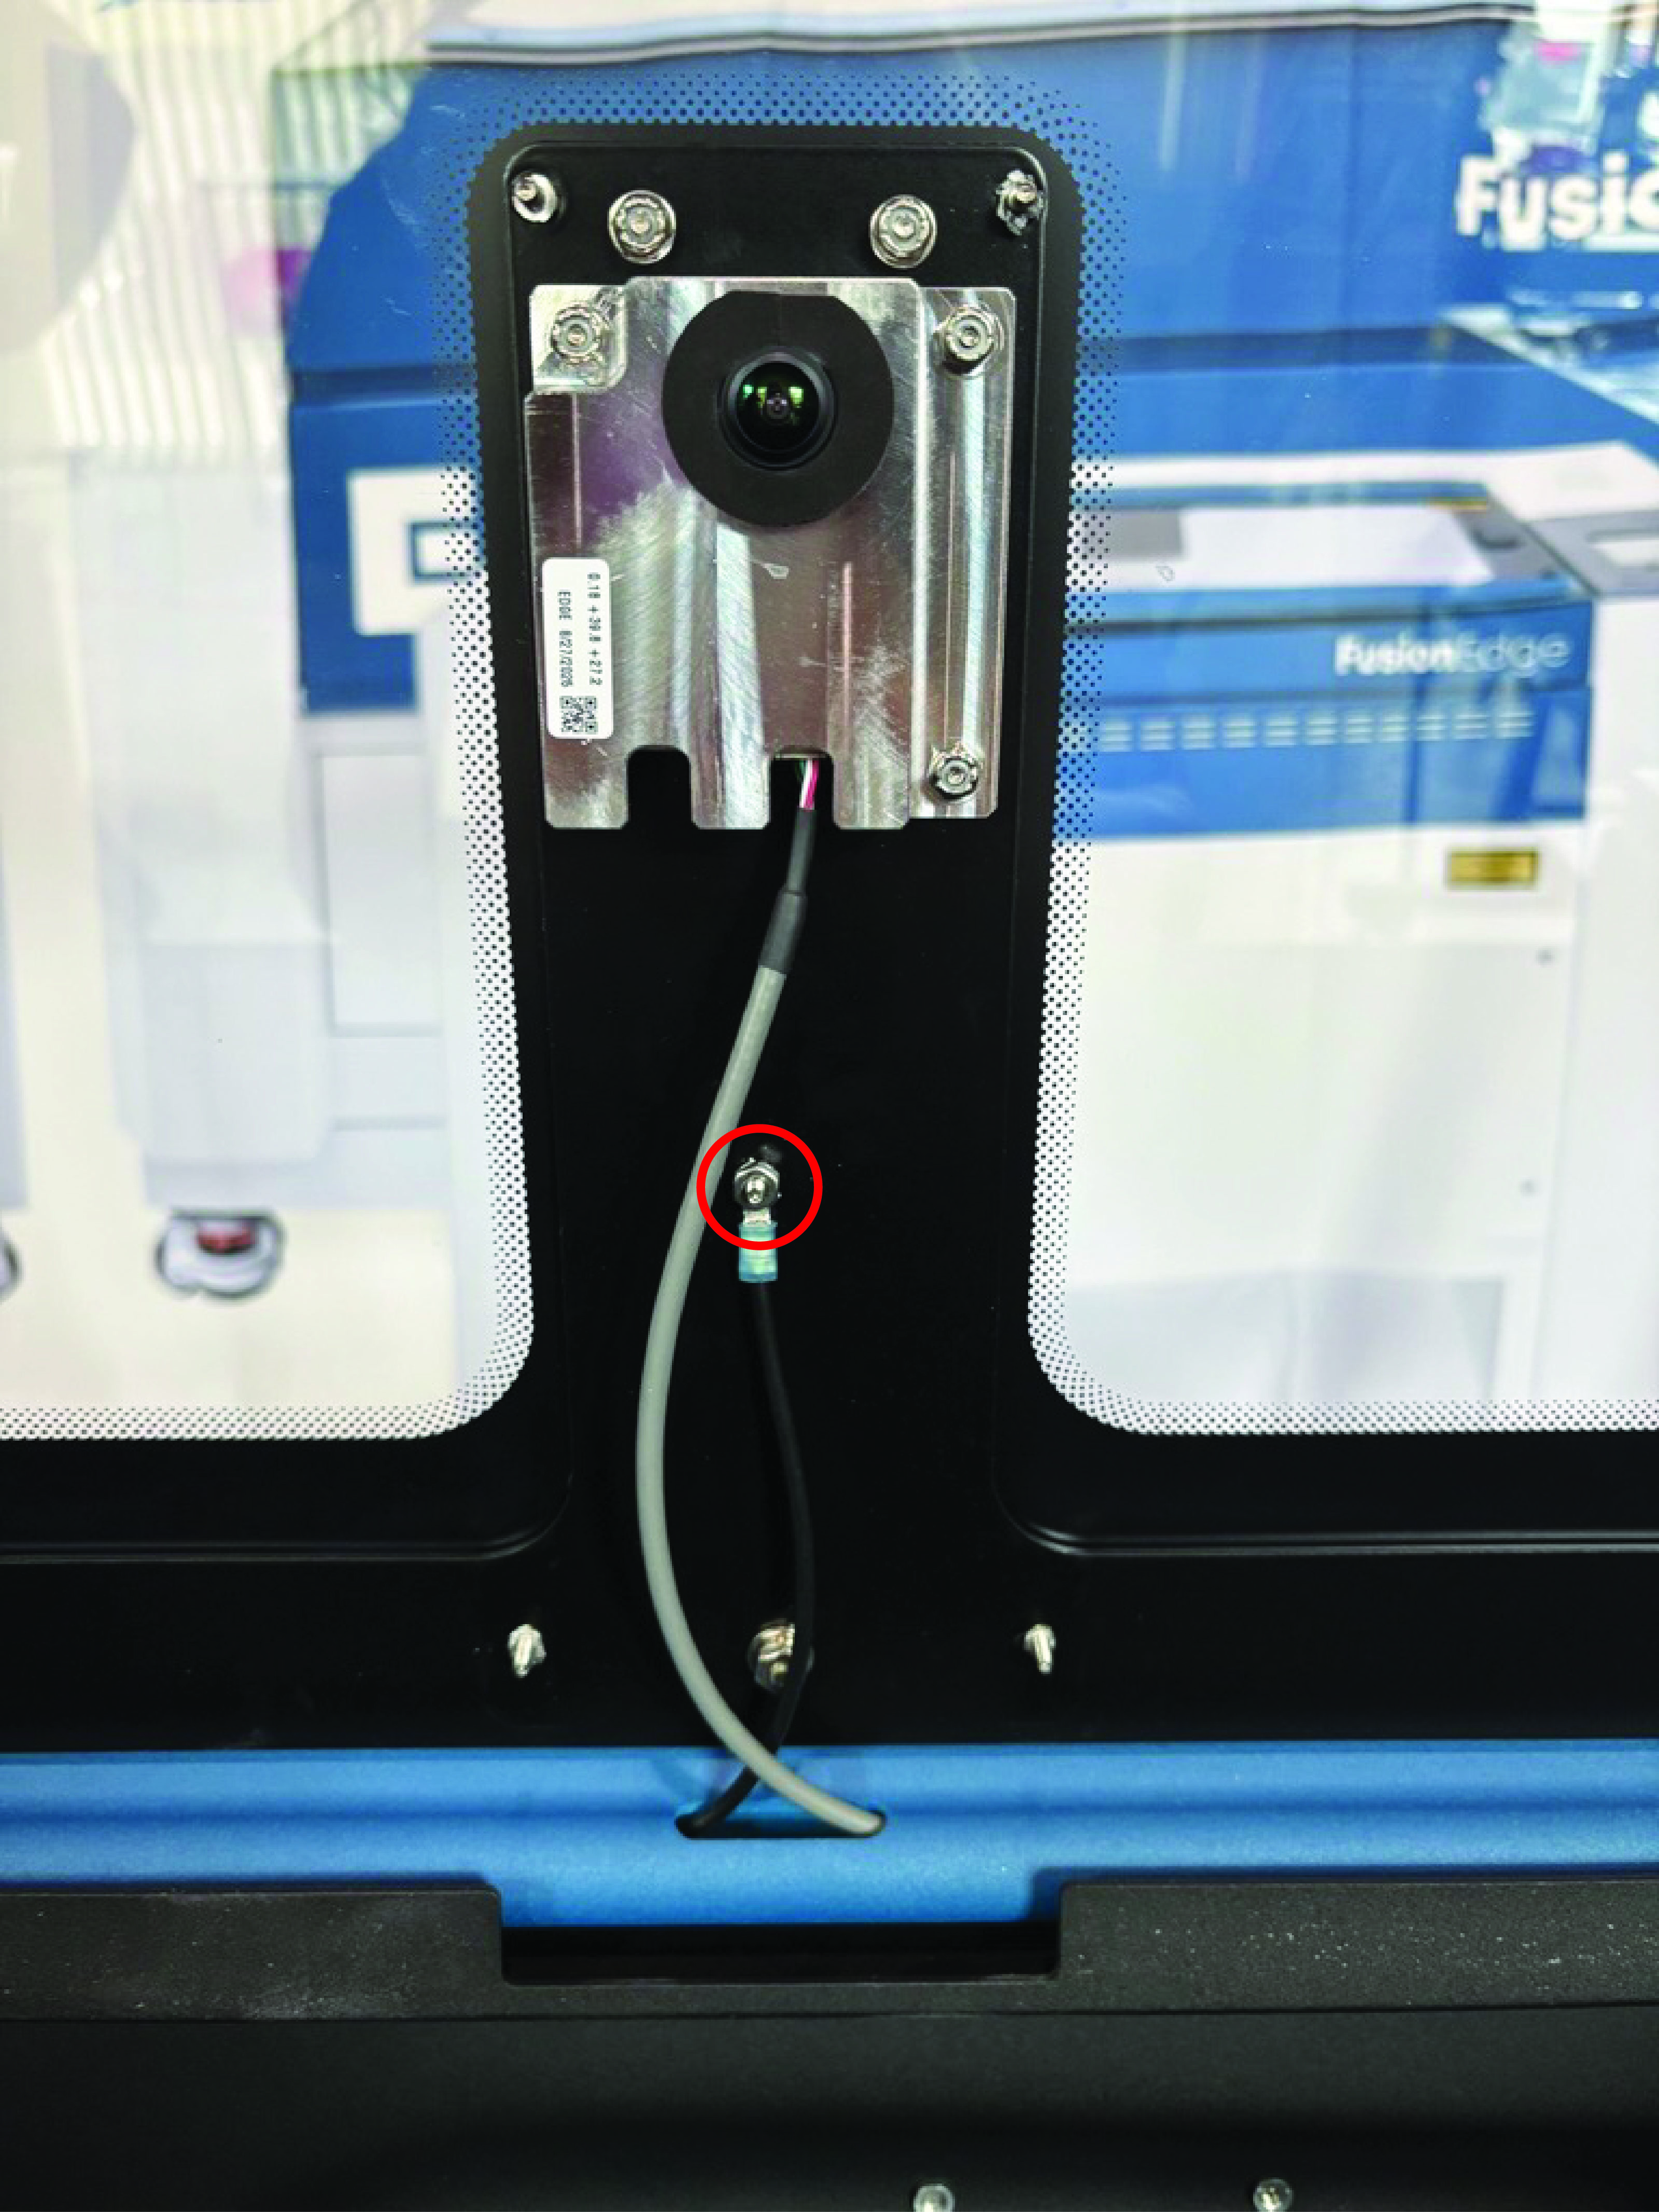
Remove the Ground Harness
Loosen and remove the nut holding the ground harness, and take the ground harness off.
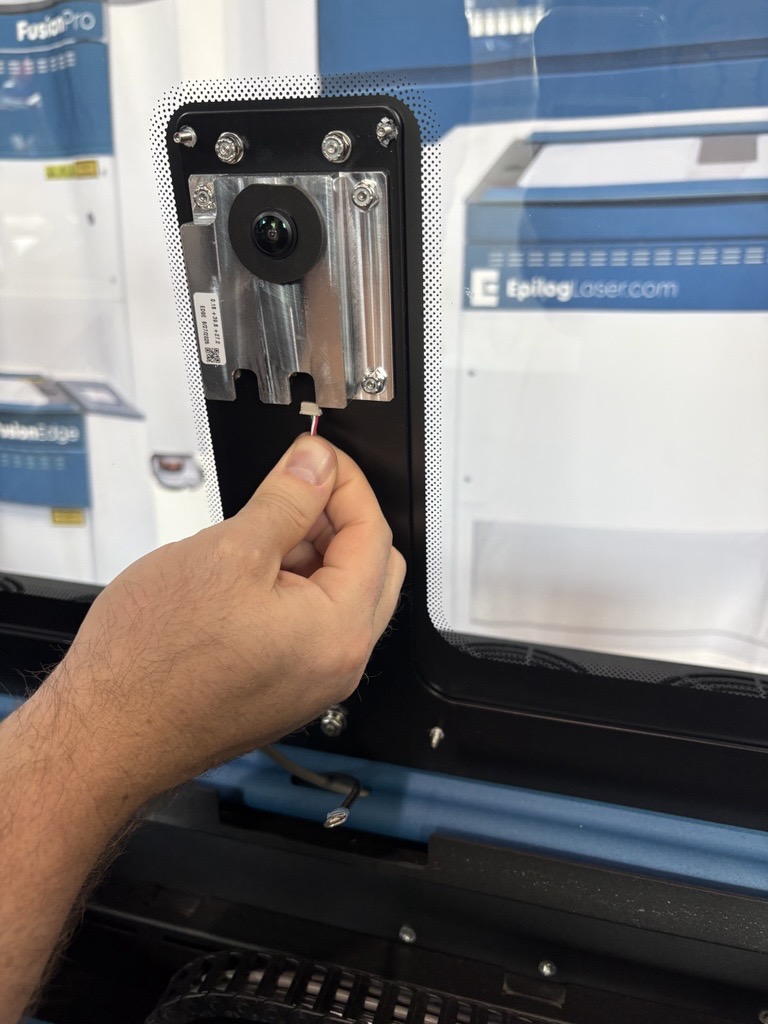
Disconnect the Camera Cables
Unplug the camera cable connectors.
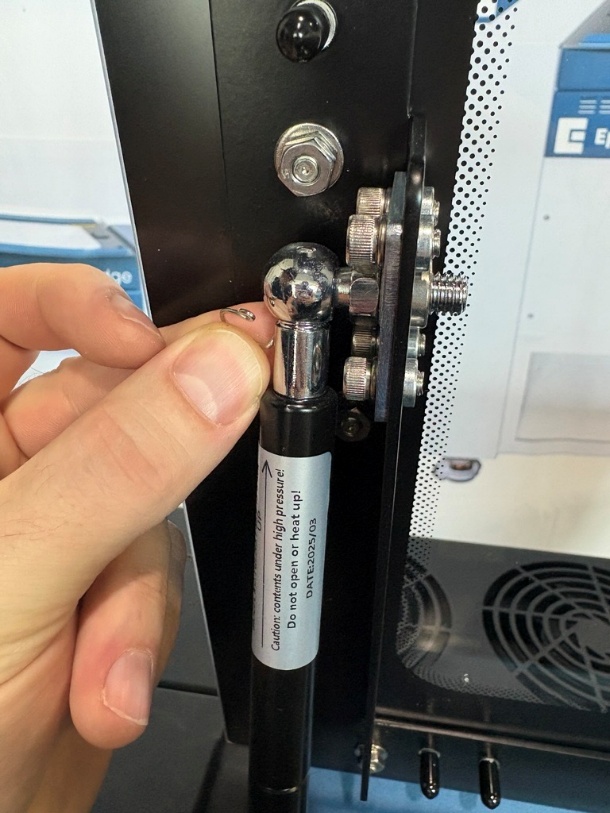
Remove the Gas Shock Clips
Remove the retaining clip at the top door end of each gas shock.
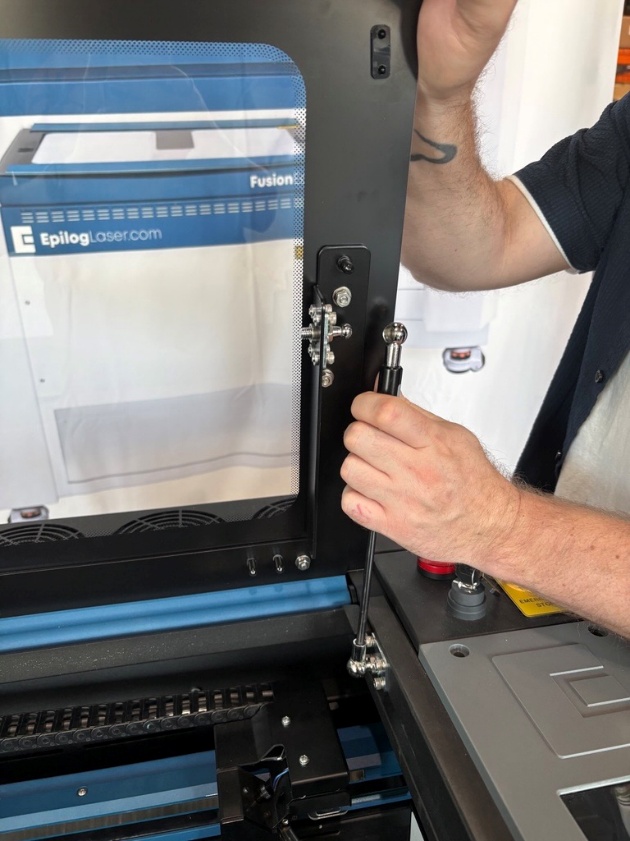
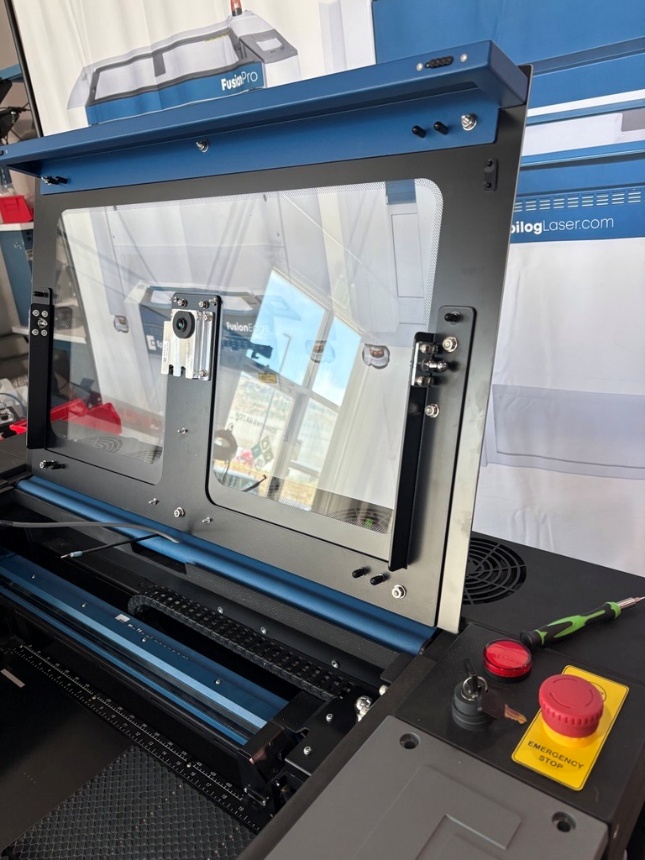
Detach the Gas Shocks
With one person on each side, pull both gas shocks off their ball studs at the same time. Then gently rest the door at the back of its travel.
Important: Detach both shocks at the same time and keep hold of the door. Once the shocks are off, the door is no longer supported.
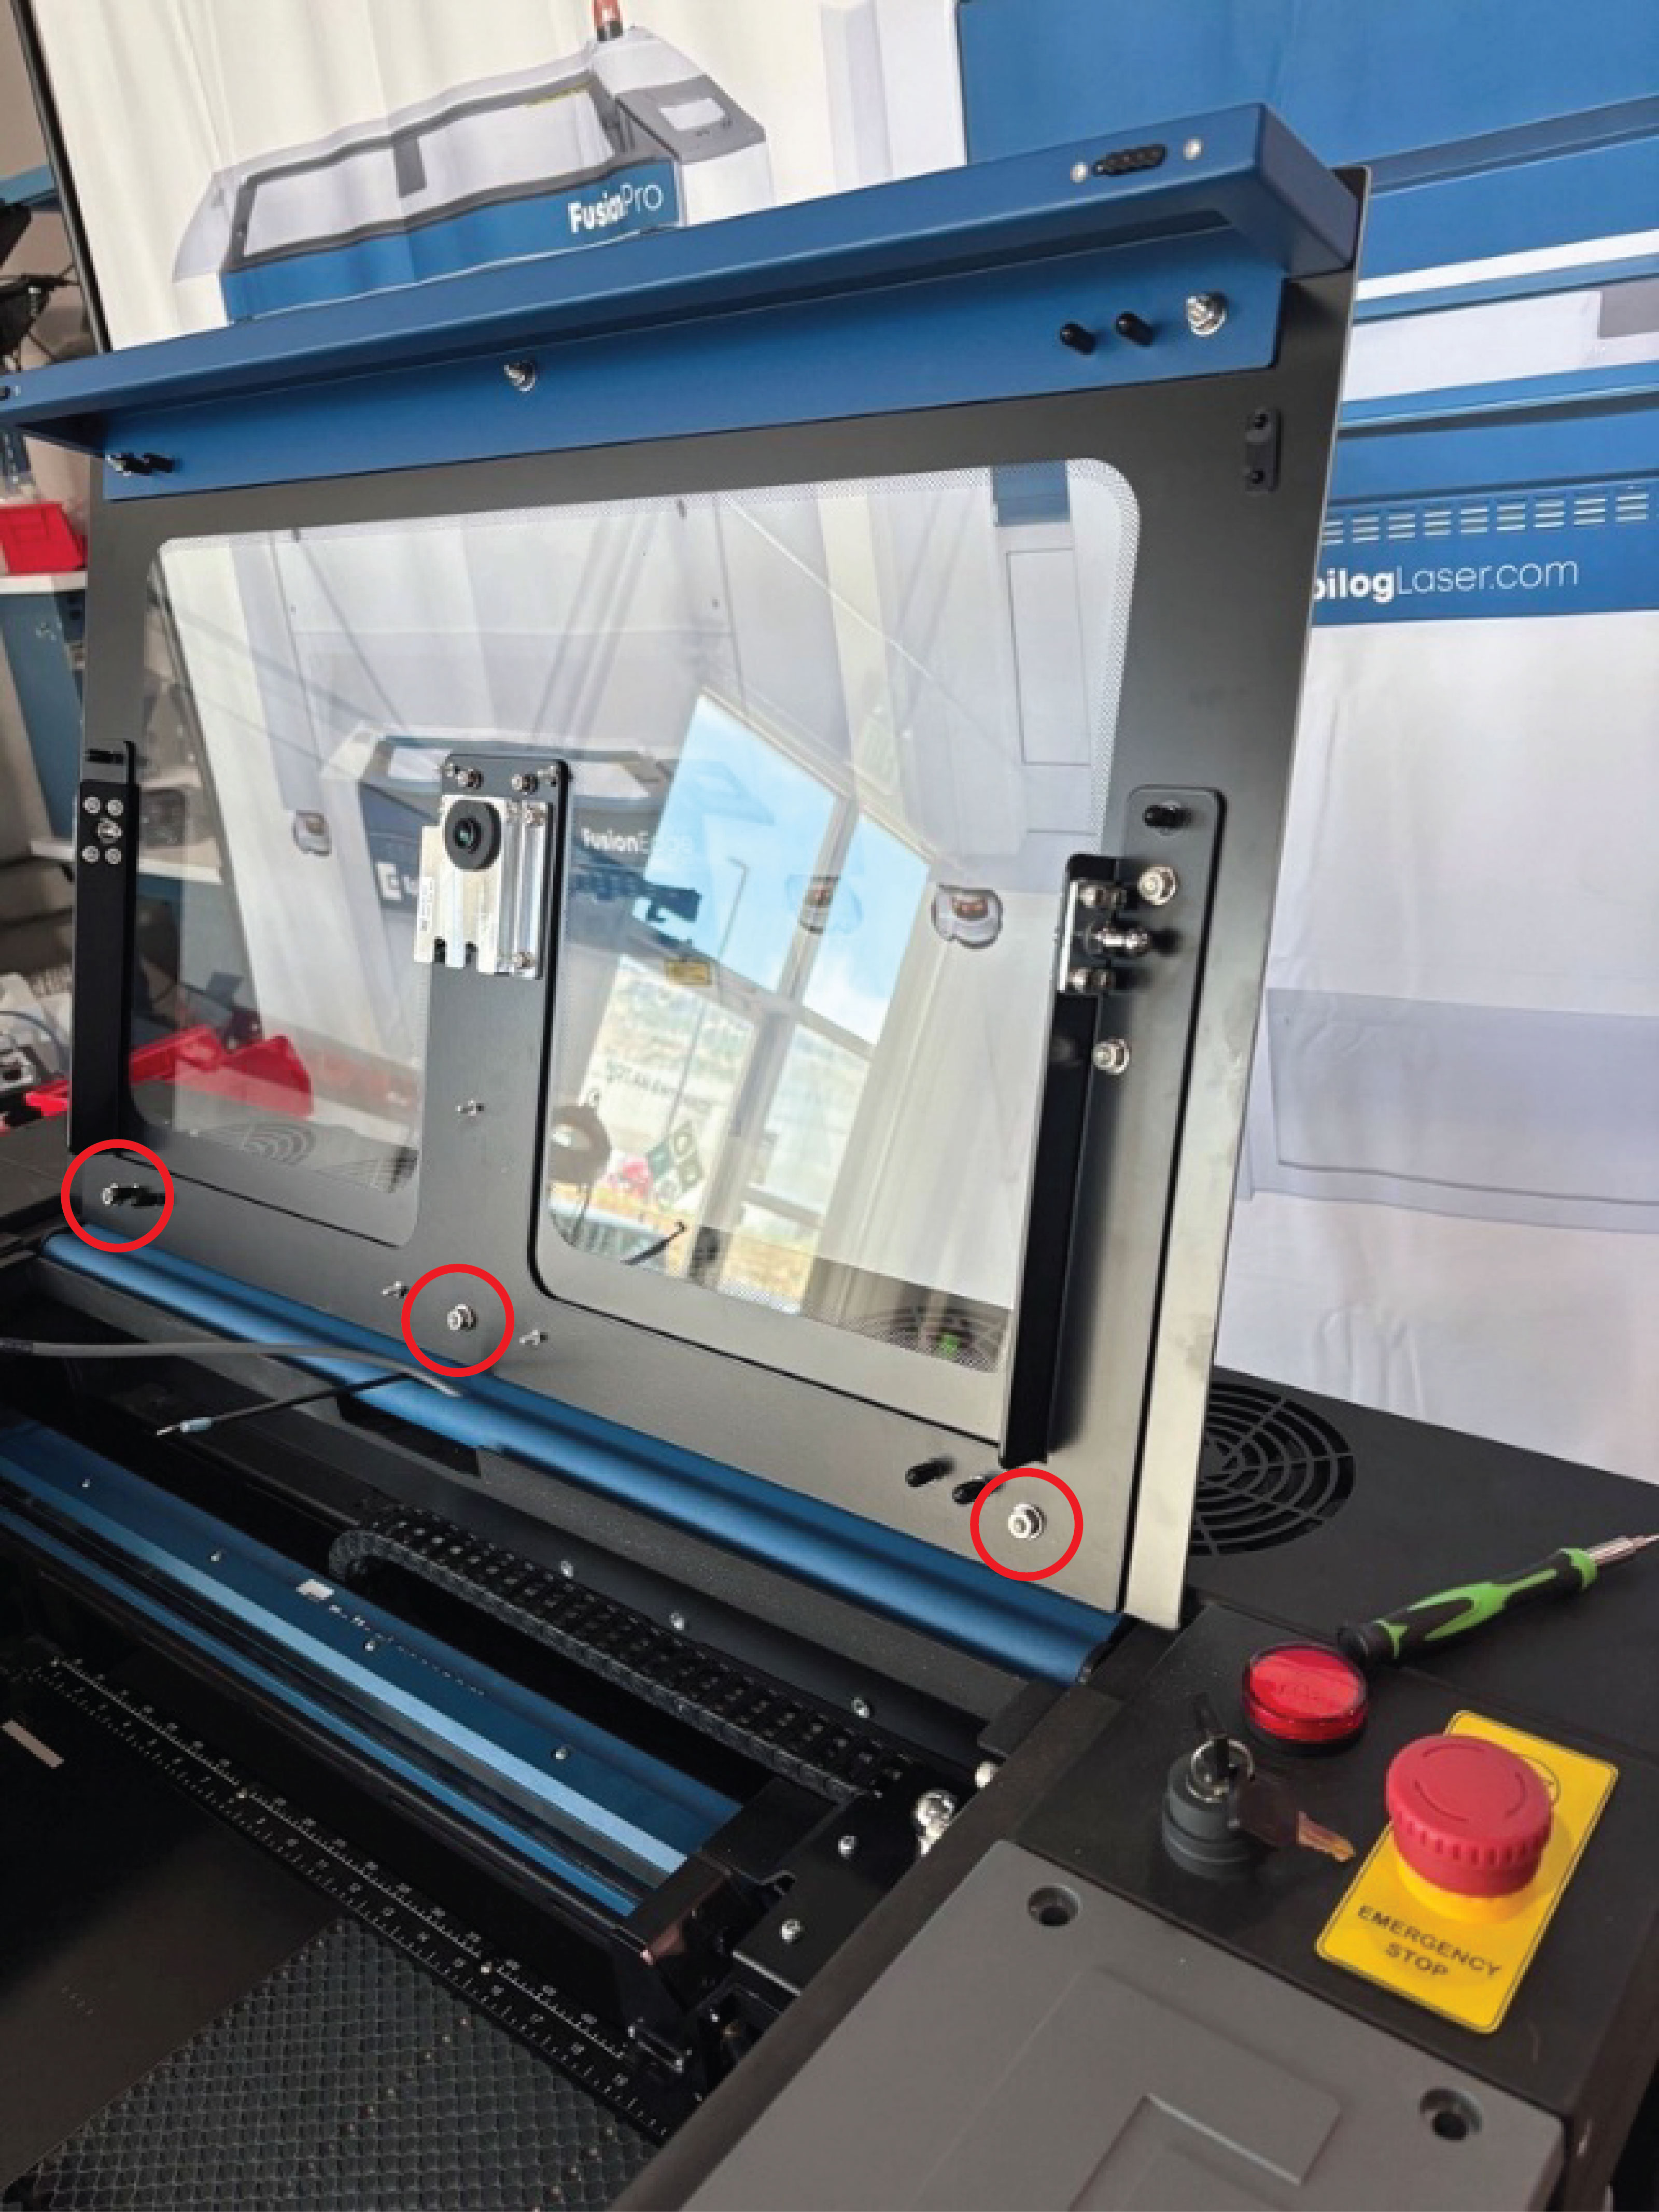
Remove the Lid Base Nuts
While one person supports the top door, the other loosens and removes the three lid base nuts.
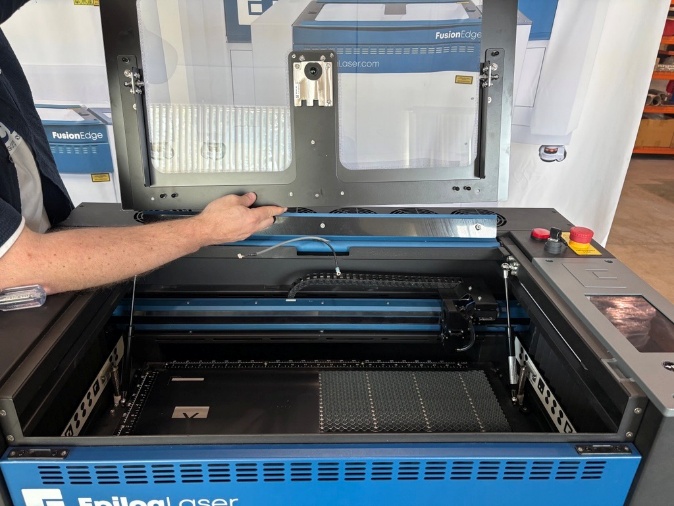
Slide Off the Old Door
Carefully slide the top door forward and off the three base posts.
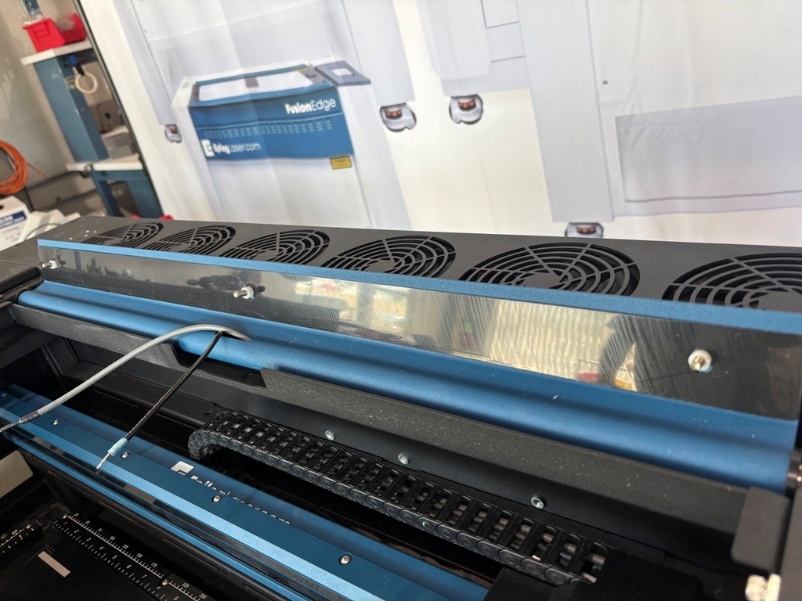
Check the Shim and Spacers
Make sure the black shim along the hinge bar and the three white spacers (one on each post) are still in place.
Top Door Installation
Position the New Top Door
With two people, carefully slide the new top door onto the three base posts.
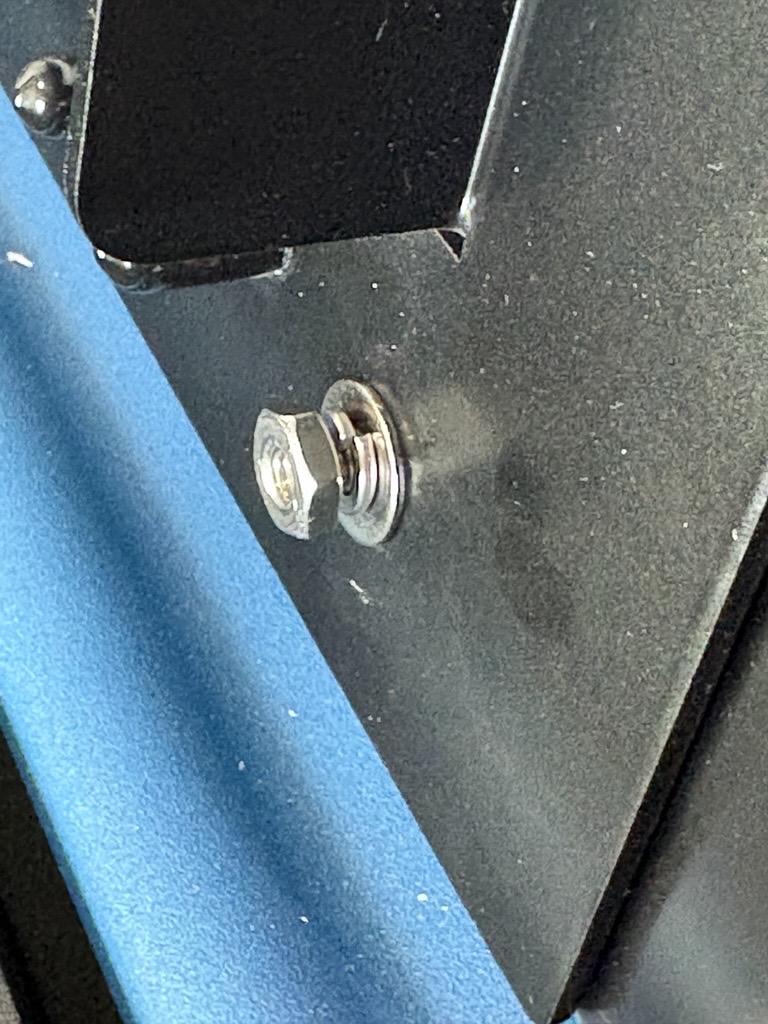
Secure the Base Posts
While one person holds the door, install a washer, lock washer and nut on each post. Do not overtighten.
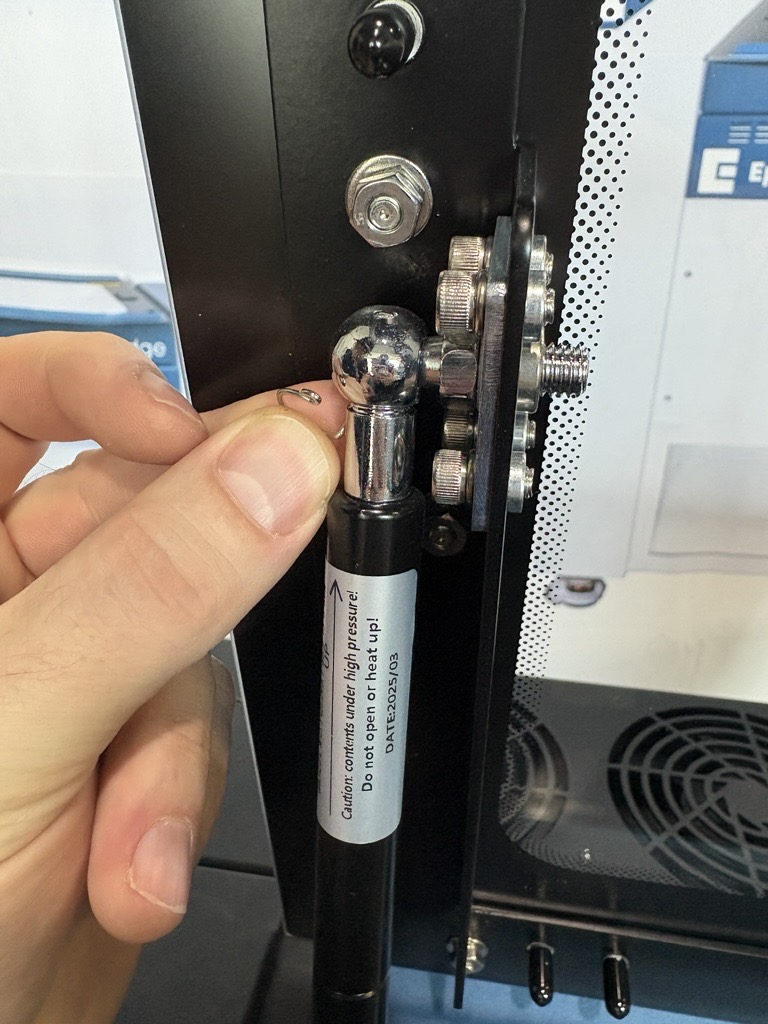
Reattach the Gas Shocks
Press each gas shock back onto its ball stud on the door, and install its retaining clip.
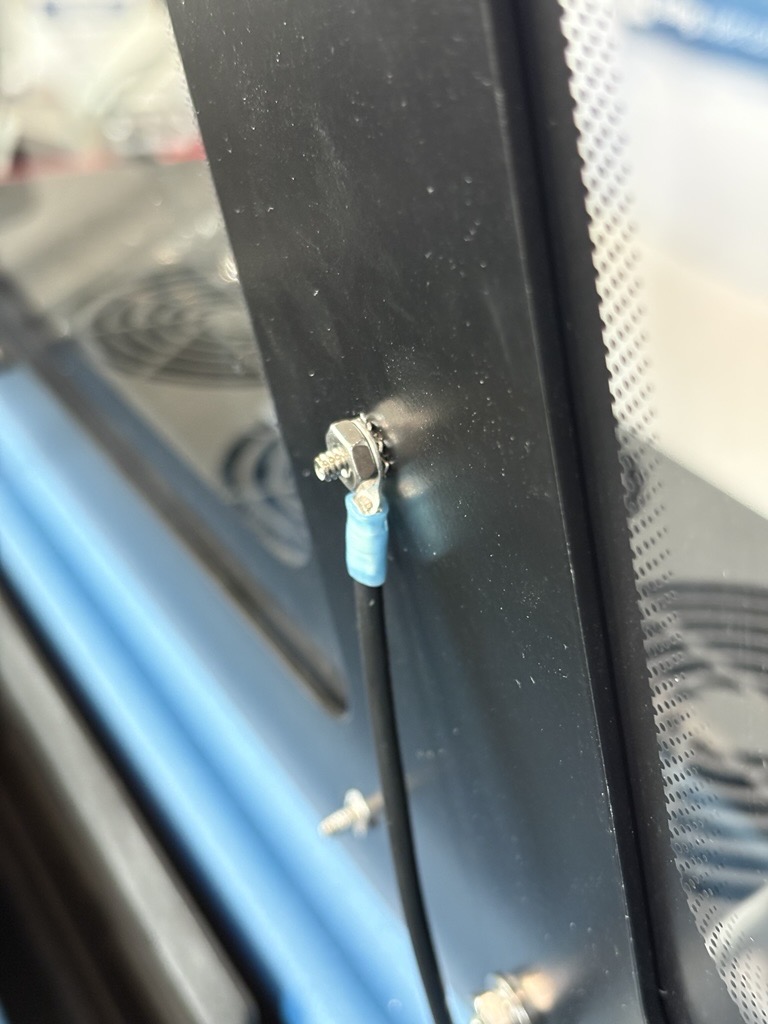
Reconnect the Ground Harness
Reconnect the ground harness in this order: star washer, then the ground harness ring, then the nut.
Reconnect the Camera Cables
Plug the camera cables back in, using your photo from earlier as a guide.
Reinstall the Camera Cover
Install the camera cover and secure each of its posts (4 or 6) with a lock nut.
Check the Door
Open and close the door a few times. It should move smoothly, and the gas shocks should hold it open.
Reconnect Power
Plug the power cord back in and turn on the engraver.
Camera Calibration Required
Once the new door is installed, follow the camera calibration procedure for your machine before returning to production work.