
This guide covers replacing the backplane board on the Zing.
Parts Required
- RC008 – Backplane Board
Tools Required
- 5/32" Wrench
- 7/32" Allen Wrench
- Phillips Screwdriver
- Anti-Static Bracelet
Safety First: Ensure the engraver is completely powered off and the power cord is disconnected before removing any panels or touching internal components.
Static Warning: The backplane and control boards are sensitive to static discharge. Wear a grounded anti-static bracelet while handling them.
Backplane Removal
Power Off Engraver
Turn off the engraver.
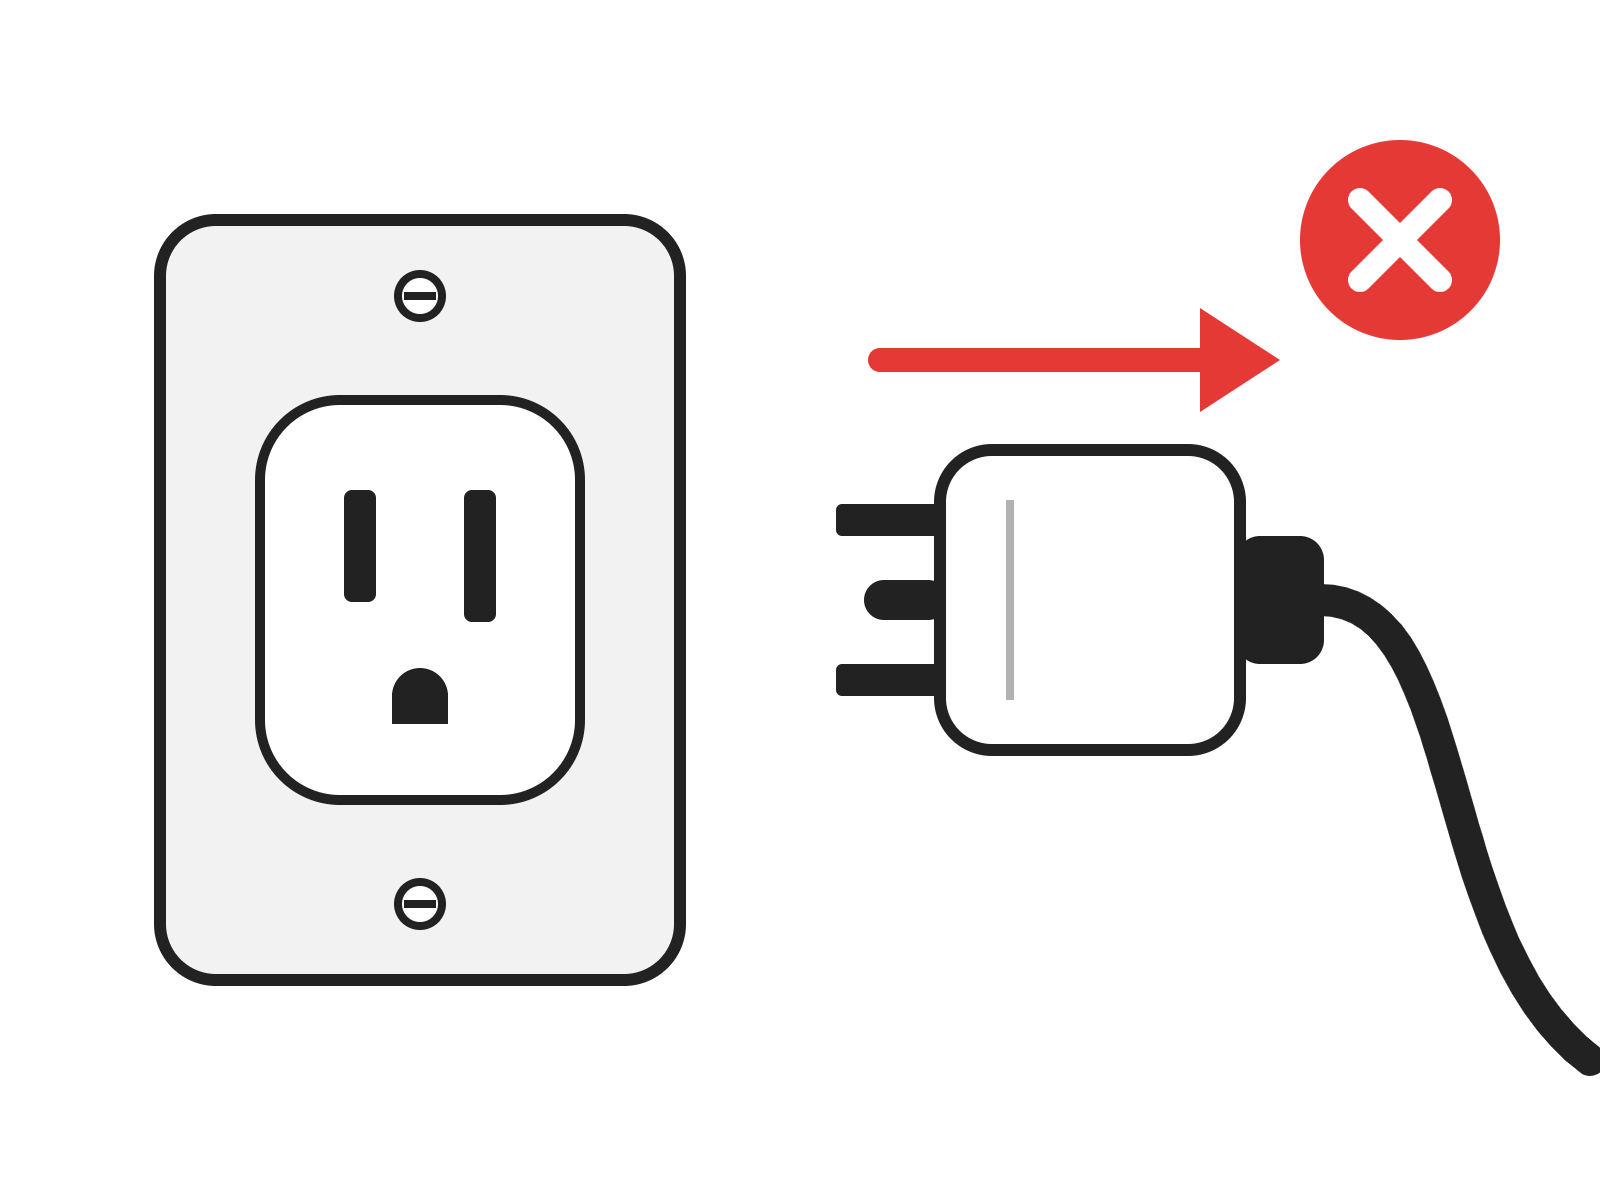
Disconnect From Power
Unplug the power cord from the wall and from the engraver.
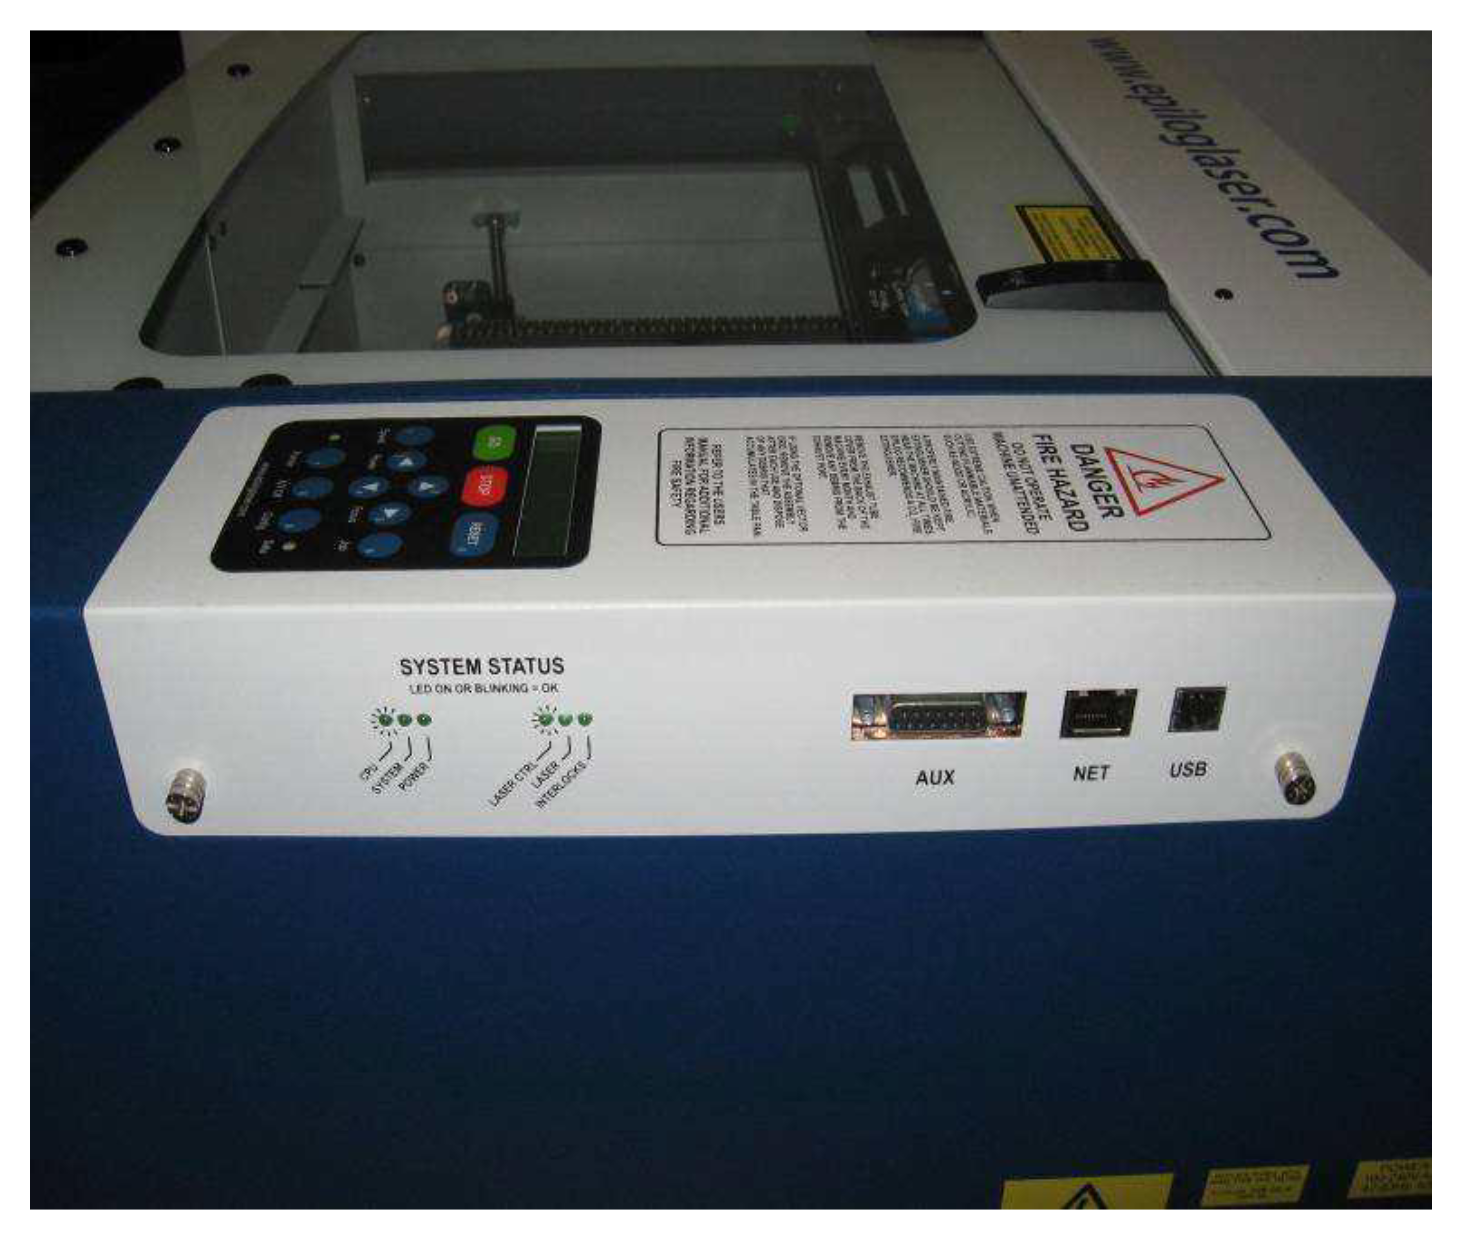
Loosen the Captive Screws
Loosen the two captive screws at each end of the control panel.
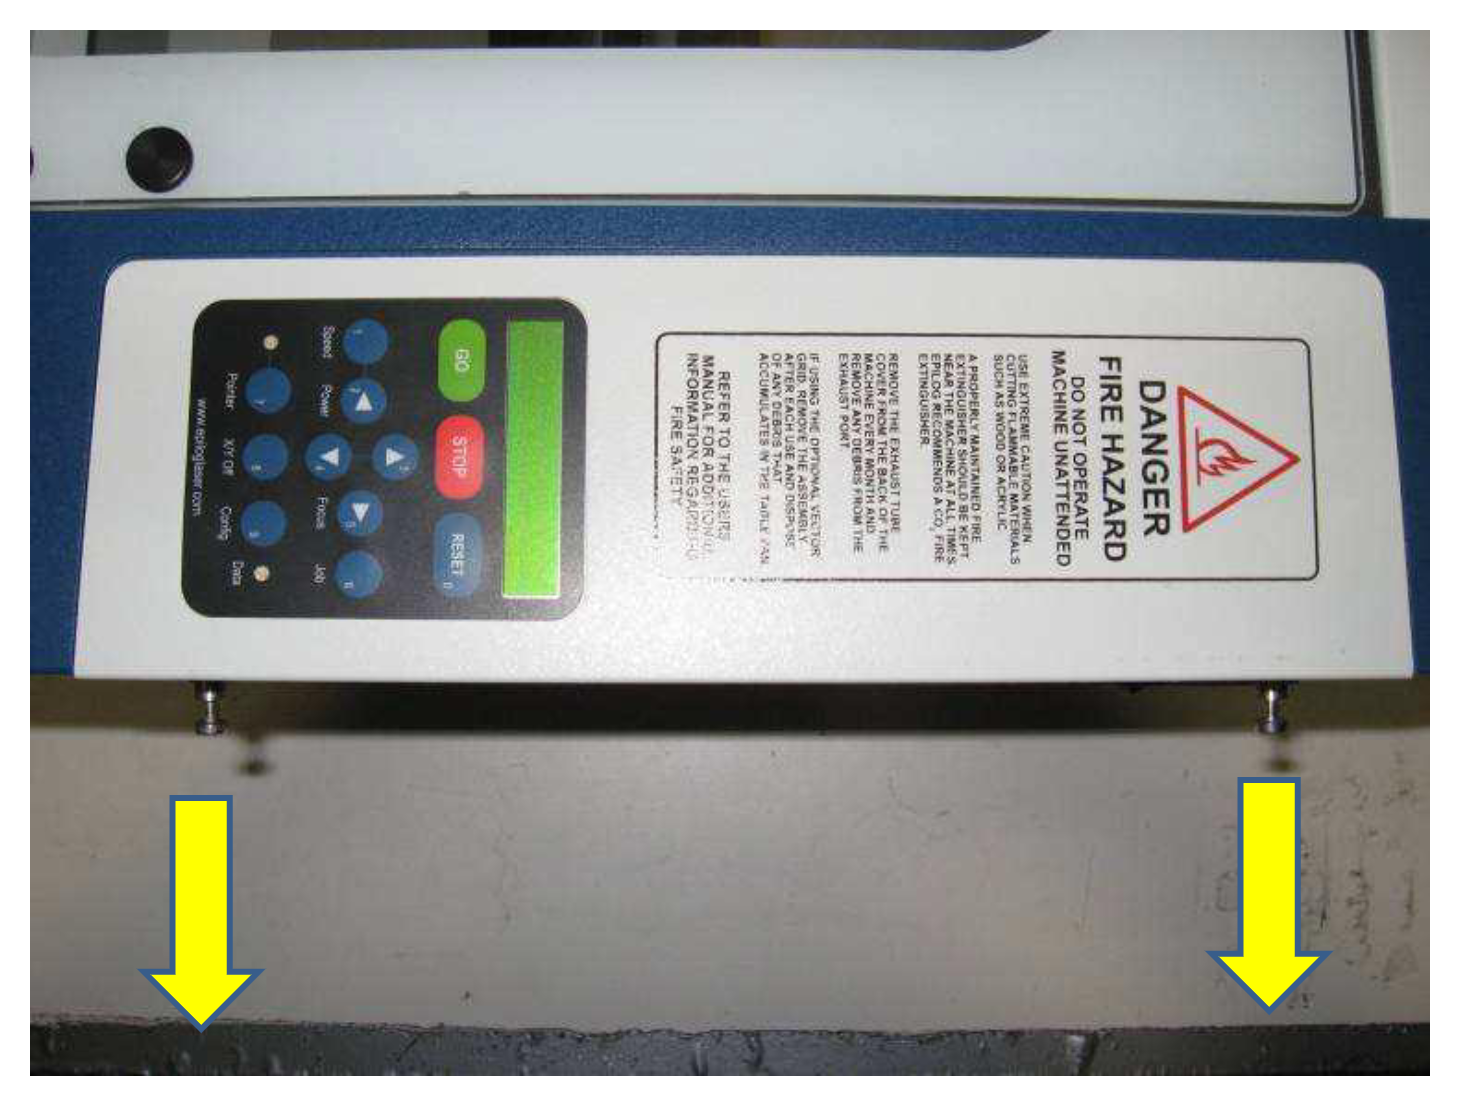
Pull Out the Control Panel
Hold the captive screws and pull the control board and display assembly toward you to remove it from the engraver.
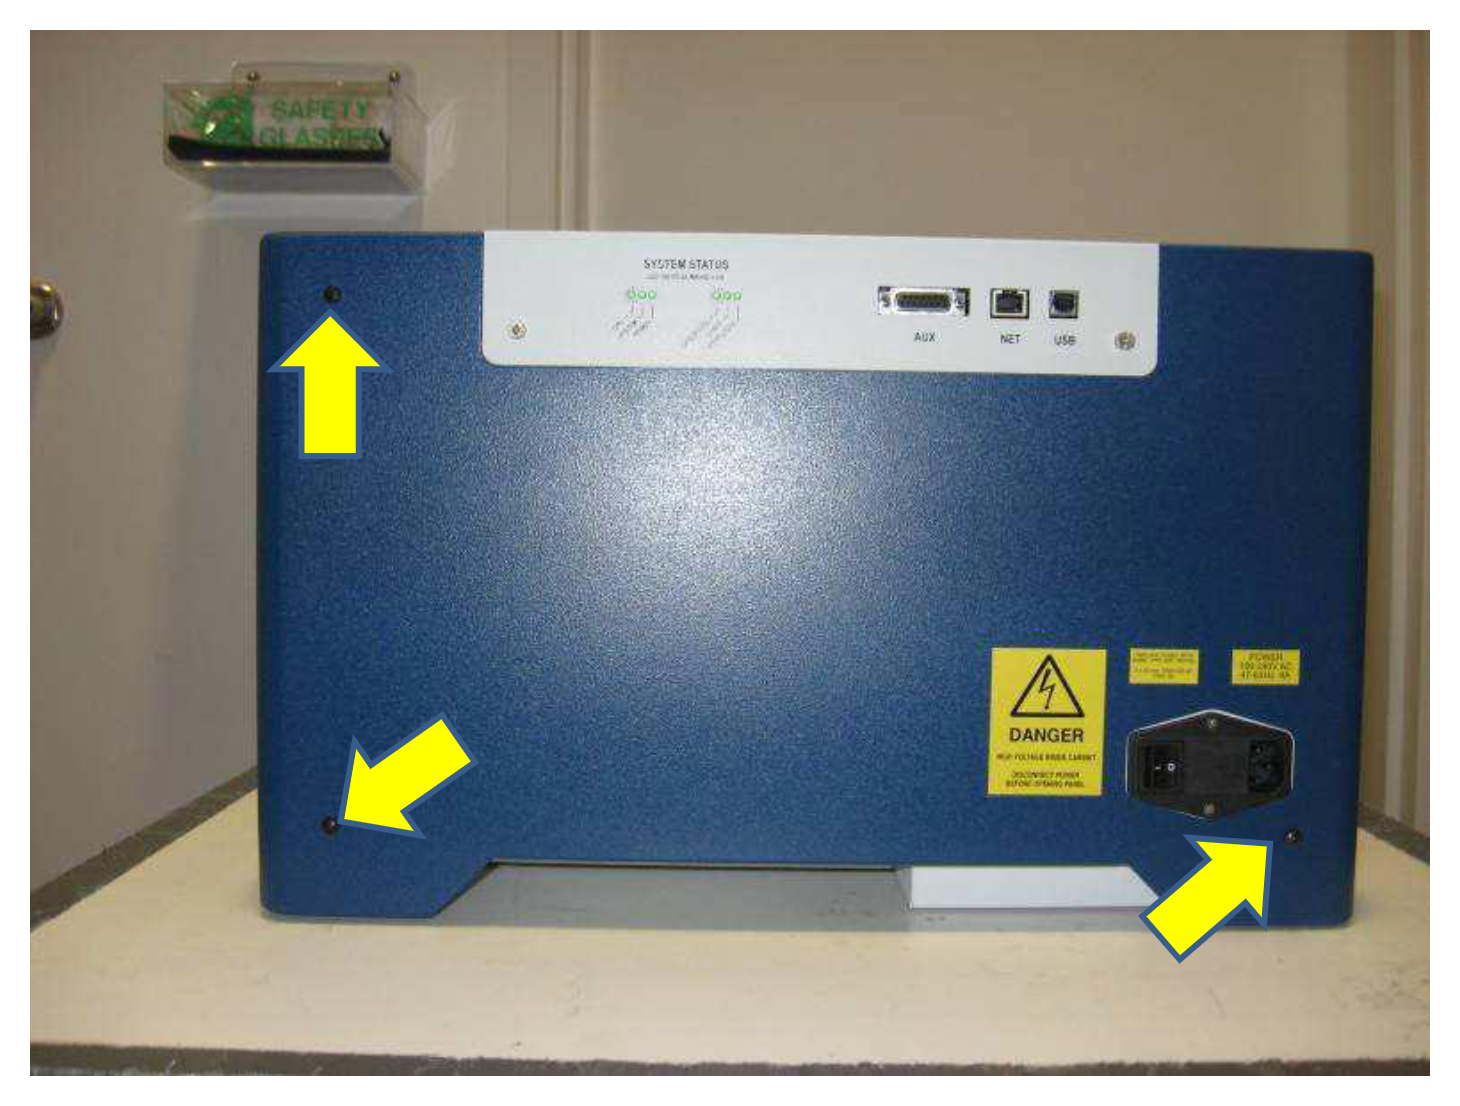
Remove the Rear Screws
Remove the three screws on the rear of the engraver (arrows).
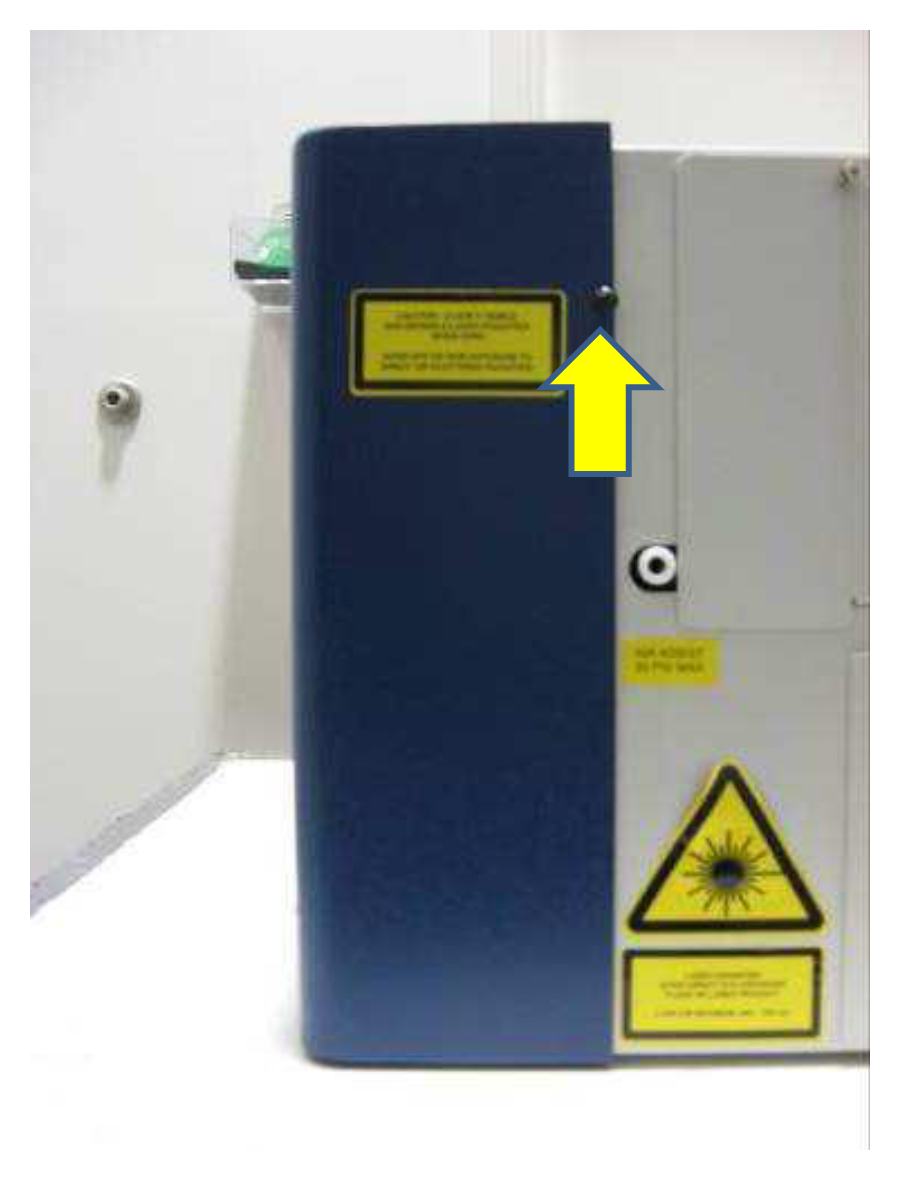
Remove the Side Screw
Remove the screw on the side of the right side cover (arrow).
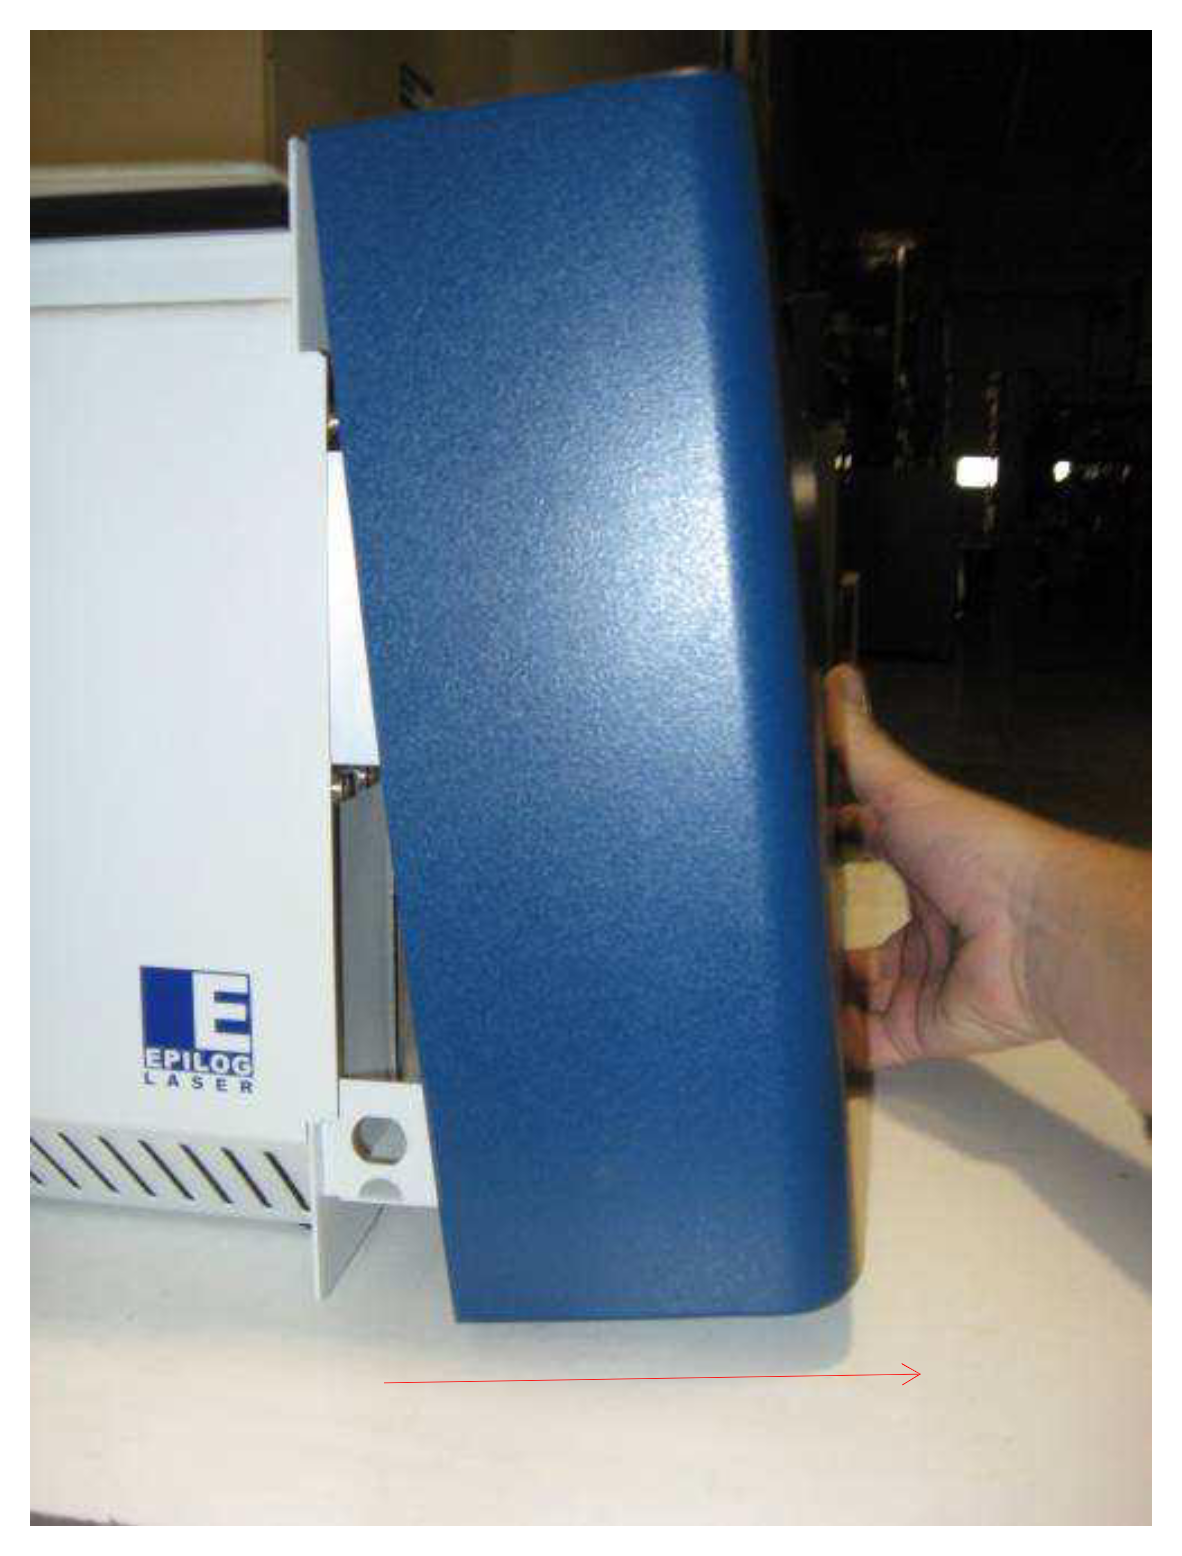
Remove the Right Side Cover
Lift up on the bottom of the right side cover, pull it toward you and lift it off.
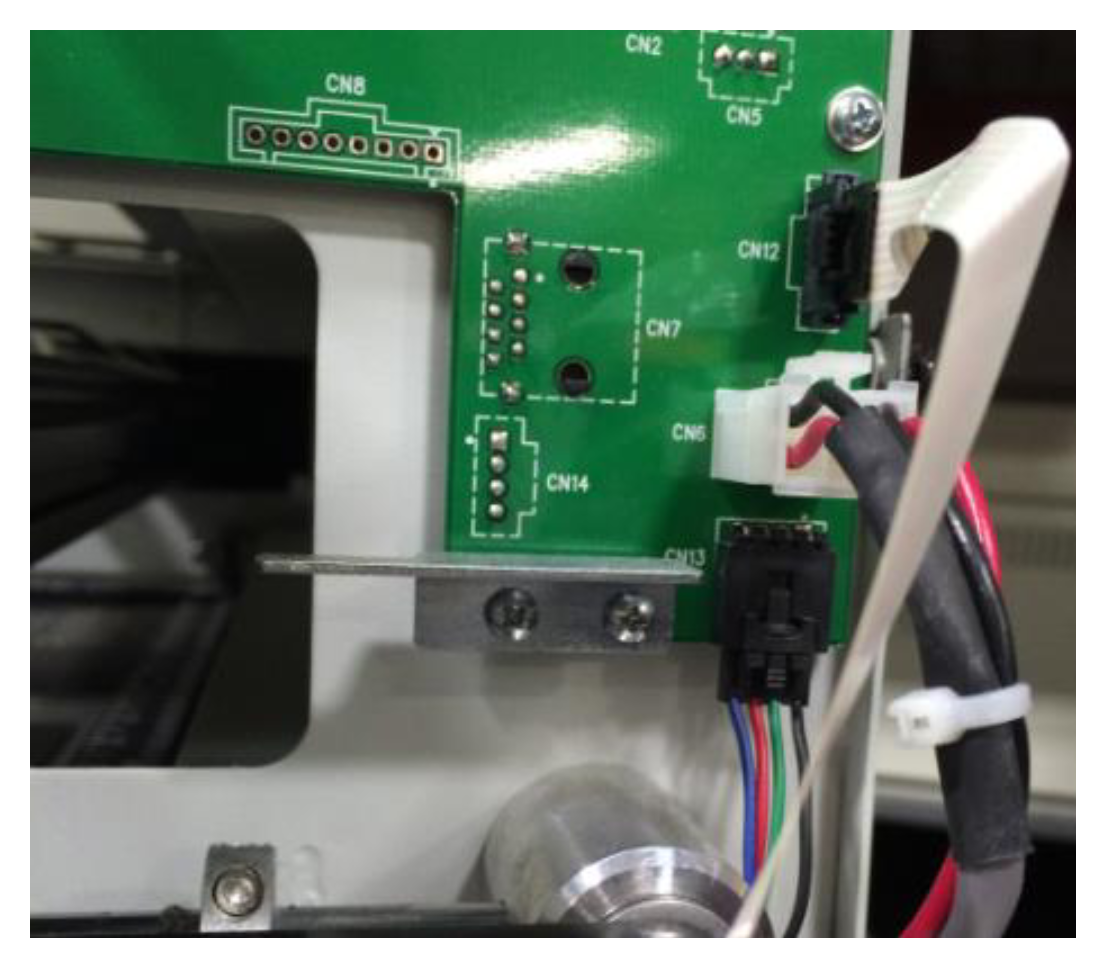
Unplug the Cables
Unplug the cables from the backplane board.
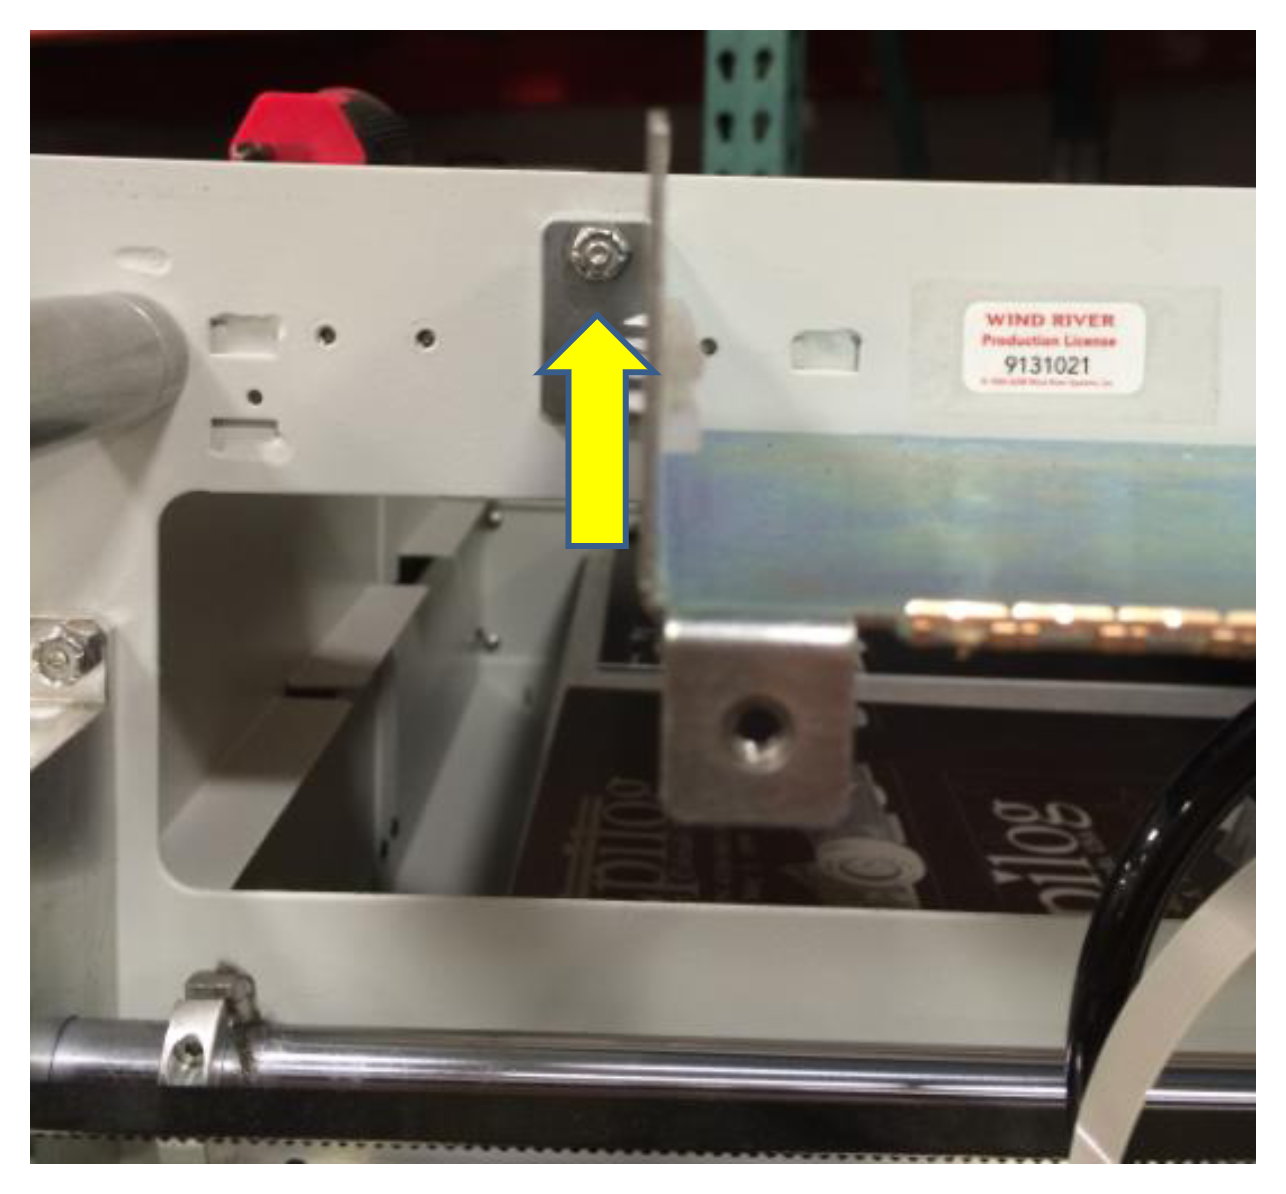
Remove the Housing Bolt
To remove the aluminum motherboard housing, first remove this bolt (arrow) with a 5/32" wrench.
Remove the Housing Screws
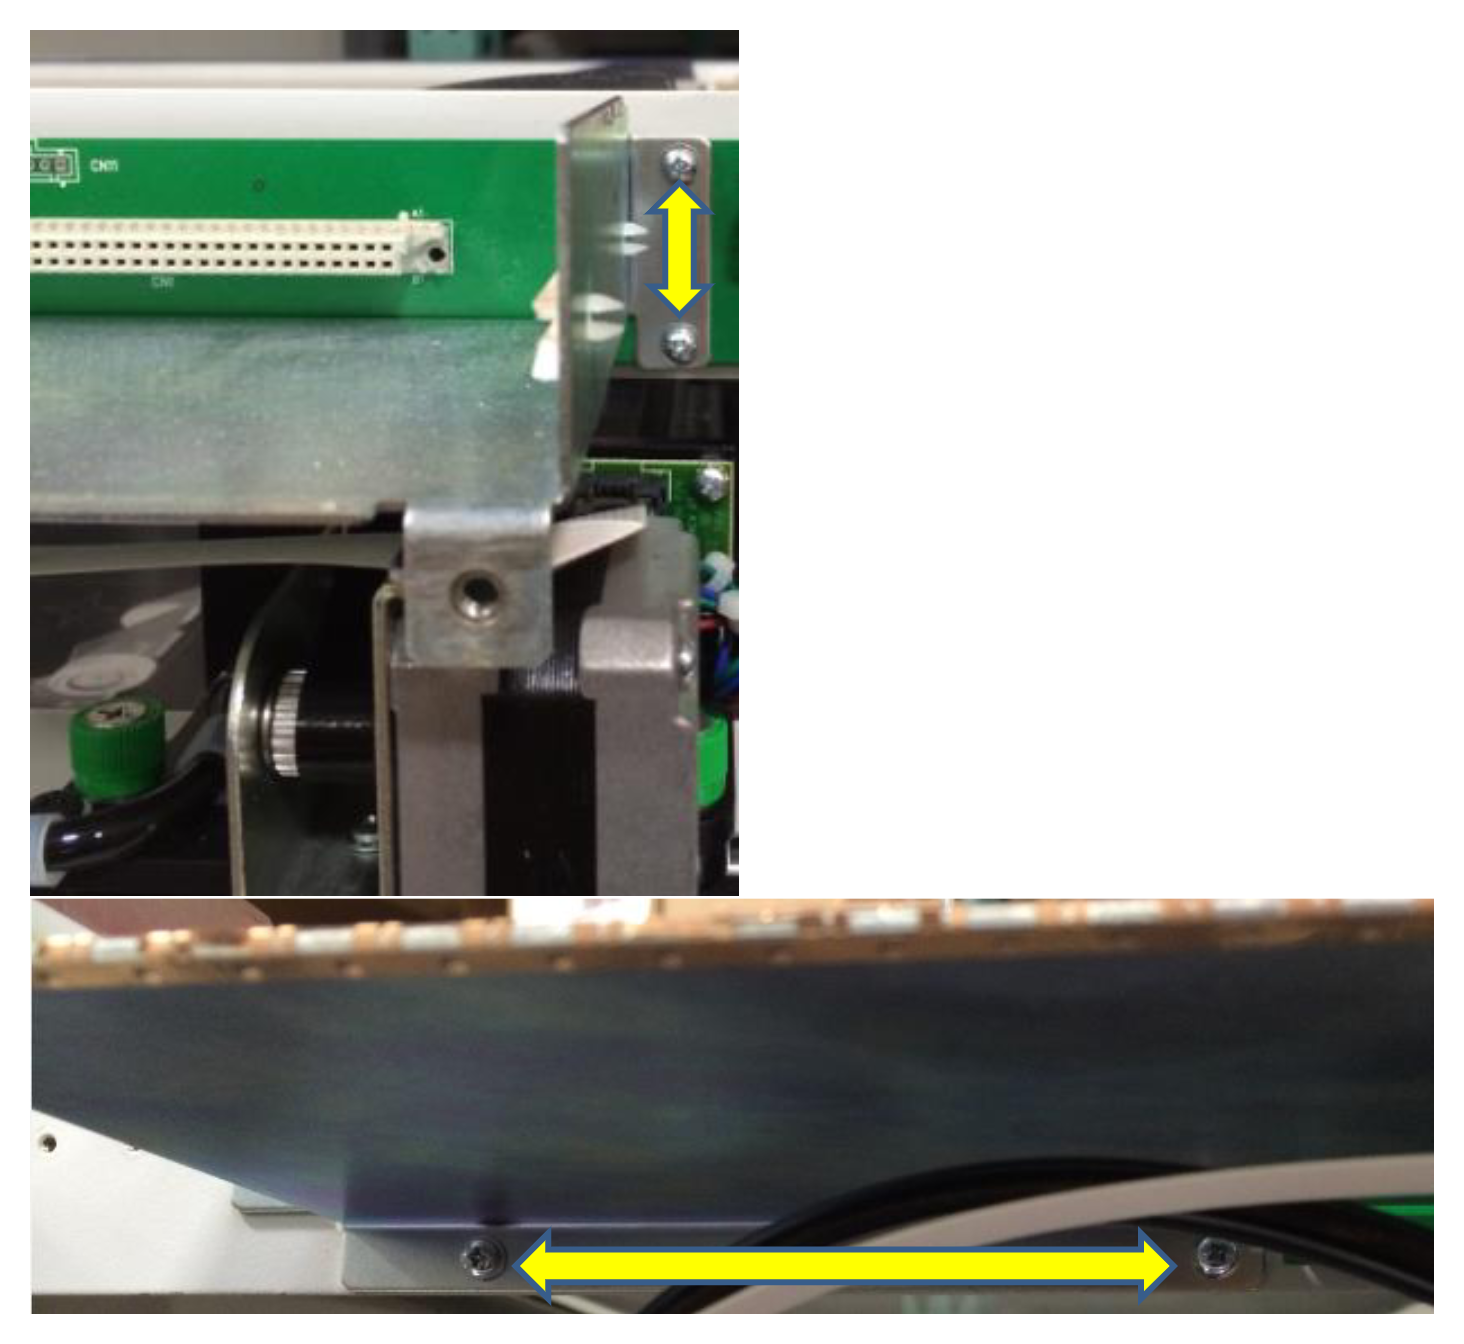
Remove the five screws holding the motherboard housing (arrows), then remove the housing.
Remove the Board Screws
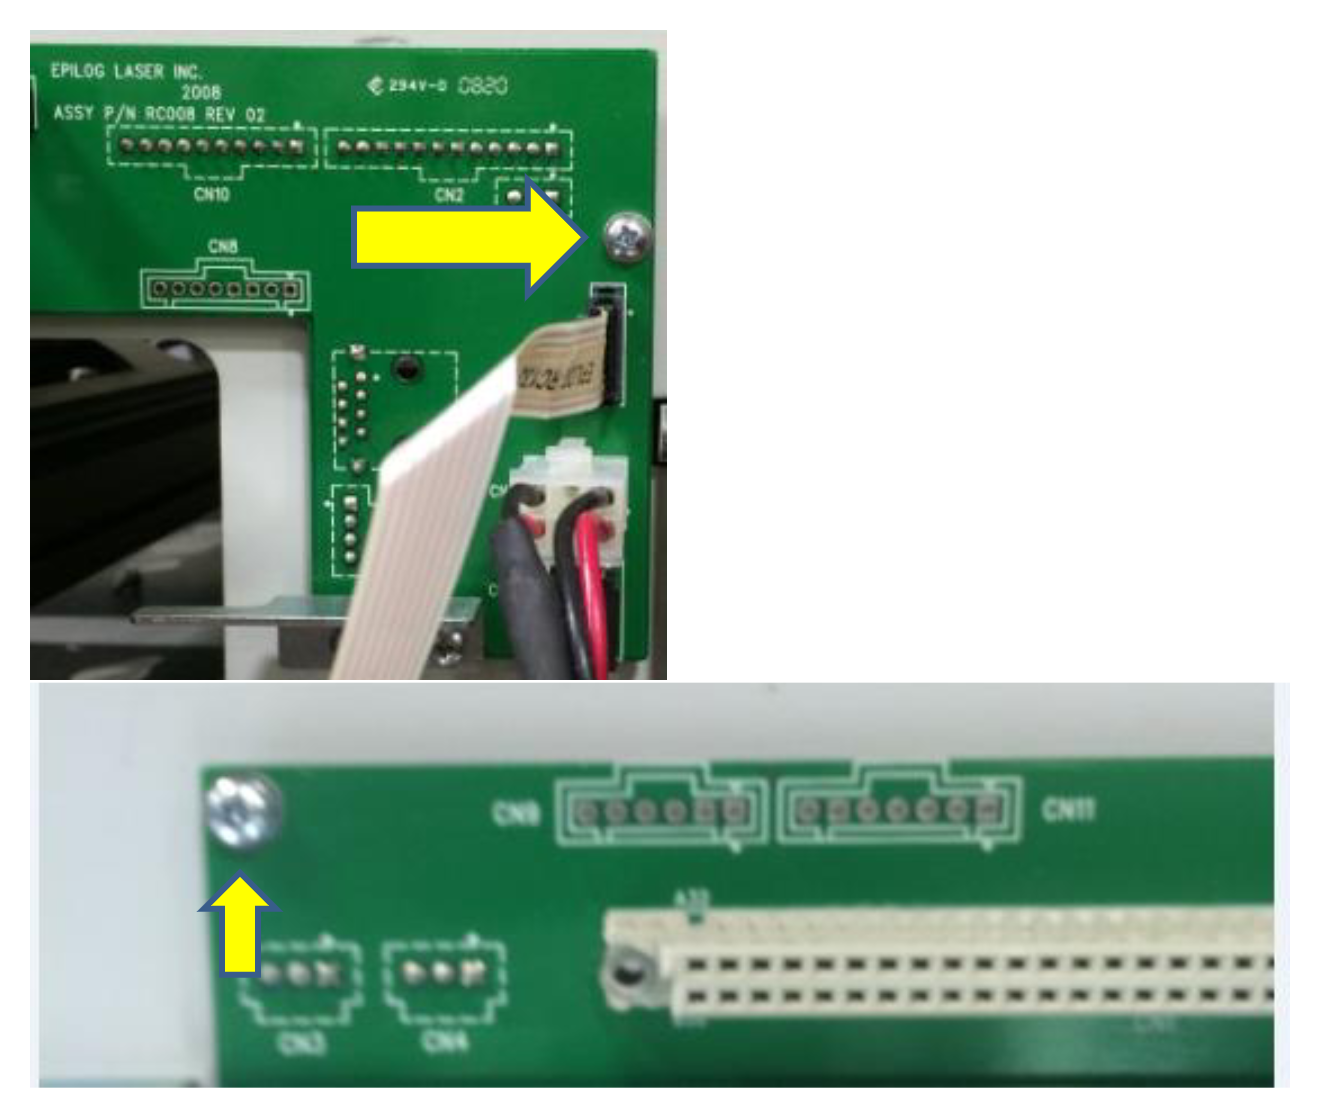
Remove the screws holding the backplane board in place (arrows).
Remove the Bracket Screws
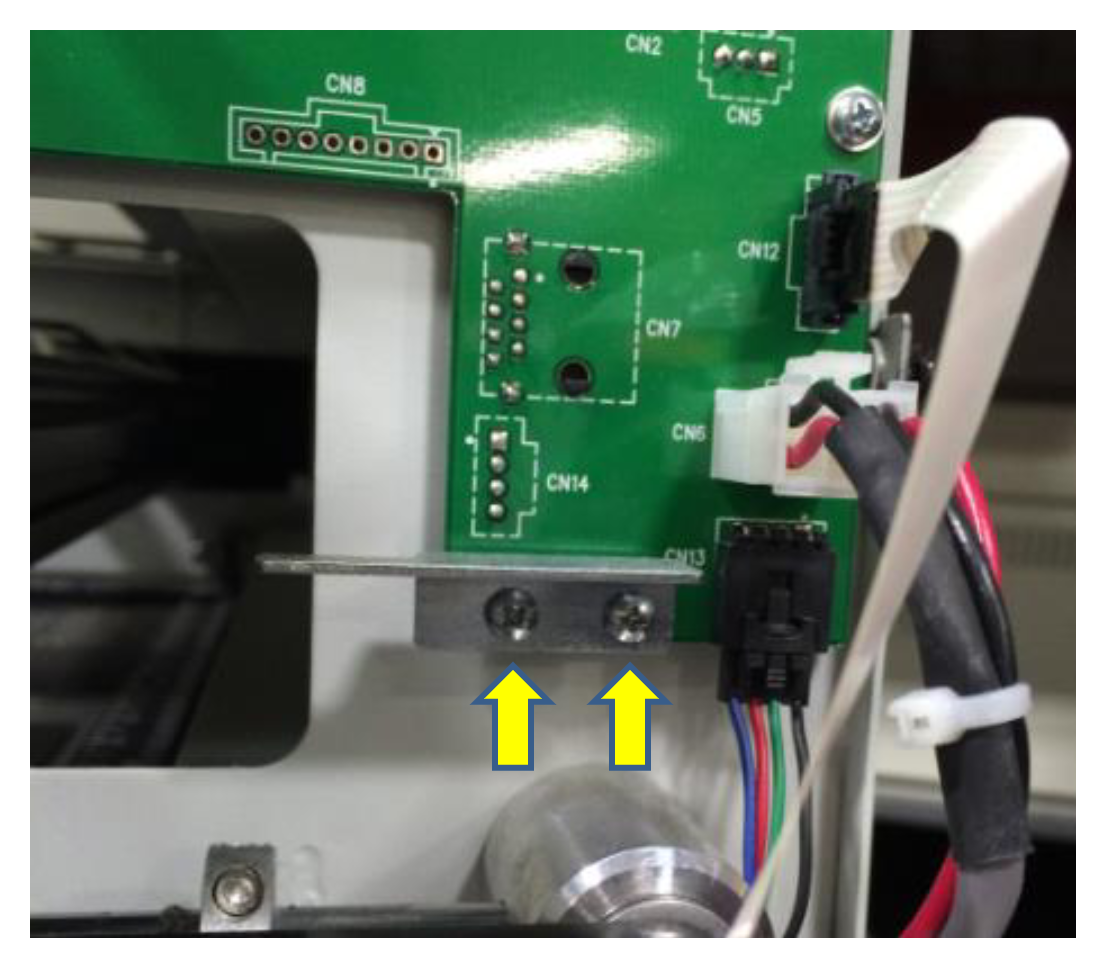
Remove the two screws at the bottom of the board (arrows).
Remove the Posts
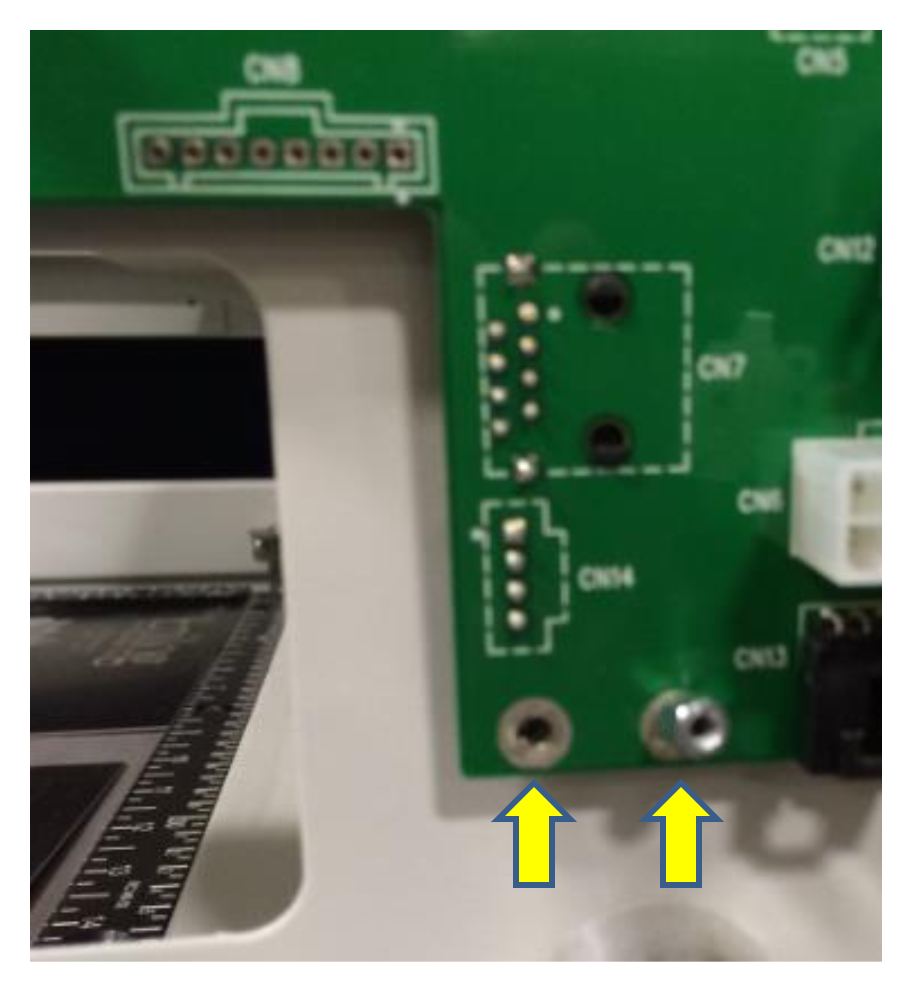
Remove the two posts (arrows) with a 7/32" Allen wrench.
Remove the Connector Screw
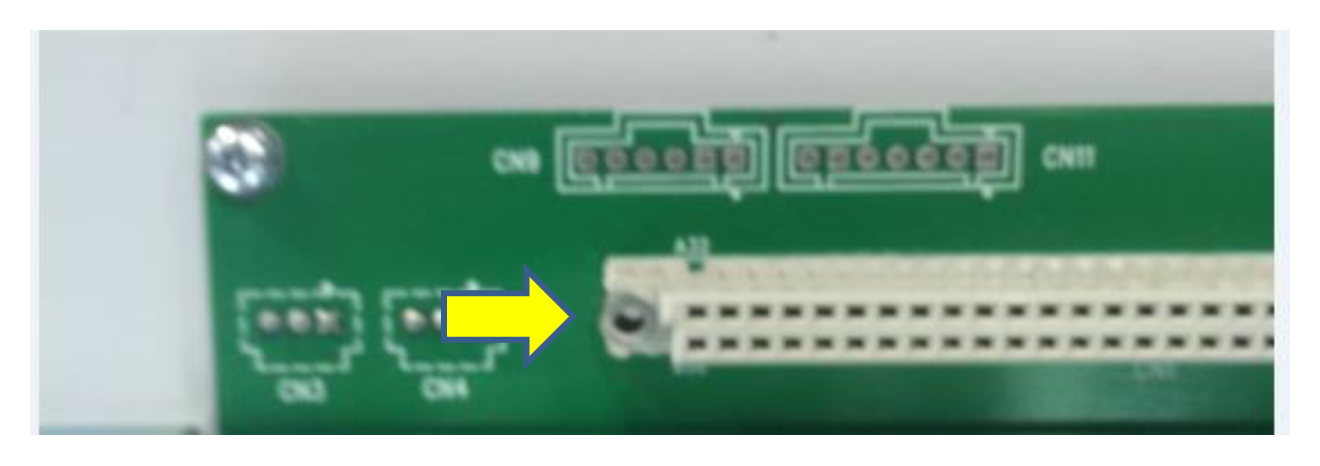
Remove the Allen screw (arrow) that holds the large plastic connector to the board.
Remove the Backplane Board
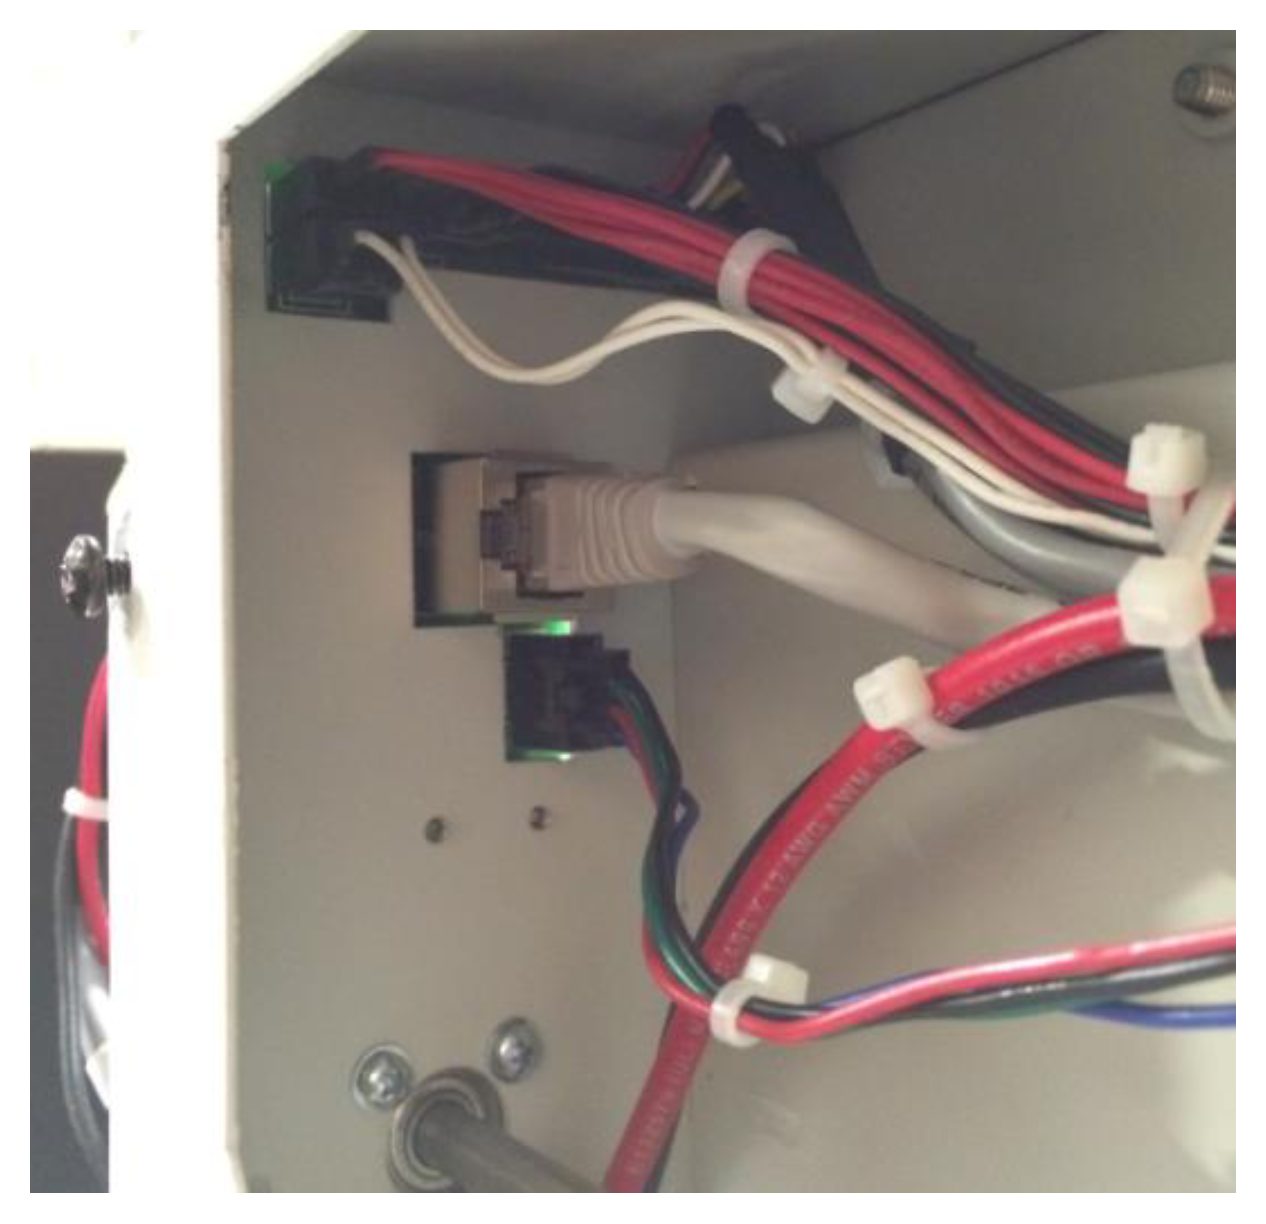
The backplane board is now loose. Lift it out and unplug the connectors on the back of the board.
Backplane Installation
Connect the New Board
Plug the connectors into the back of the new backplane board and set the board in place.
Install the Connector Screw
Install the Allen screw that holds the plastic connector.
Install the Posts
Install the two posts with a 7/32" Allen wrench.
Install the Bracket Screws
Install the two screws at the bottom of the board.
Install the Board Screws
Install the screws that hold the backplane board in place.
Reinstall the Housing
Put the motherboard housing back in place, install its five screws and then the bolt.
Reconnect the Cables
Plug the cables back into the backplane board.
Reinstall the Side Cover
Hook the right side cover back in place and install the side screw and the three rear screws.
Reinstall the Control Panel
Slide the control board and display assembly back in and tighten its two captive screws.
Reconnect Power
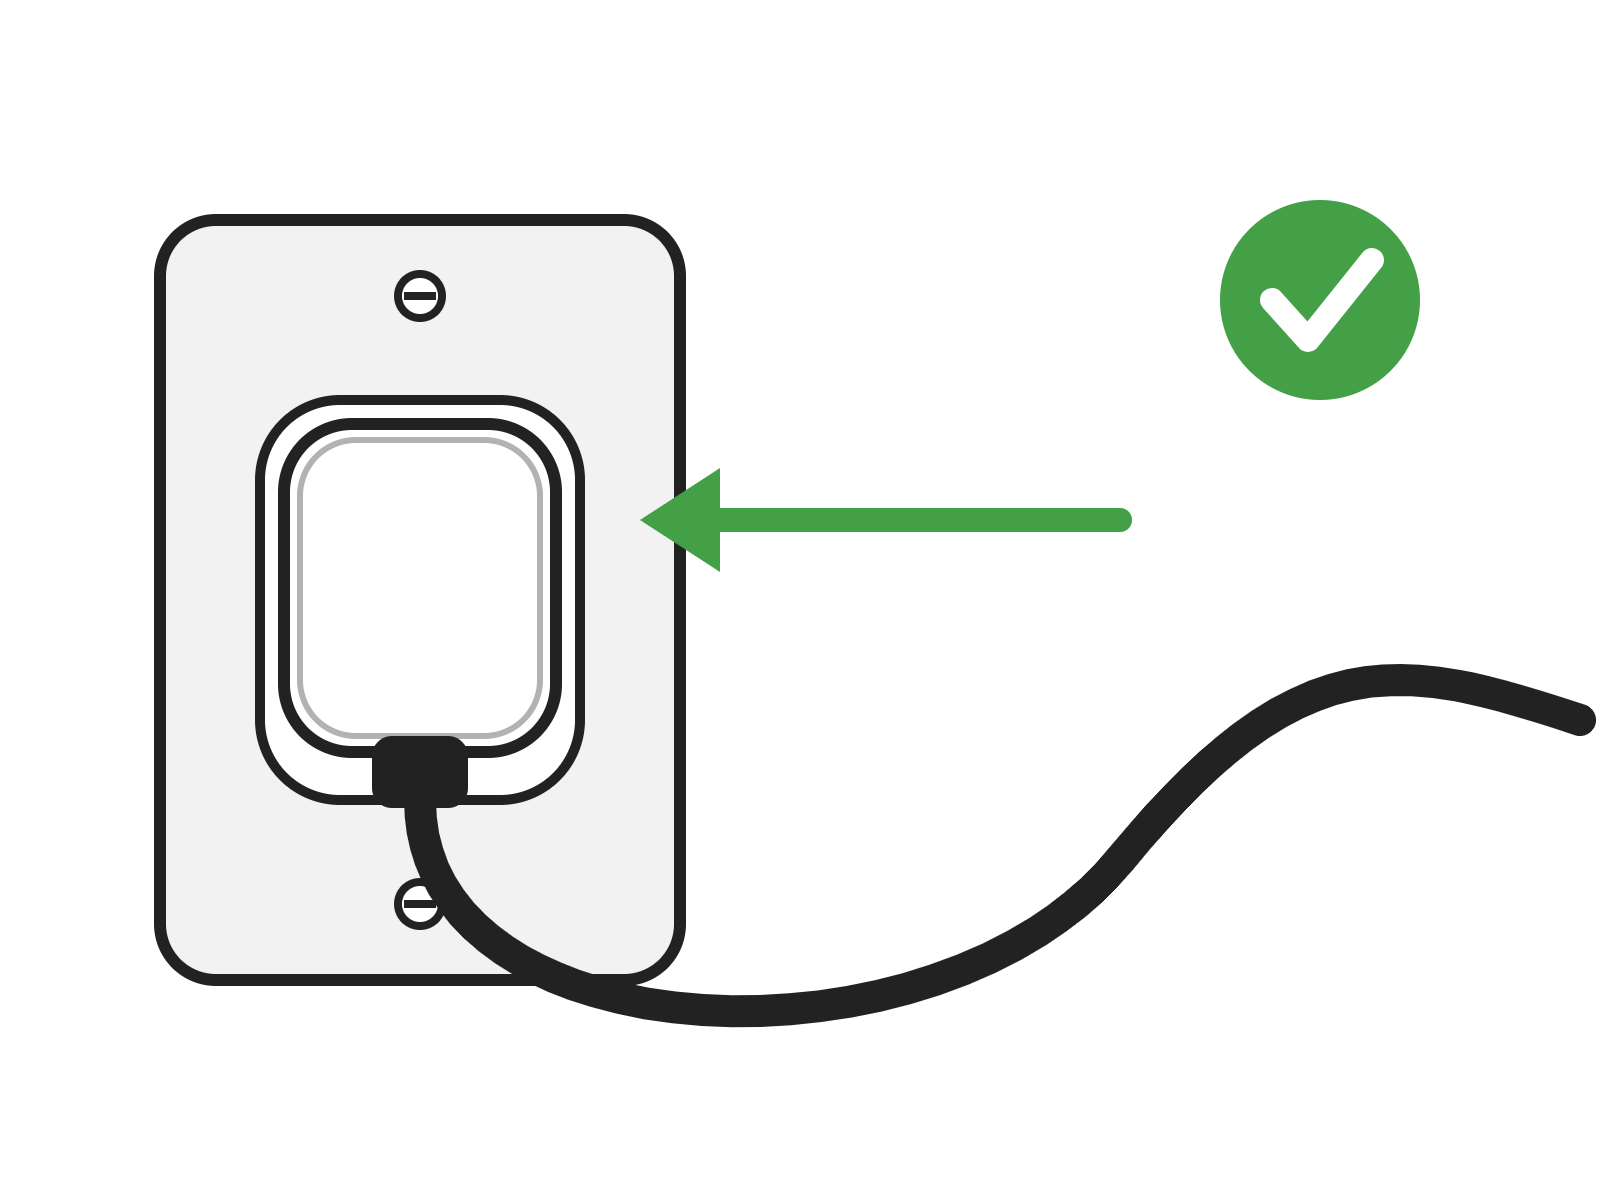
Plug the power cord back in and turn on the engraver.