
This guide covers replacing the CO2 laser tube in the Legend 36EXT. Handle the laser carefully during removal and installation to avoid damaging it.
Parts Required
- CO2 Laser Tube
Tools Required
- Phillips Screwdriver
Safety First: Ensure the engraver is completely powered off and the power cord is disconnected before removing any panels or touching internal components.
Laser Removal
Power Off Engraver
Turn off the engraver.
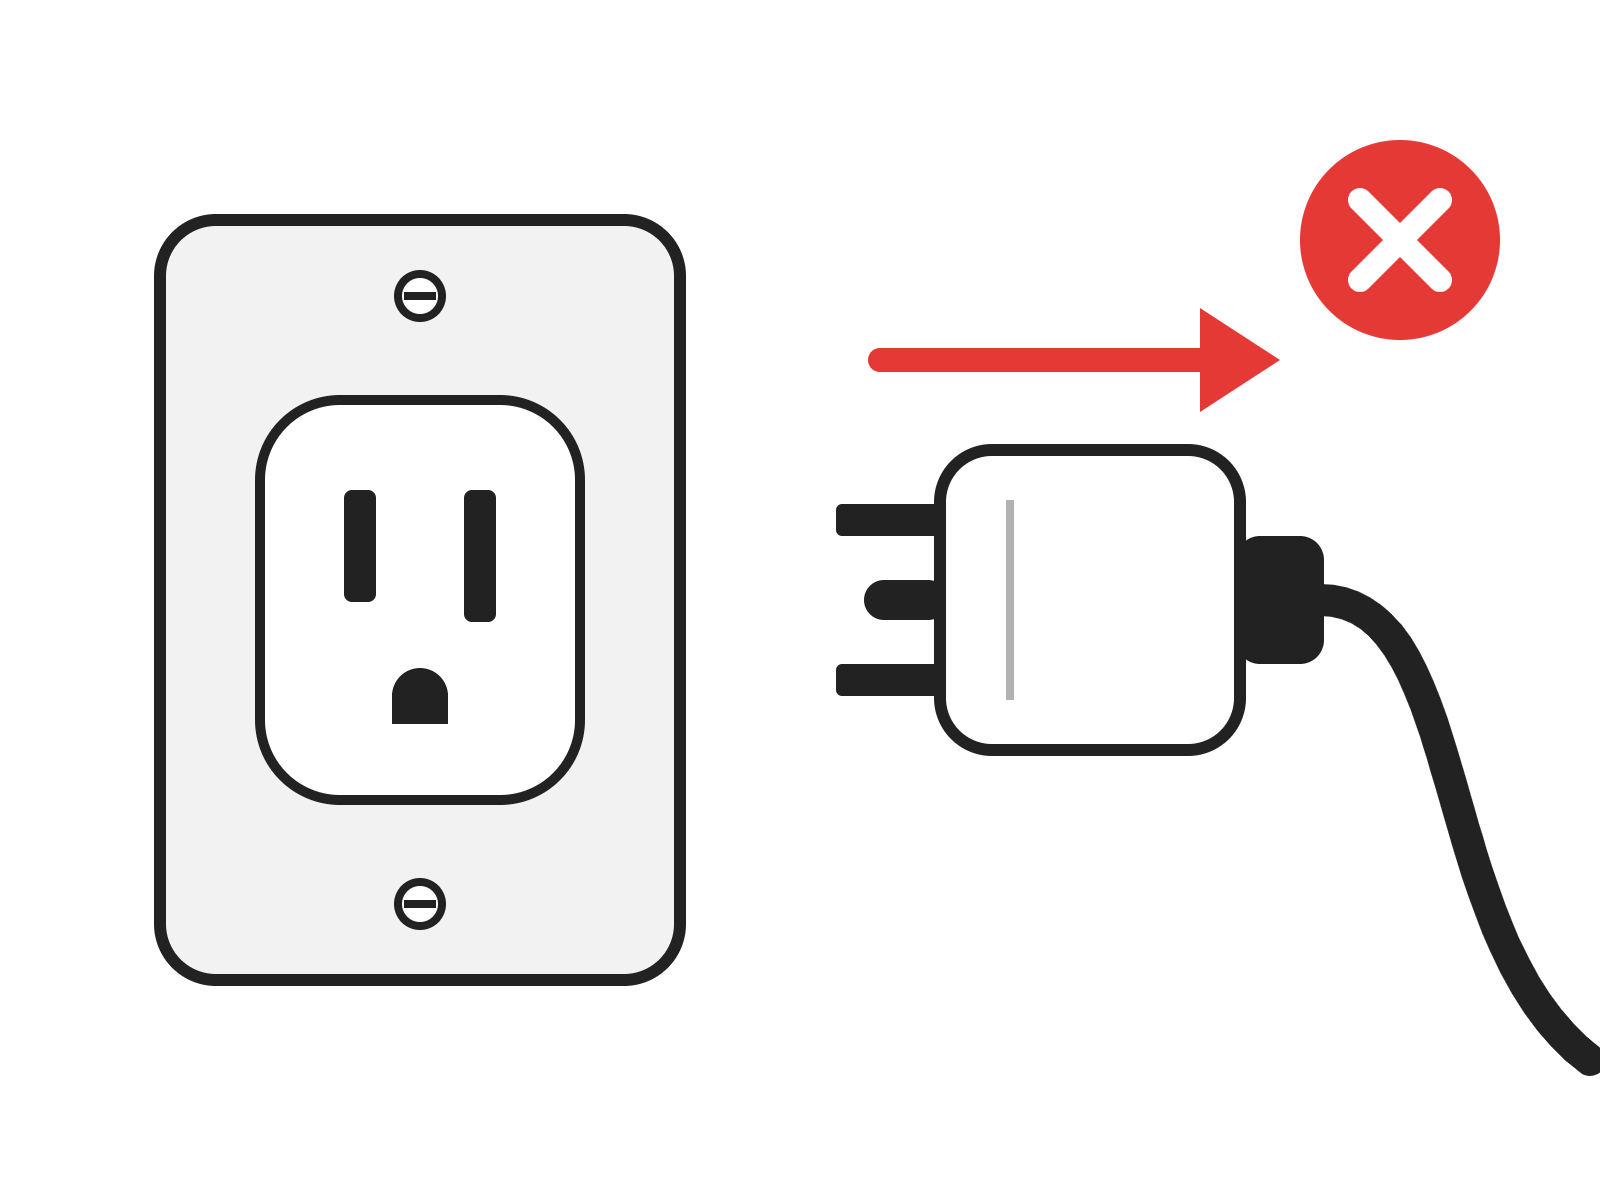
Disconnect From Power
Unplug the power cord from the engraver.
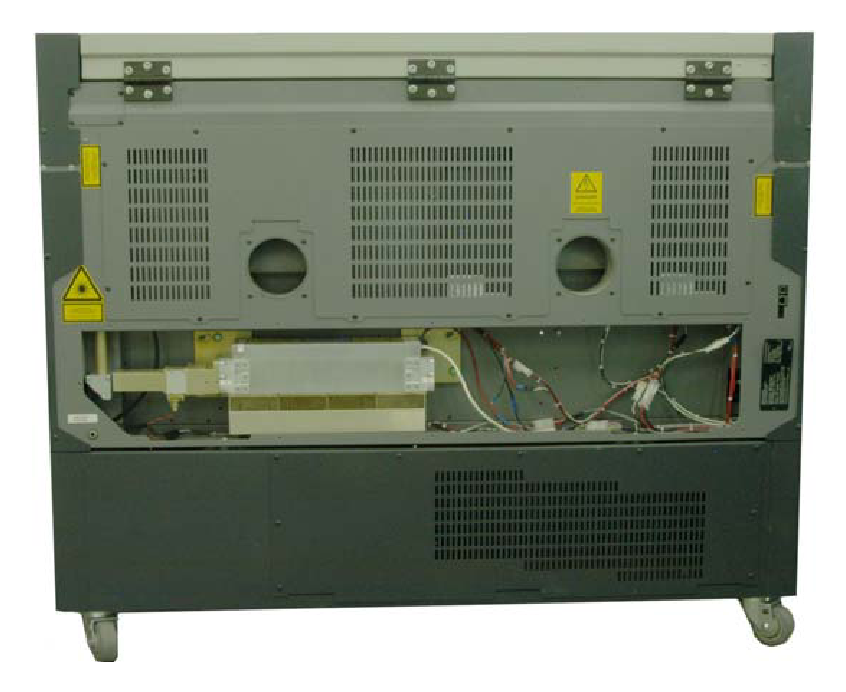
Remove the Middle Back Panel
Remove the middle back service panel.
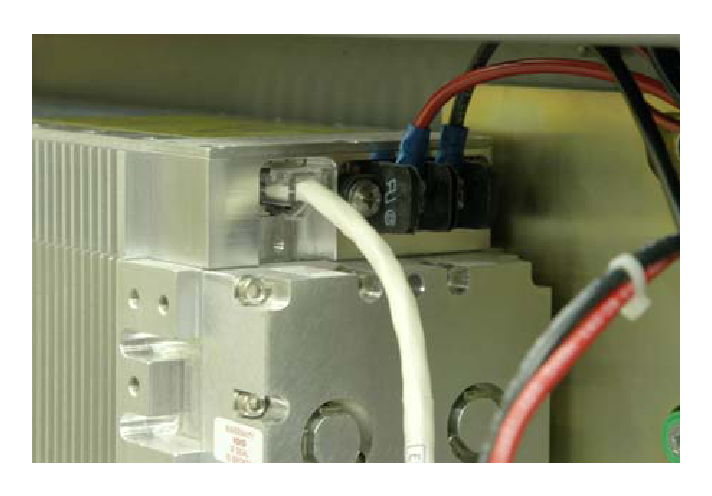
Disconnect the Ethernet Cable
Unplug the Ethernet cable from the laser.
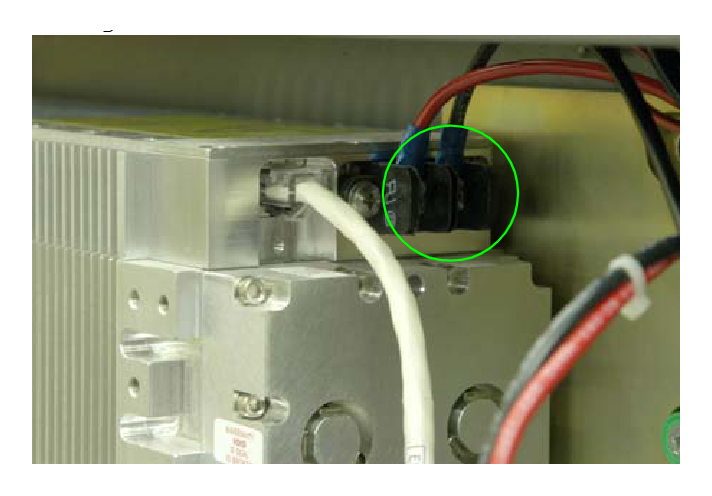
Remove the Power Wires
Loosen the screws holding the positive and negative wires on the laser and remove the wires.
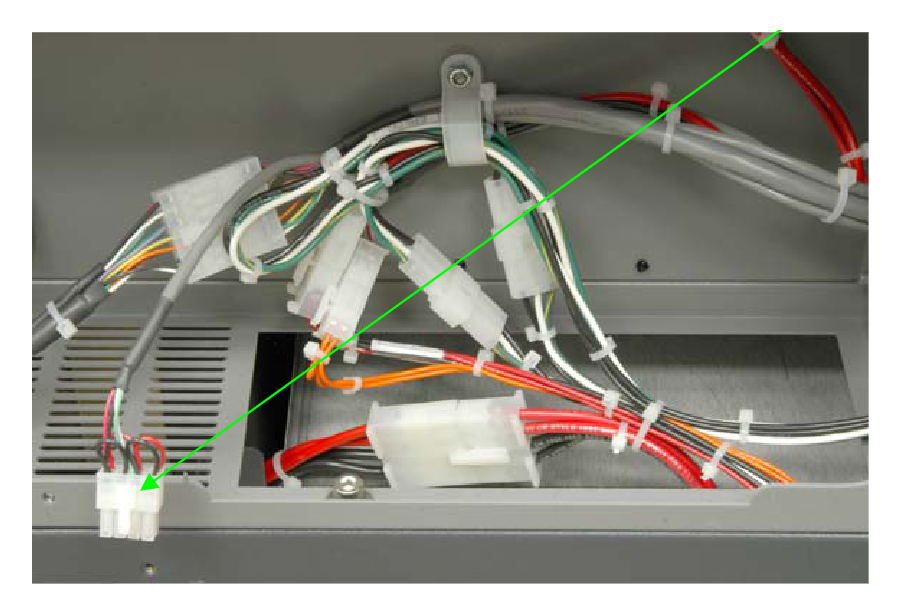
Disconnect the Eight-Pin Connector
Disconnect the eight-pin electrical connector above the power supply.
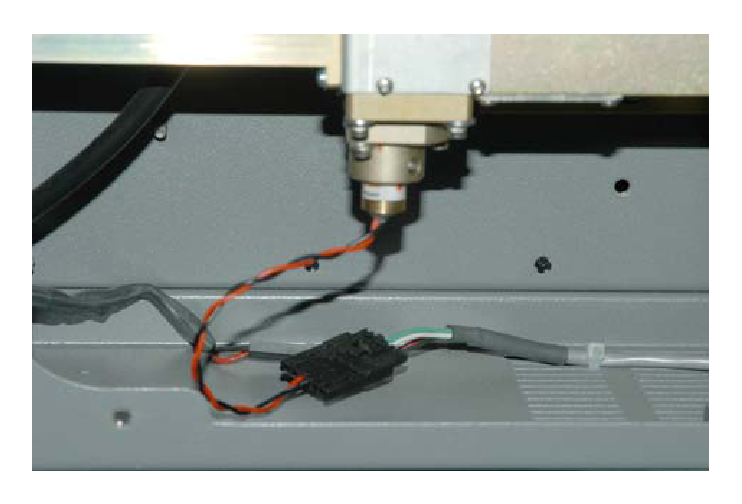
Disconnect the Red Dot Pointer
Disconnect the small black connector leading to the red dot pointer.
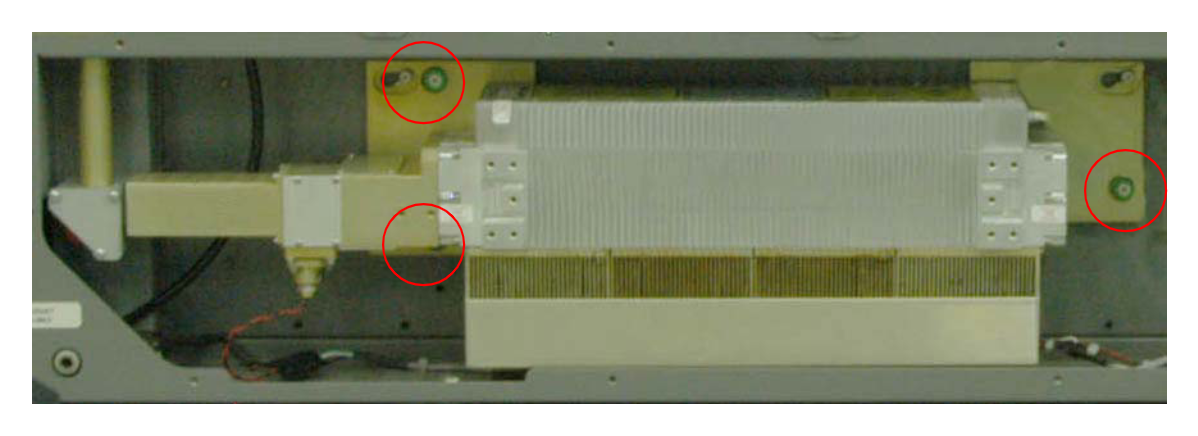
Loosen the Captive Screws
Unscrew the three green captive screws holding the laser: one on the right side and two on the left side.
Remove the Laser
Carefully lift the laser out of the engraver.
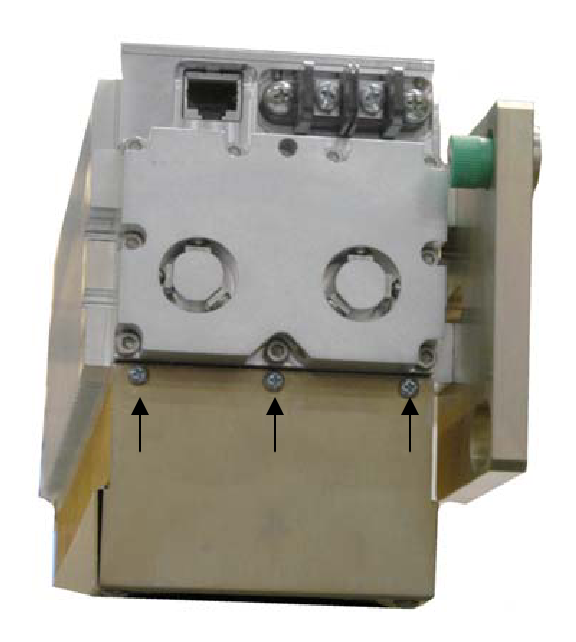
Remove the Fan Bracket
A fan bracket is mounted on the bottom of the laser. Remove the three screws on each side and carefully lift the laser off the fan bracket.
Laser Installation
Mount the Fan Bracket
Set the new laser on the fan bracket and tighten the three screws on each side.
Install the Laser
Set the laser in the engraver and tighten the three green captive screws.
Reconnect the Eight-Pin Connector
Reconnect the eight-pin electrical connector.
Reconnect the Red Dot Pointer
Reconnect the red dot pointer lead.
Reconnect the Ethernet Cable
Plug the Ethernet cable back into the laser.
Reinstall the Power Wires
Place the positive and negative wires in the bracket on the laser and tighten the screws.
Reinstall the Back Panel
Reinstall the middle back service panel.
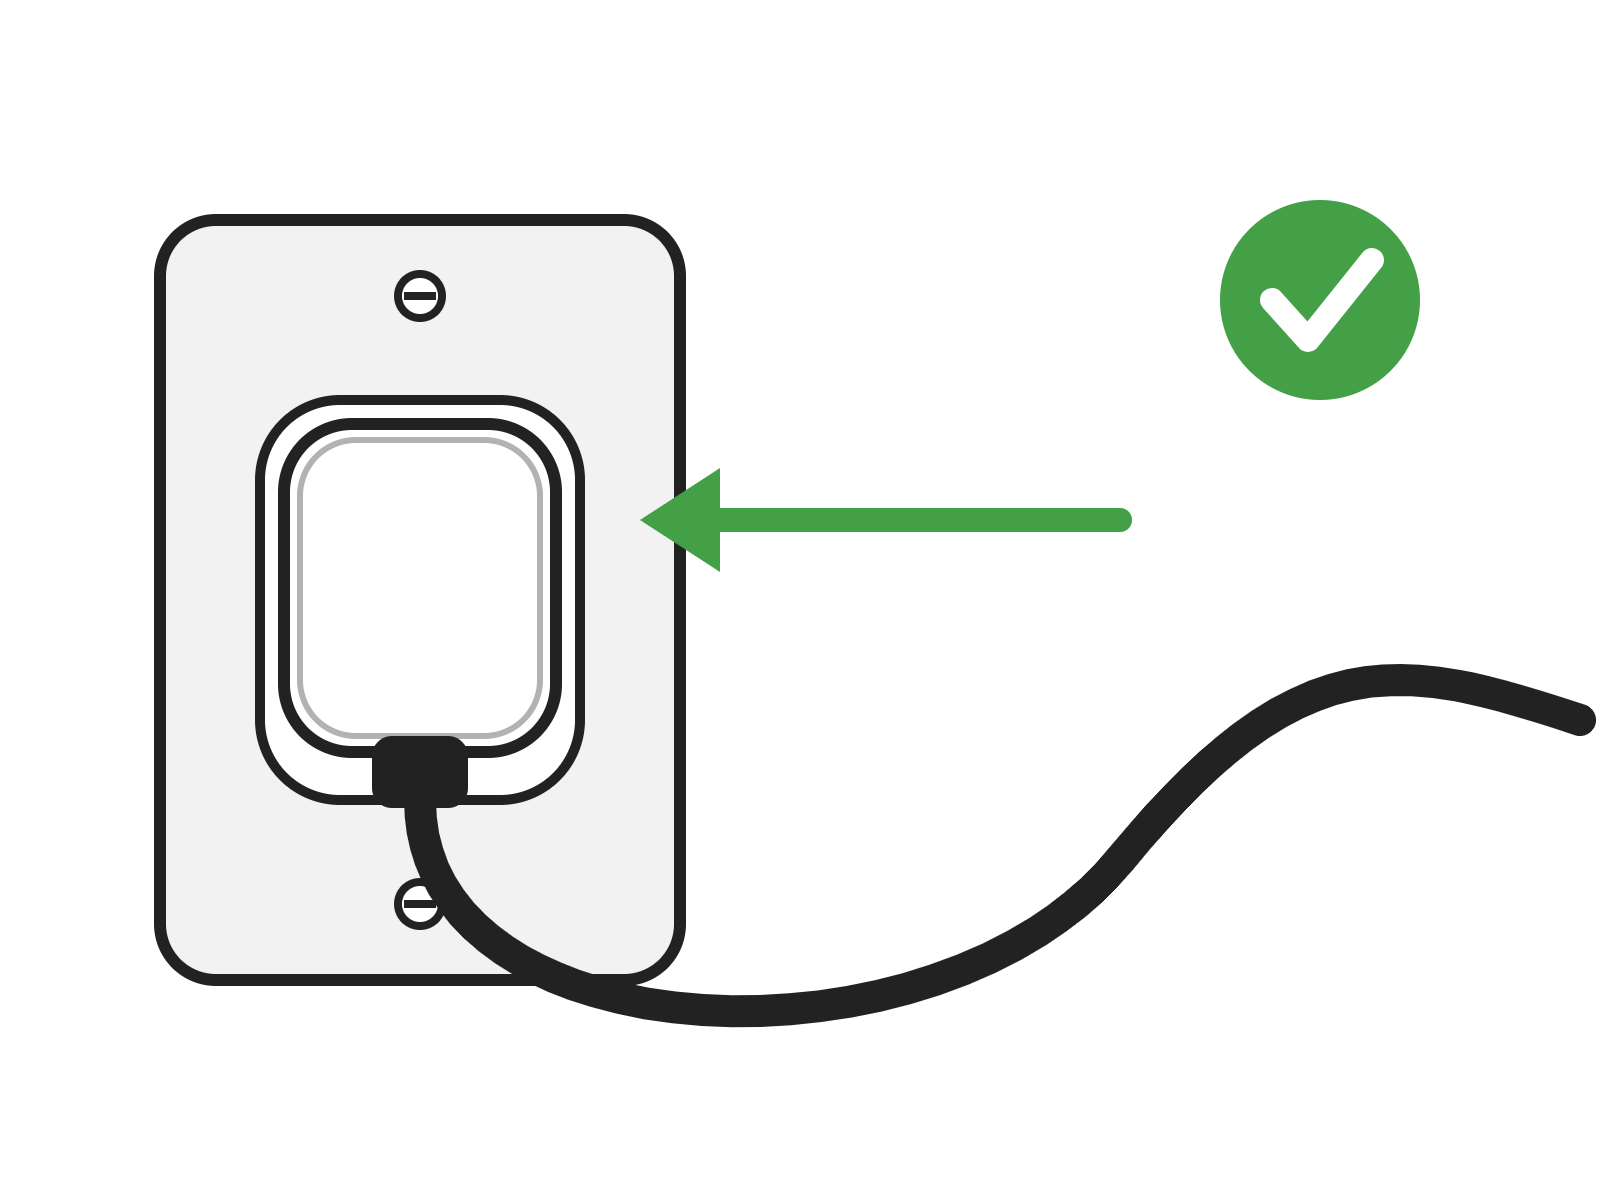
Reconnect Power
Plug in the power cord and turn on the engraver.
Align the Laser
After installing a new laser, align the laser and the red dot pointer as described in Laser Alignment 36EXT.