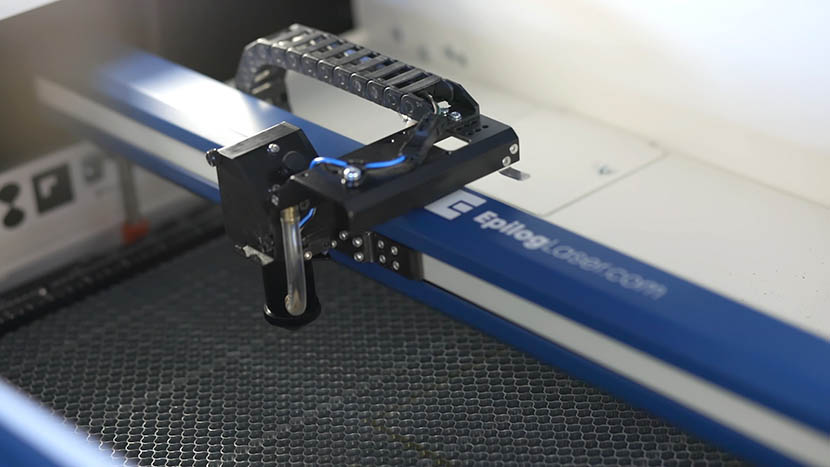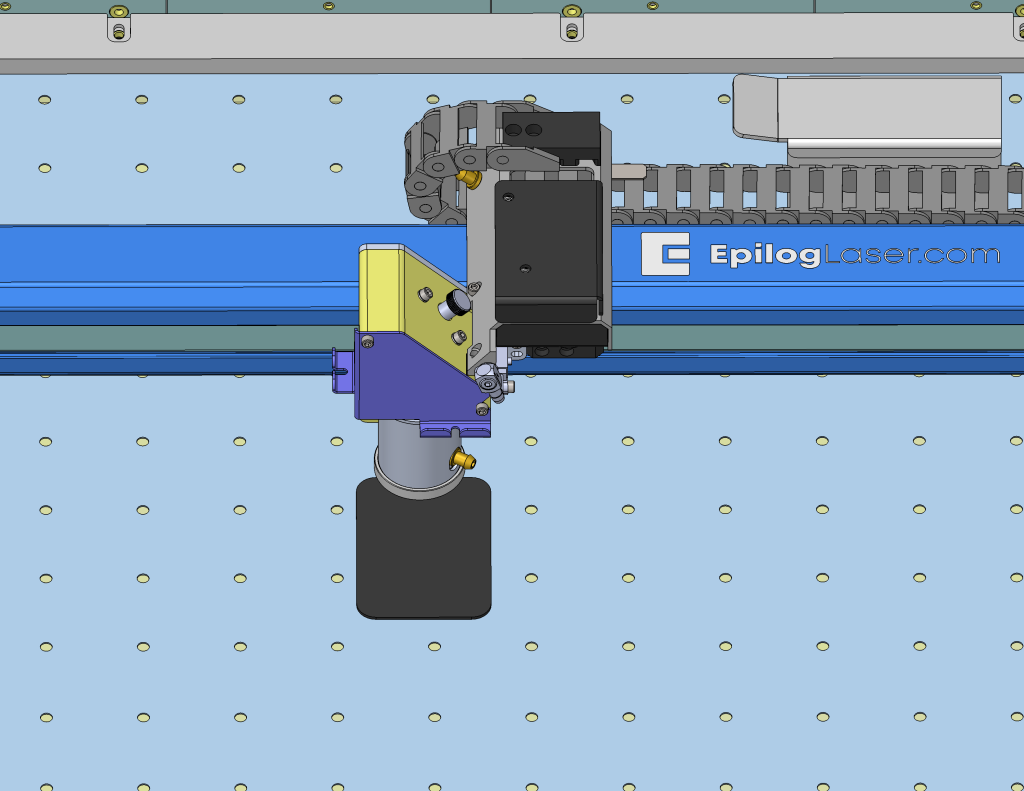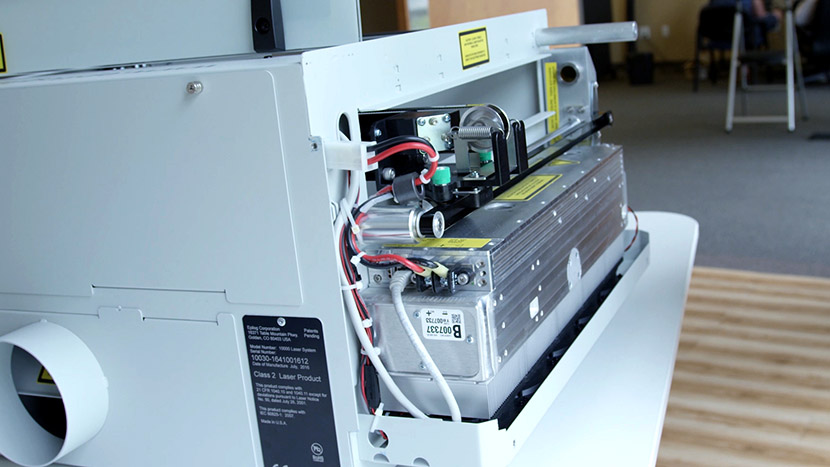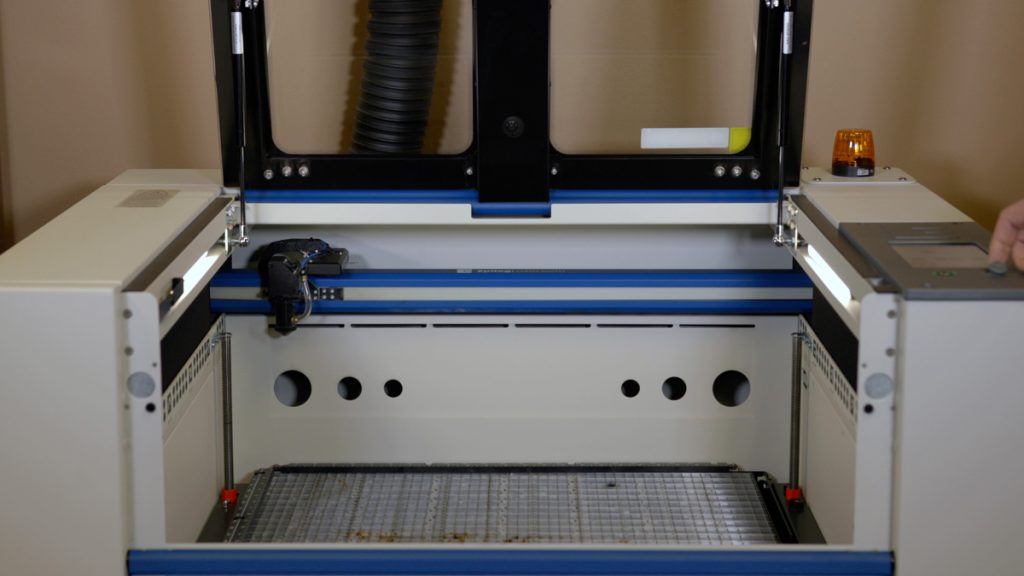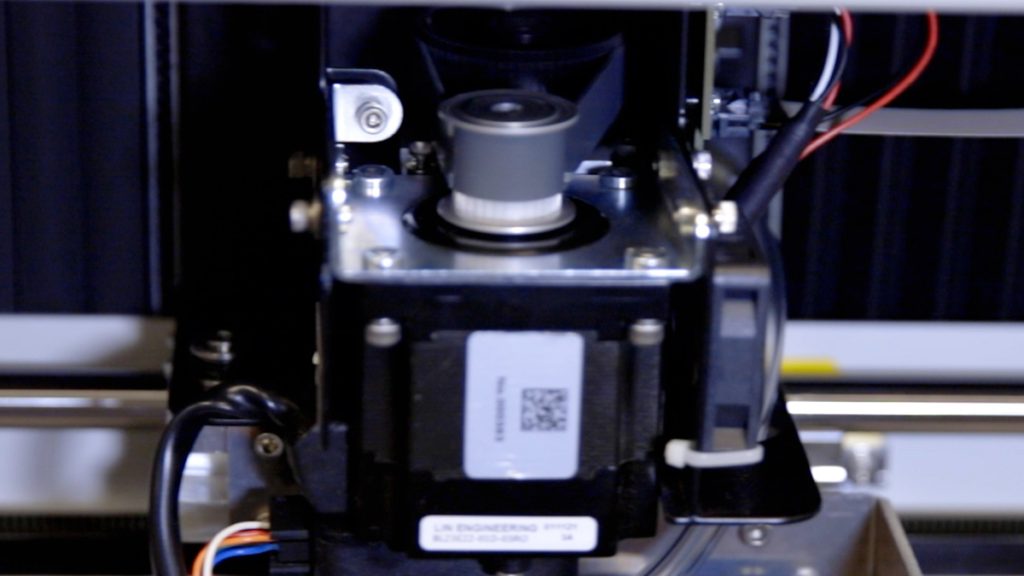
This guide provides step-by-step instructions for safely removing and replacing the X-Axis belt on a large-aperture Fusion Pro laser system. Follow each step carefully to ensure proper disassembly and reassembly of the components. Before beginning, power off the machine and disconnect the power cable to prevent injury or damage to (...)
X-Axis Assembly Replacement (Large Aperture)
This guide outlines the complete procedure for safely removing and installing the X-Axis assembly in a Fusion Pro laser system. Carefully follow each step to maintain alignment, prevent component damage, and ensure optimal system performance during reassembly. Removal Power OFF the machine and disconnect the power cable. Remove the right (...)
Focus Calibration Wizard
Estimated Time: 5–10 Minutes | Skill Level: Basic The Focus Calibration Wizard allows the laser system to automatically determine the optimal focal height for the installed lens. This process engraves a test pattern on anodized aluminum and identifies the focus position that produces the brightest mark. Running the (...)
Full Guide: Replacing the Laser Assembly
Laser Removal: Lower the table to the bottom of the machine. Turn off the machine. Disconnect the machine from its power source. Remove the four Phillips screws which secure the left-hand side panel. There are three on the side and one on the rear as shown in picture 1a and (...)
Linear Guide Replacement (IKO) – Large Aperture Fusion Pro
Removal Procedure Power OFF the machine and disconnect the power cord. Remove the right and left side panels. Open the top door. Pull the rail to the middle of the machine. Move the carriage to the center. Loosen the thumb screws and open the mirror cover. Disconnect the air assist (...)
Power Supply Replacement – Fusion Pro 48 – 200 Watt
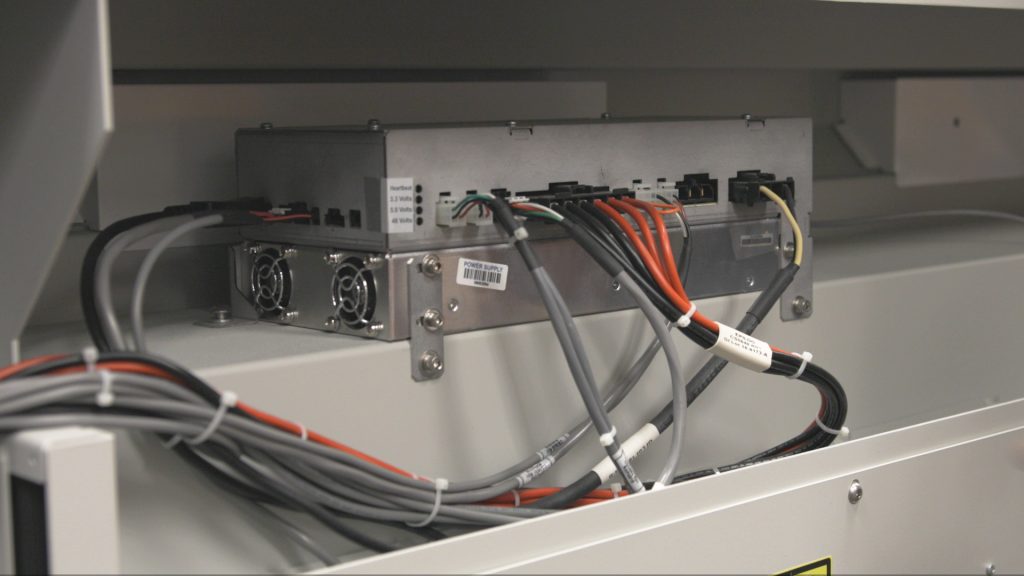
WARNING: Servicing the power supply while the engraver is powered on can cause serious injury or damage to internal components. Always disconnect all power sources before beginning. Power Supply Removal Power OFF the system and disconnect the power cable. Remove the rear-top panel. Disconnect all electrical harnesses from the power (...)
Rotary Circuit Board Replacement – Fusion Galvo G100
Replacing the rotary circuit board on the Fusion Galvo G100 laser is a critical maintenance procedure designed to restore or maintain optimal rotary function. This guide provides step-by-step instructions for safely accessing, removing, and installing the rotary circuit board. Proper handling and installation are essential to ensure continued precision and (...)
Autofocus Switch Replacement – Fusion Maker, Edge, Pro 24 & 36
This procedure outlines the steps required to safely and effectively replace the Autofocus Switch on the Fusion Maker, Edge, and Pro, laser system. The Autofocus Switch is a critical component responsible for maintaining the proper focal distance during operation. This document provides detailed instructions to ensure proper removal, and installation (...)
Optics Cleaning – Fusion Maker, Edge, and Pro
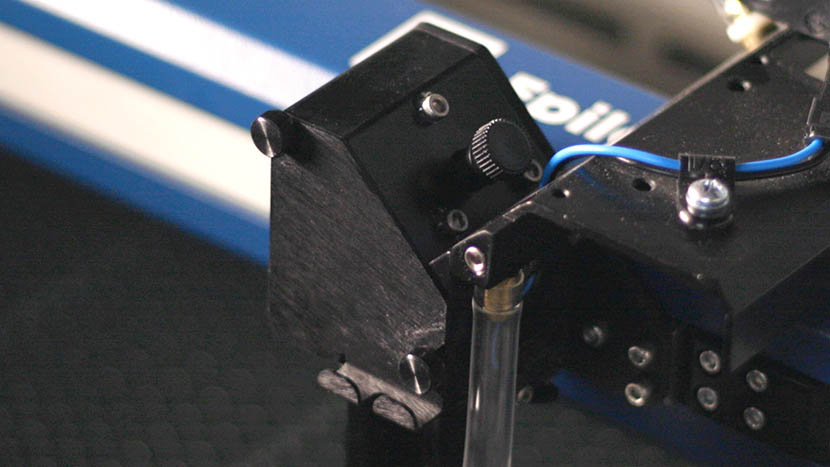
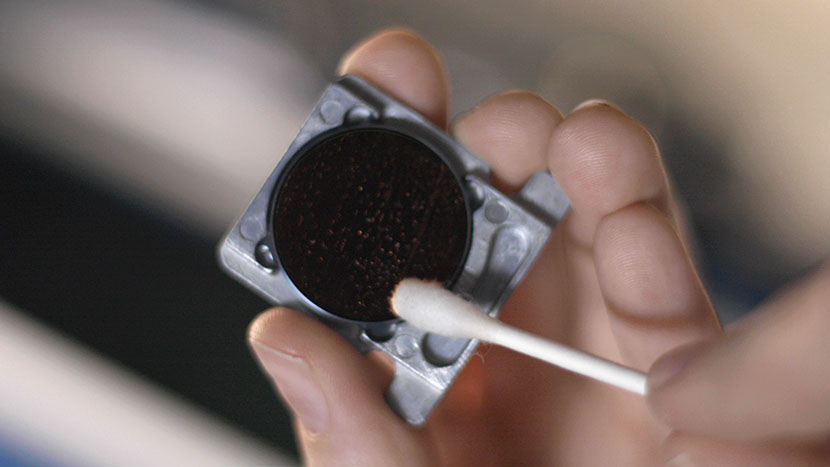
Daily Maintenance Cleaning Remove the lens and carriage mirror. Safely detach both the lens and carriage mirror using the video guide below. Figure 1. Lens and carriage mirror removal process. Carriage Optics Removal Steps Disconnect the air tubing from the lens. Loosen the thumb screws on the carriage cover and (...)
My Artwork isn’t showing up in the Epilog Dashboard
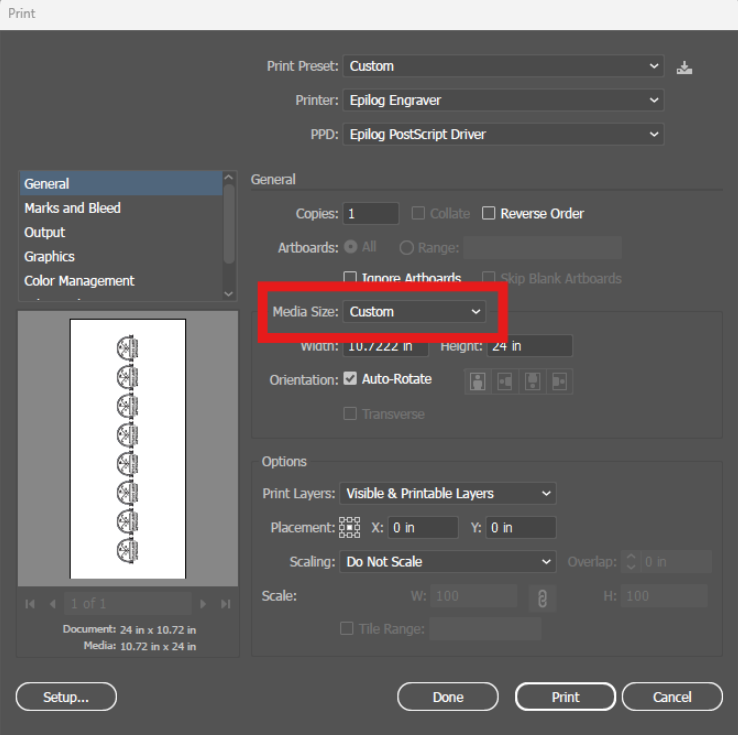
Explanation of the Symptoms When encountering this issue, you may see something similar to the image below—here we can see the artwork in the preview thumbnail, but the artwork does not appear in the work area: However, if zoomed out, we can see that the artwork did transfer to the (...)
Manual Focus Gauge Calibration – Fusion Maker, Edge, Pro
This procedure outlines the steps required to calibrate the manual focus gauge after completing the Focus Calibration Wizard. Proper calibration ensures that the gauge accurately reflects the correct focal height determined using the Calibration Wizard. Note: The Calibration Wizard is available only on firmware version 1.1.2.1 or later. To update (...)
How to Replace the X-Axis Motor Driver: Step-by-Step Guide
This guide will walk you through the process of removing, installing, and programming the X-Axis Drive Board for Fusion Edge and Pro 24 / 36 models. Proper precautions, including the use of an anti-static strap, are essential to ensure the safe handling of electronic components. Drive Board Replacement Procedure Models: (...)