
This guide covers replacing the two door interlock sensors on the Fusion Galvo G100. The sensors sit at the front edge of the worktable and are reached with the door open.
Parts Required
- LC0690 – Assy, Interlock, PCBA
Tools Required
- T10 Torx Driver
Safety First: Ensure the engraver is completely powered off and the power cord is disconnected before working on the interlock sensors.
Interlock Sensor Removal
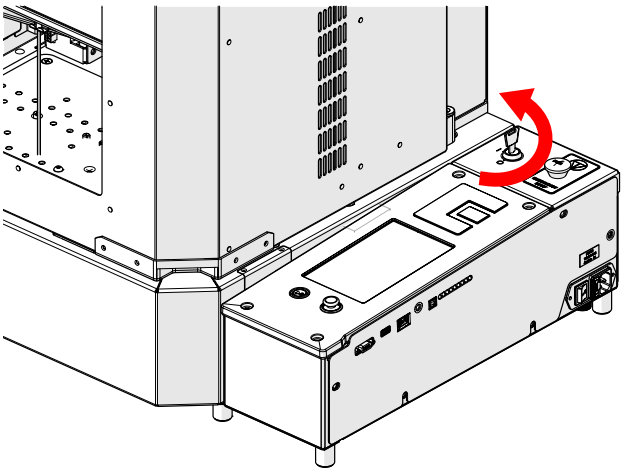
Power Off Engraver
Turn the key switch to the off position to power down the engraver.

Disconnect from Power
Unplug the power cord from the engraver.
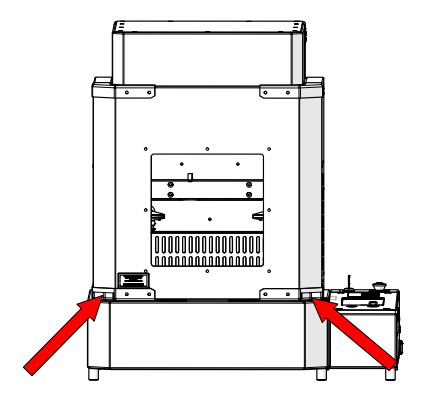
Lift the Door
Lift the door using the handles at the bottom corners, shown by the arrows.
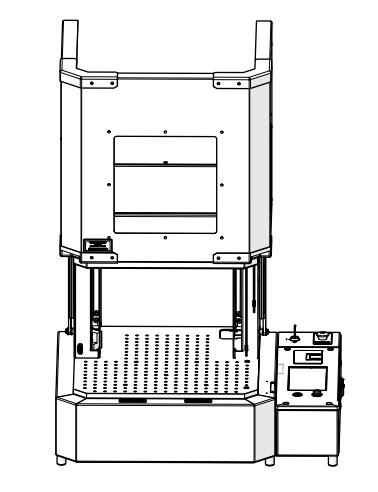
Leave the Door Open
Leave the door fully open so you can reach the interlock sensors at the front of the worktable.
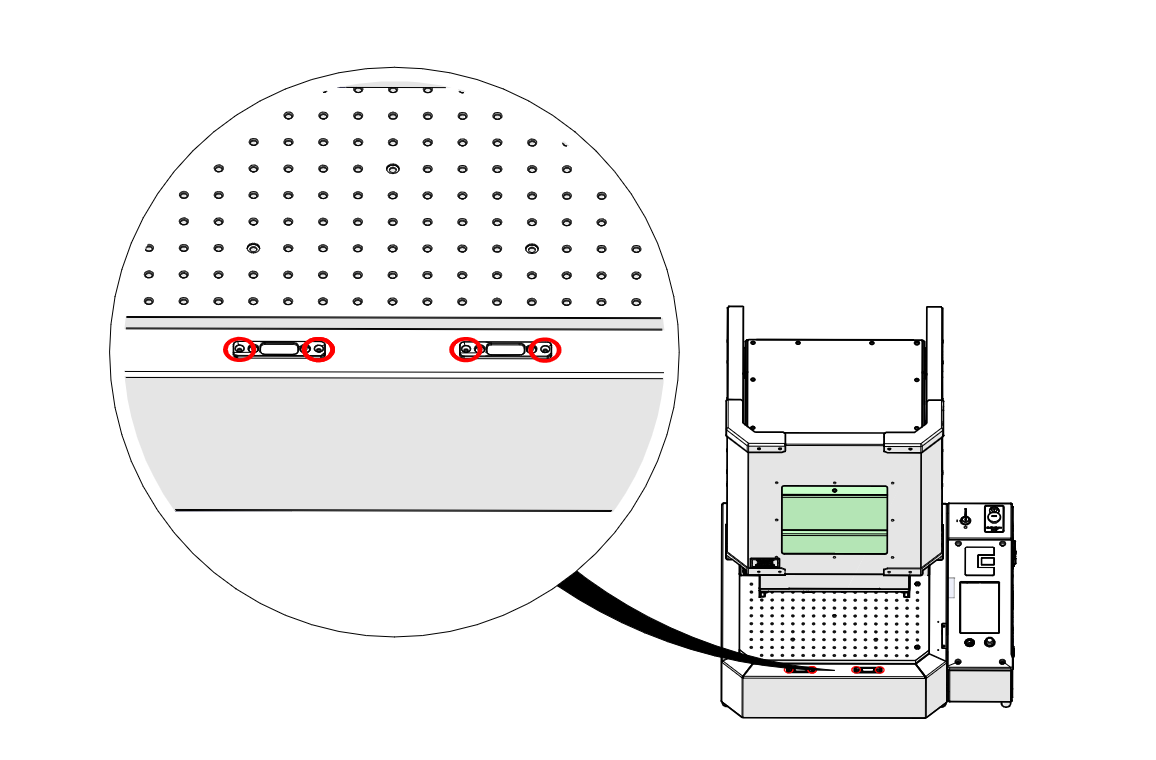
Remove Sensor Screws
Loosen and remove the two screws on each interlock sensor (highlighted in red), shown in the detail view.
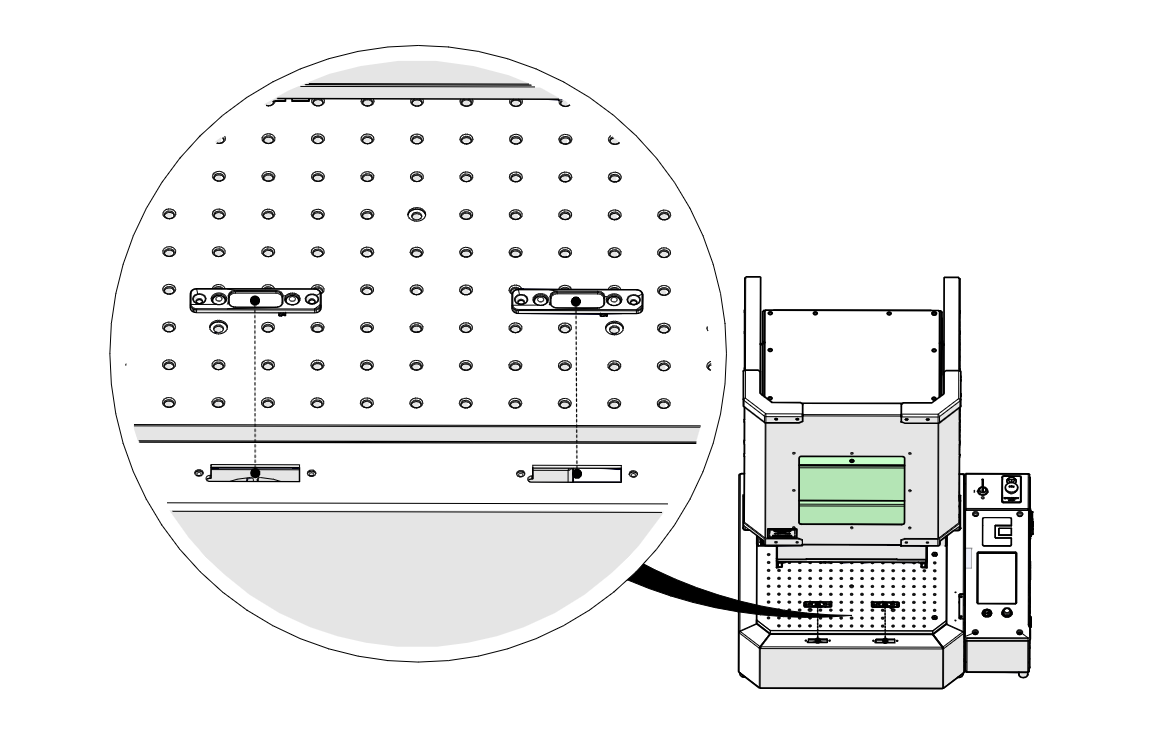
Remove Interlock Sensors
Lift both interlock sensors out of their openings.
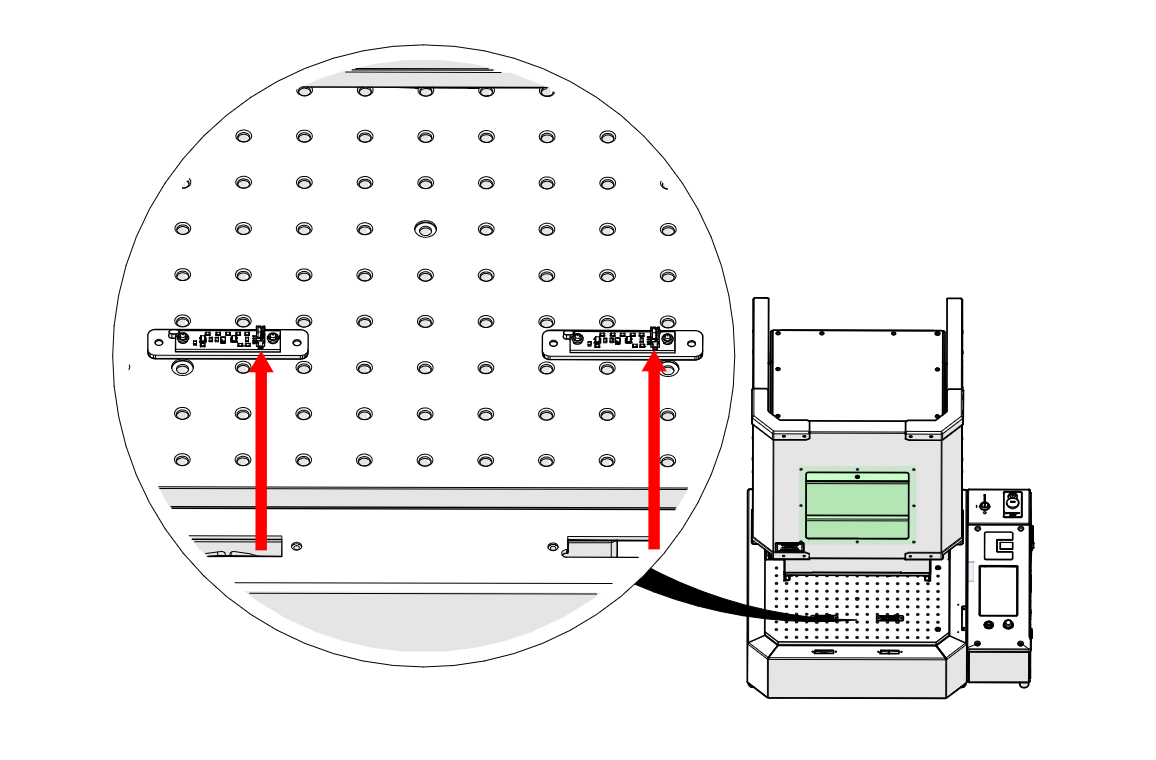
Disconnect Harnesses
Follow each harness to its sensor and disconnect it.
Interlock Sensor Installation
Connect Harnesses
Connect a harness to each new LC0690 interlock sensor.
Install Interlock Sensors
Set both sensors back into their openings.
Install Sensor Screws
Install and tighten the two screws on each sensor (highlighted in red).

Connect to Power
Plug the power cord back into the engraver.