
This guide covers replacing the table (Z-axis) motor in the Legend 36EXT. The table motor raises and lowers the engraving table and is vital for accurate focus.
Parts Required
- Table (Z-Axis) Motor
Tools Required
- Phillips Screwdriver
- Allen Wrench (pulley hex screws)
Safety First: Ensure the engraver is completely powered off and the power cord is disconnected before removing any panels or touching internal components.
Motor Removal
Power Off Engraver
Turn off the engraver.
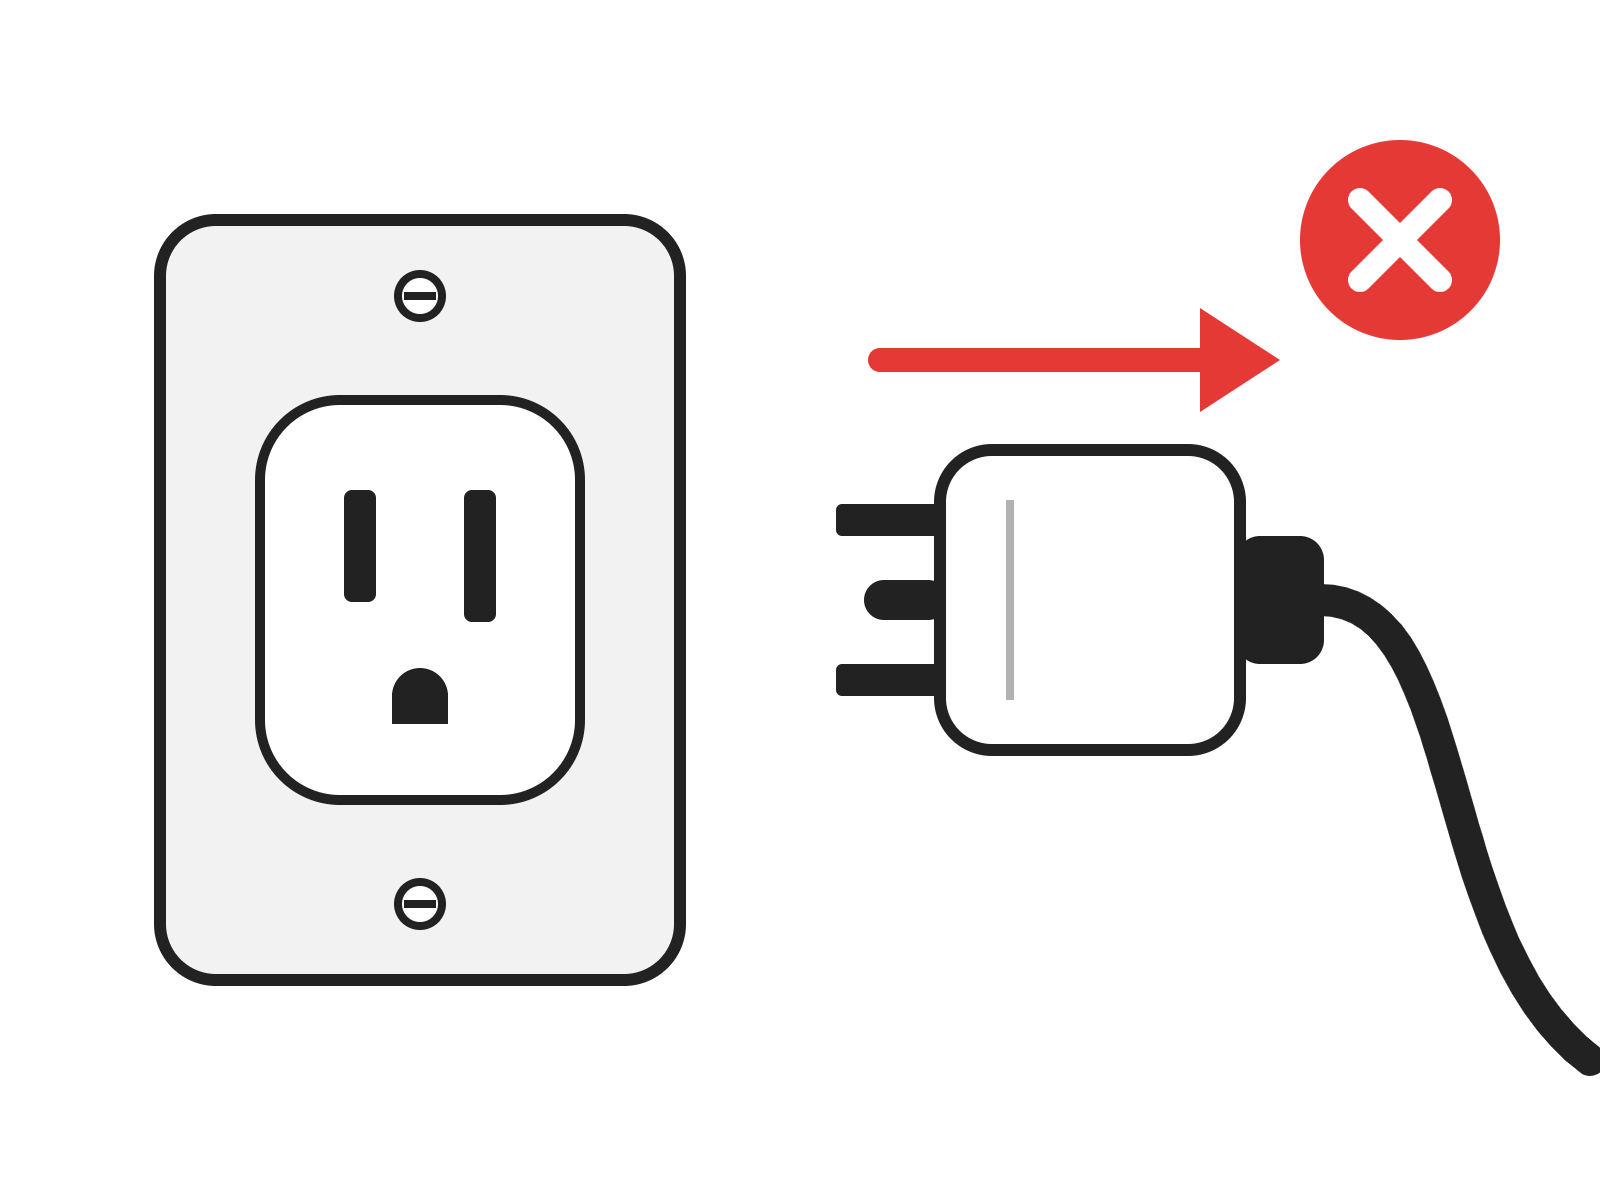
Disconnect From Power
Unplug the power cord from the engraver. It can also help to set the engraver on its wheels.
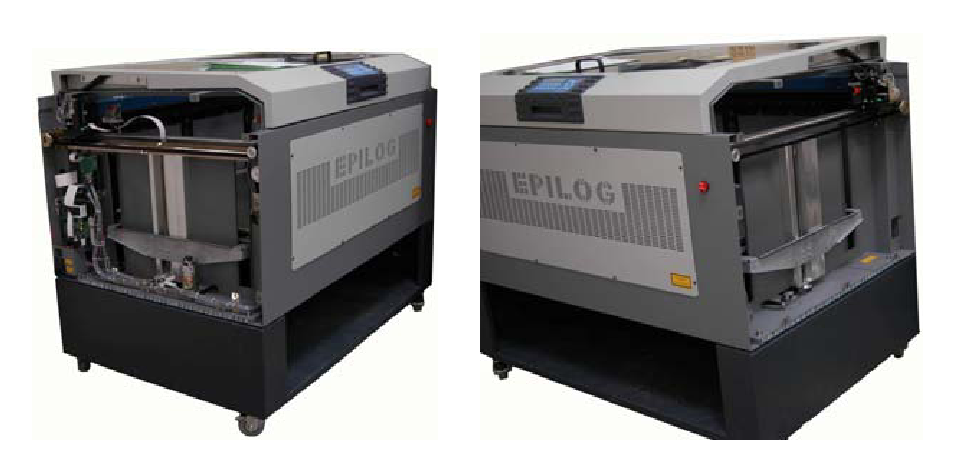
Remove the Side Panels
Remove both side panels.
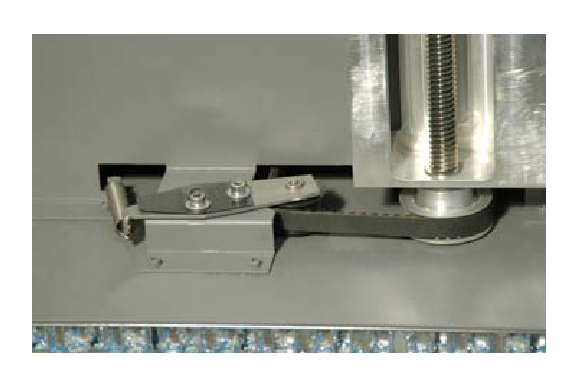
Locate the Belt Pulley
Find the table belt pulley on the right side of the engraver.
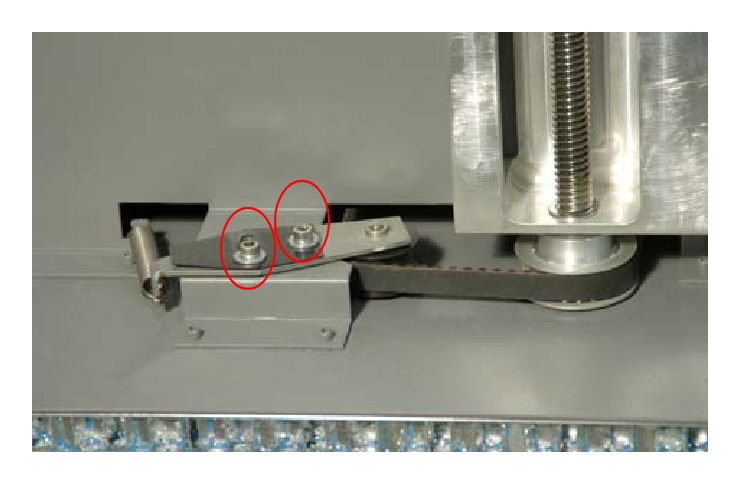
Slacken the Table Belt
Loosen the two hex screws (circled). Pull the pulley to the right, out of the engraver, and tighten the two screws while holding it there.
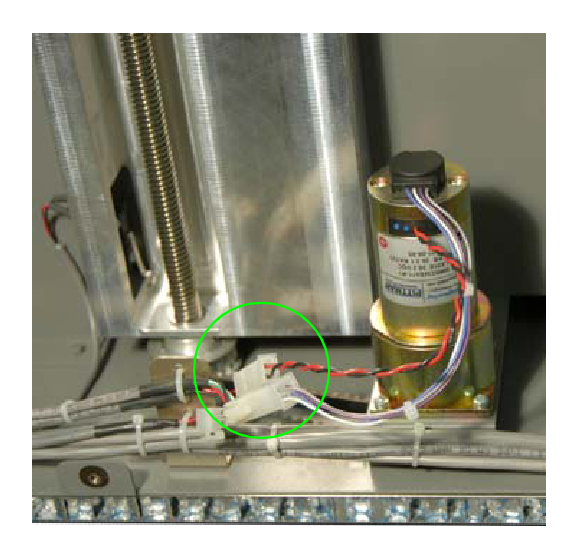
Disconnect the Motor Leads
Disconnect the two table motor leads.
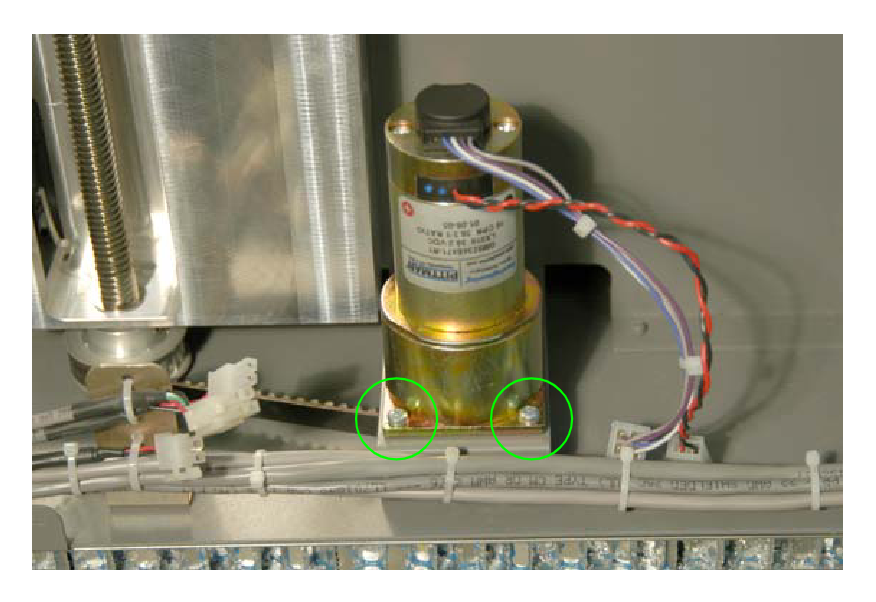
Remove the Motor Screws
Remove the four screws around the motor.
Remove the Motor
Slide the motor forward in its bracket. Push the belt down while wiggling it off the silver spindle, slip the belt under the spindle and pull the motor out.
Motor Installation
Fit the Belt
Hold the new motor over the bracket. Lift the belt up out of the hole in the bracket and fit it over the motor’s silver spindle.
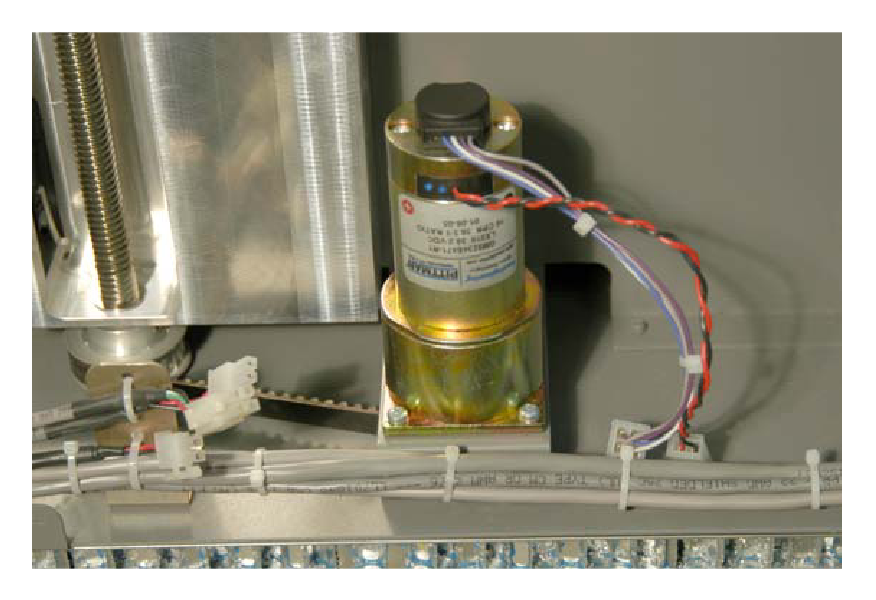
Install the Motor
Set the motor into the bracket with its label facing out of the engraver, and install the four motor screws.
Check the Belt Position
Check the pulley to make sure the belt is seated properly.
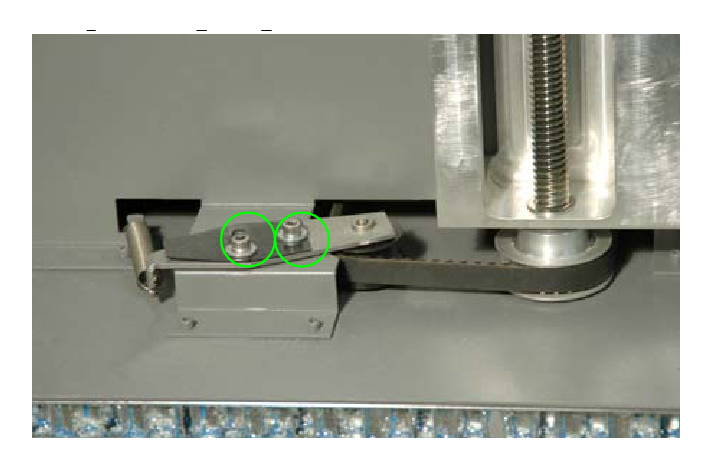
Tension the Table Belt
Loosen the two hex screws on the right side pulley, let the pulley snap into place, then tighten the two screws.
Reconnect the Motor Leads
Reconnect the two motor leads.
Reinstall the Side Panels
Reinstall both side panels.
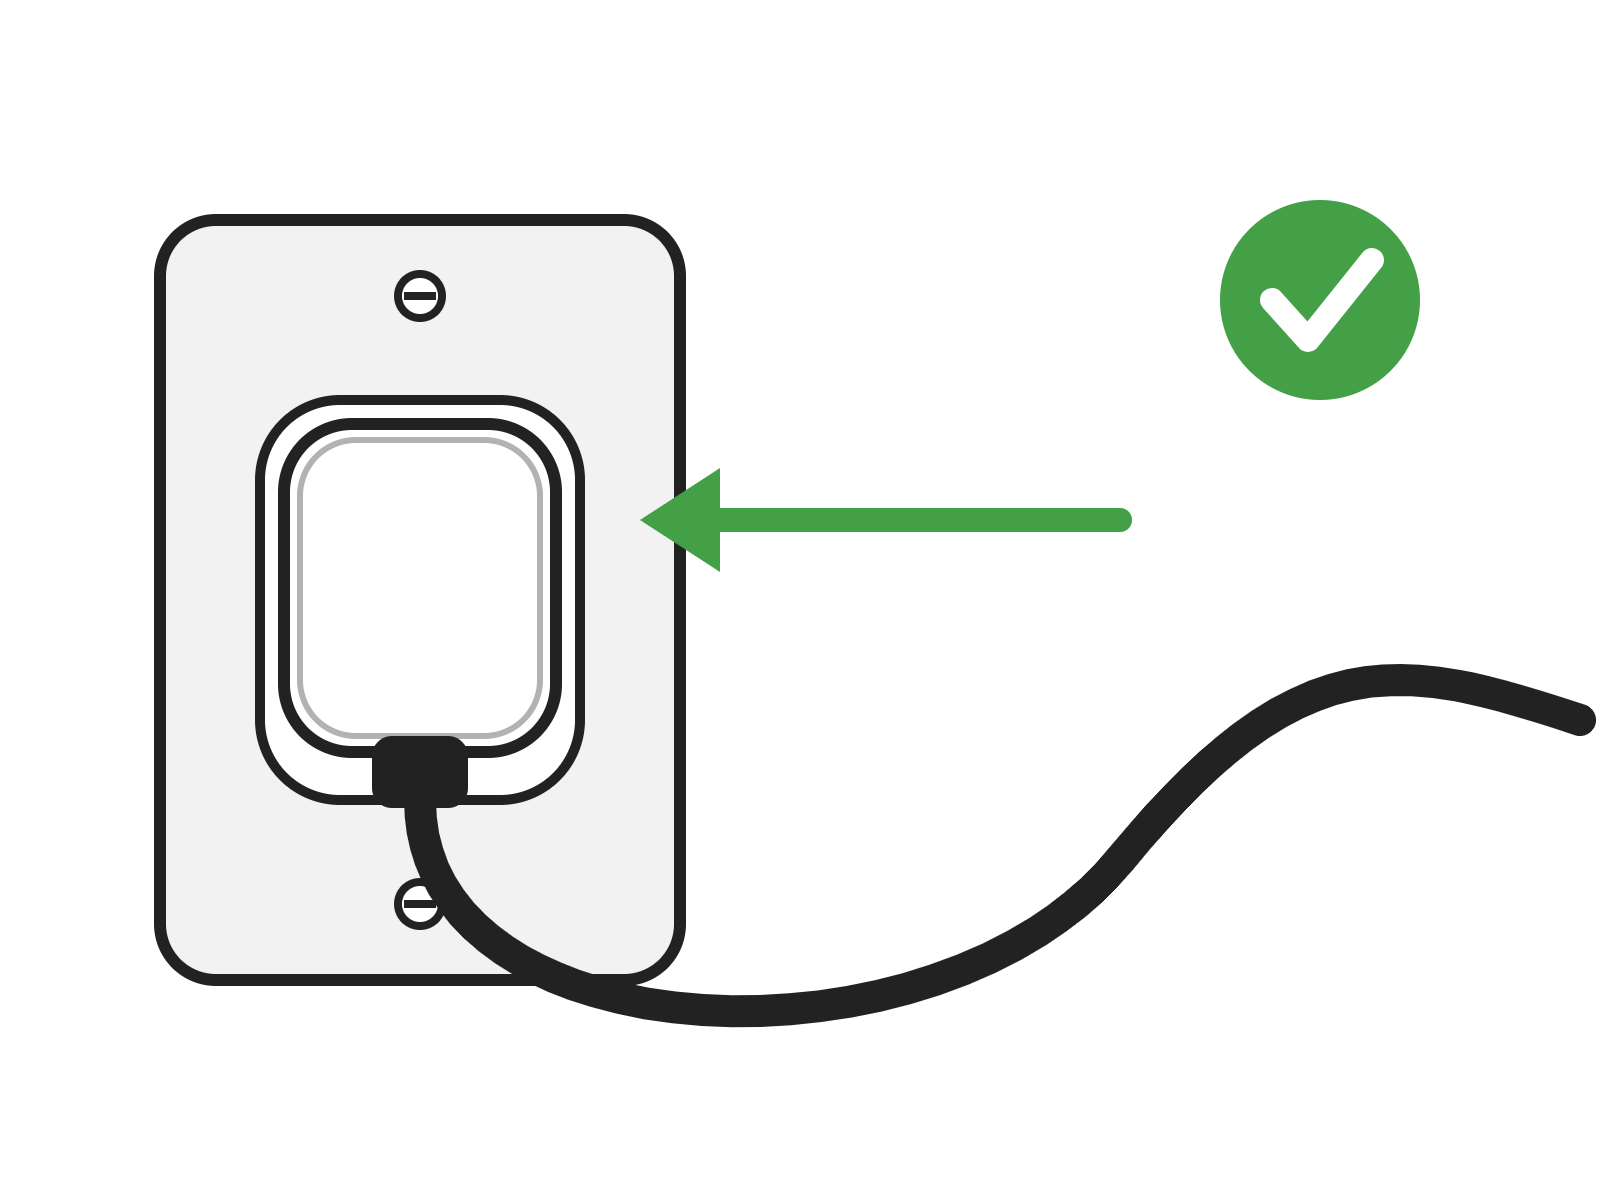
Reconnect Power and Test
Plug the power cord back in, turn on the engraver and check that the table moves up and down.