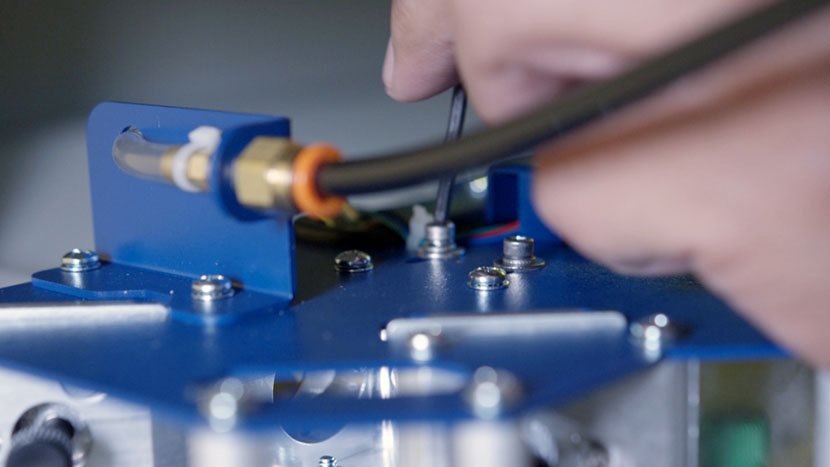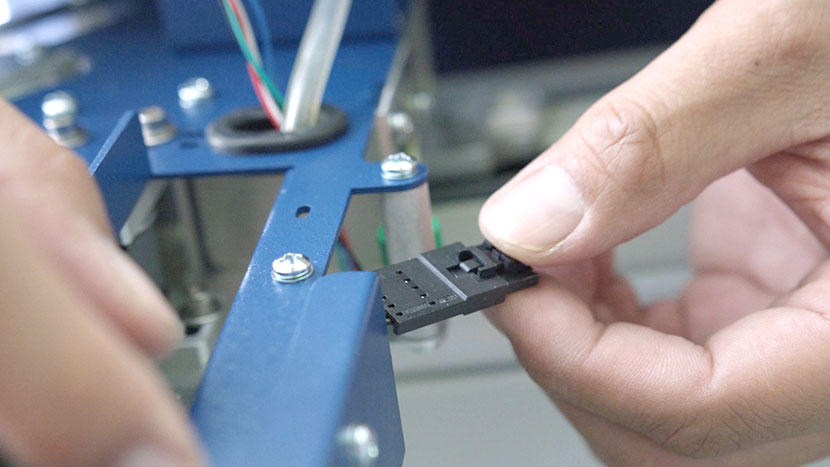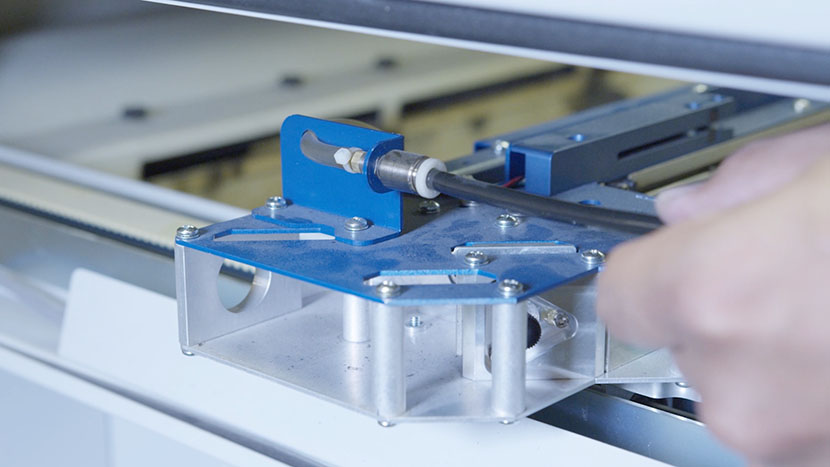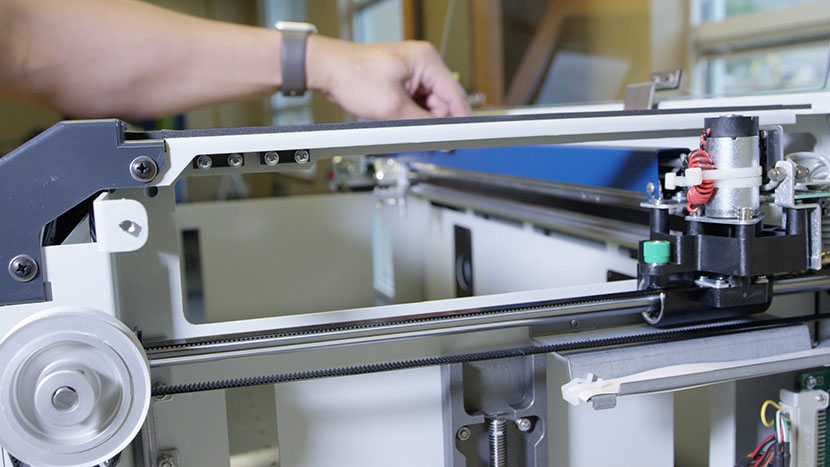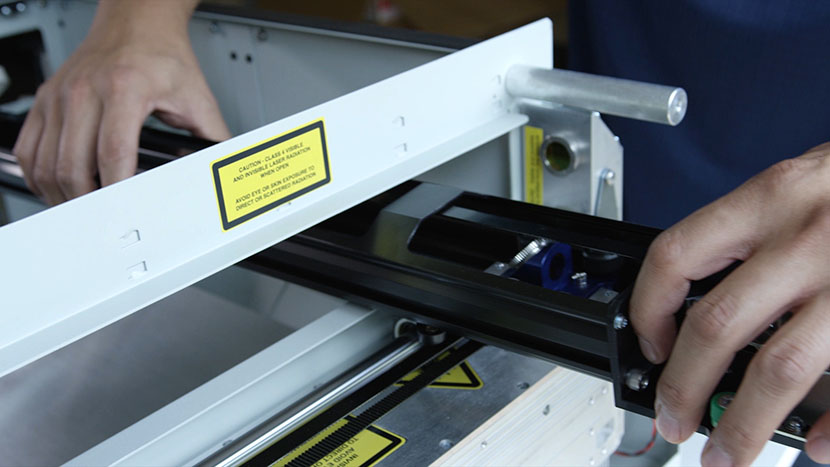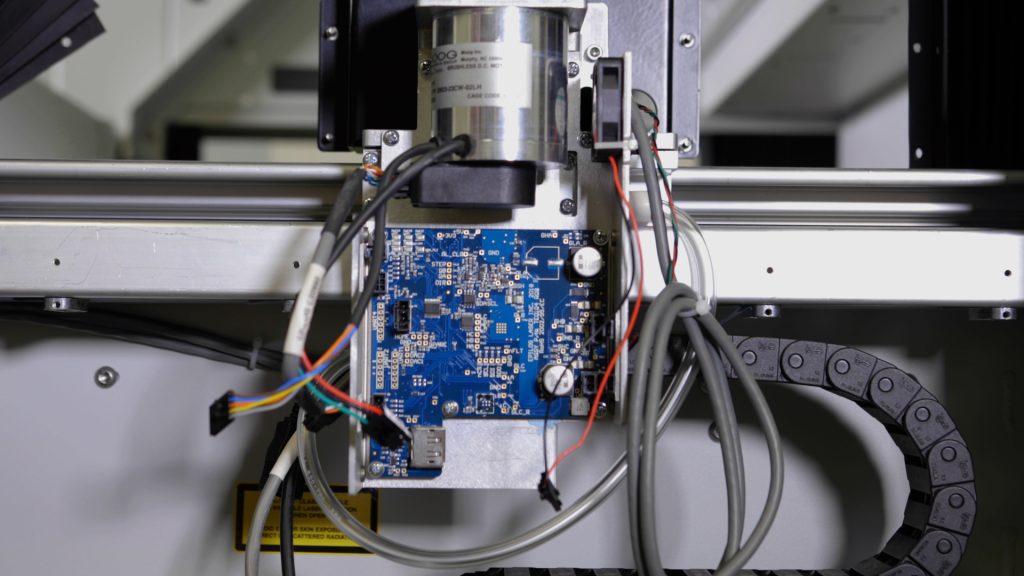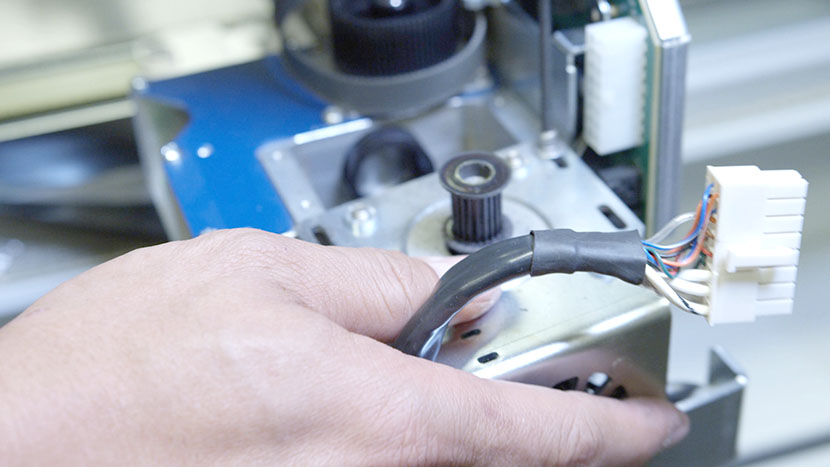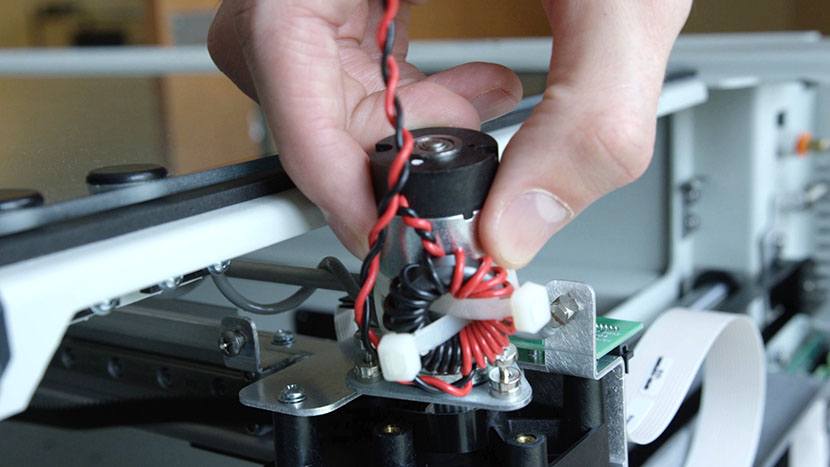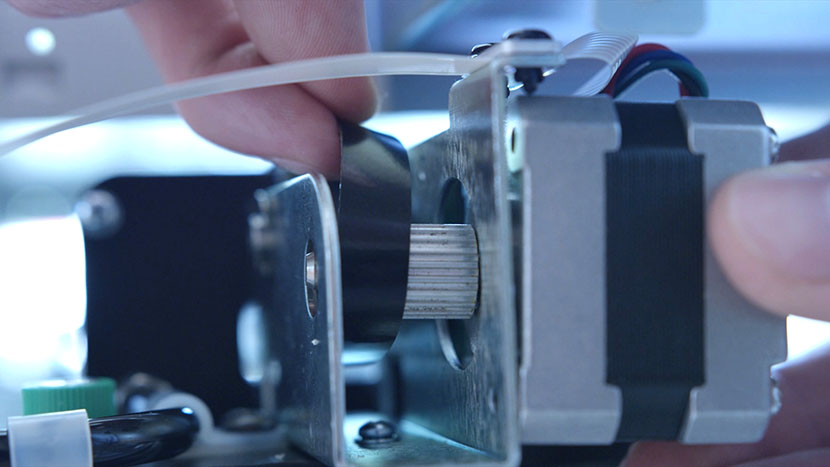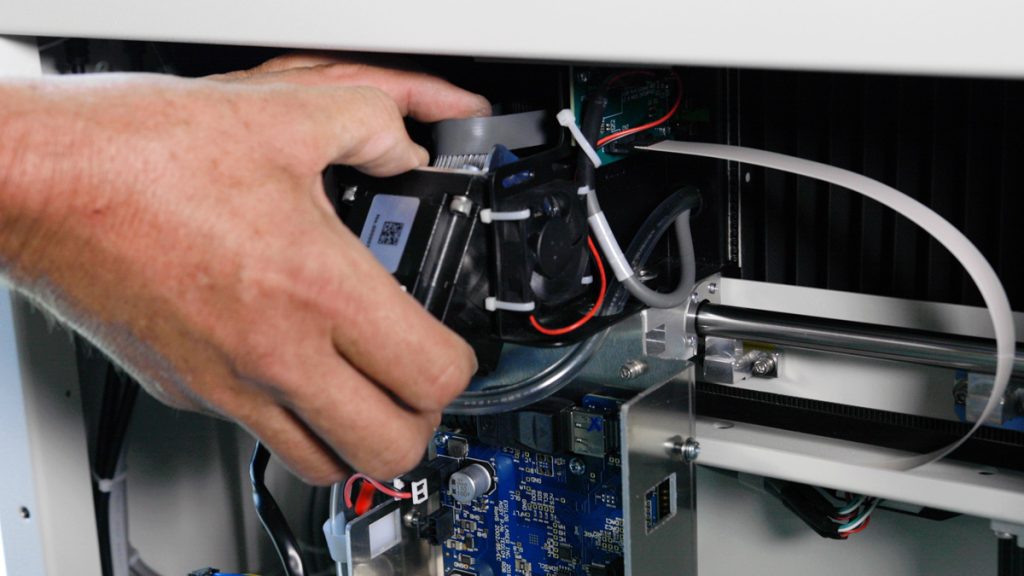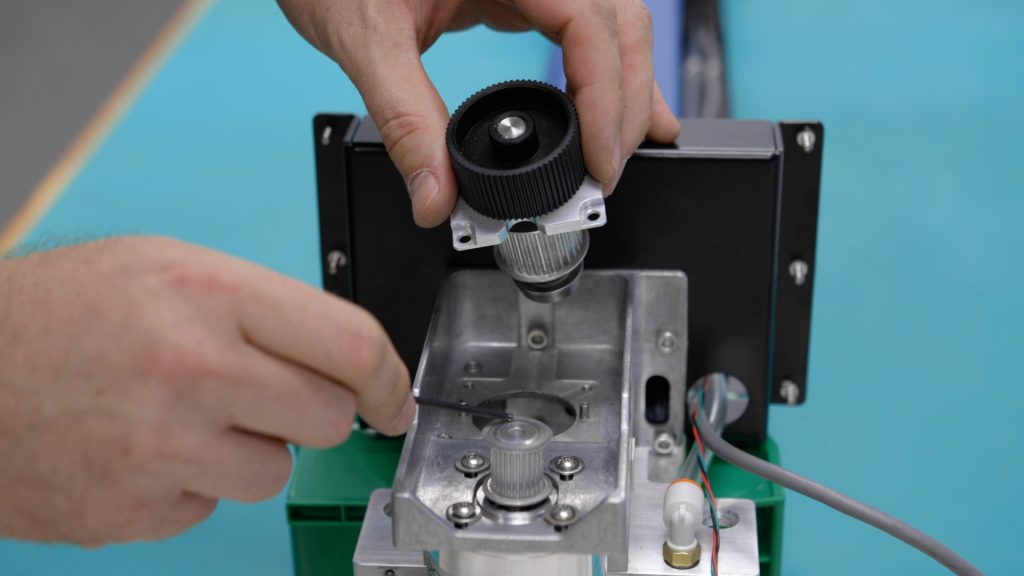
Remove Panels First, power off and unplug the machine. Using a 5/32” Allen Key, remove the right side panel from the machine. Using a 5/32” Allen Key, remove the left side panel from the machine. Manually move the x-axis assembly to the middle of the engraver. Remove the X-axis assembly (...)
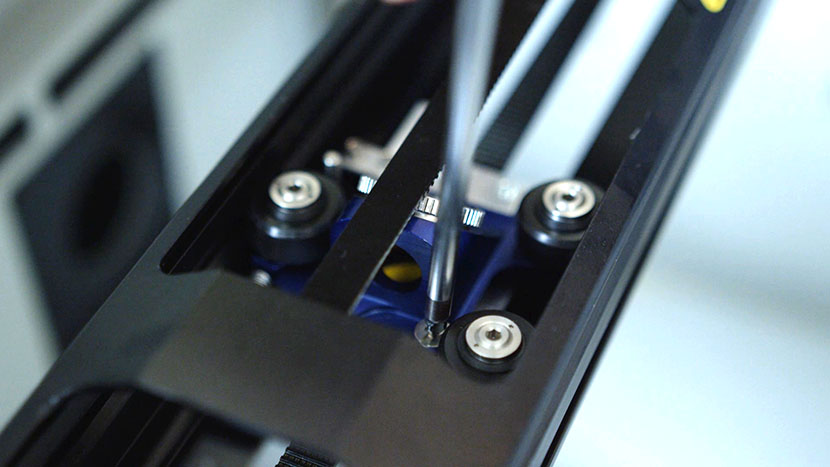
Lens Carriage Rollers
Remove Lens Assembly Shut off the laser and remove the power cord from the machine. Move the X-Axis Assembly to the center of the machine and the lens carriage to the center of the table. Loosen the two screws which secure the lens carriage to the belt assembly. As you (...)
X-Axis Tensioning Belt
Remove Panel Shut off the laser and remove the power cord from the machine. Remove the top access panel on the left side of the machine by using a 5/32” hex key to turn the black panel locks ¾ of the way counter-clockwise. Adjust Belt Tension Use a 7/64” hex (...)
Restore X-Axis Homing: Replacing the Home (Limit) Sensors
Remove Panels We’ll start by replacing the left sensor, then move on to the right sensor. Shut off the laser and remove the power cord from the machine. Remove the top access panels on both the left and right side of the machine by using a 5/32” hex key to (...)
X-Axis Assembly Replacement
Remove Panels With the machine powered on, use the control panel to scroll down to ‘Jog.’ Then use the joystick to move the x-axis assembly toward the middle of the machine to give you room to work. Shut off the laser and remove the power cord from the machine. Remove (...)
X-Axis Assembly Replacement
Remove Side Panels Shut off the laser and remove the power cord from the machine. Remove the left side panel by loosening the four screws on its main face, as well as the two screws on the back. Remove the right side panel by loosening the four screws on its (...)
X-Axis Assembly Replacement
Remove Right Side Panel Shut off the laser and remove the power cord from the machine. Inside the machine, move the x-axis assembly to the rear of the machine. Put on the anti-static strap. Clip the strap on to any metal part of the machine. Always wear the anti-static strap (...)
X-Axis Assembly Replacement
X-Axis Assembly Removal First, power off and unplug the machine. Using a 5/32” Allen Key, remove the right side panel from the machine. Using a 5/32” Allen Key, remove the left side panel from the machine. Manually move the x-axis assembly to the middle of the engraver. Remove the lens (...)
X-Motor Replacement
Remove Side Panels With the machine powered on, use the control panel to scroll down to ‘Jog.’ Then use the joystick to move the x-axis assembly toward the middle of the machine to give you room to work. Shut off the laser and remove the power cord from the machine. (...)
X-Motor Replacement
Remove Side Panels Shut off the laser and remove the power cord from the machine. Remove the left side panel by loosening the four screws on its main face, as well as the two screws on the back. Remove the right side panel by loosening the four screws on its (...)
Repairing X-Axis Motion: Replacing the X-Motor
Remove Right Side Panel Shut off the laser and remove the power cord from the machine. Inside the machine, move the x-axis assembly to the rear of the machine. Put on the anti-static strap. Clip the strap on to any metal part of the machine. Always wear the anti-static strap (...)
X-Motor Replacement
Remove Side Panel Before we begin, make sure you turn off & unplug the machine. Using a 5/32” Allen wrench, remove the 8 Allen screws that secure the right-hand side panel, and set the panel off to one side. Move to the front of the machine and pull the X-axis (...)