
This guide covers installing the X-axis motor fan on the Legend 36EXT. The fan keeps the X motor cool for reliable performance.
Parts Required
- X-Axis Motor Fan and Bracket
Tools Required
- #1 Phillips Screwdriver
Safety First: Ensure the engraver is completely powered off and the power cord is disconnected before removing any panels or touching internal components.
Installing the X-Axis Motor Fan
Power Off Engraver
Turn off the engraver.
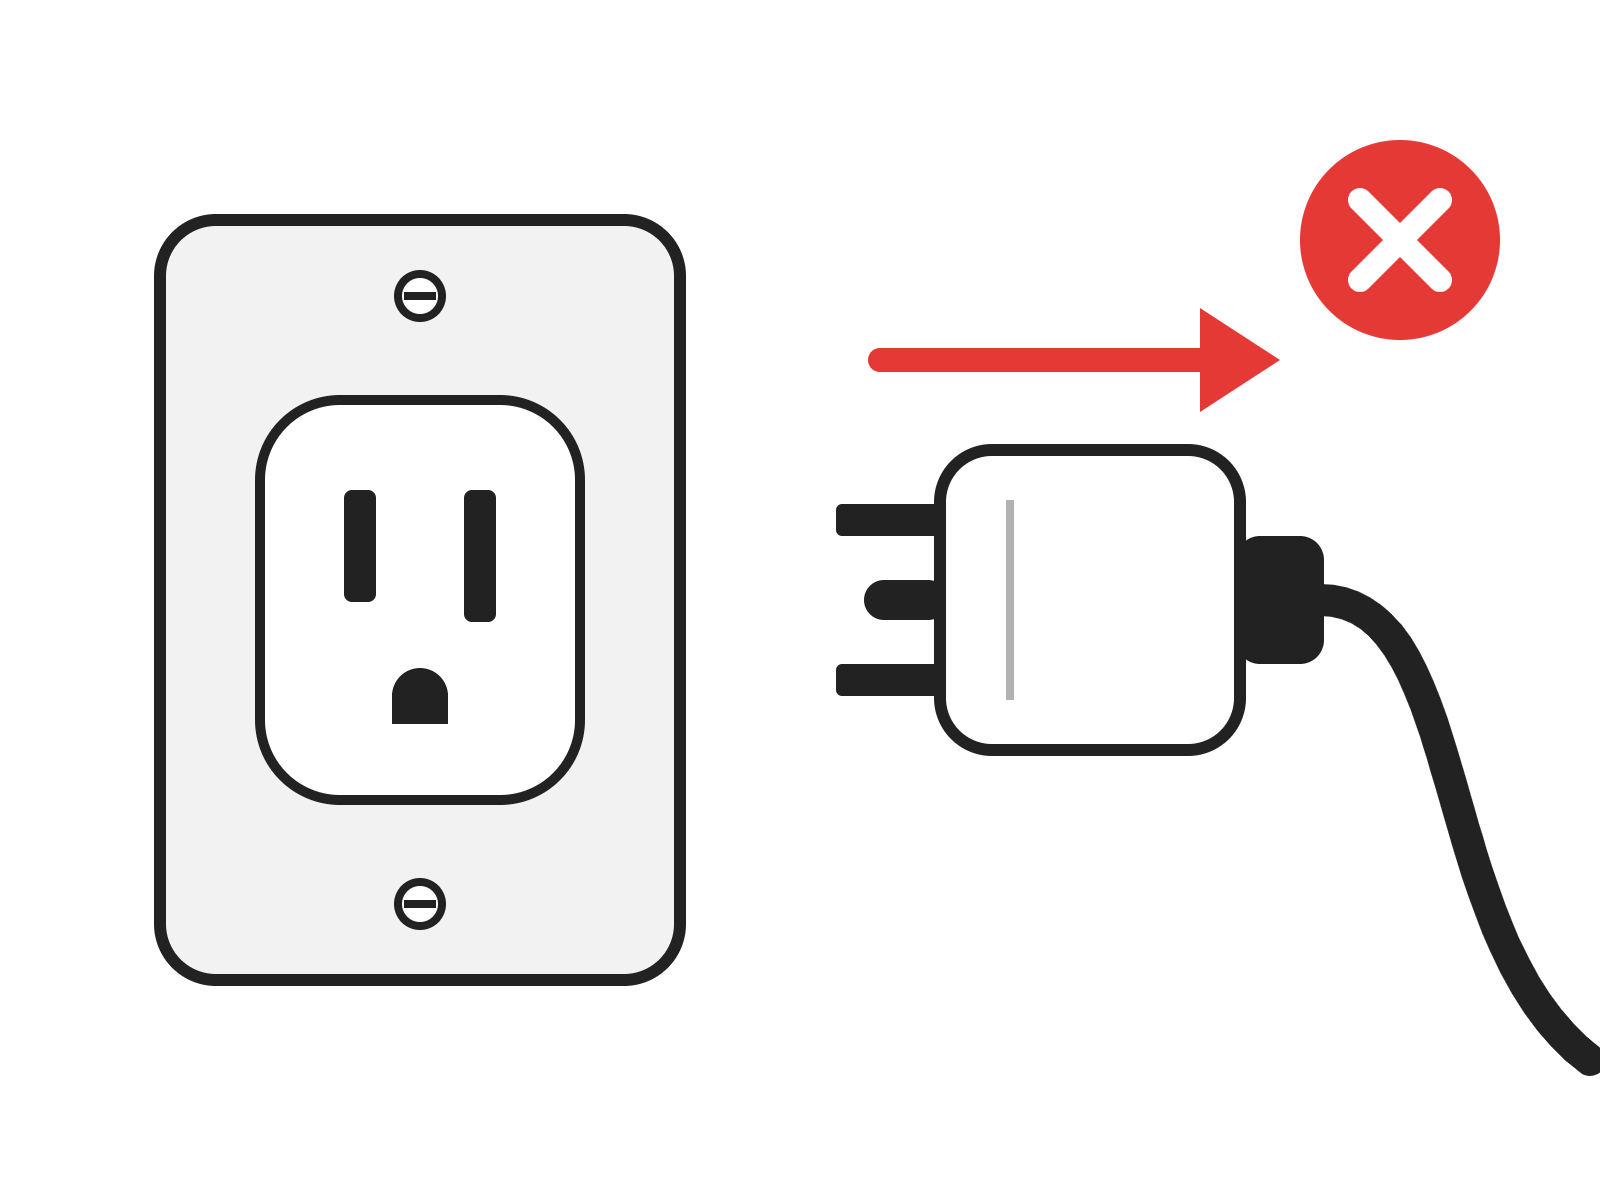
Disconnect From Power
Unplug the power cord from the engraver.
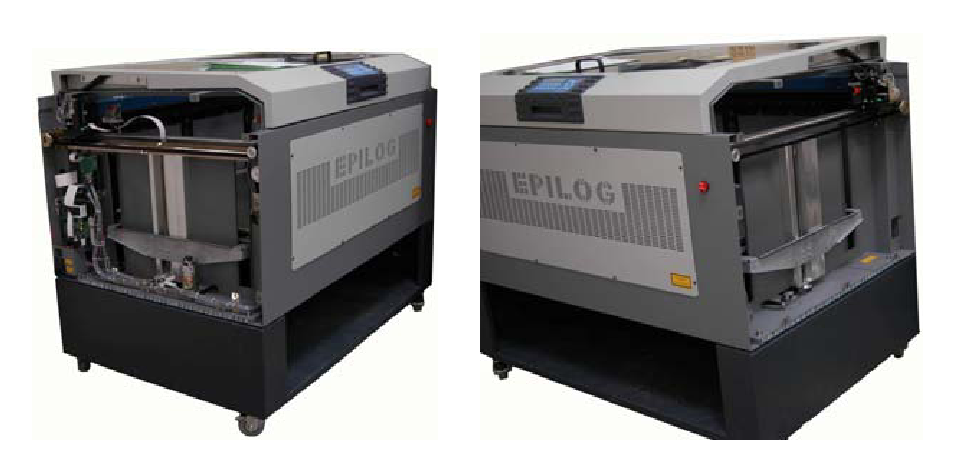
Remove the Left Side Panel
Remove the left side panel.
Center the X-Axis
Move the X-axis assembly to the center of the engraver and open the large overhead door.
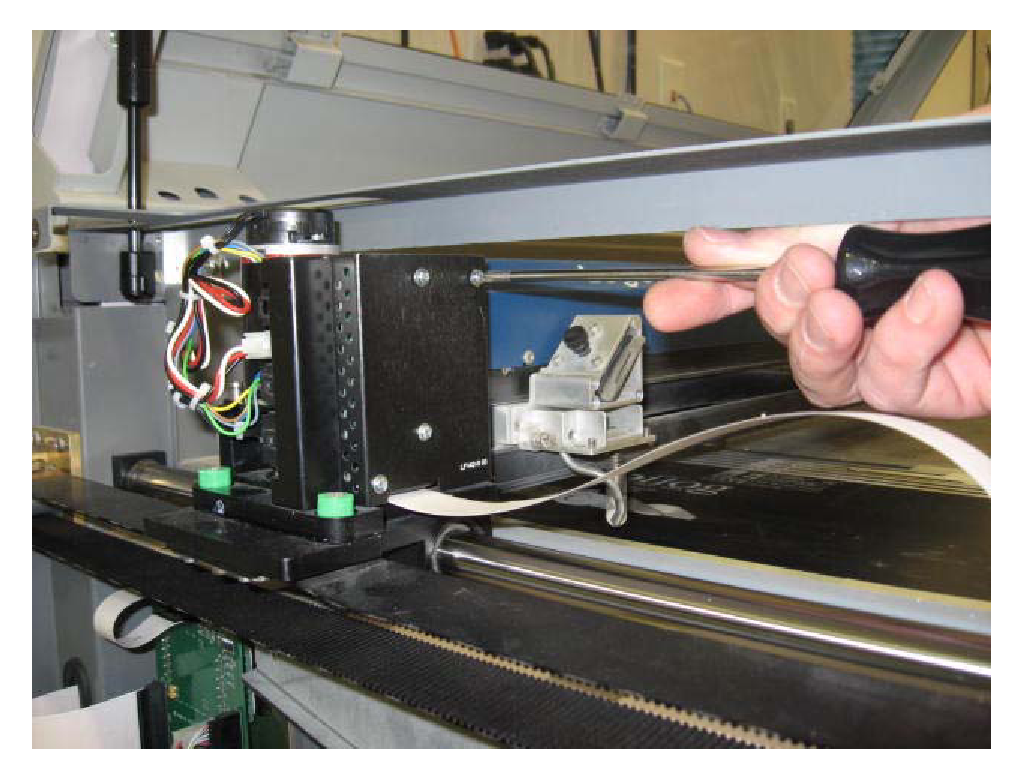
Loosen the Amplifier Screws
On the motor amplifier at the left end of the X-axis, loosen the two top screws three to four turns each with a #1 Phillips screwdriver.
Important: Do not remove these screws.
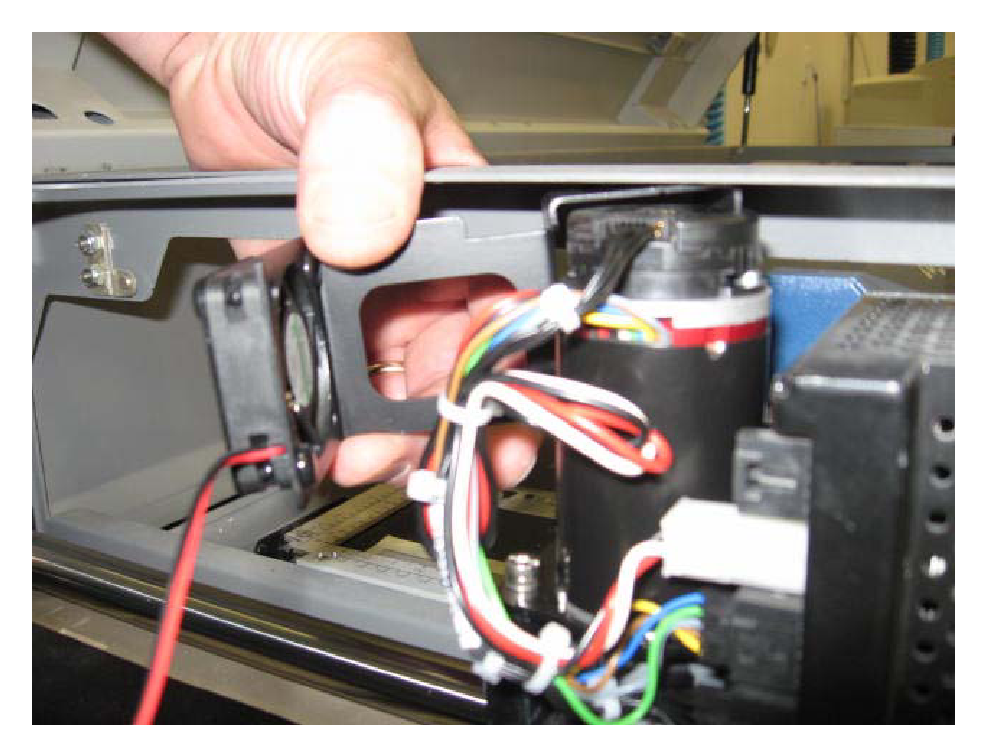
Position the Fan Mount
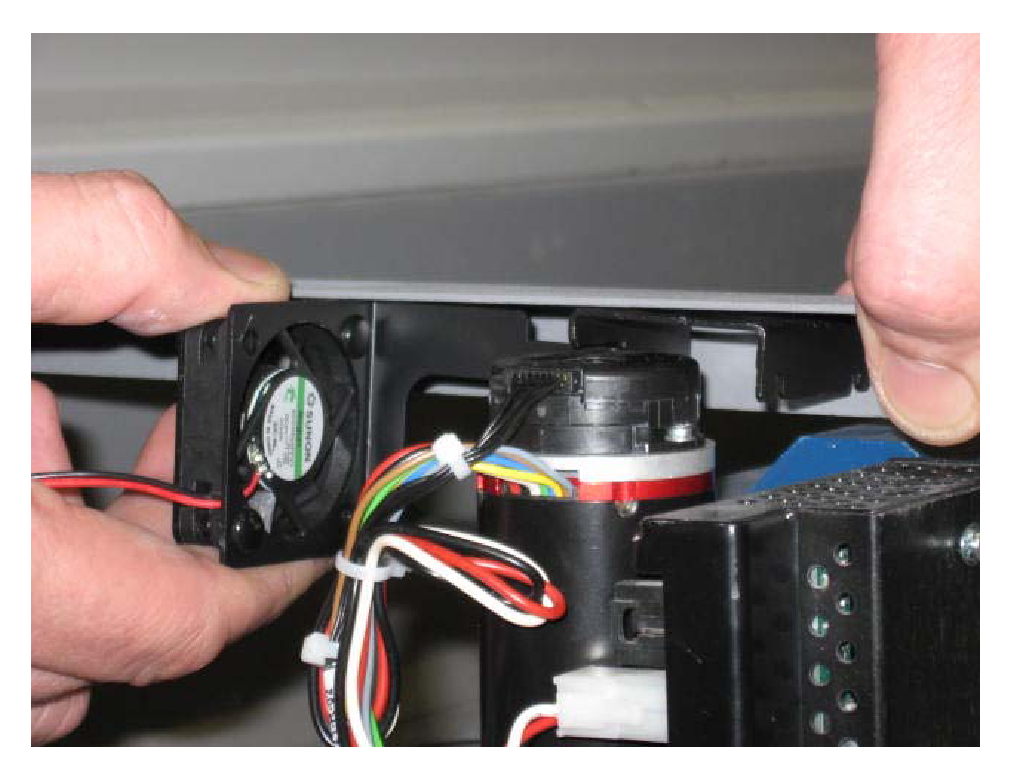
Hold the fan mount in your left hand and position it behind the motor.
Slip the Mount Into Place
With your right hand, gently lift the frame above the motor. With the frame flexed slightly upward, the fan mount slips in between the motor encoder and the engraver frame.
Slide the Mount Over the Screws
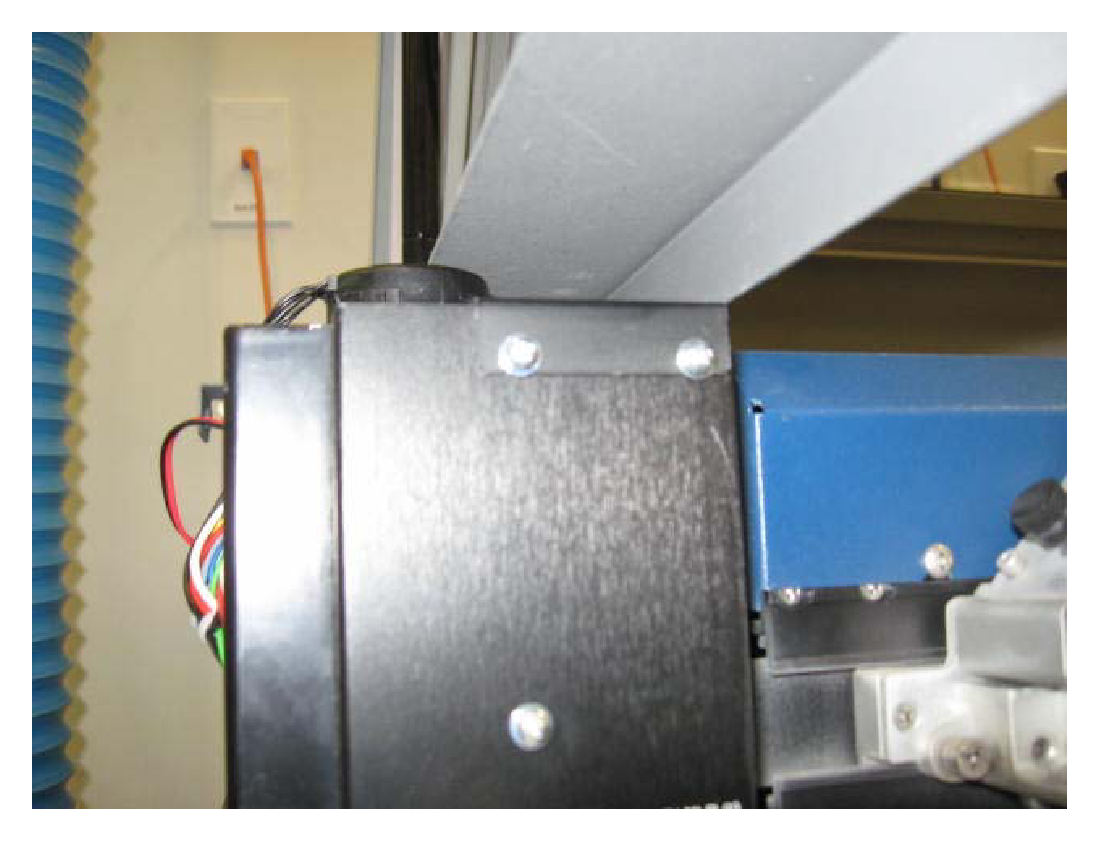
Slide the fan mount down over the two amplifier cover screws you loosened.
Tighten the Amplifier Screws
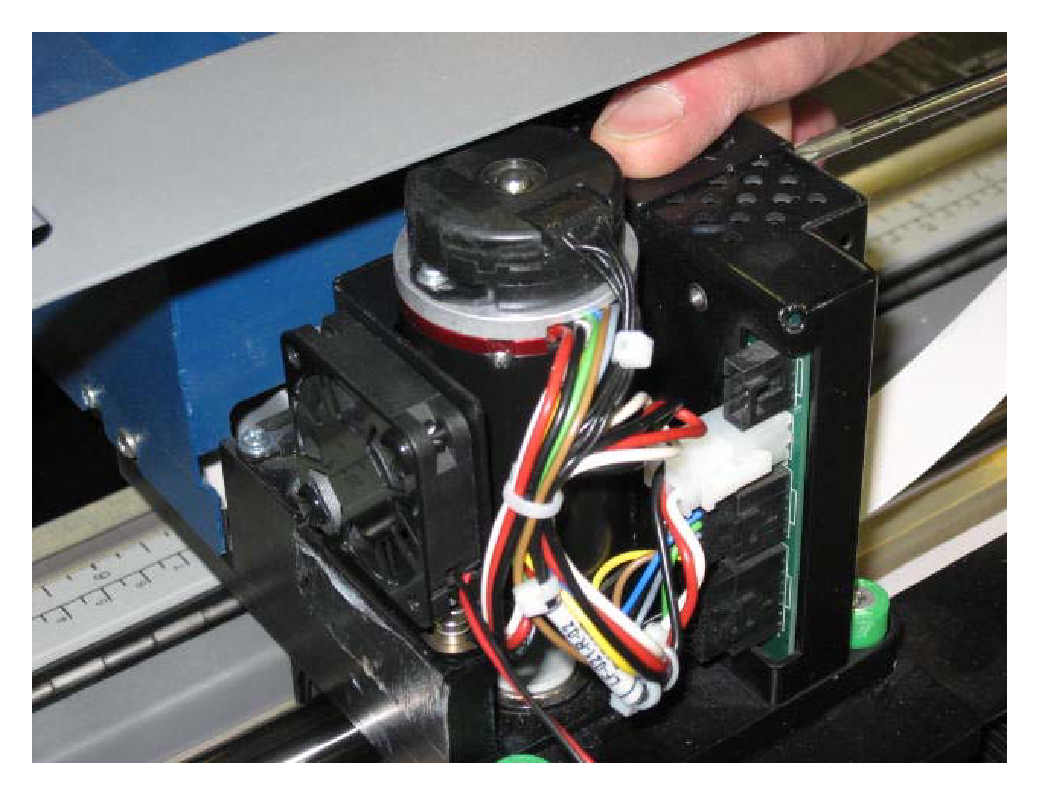
Push down slightly on the fan mount to make sure it is seated under the amplifier cover screws, then tighten the screws.
Connect the Fan
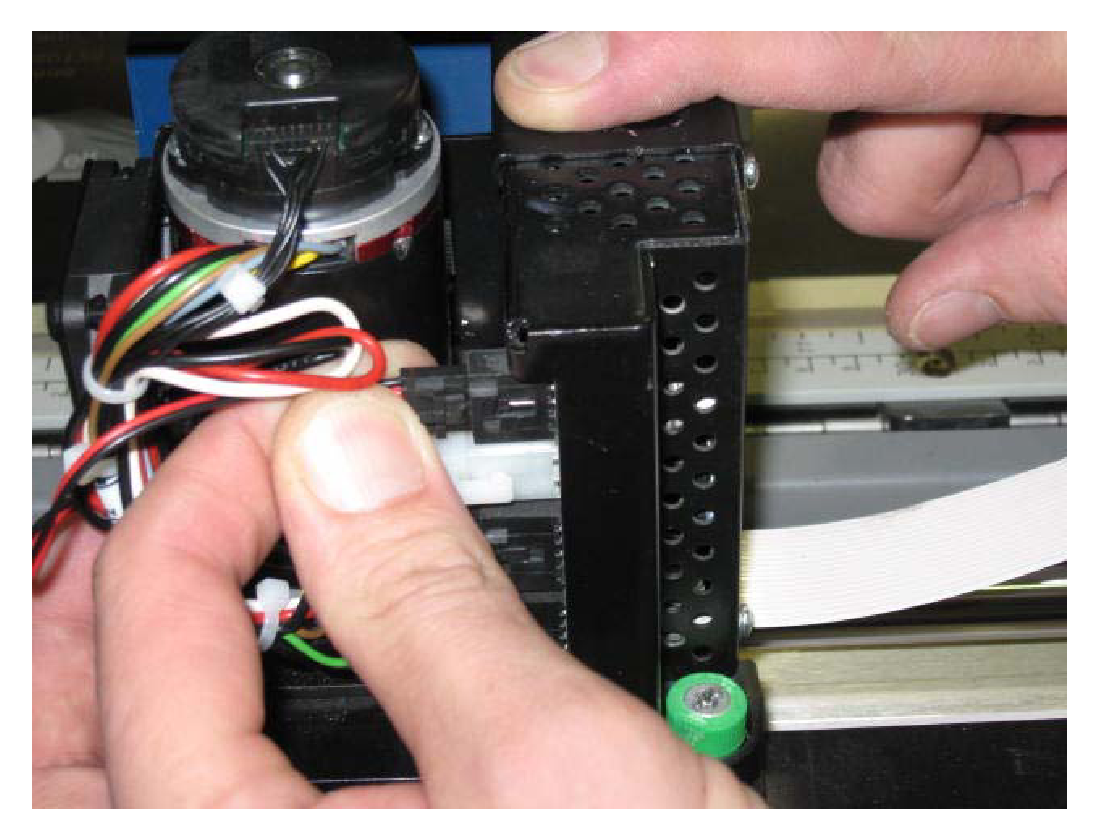
Plug the fan’s harness into the connector above the motor connections on the amplifier.
Check the Clearance
Push the X-axis assembly to the rear to make sure the fan clears the back of the engraver.
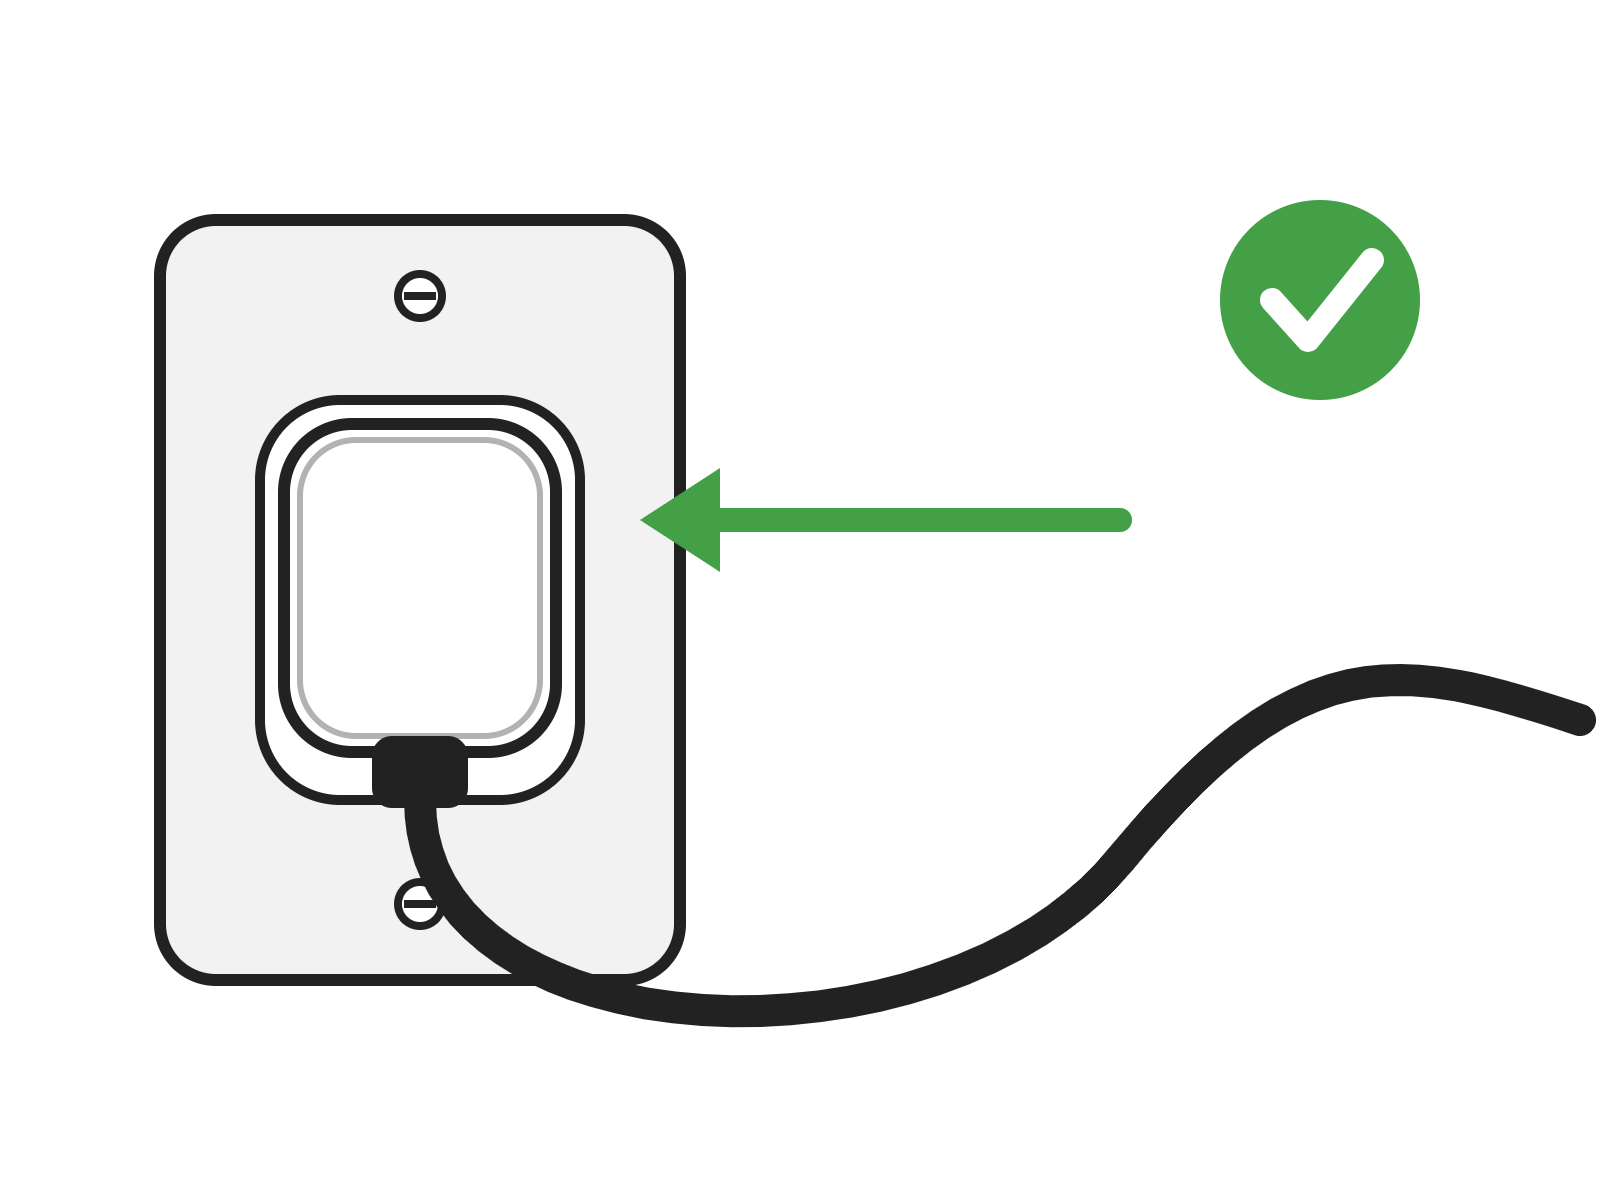
Power On and Test
Close the door, plug the power cord back in and turn on the engraver. Check that it completes its Y-axis initialization.
Power Off Again
Turn off the engraver and unplug it.
Reinstall the Side Panel
Reinstall the left side panel.