
This guide covers replacing the X-axis motor in the Legend 36EXT, including tensioning the X-axis belt afterward.
Parts Required
- X-Axis Motor
Tools Required
- 5/32" Allen Wrench
- Phillips Screwdriver
Safety First: Ensure the engraver is completely powered off and the power cord is disconnected before removing any panels or touching internal components.
Motor Removal
Power Off Engraver
Turn off the engraver.
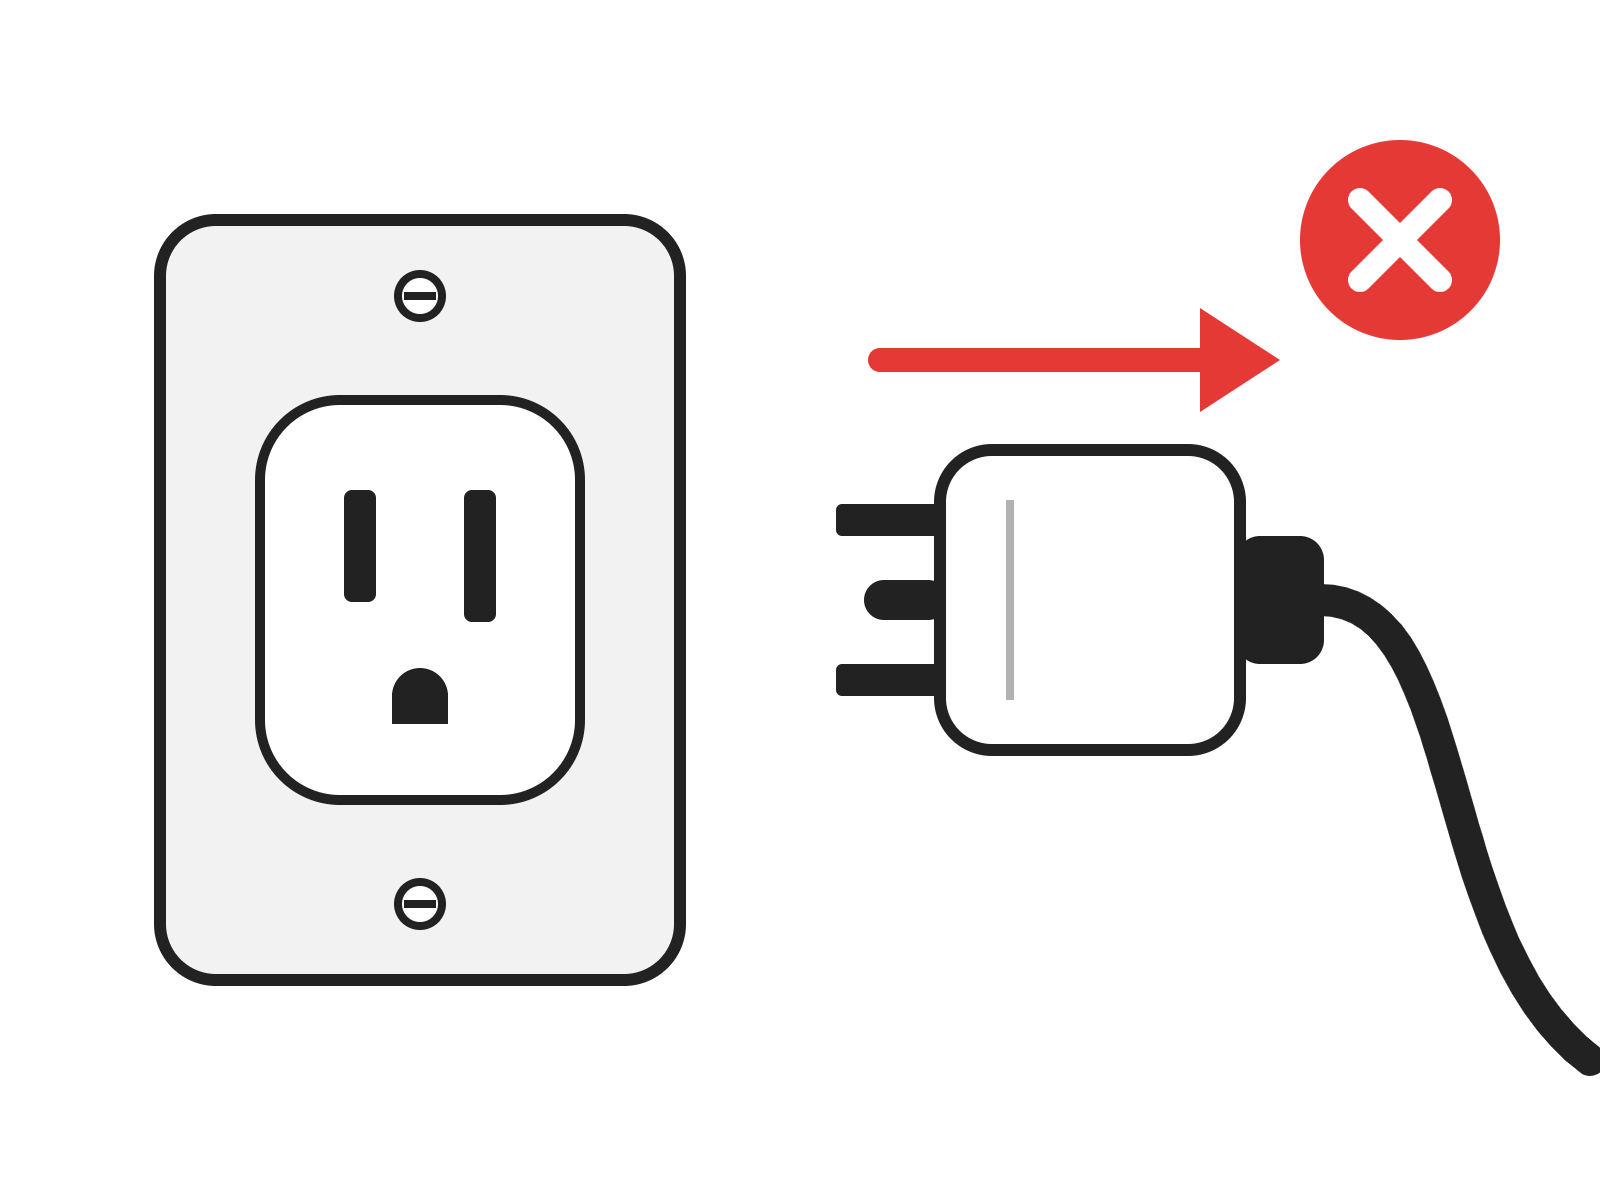
Disconnect From Power
Unplug the power cord from the engraver.
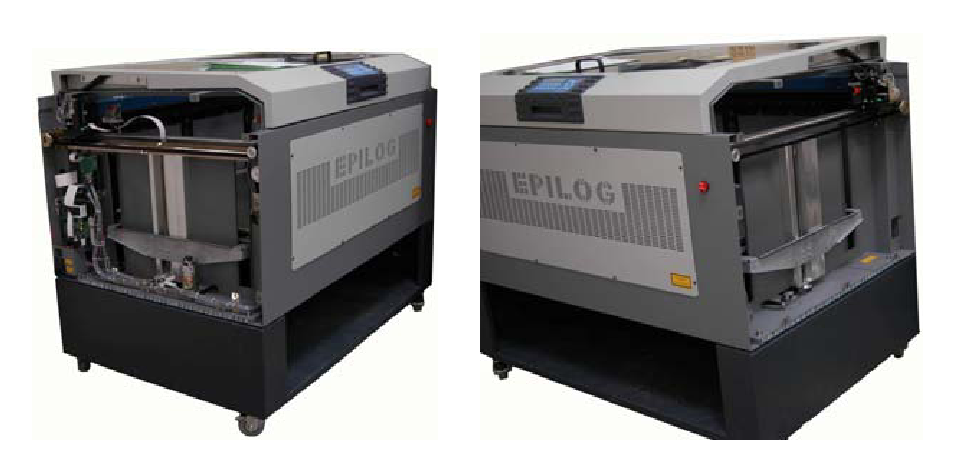
Remove the Side Panels
Remove both side panels.
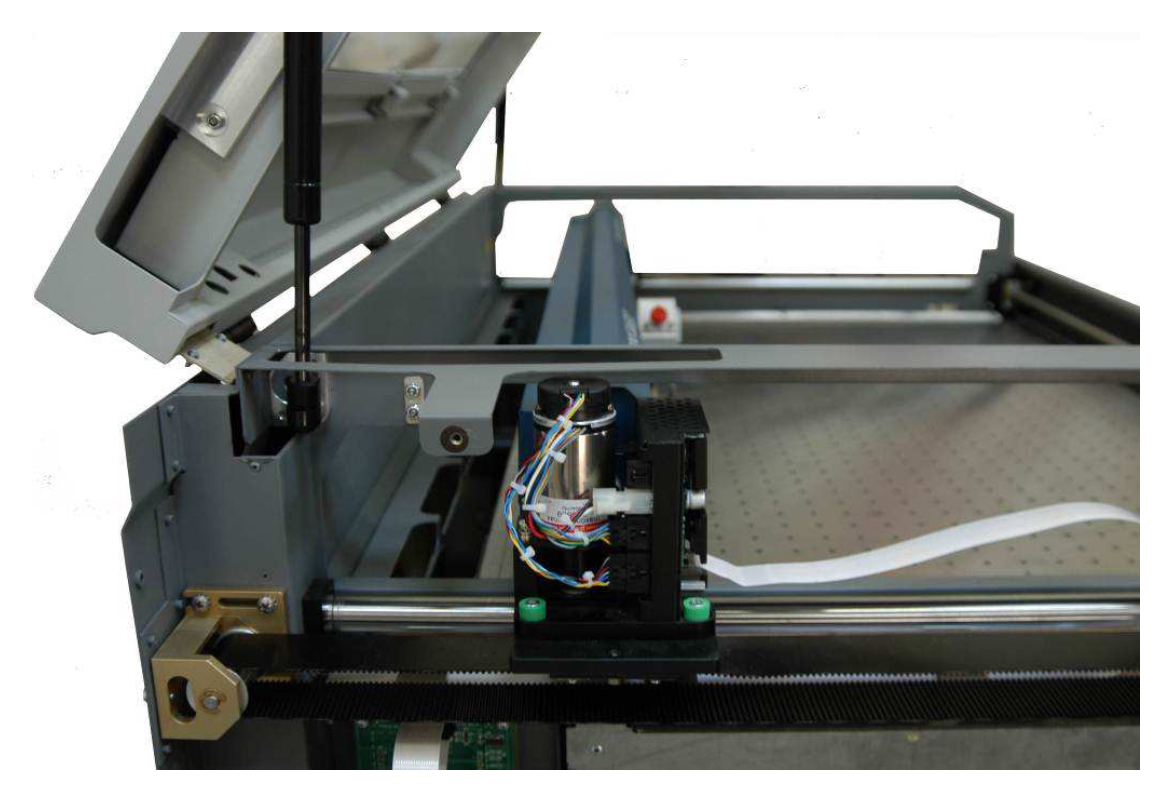
Position the I-Beam
Push the I-beam until the X-motor lines up with the opening on the left side of the engraver.
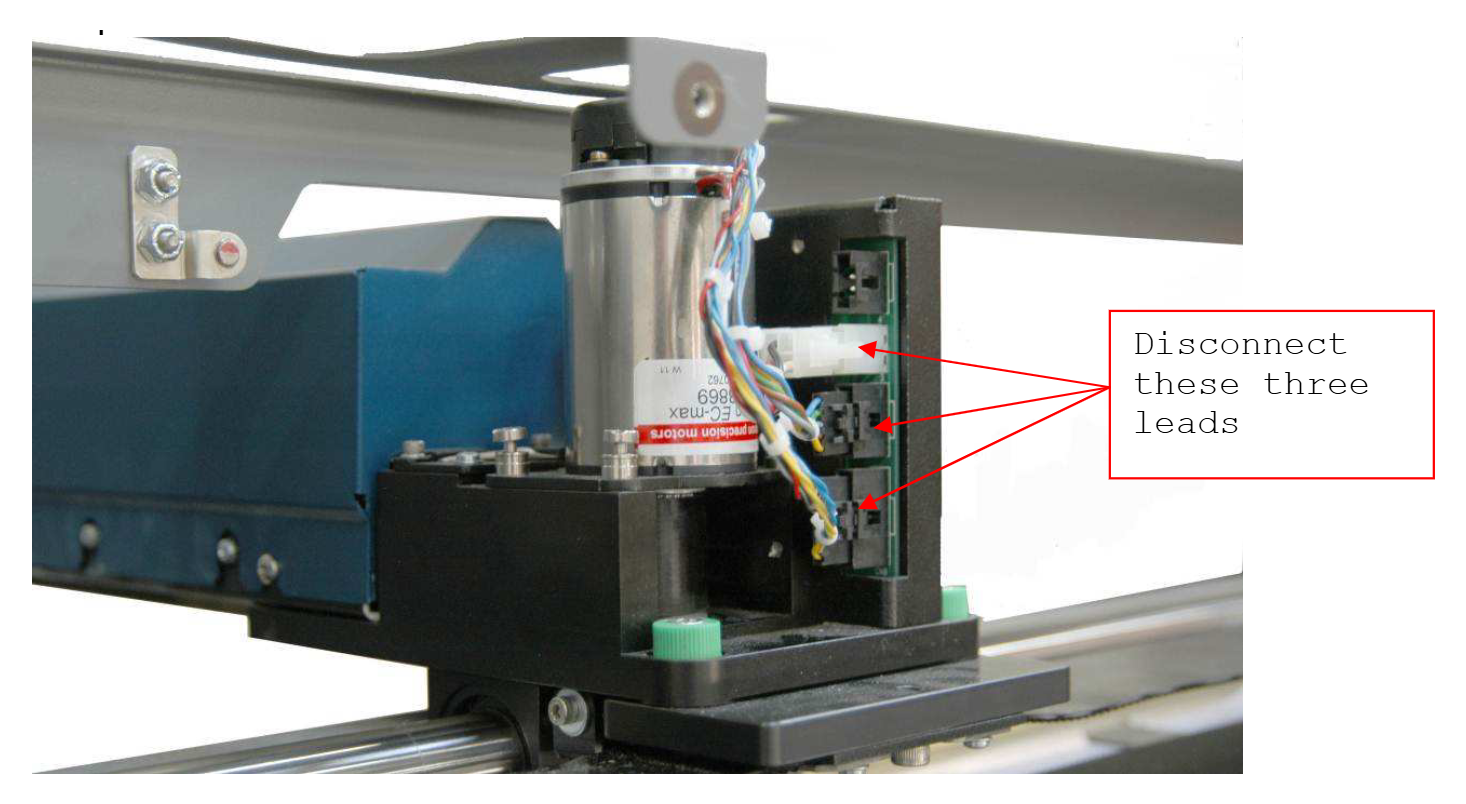
Disconnect the Motor Leads
Disconnect the three leads from the motor (arrows).
Loosen the Pulley Screws
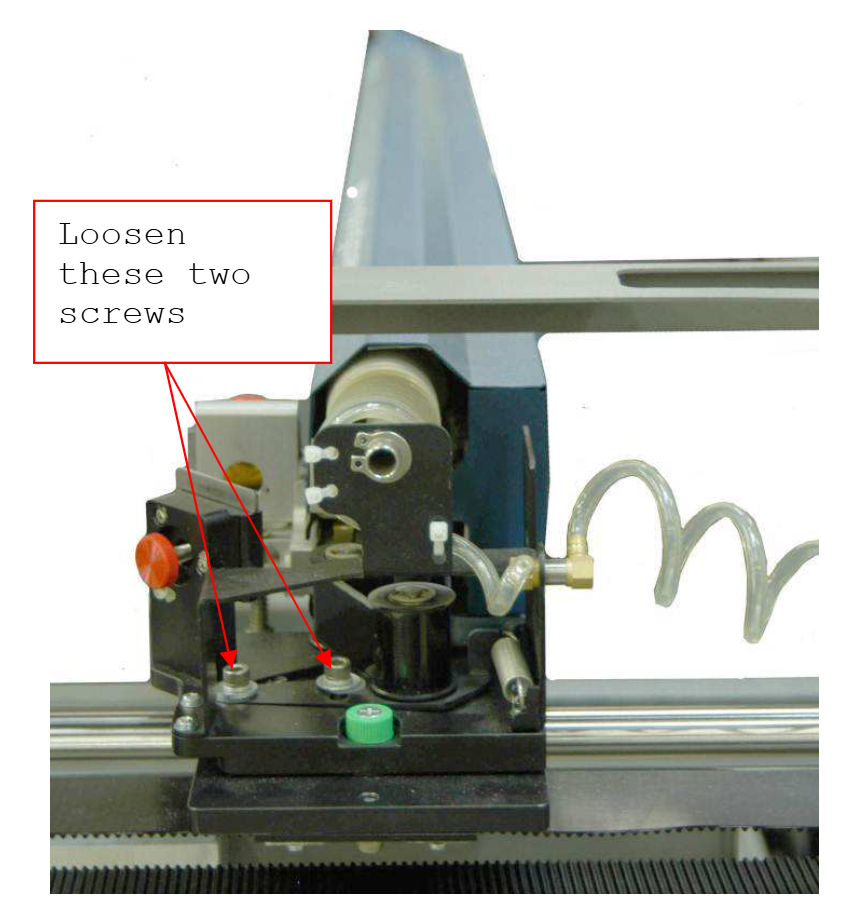
At the right end of the I-beam, loosen the two pulley screws with a 5/32" Allen wrench.
Slacken the Belt
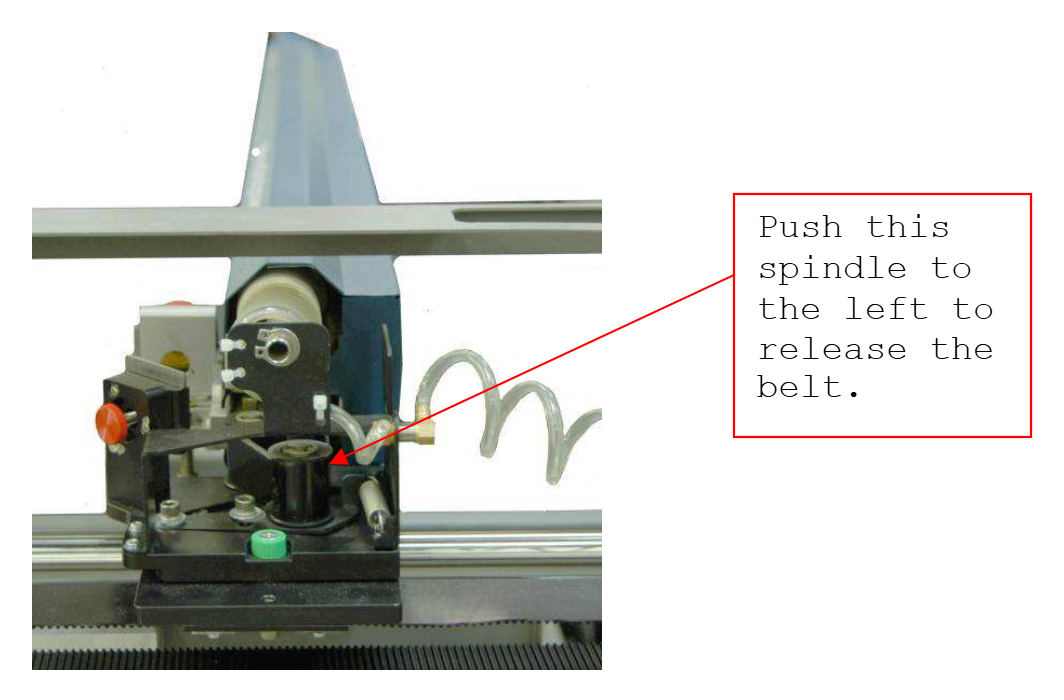
Push the black spindle toward the left side of the engraver until the belt is slack, and tighten the two screws to hold it there.
Loosen the Captive Screws
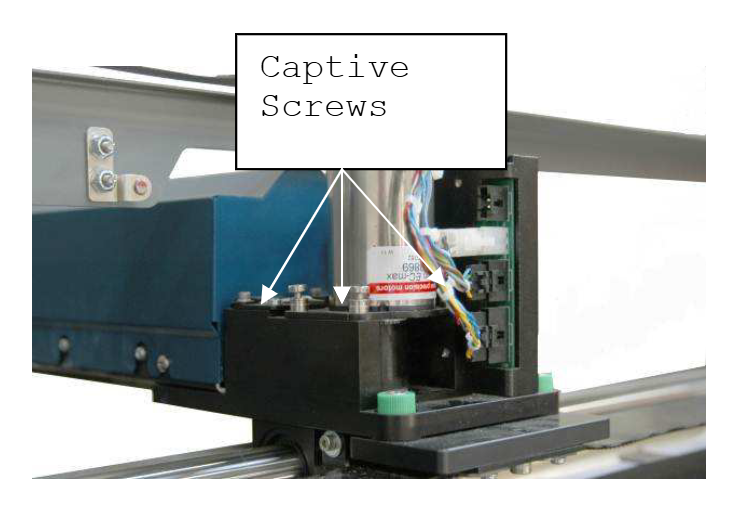
Loosen the four captive screws holding the X-motor.
Remove the Motor
Lift the X-motor out of the engraver.
Motor Installation
Install the New Motor
Set the new motor in place, making sure the belt loops over the silver spindle on the motor. Tighten the four captive screws.
Important: If the belt is not over the motor spindle, you will not be able to tension the X-axis belt properly.
Reconnect the Motor Leads
Reconnect the three motor leads.
Release the Pulley
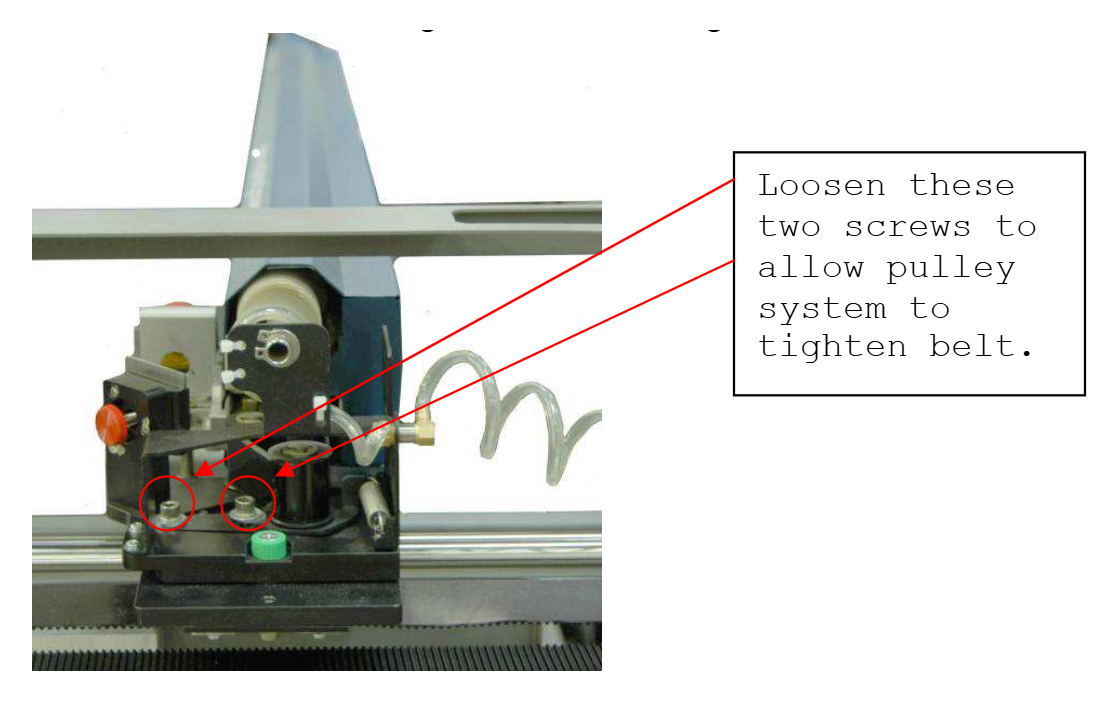
Loosen the two pulley screws with the 5/32" Allen wrench and make sure the pulley snaps into place. The belt should be tight.
Seat the Belt
Move the lens carriage to the right and left a few times to make sure the belt is fully seated and properly tensioned.
Lock the Tension
Tighten the two pulley screws.
Reinstall the Side Panels
Reinstall both side panels.
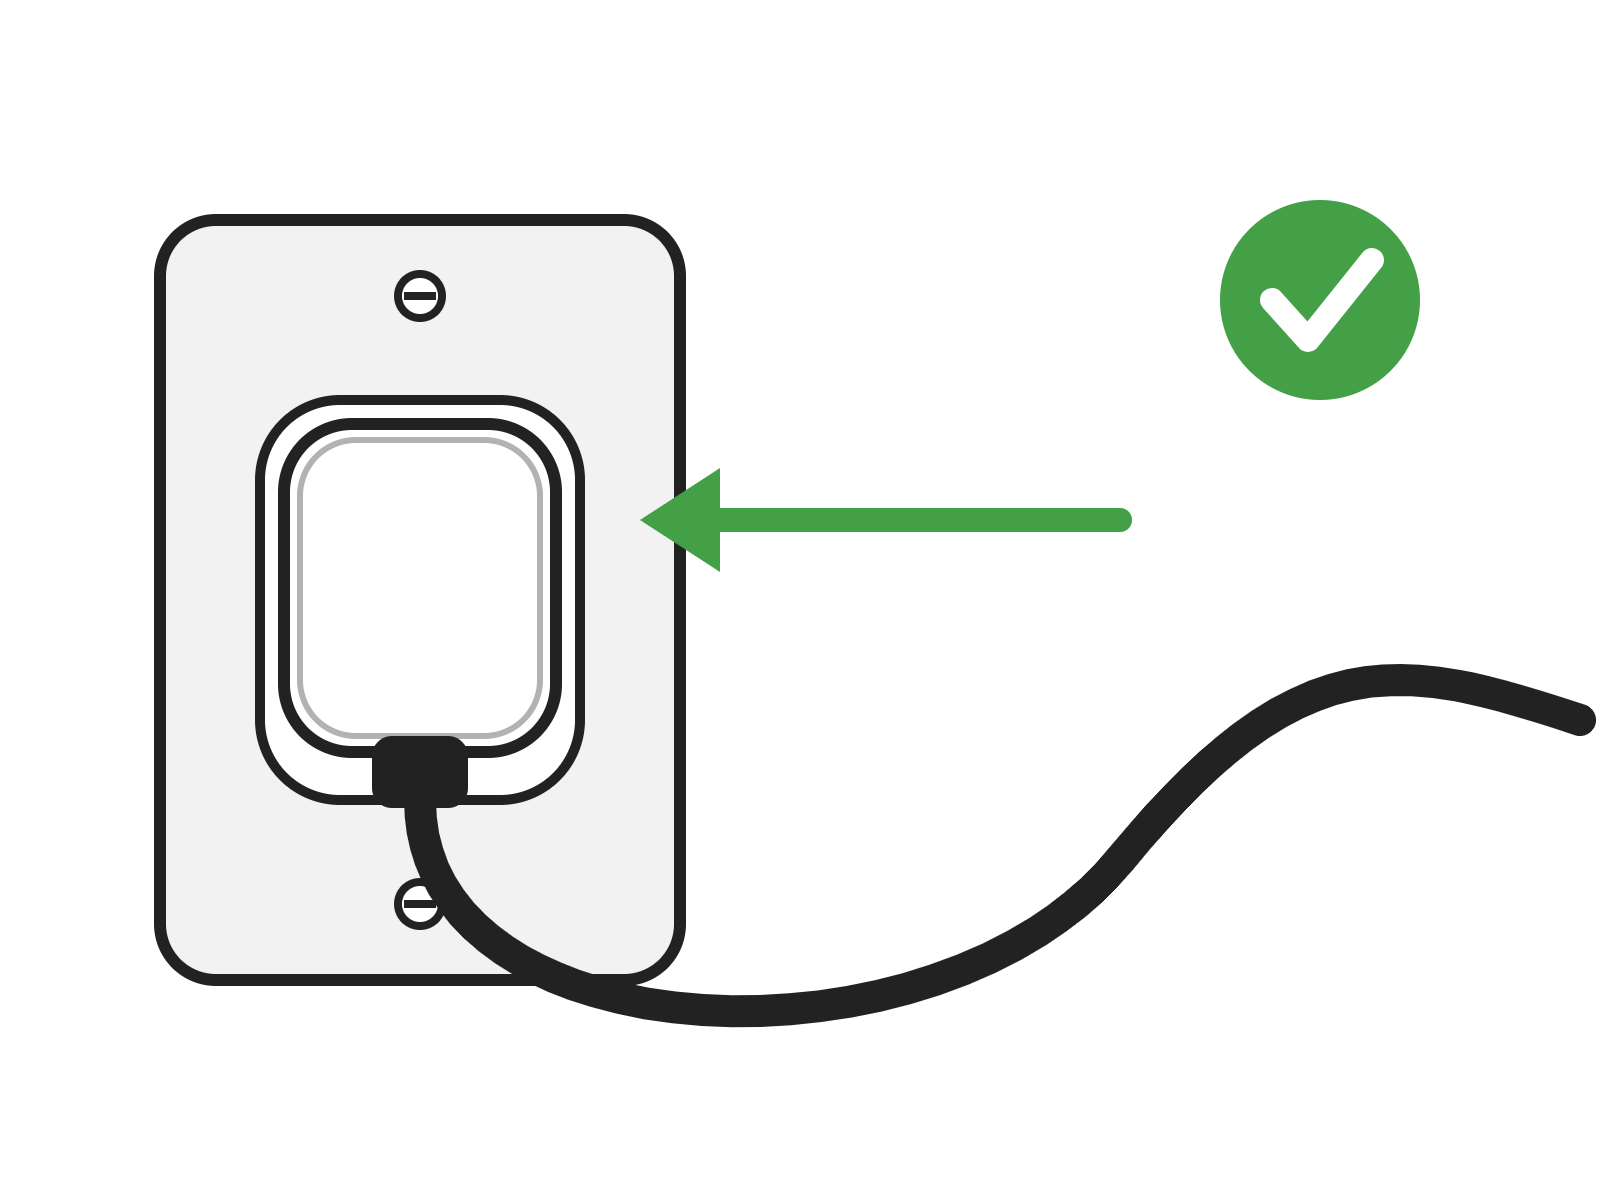
Reconnect Power and Test
Plug the power cord back in, turn on the engraver and check that it completes its startup sequence.