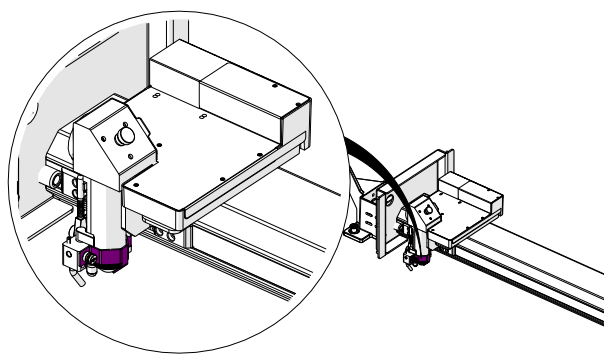
Maintaining and replacing the lens tube on your Epilog laser system is a straightforward process that ensures optimal performance and engraving quality. This guide provides step-by-step instructions—with visuals—for safely removing and reinstalling the lens tube. Be sure to follow each step carefully to prevent damage to the components.
Removal:
-
Loosen the lens clamp with a Phillips head screwdriver.
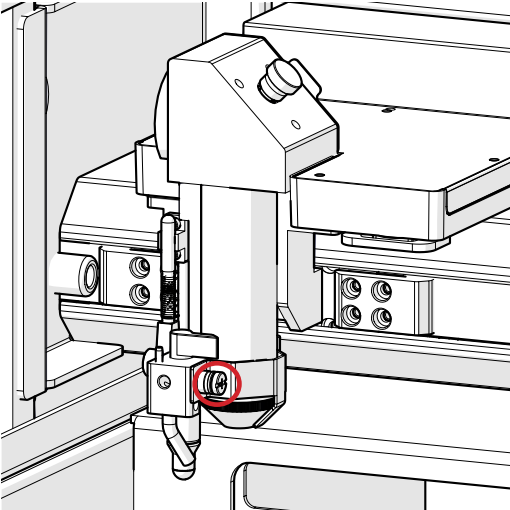
- Hold the lens tube in place to prevent it from falling out.
-
Remove lens tube.
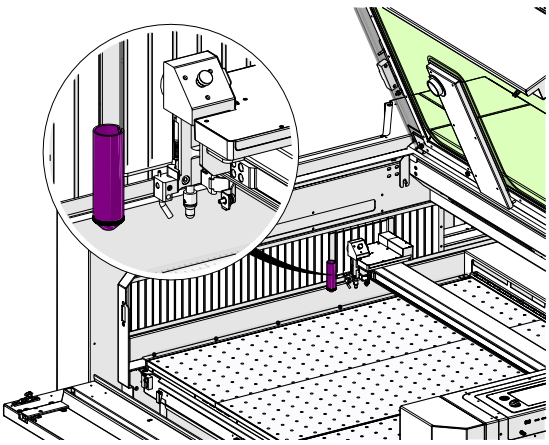
Installation:
-
Align slot on lens tube with rear of laser.
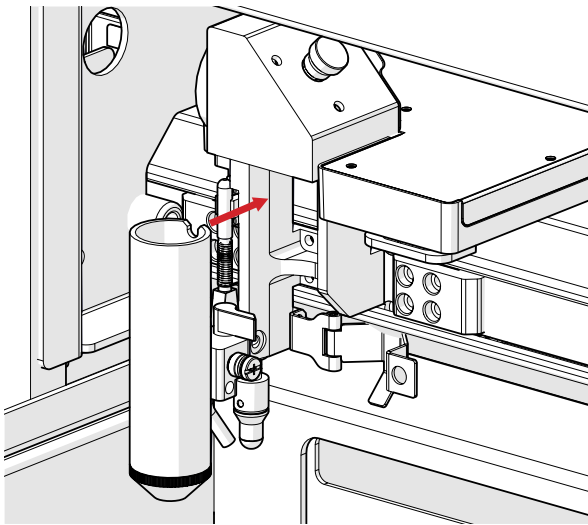
Note: Make sure the lens is seated properly. It should lock into place and not spin.
-
Tighten the lens tube clamp with a Phillips screw driver.