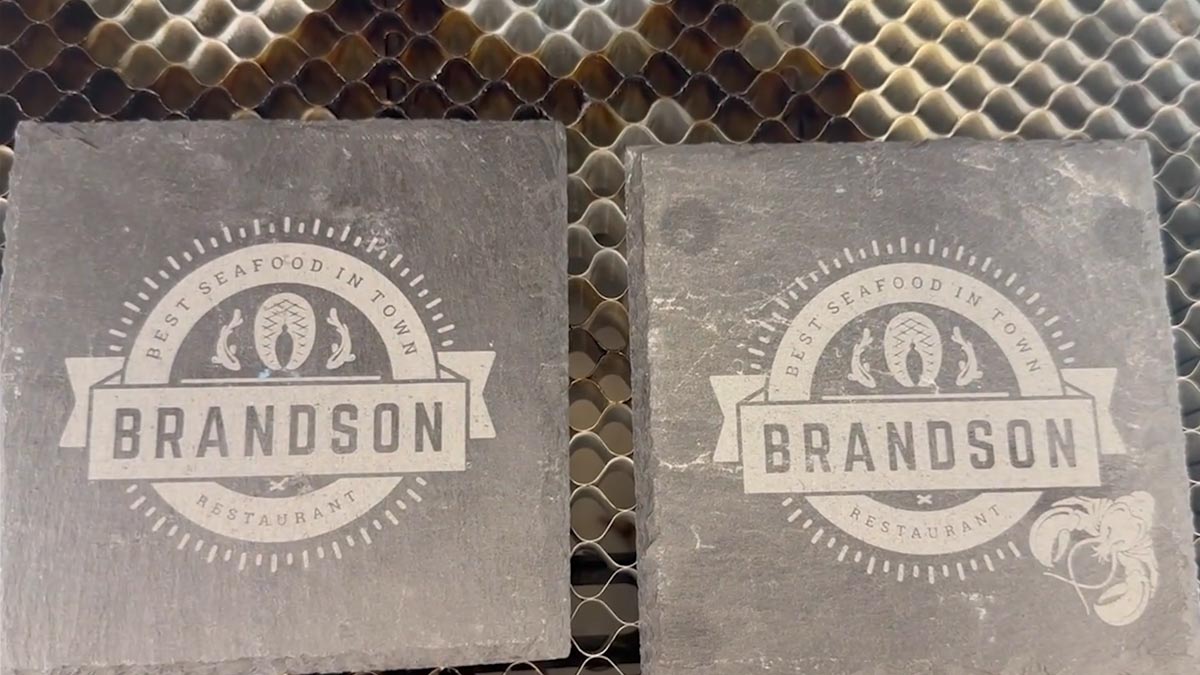
The Center Engraving feature on your Epilog Laser system provides a variety of methods of centering your artwork on your materials. This feature is particularly helpful for centering your design on uniquely shaped or asymmetrical pieces. Here we’ll discuss two of the most common ways to use this feature: Center-Center and Custom-Center Engraving. We will also cover how to find the center point on your piece, when to use each selection, and how to achieve the most visually appealing results for two versions of the same logo.
Using Center-Center
There are many ways to use Center Engraving on the Epilog Laser Dashboard.
Let’s take a logo we want to engrave at the center of a coaster.
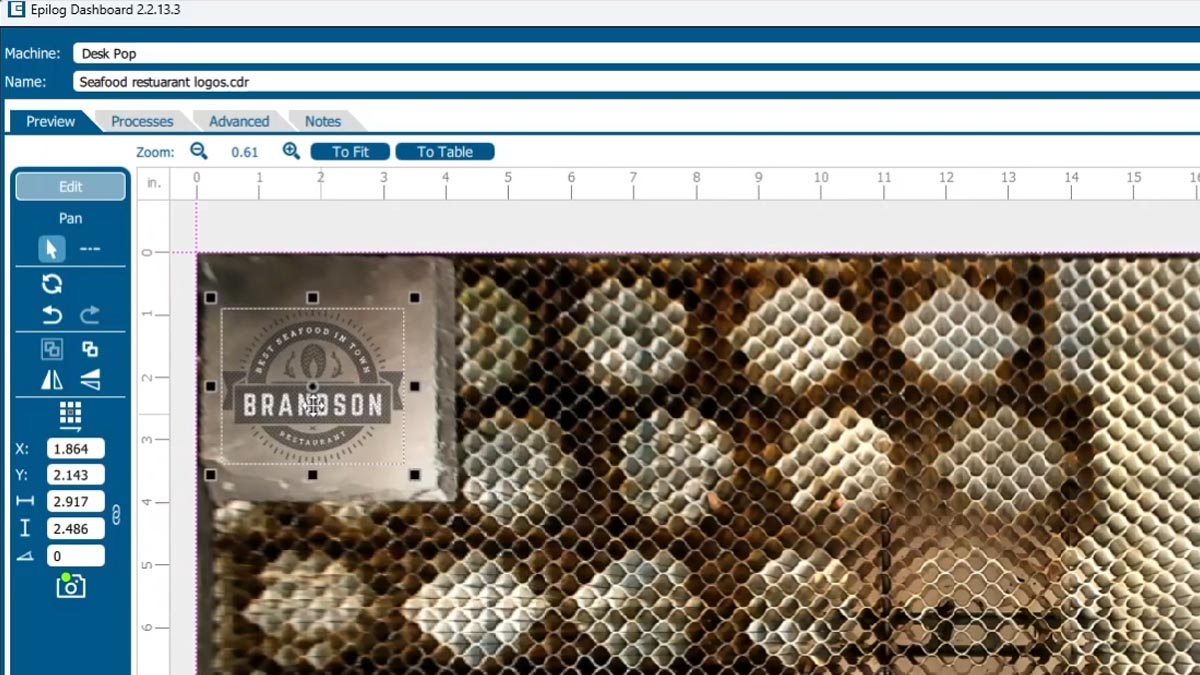
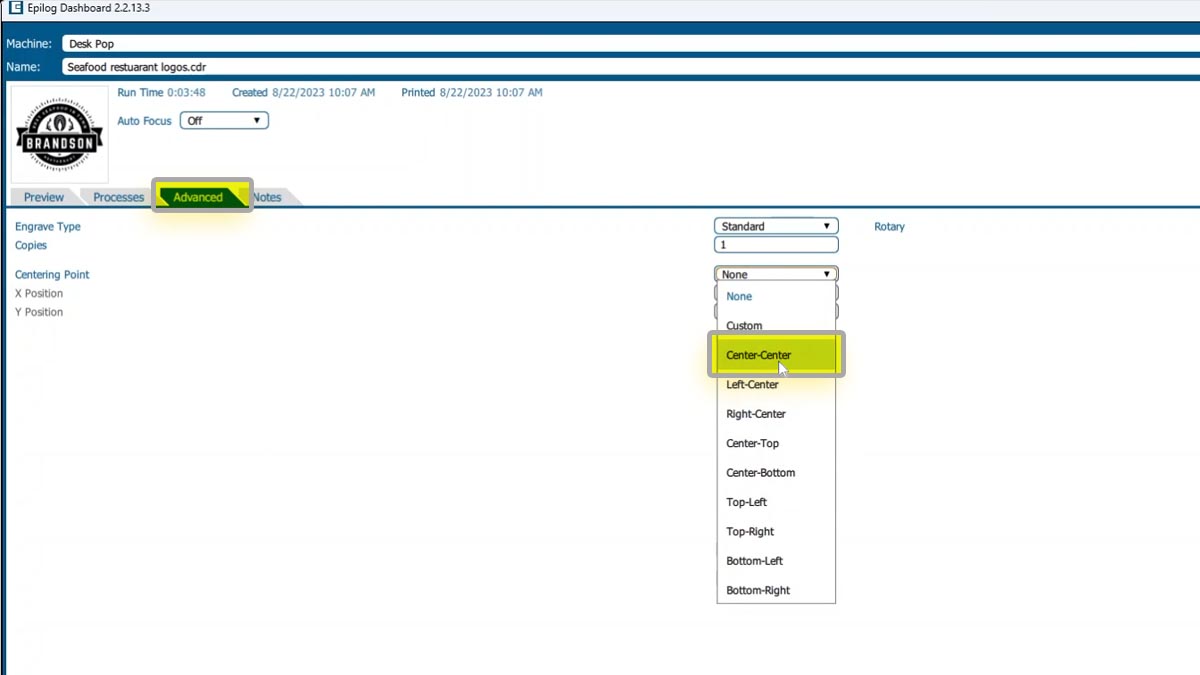
In the Epilog Dashboard, choose the Advanced Tab.
Next to Centering Point you’ll see a list of all of options.
We’ll choose Center-Center.
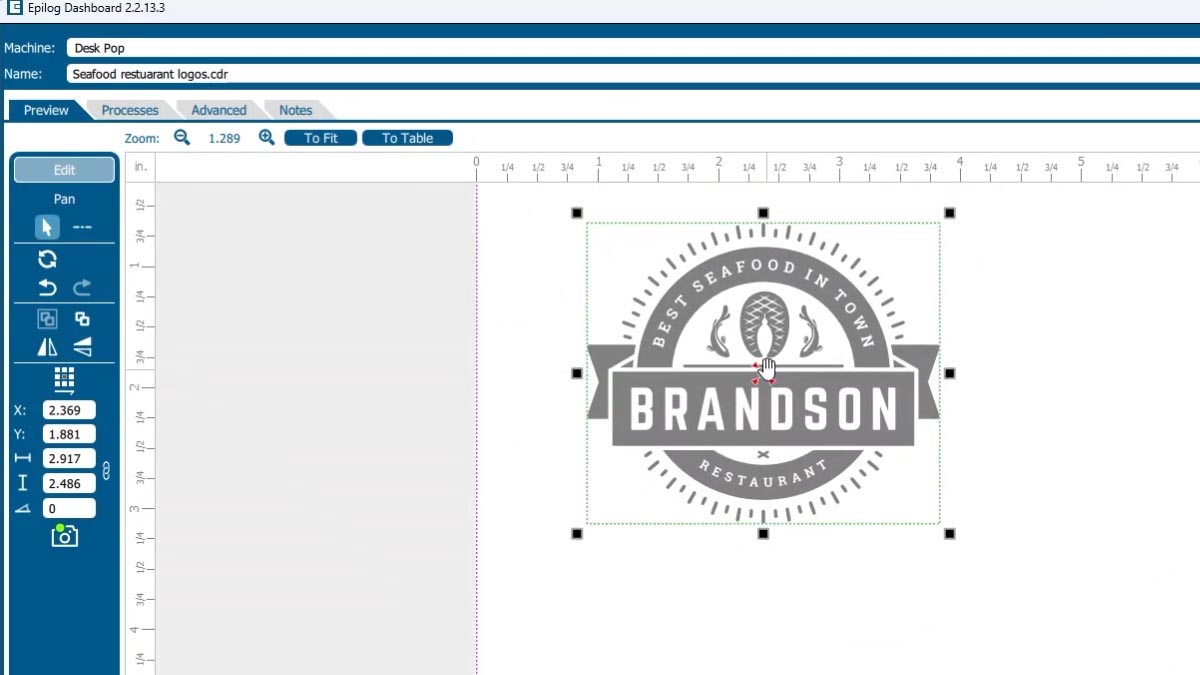
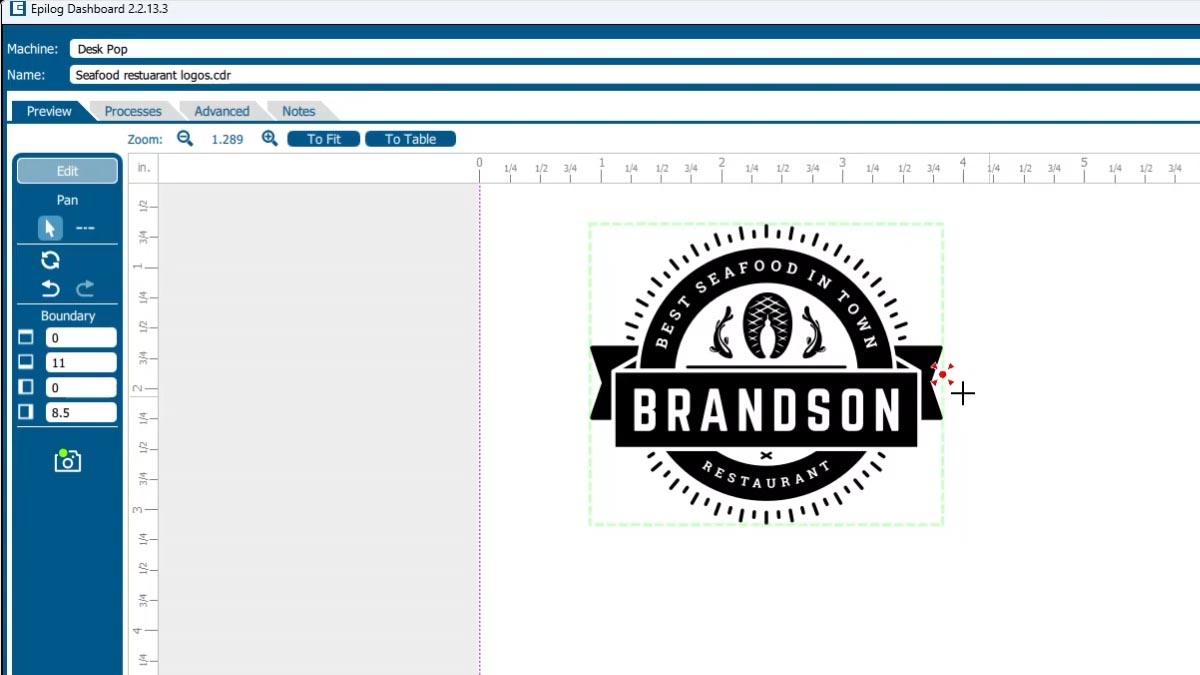
We can now see a red dot placed at the center point of the graphic.
We’ll choose our material settings and print it to the laser.
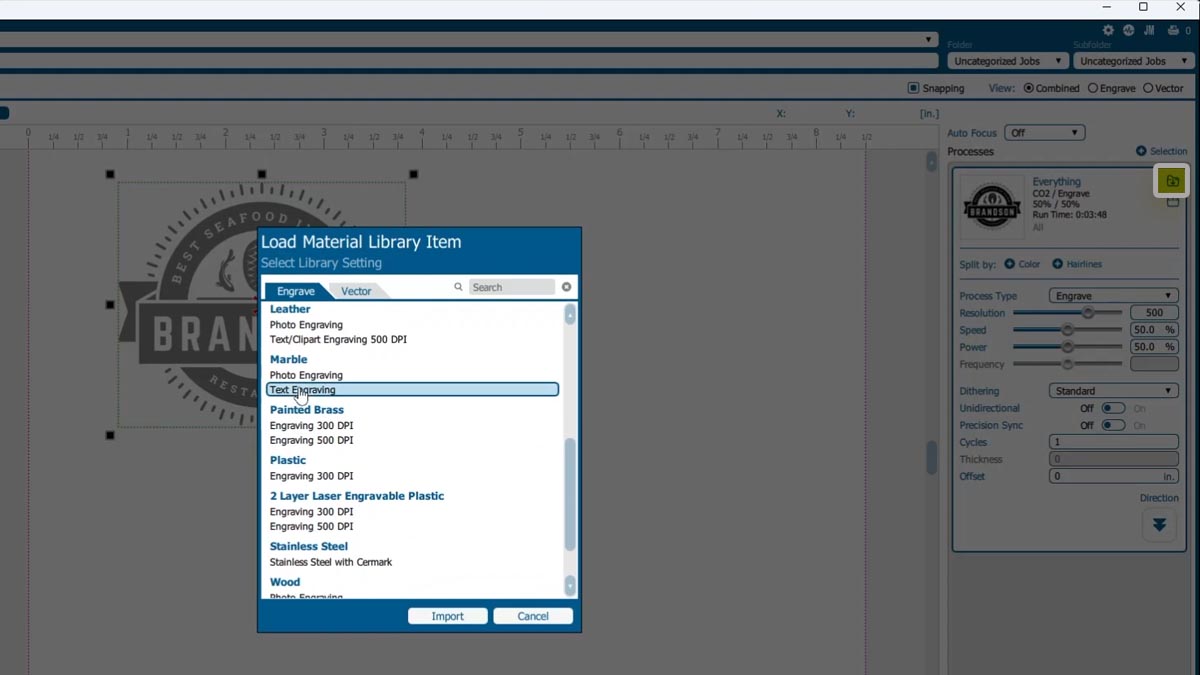
Position with Joystick
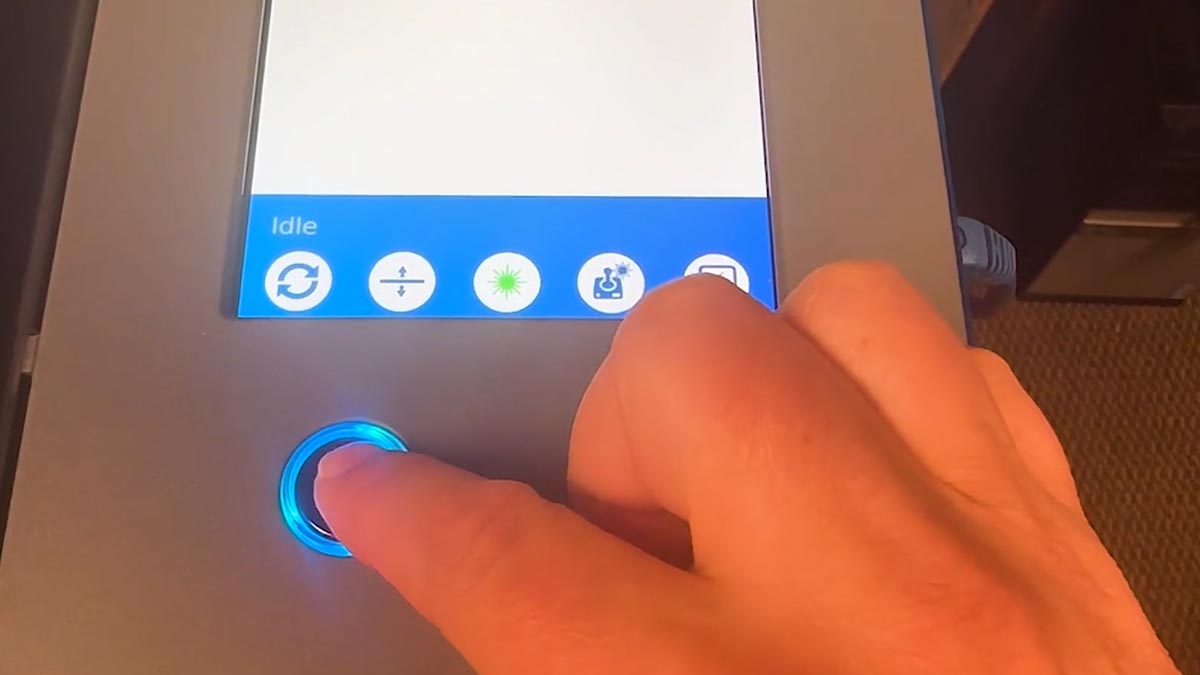
At the laser choose the Joystick icon.
The coaster is 4” x 4”, so set the Move To dimension to 2” and 2”.
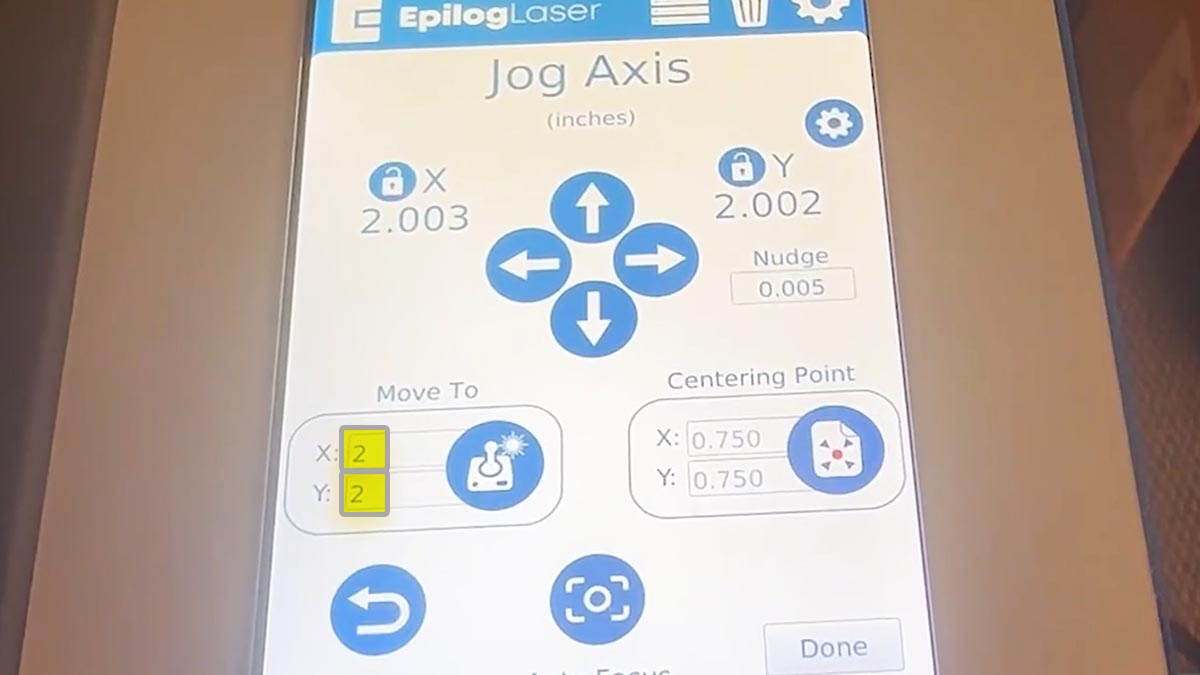
Click the joystick icon to move to this setting.
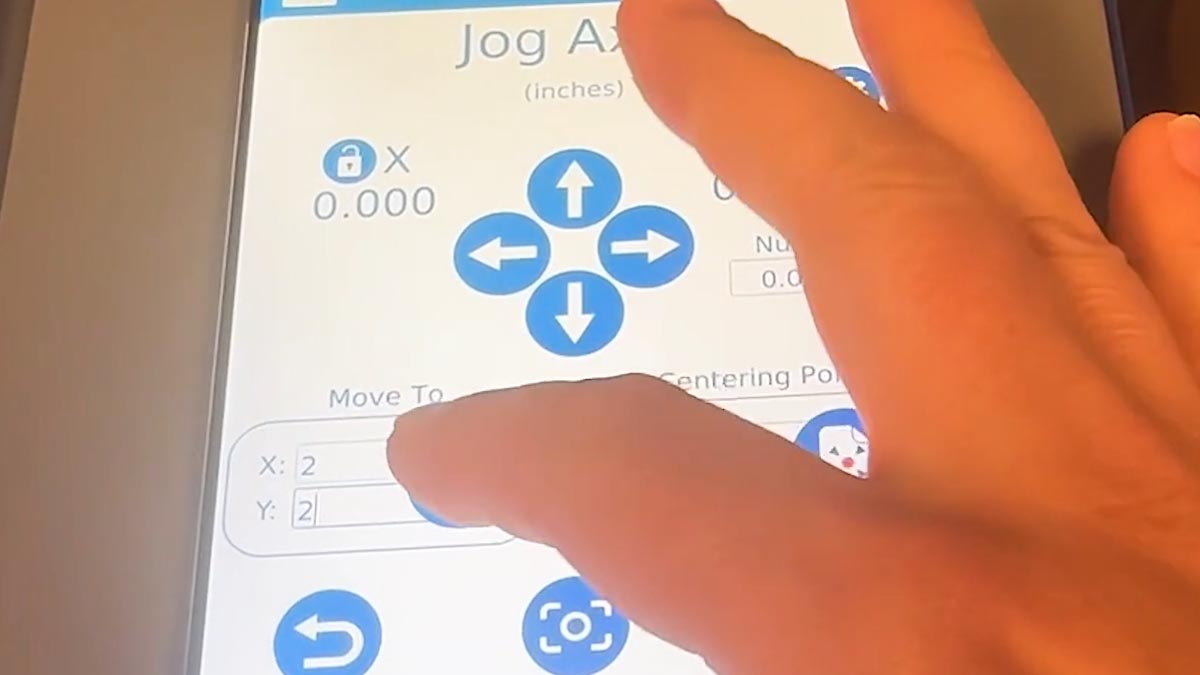
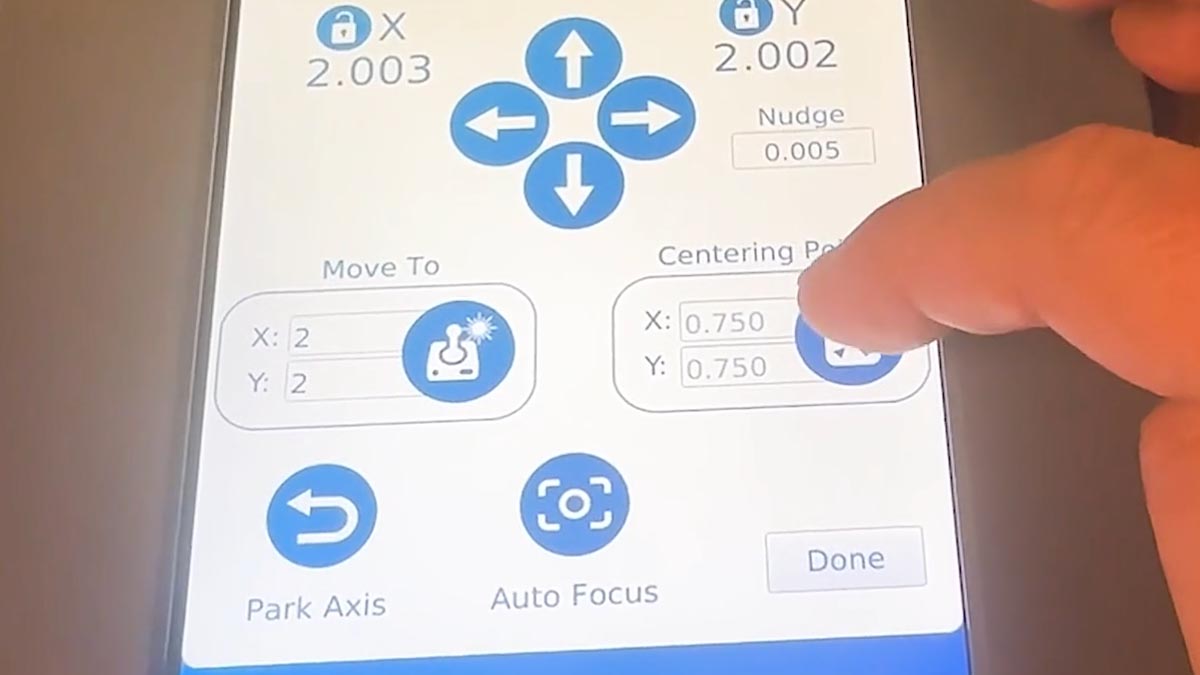
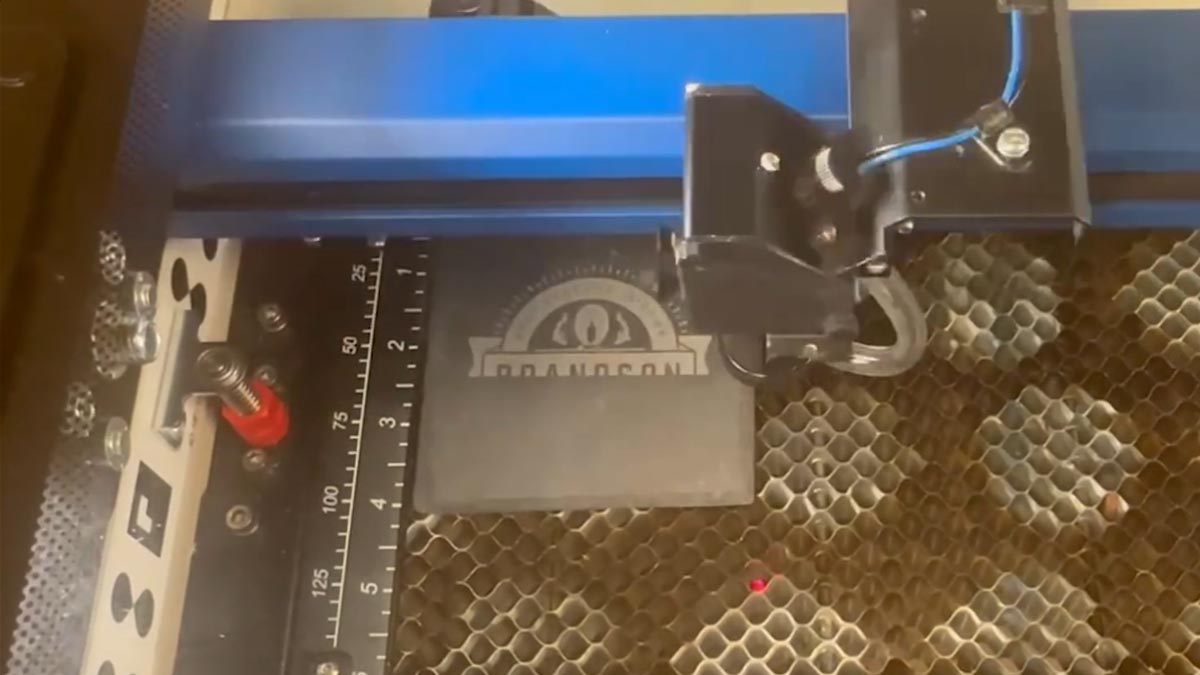
Click the center icon to match the Centering Point to 2” x 2”.
With your job selected, press the Go button.
Using Custom Center
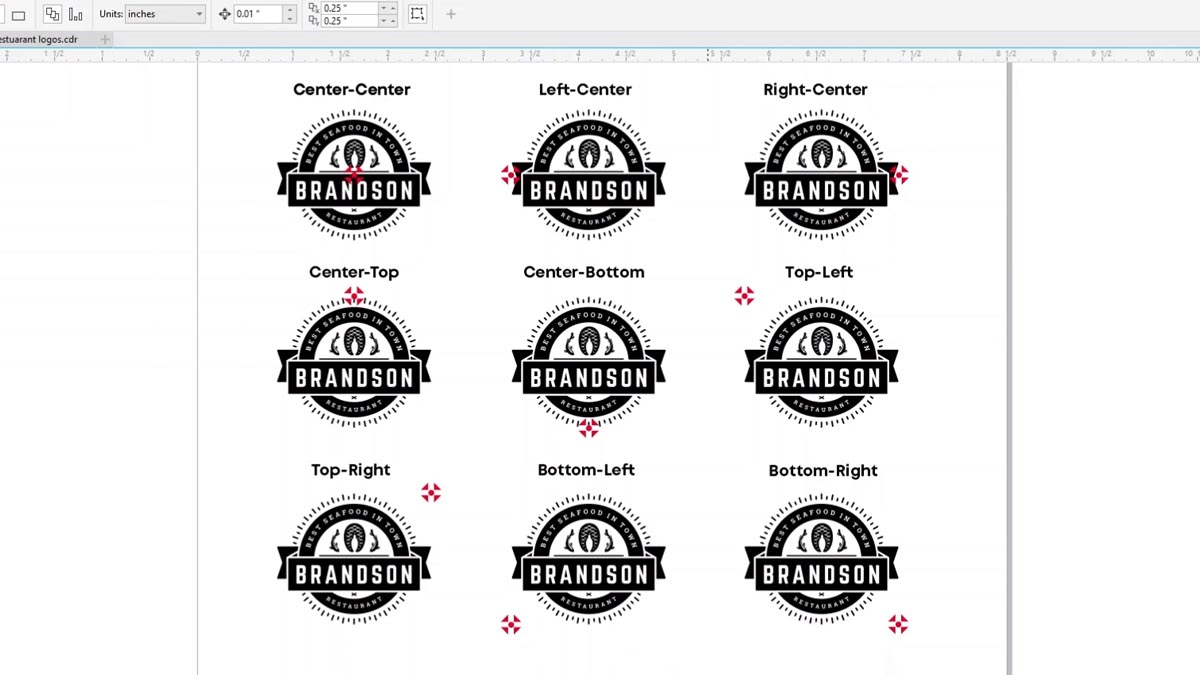
You can see the variety of places you can set your center point depending on your item to be engraved.
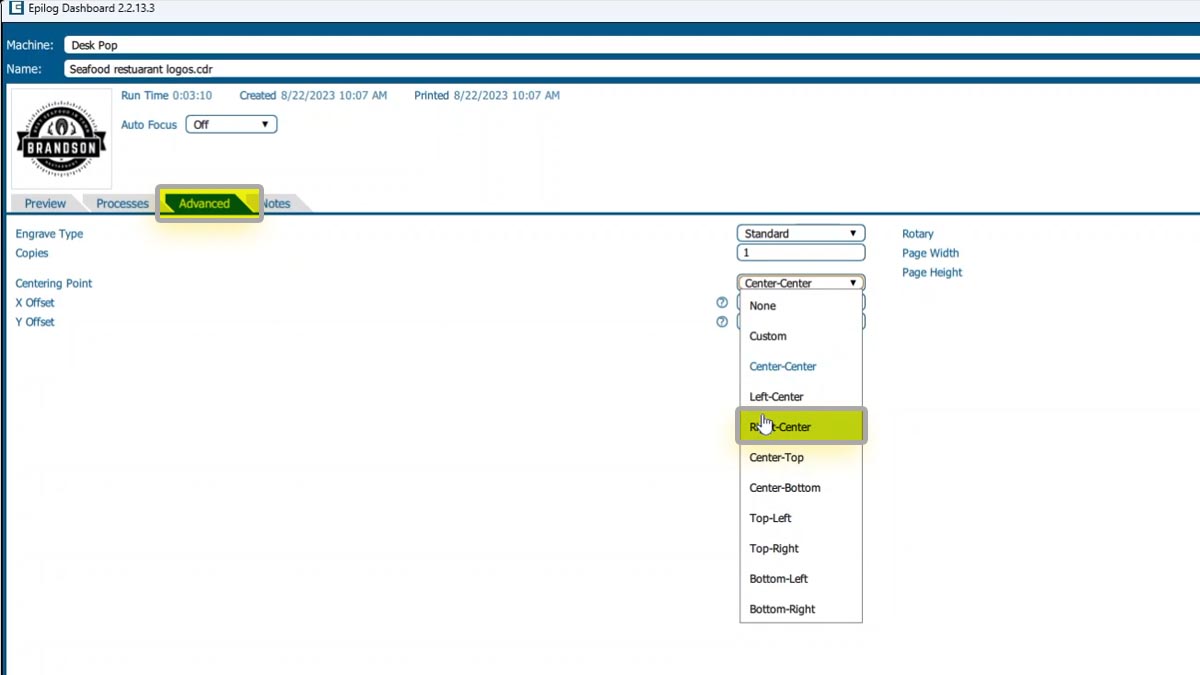
You can choose Left-Center, Right-Center, or many others.
Back in the Epilog Dashboard if we change to Right-Center, the red dot representation changes on screen as well.
Our customer changed their logo to add a lobster to the right side of the circle.
If we use Center-Center engraving, the artwork placement will be off.
We want the center point to be at the center of the circle, not the whole artwork.
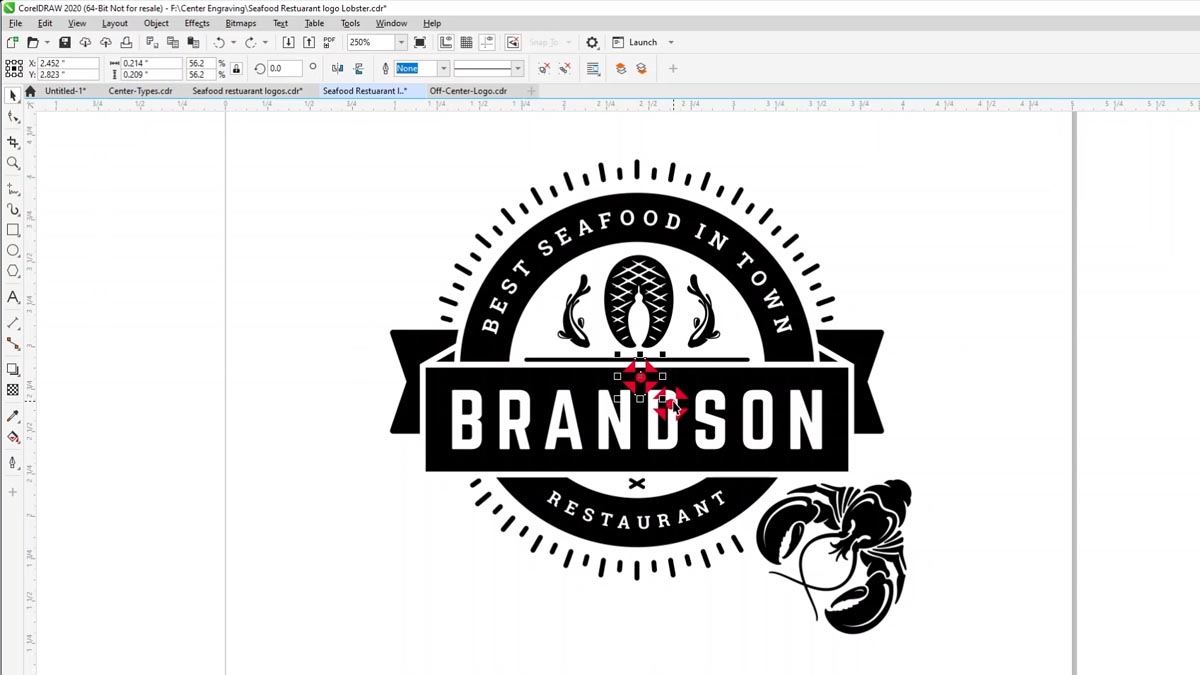
To find the center point we want to use, ungroup the artwork.
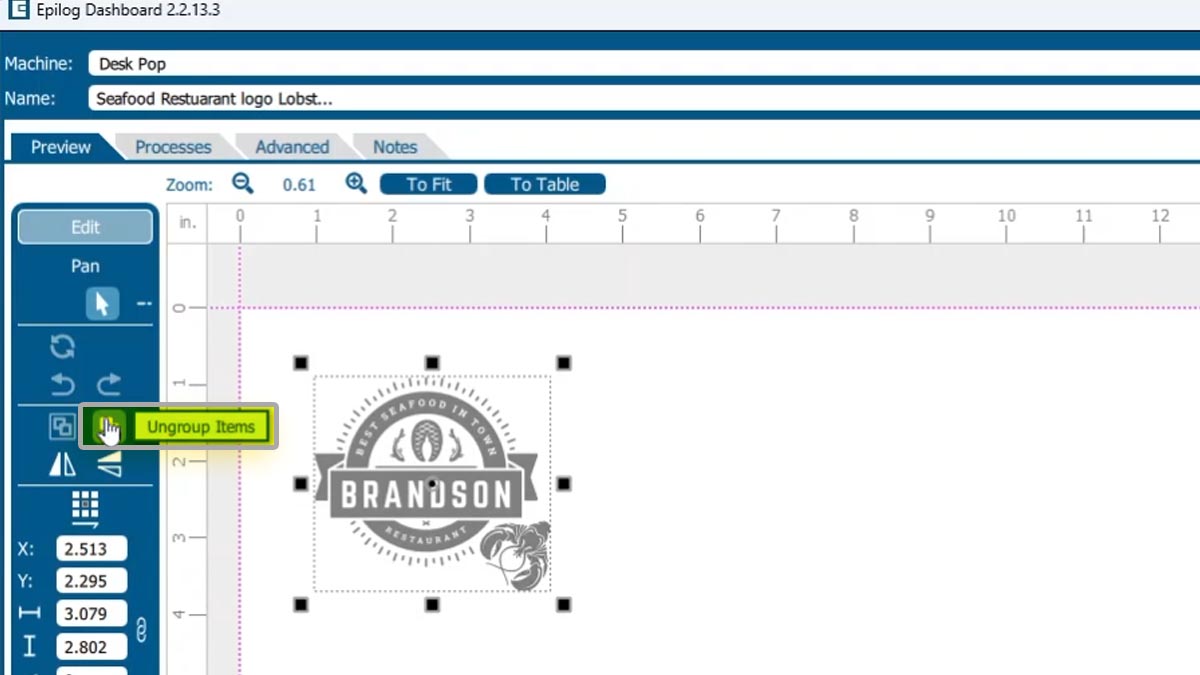
Select just the circle logo without the lobster.
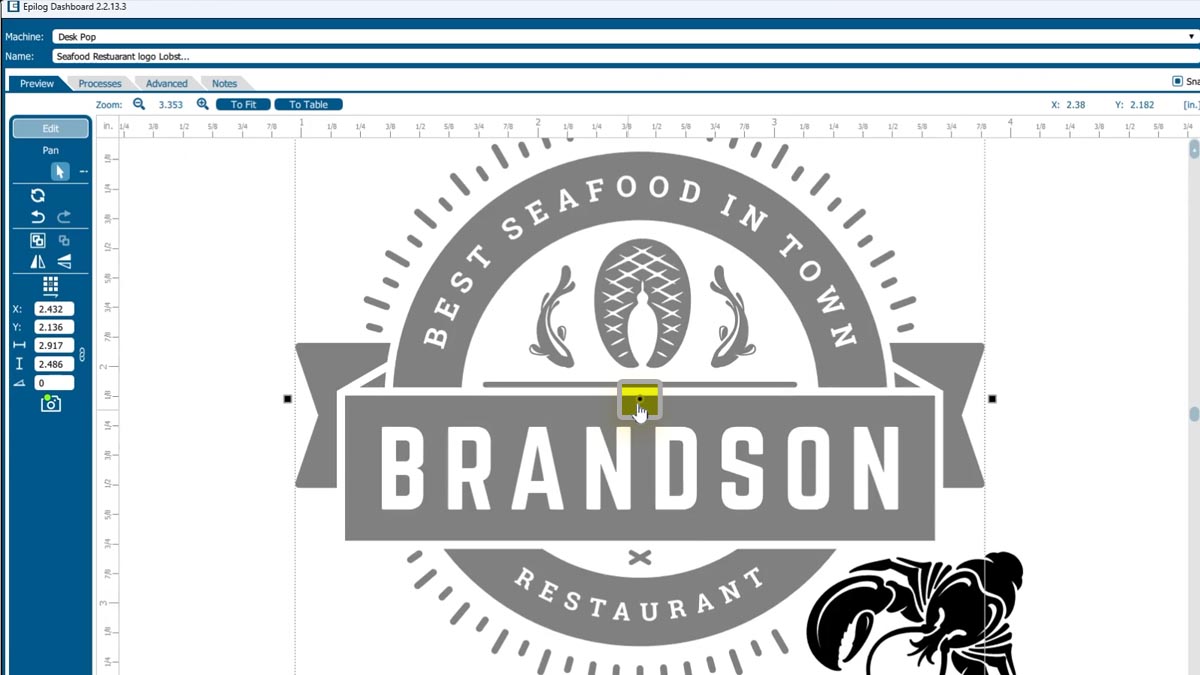
Place the cursor over the center point and we can see the X Y coordinates.
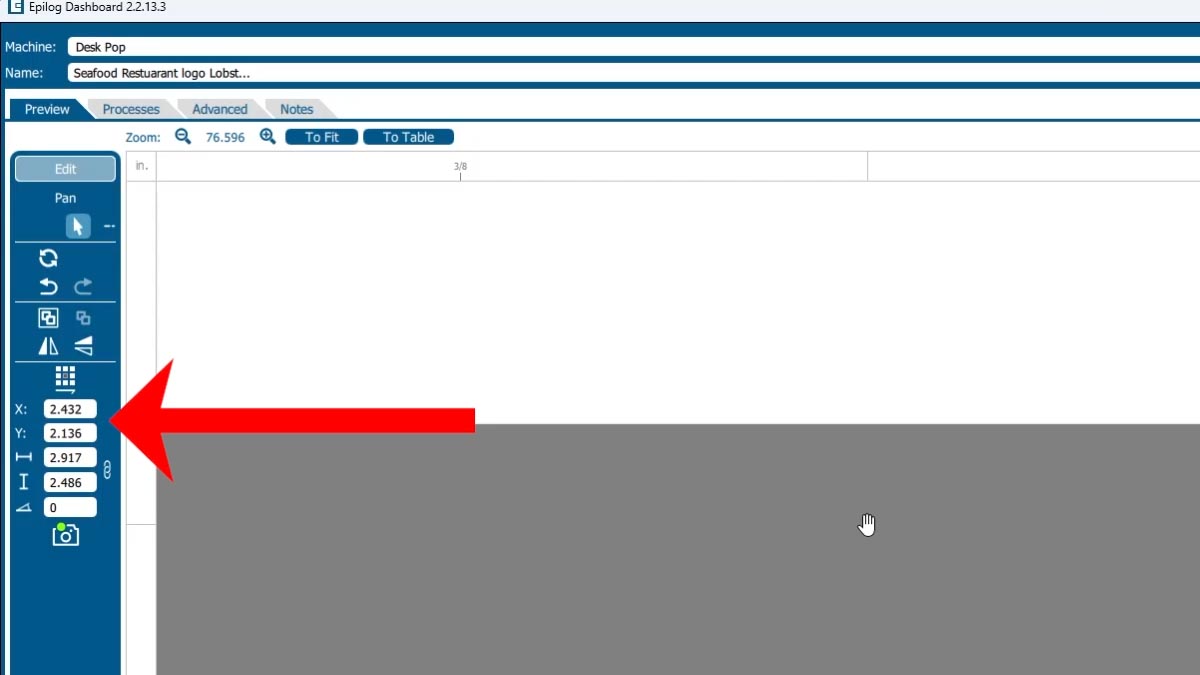
If we choose Custom Center, we can match these coordinates.
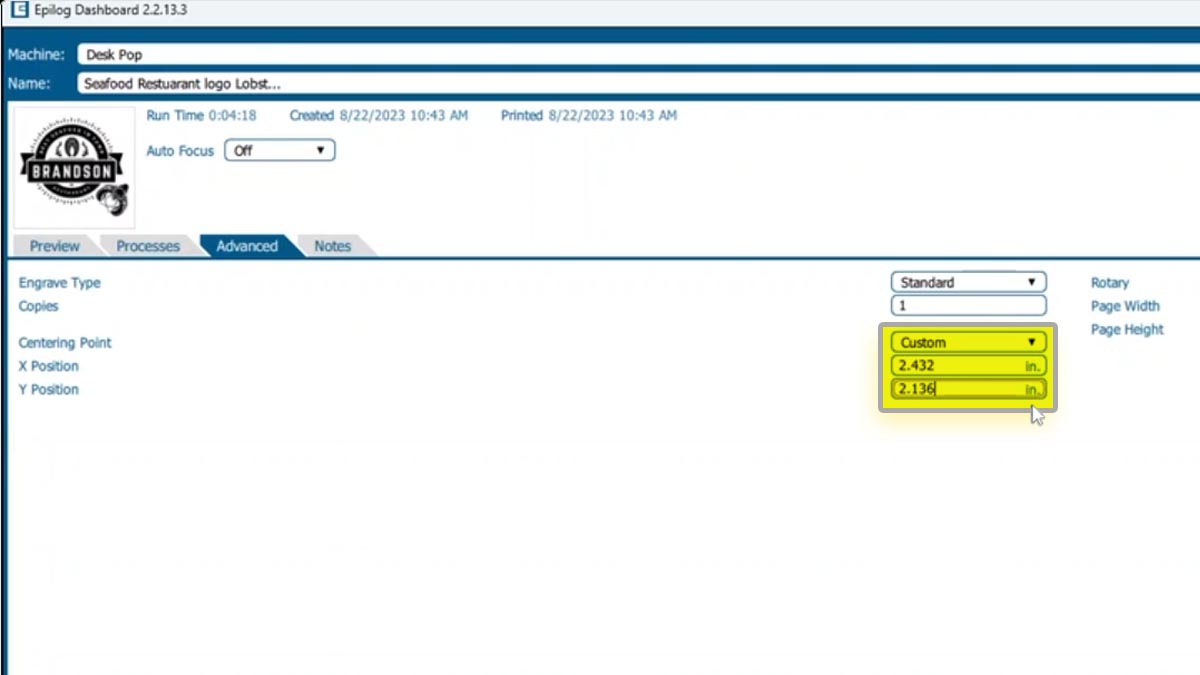
Now the Red Dot is at the center of our graphic and will engrave around point.
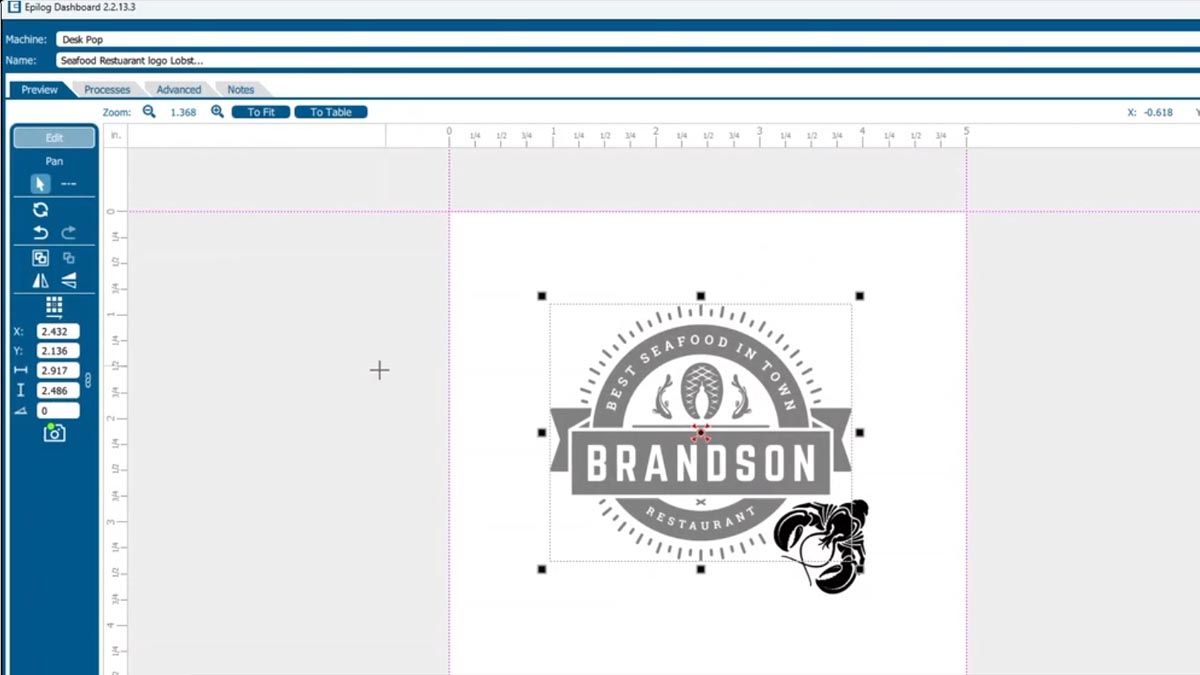
Our center point is still correct, so select the new job and press the Start button.
Now we can see both our old and new logo, both perfectly engraved!
