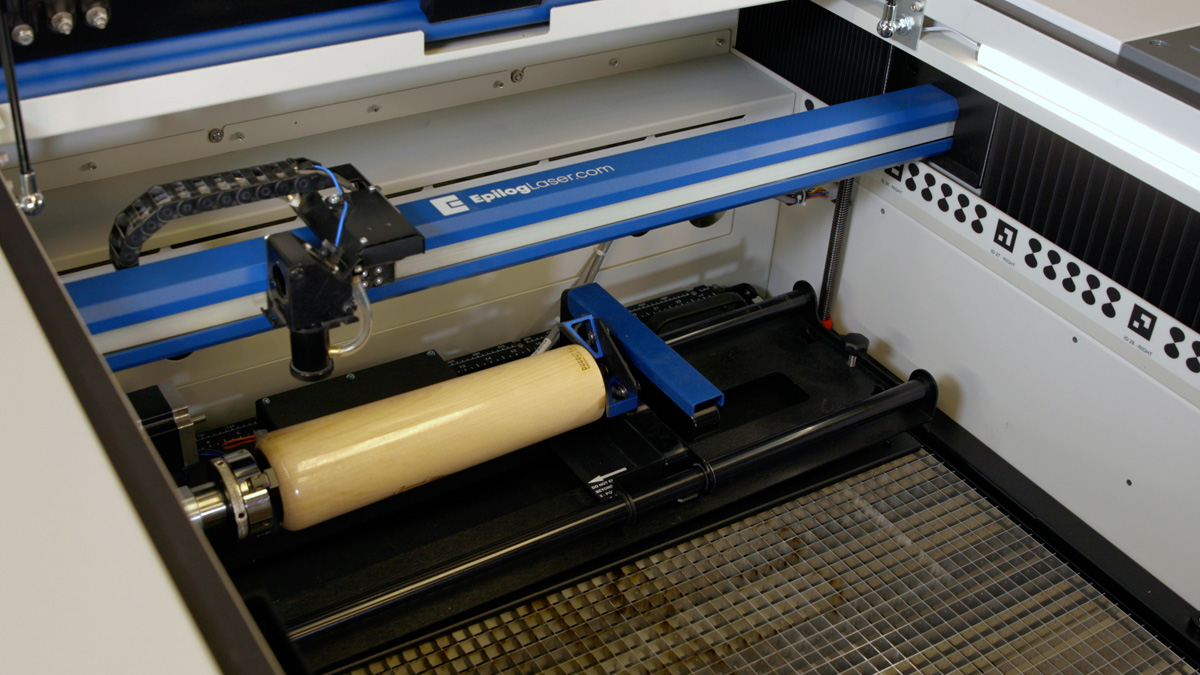
The 3-Jaw Chuck style Rotary Attachment is an extremely versatile tool for marking and engraving cylindrical objects. It comes with a variety of interchangeable components that make it easy to hold different sized and shaped cylinders. In this lesson, we’ll take a look at how to properly install, operate, and uninstall the 3-Jaw Chuck Rotary.
Installing the 3-Jaw Chuck
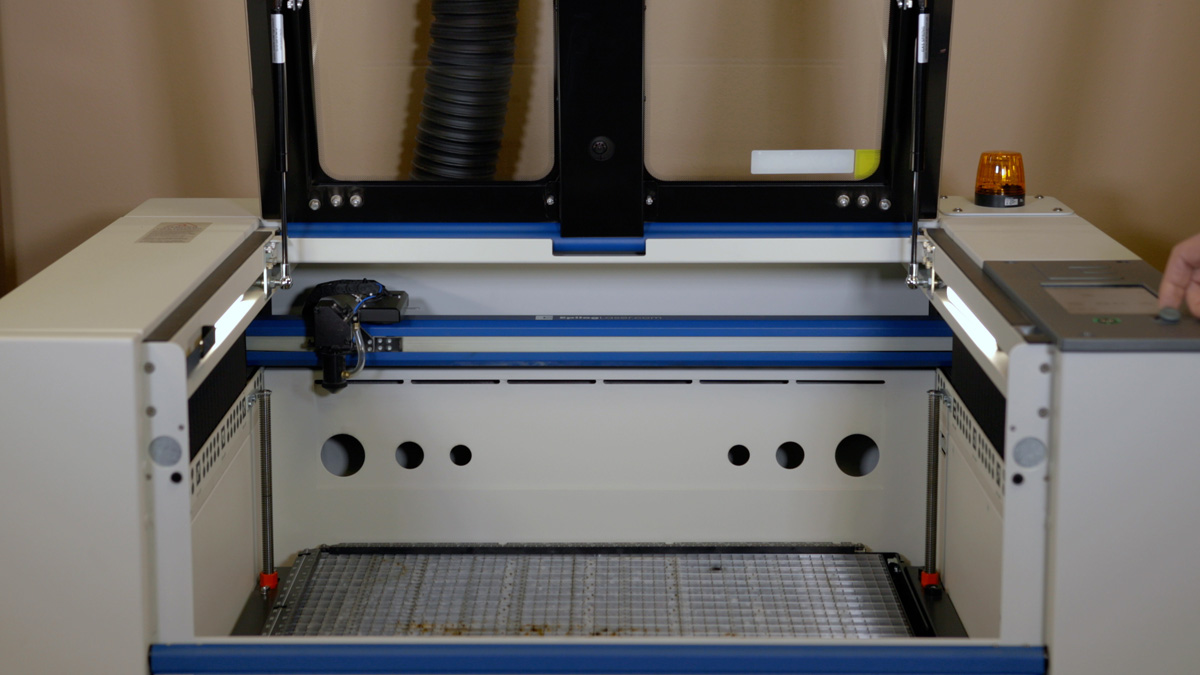
Before we get started, we will need to lower the laser table far enough to accommodate the 3-Jaw Chuck Rotary Attachment
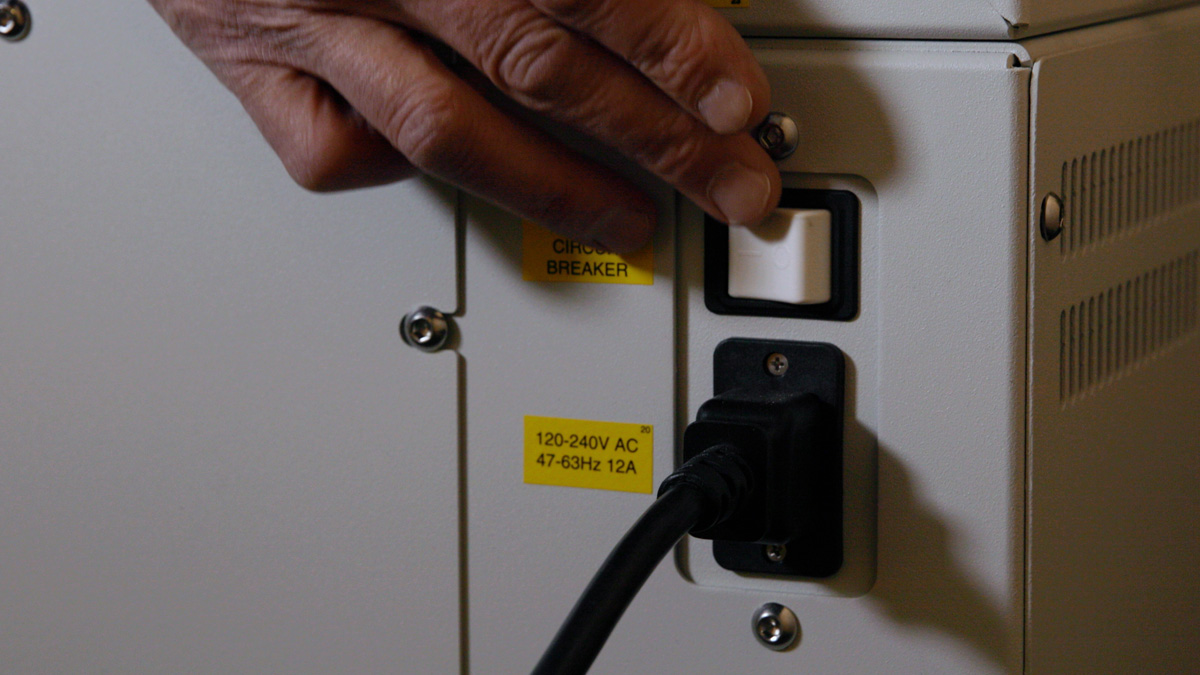
Once the table is low enough, power off the machine.

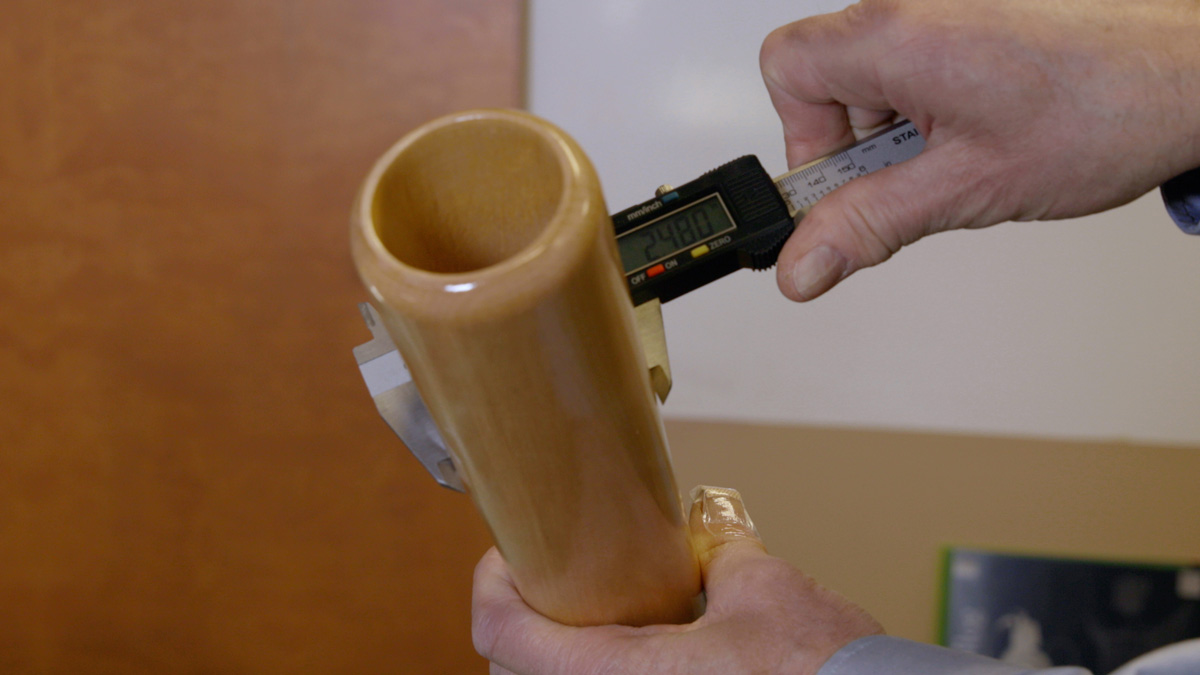
Measure & record the diameter of the cylinder you plan on engraving; you will need this measurement later when setting up your parameters in the print driver.
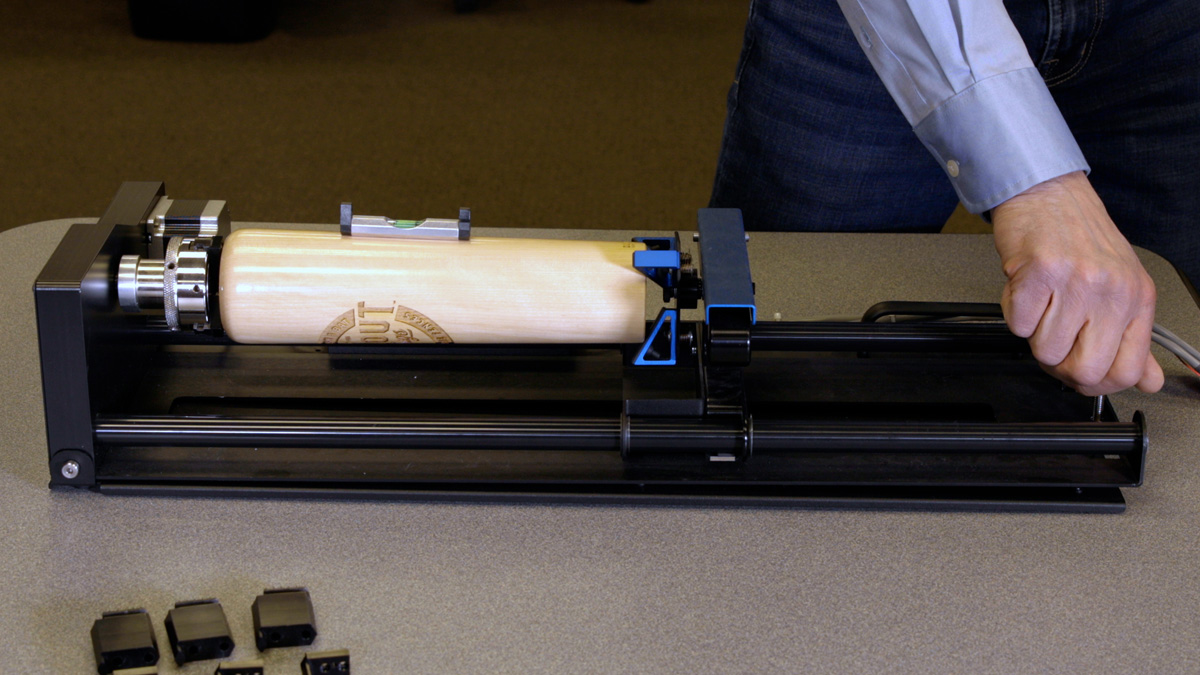
To adjust the Rotary for the cylinder length, depress the blue anodized idle-side handle to move the support mechanism left or right to accommodate for different length cylinders.

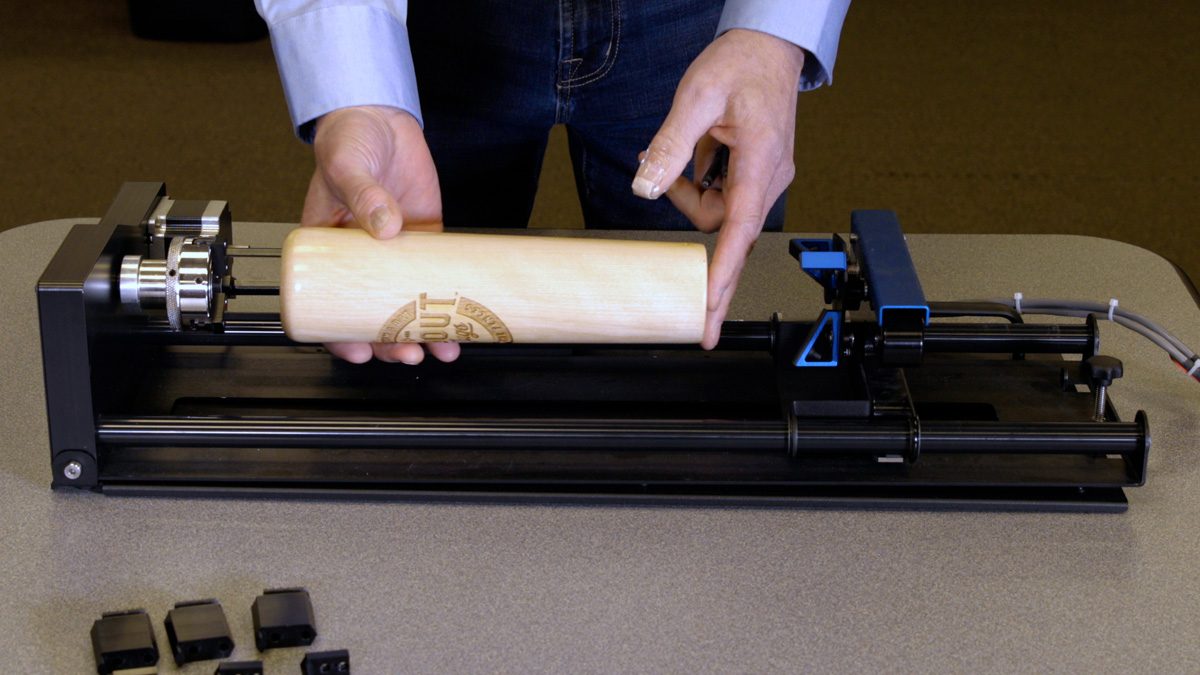
Select the appropriate jaw sizes, fixture plates and / or centering devices to fixture your cylinder in place in the rotary.
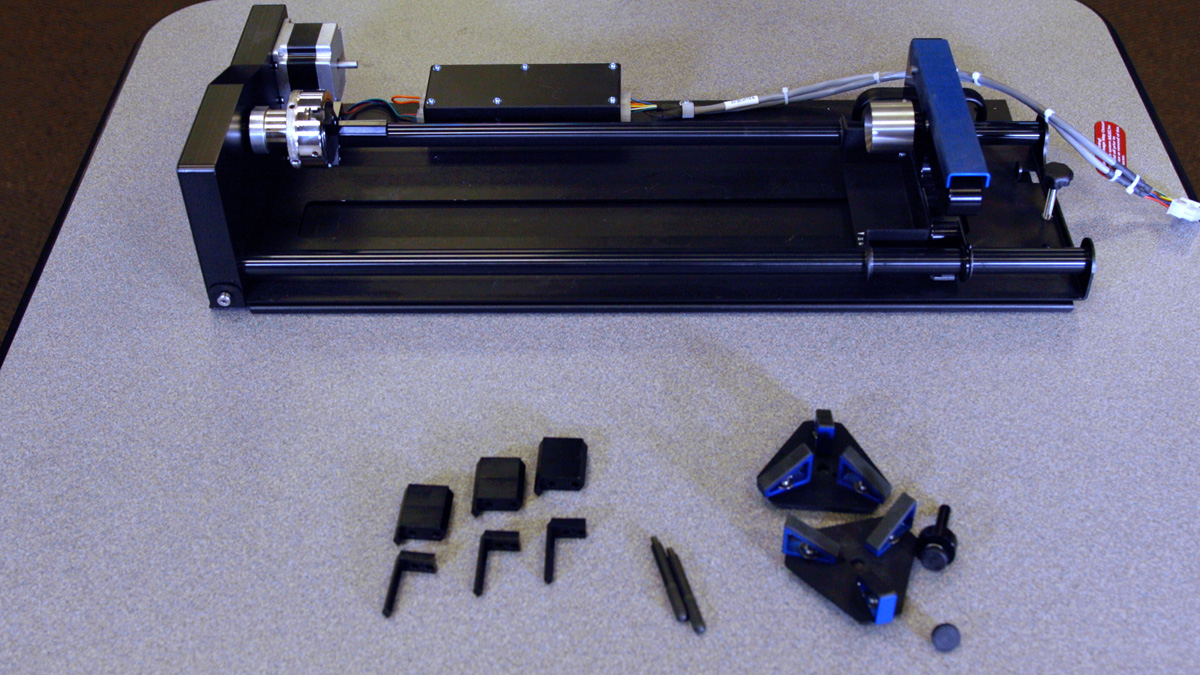
The following fixture plates and additional components are included with all 3-Jaw Rotary Attachments:

-
- Fixture plates (2 each)
-
- Idle-side centering fixture (1 each)
-
- Plate spindle (1 each)
-
- Plate fixture thumb screws (2 each)
-
- 3-Jaw tightening pins (2 each)
-
- Chuck Jaws (3 each of 3 sizes for different diameter parts/components)
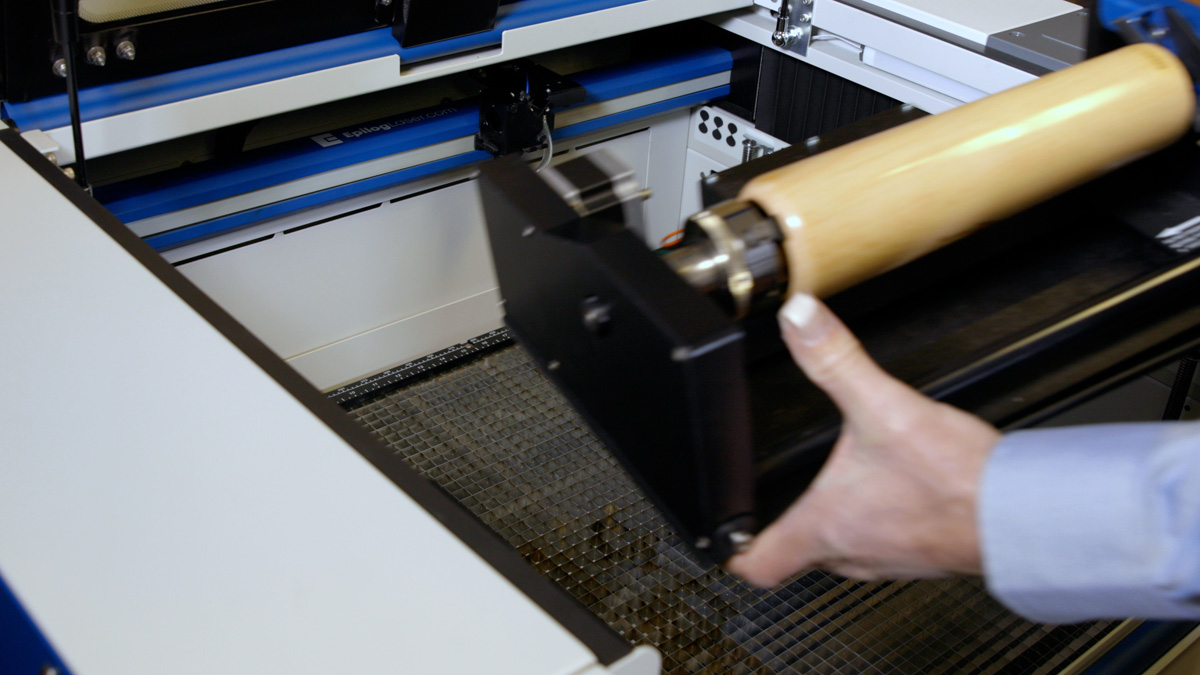
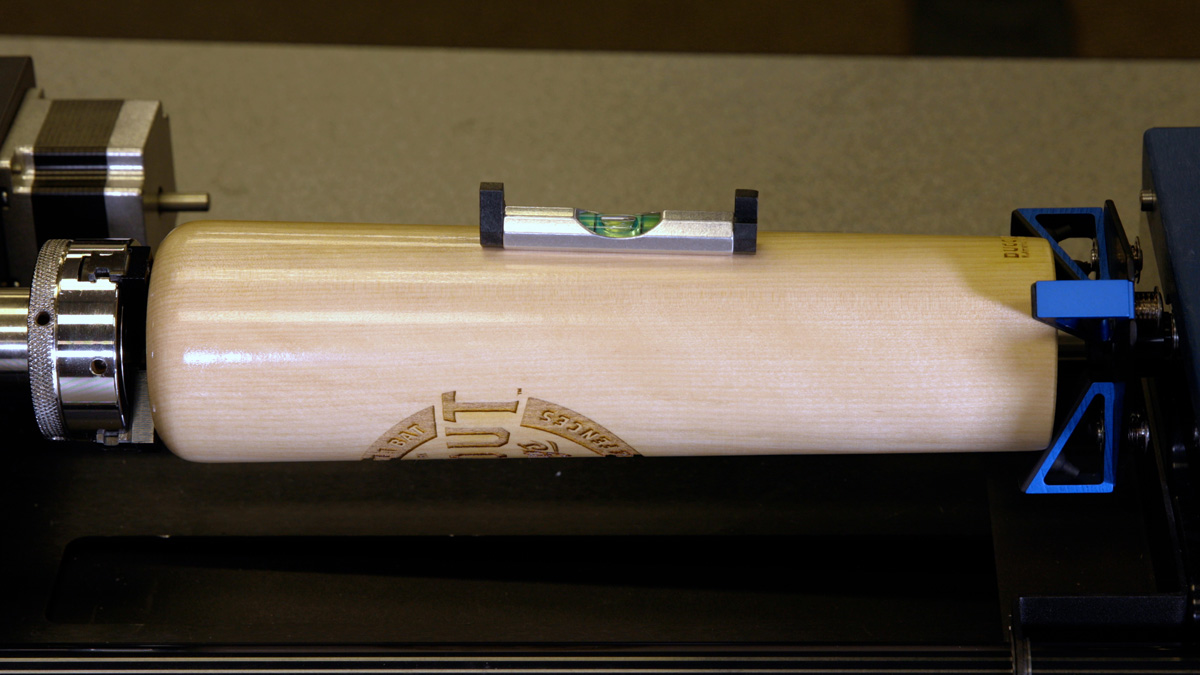
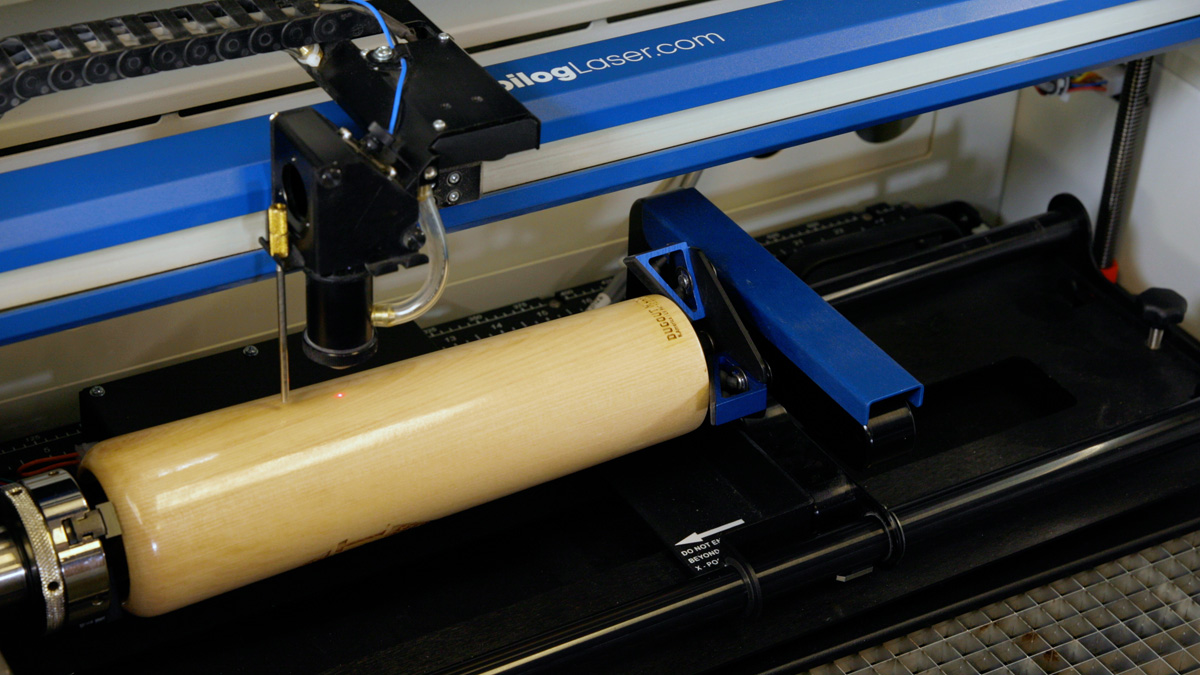
Insert the cylinder into the 3-Jaw Chuck and tighten the chuck so the cylinder is held firmly in place. Cylinders can be held from the inside diameter, or the outside diameter.
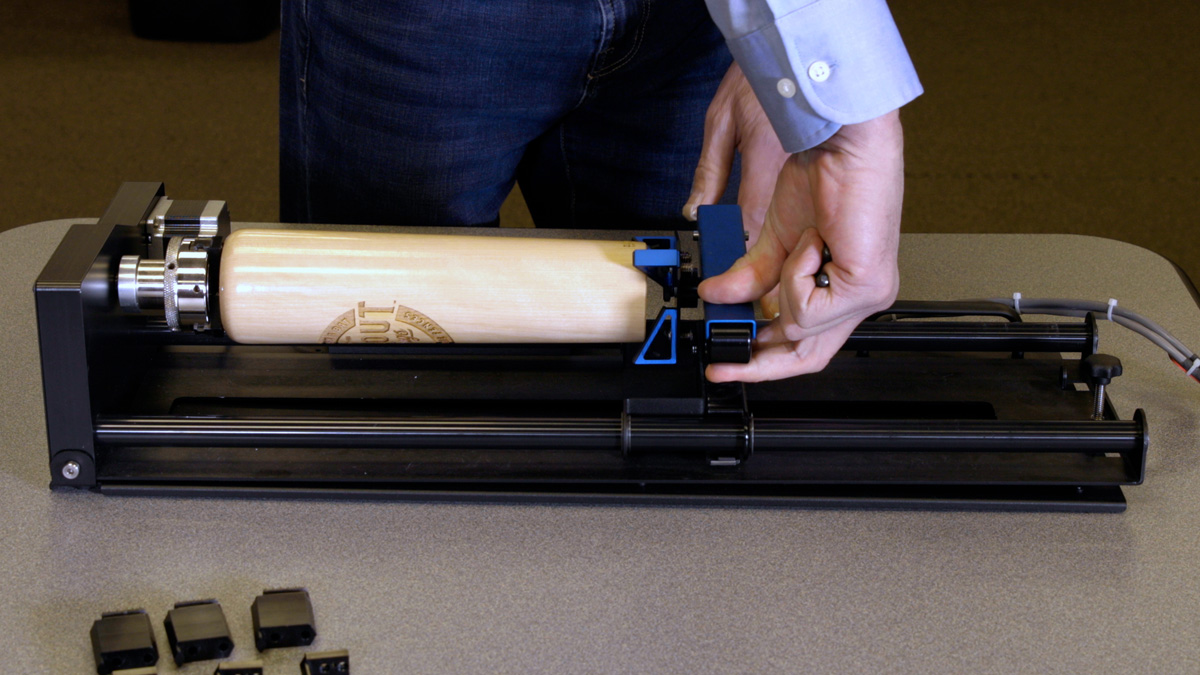
You will need to use the two tightening pins that are provided with the chuck in order to clamp the cylinder tightly into place.
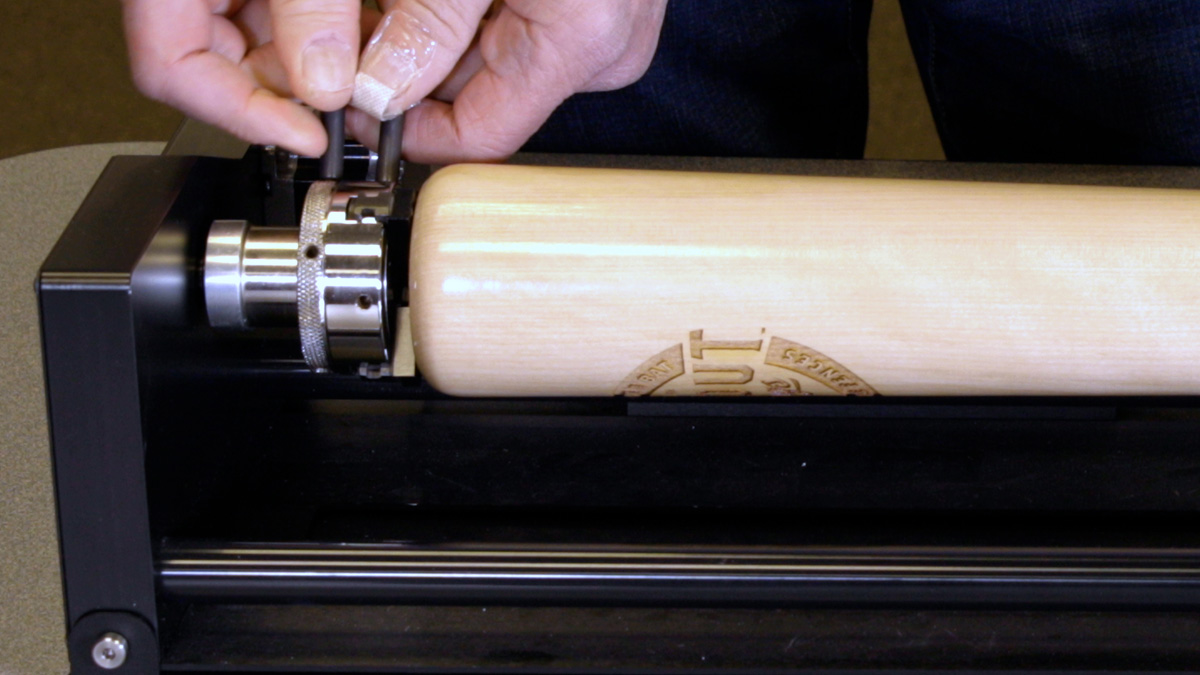
In some cases, you may need to turn the adjustment knob at the far right end of the 3-Jaw Rotary to lower or raise the right side of the cylinder, and ensure the engraving surface is perfectly level.
We recommend using a small level to ensure your rotary projects are set up properly.
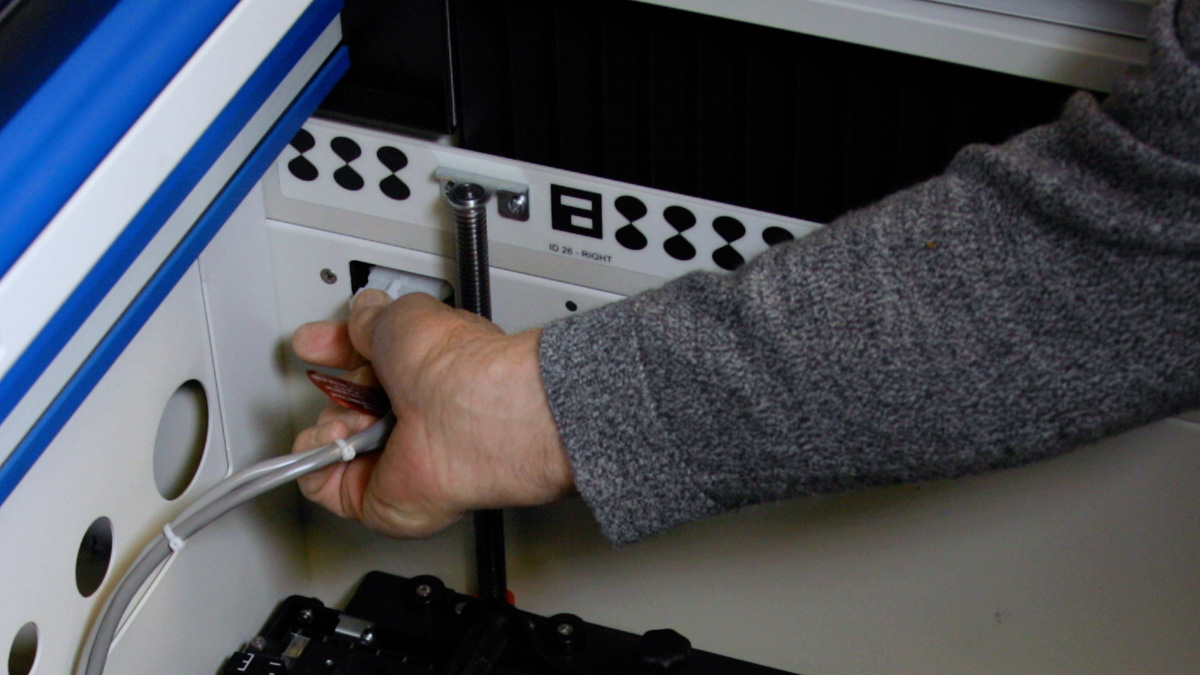
Plug in the Rotary Attachment and position it in the upper left corner of the table.

Using the 3-Jaw Chuck
Now you may power the laser back on.
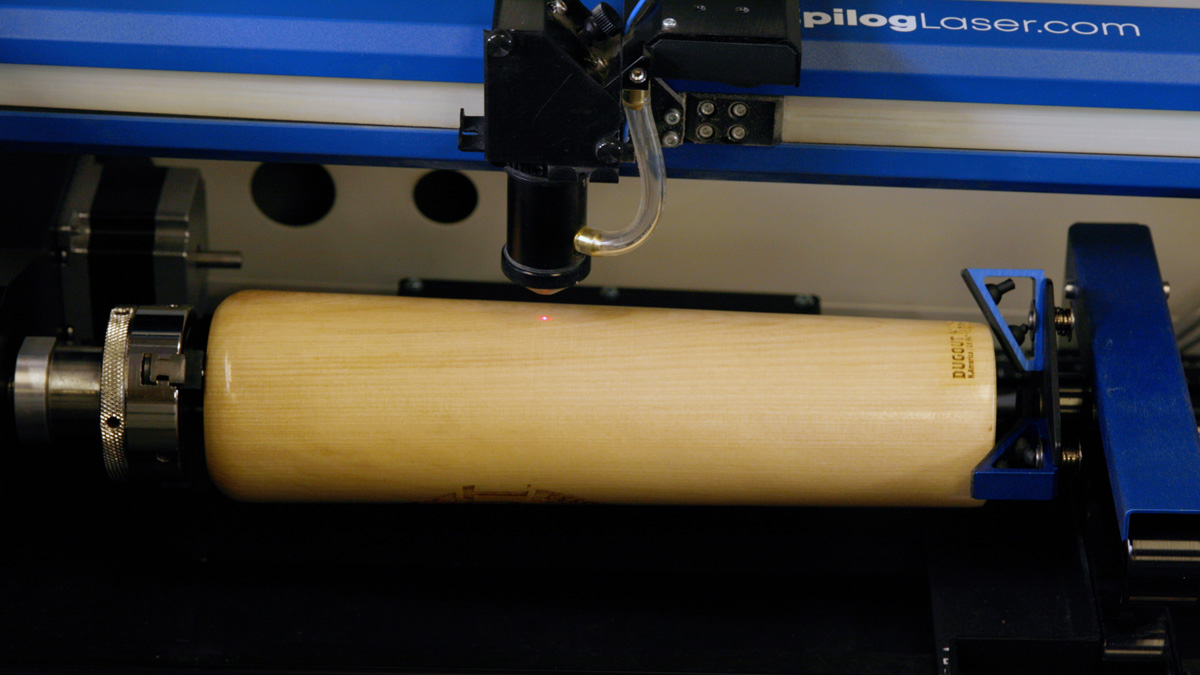
Once the laser has finished booting up, set the focus on your engraving piece. The 3-Jaw Chuck Rotary is designed to use manual focusing only. Auto focus cannot be used with the 3-Jaw Chuck Rotary.
Turn on the Red Dot Pointer.
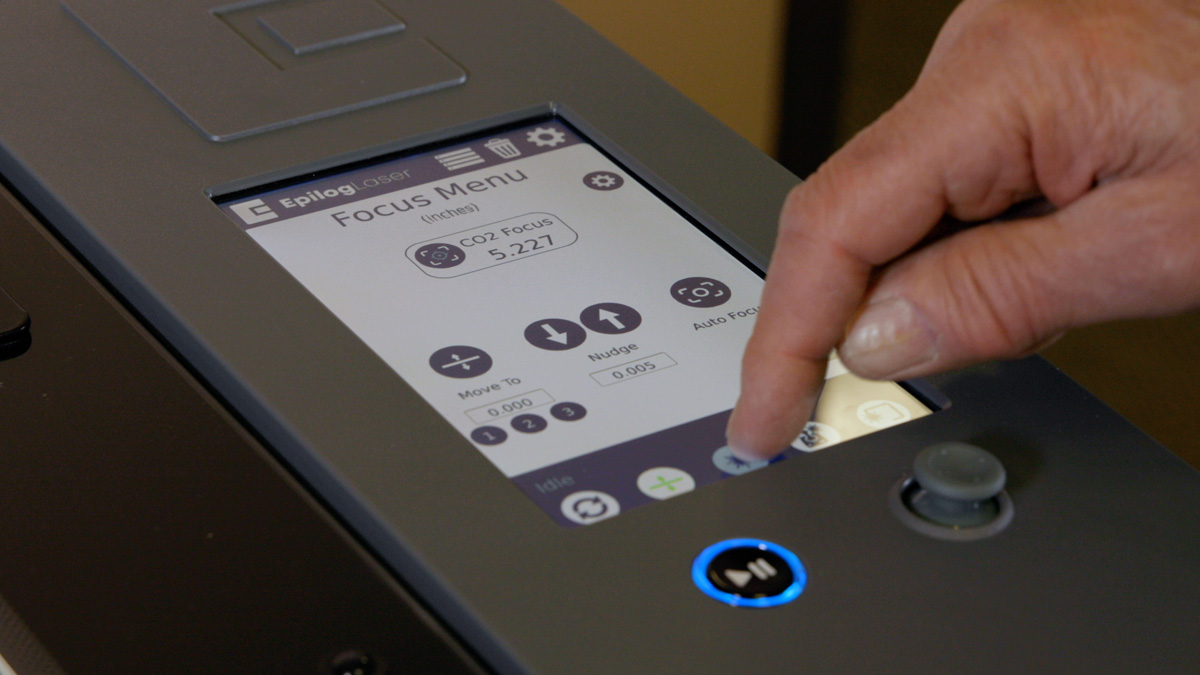
Select the Jog Menu button on the Control Panel and use the Joystick to move the carriage until the Manual Focus Gauge is above the point of focus.

Place the Manual Focus Gauge onto the laser assembly.
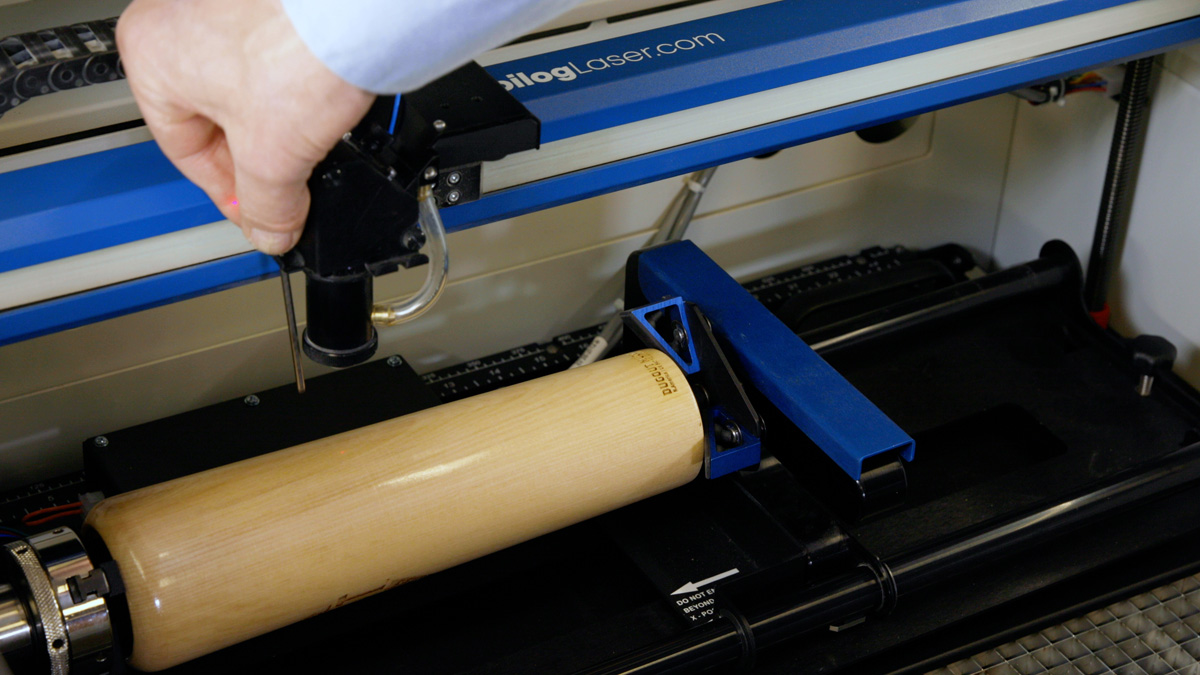
Select the Focus Menu button on the Control Panel and use the Joystick to move the table up and down to focus on your cylinder.
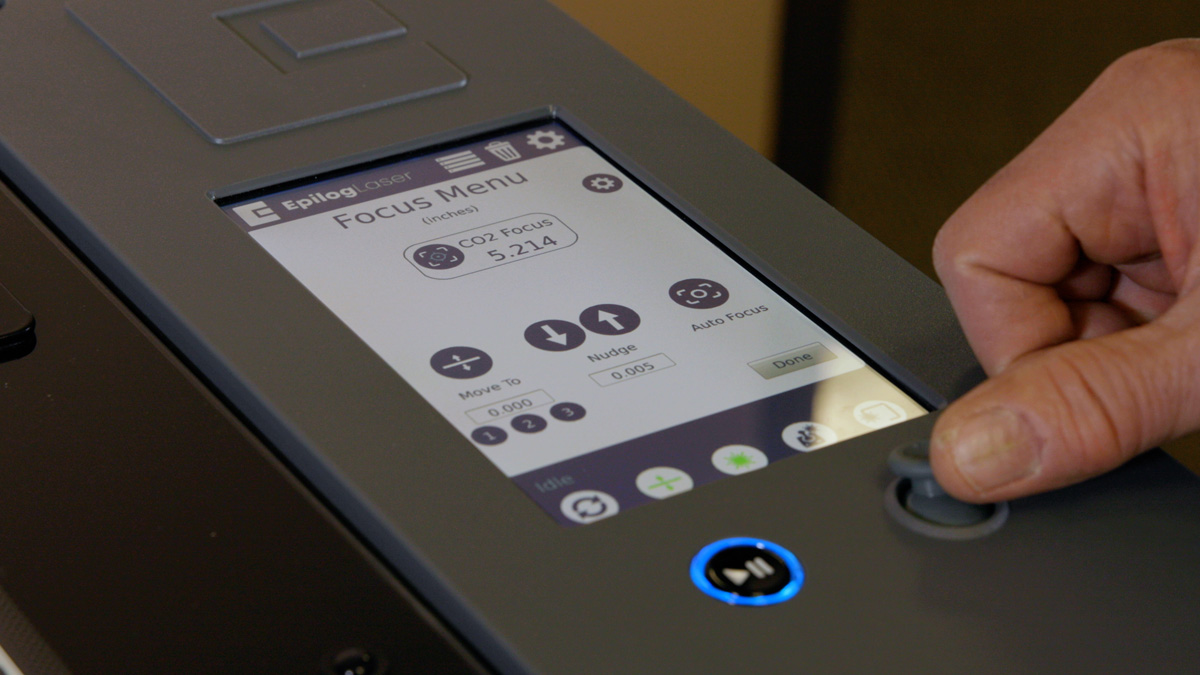
Remove the Manual Focus Gauge when finished focusing.
Now it’s time to set the Home Position
Select the Jog Menu button on the Control Panel, and use the Joystick to move the red pointer to the point on your cylinder where you want your Home Position to be located.

Select the Centering Point icon to set the new Home Position.

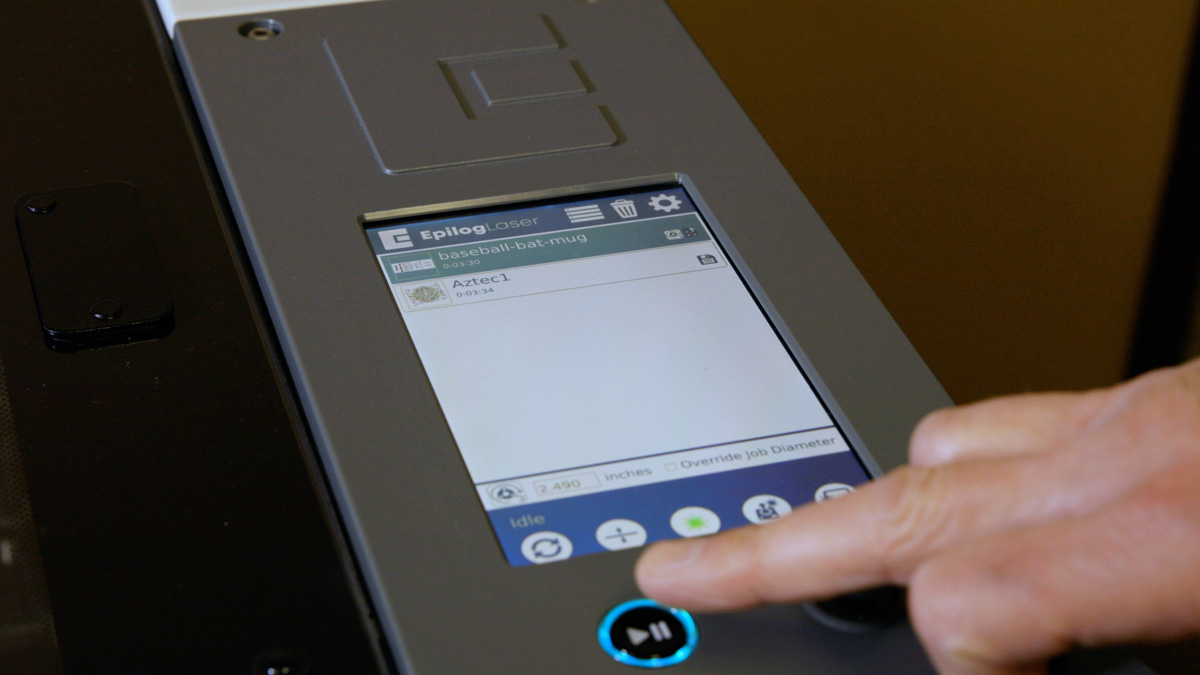
With the rotary installed, the diameter measured, and the cylinder held tightly in place, you are ready to print.
In the Epilog Dashboard you will need to use the Preview tab and Advanced tab to set your laser parameters.
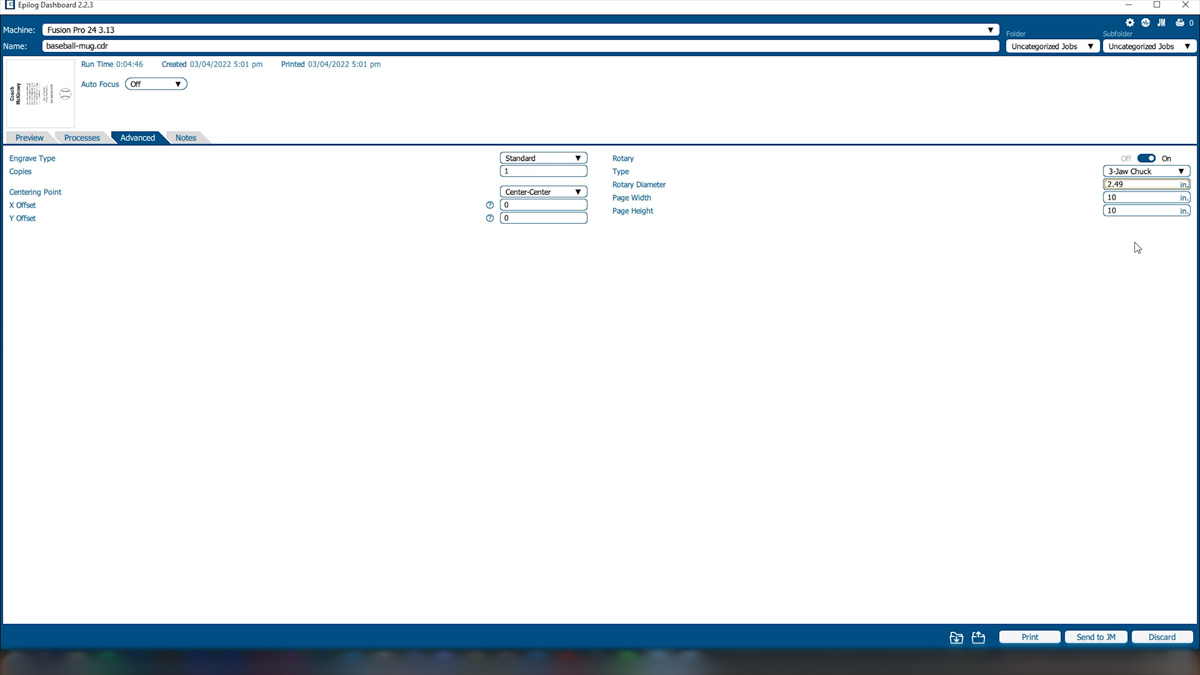
In the Advanced tab, Select Center-Center engraving mode.
Then select the 3-Jaw Chuck option and input your cylinder diameter.
Now navigate to the Preview tab to set your Speed, Power, and other laser parameters.

Once your parameters are set, print the job to the laser.
Close the top access door on your laser system.
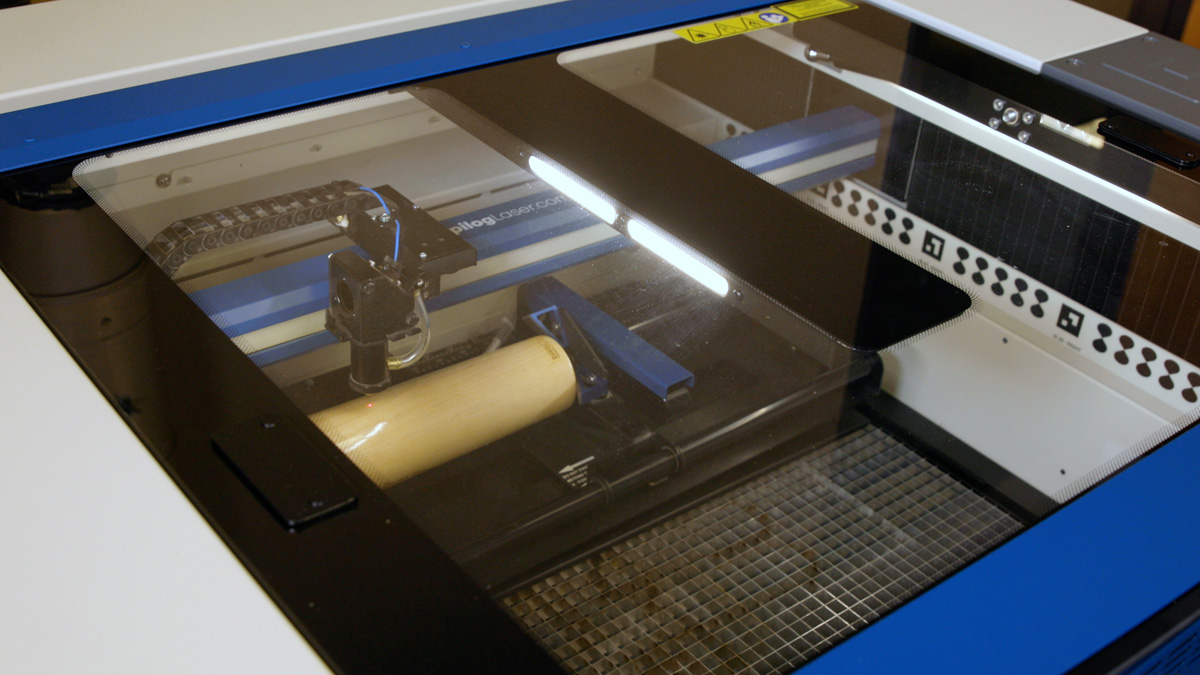
From the Display panel, select your job and press the Go button to start your job.
Remove the Rotary Attachment
Once you are finished using the 3-Jaw Chuck Rotary, always remember to first turn off the power to the laser before unplugging the rotary.
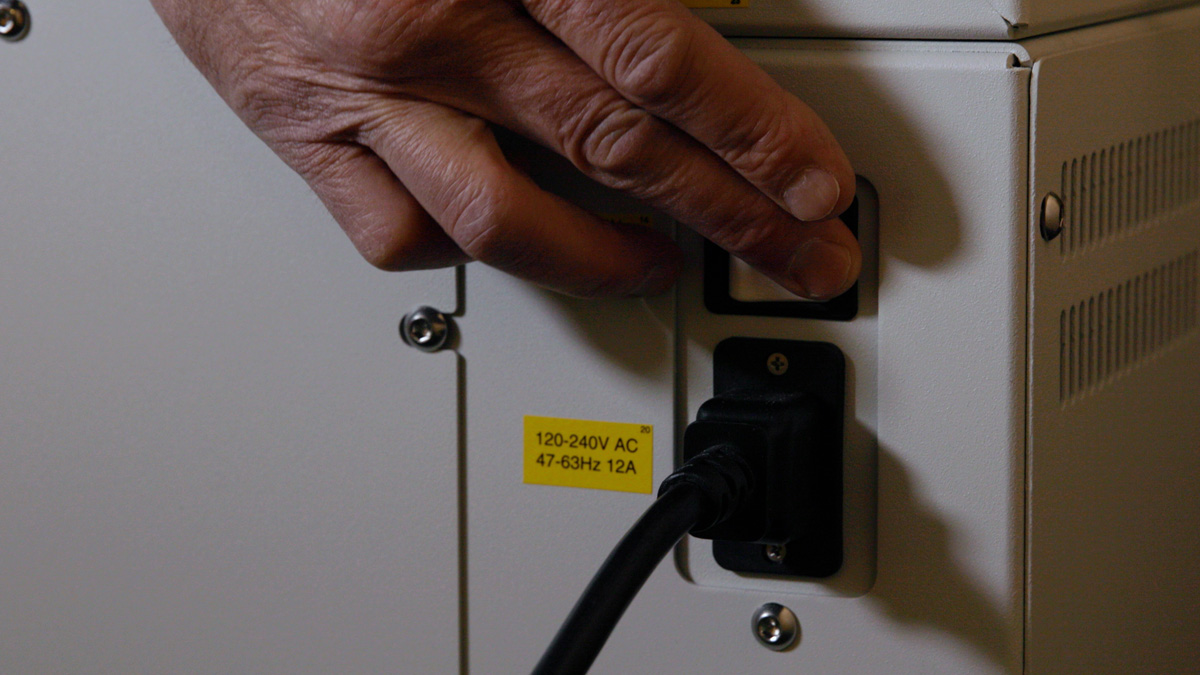
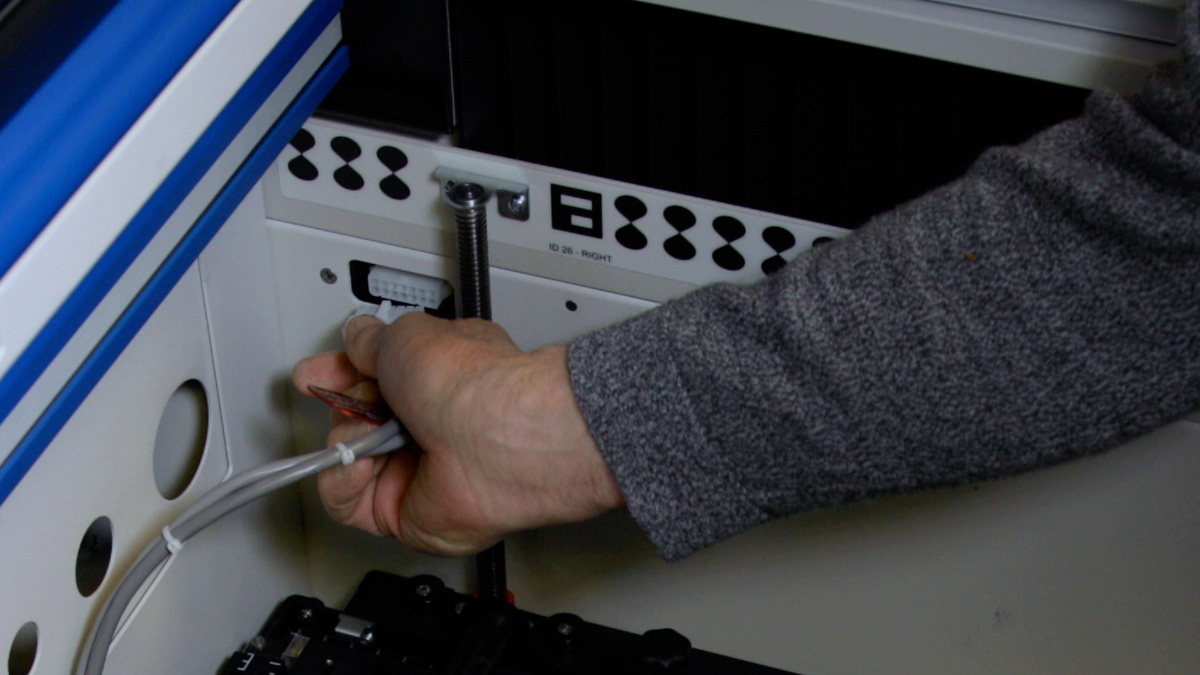
Once the laser is powered off, depress the release tab on the connector and unplug the connector. You may now remove the Rotary Attachment.