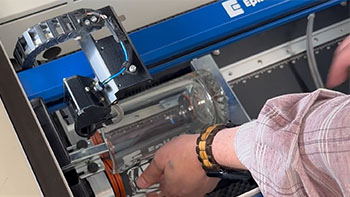
Install the Rim-Style Rotary To install the Rim-Style Rotary Attachment, lower the table and turn off the machine. Place the Rotary at the top-left corner of the table. Attach the plug to the machine at the top-right corner of the bed. Turn the machine back on. (...)
Using the 3-Jaw Chuck Rotary Attachment
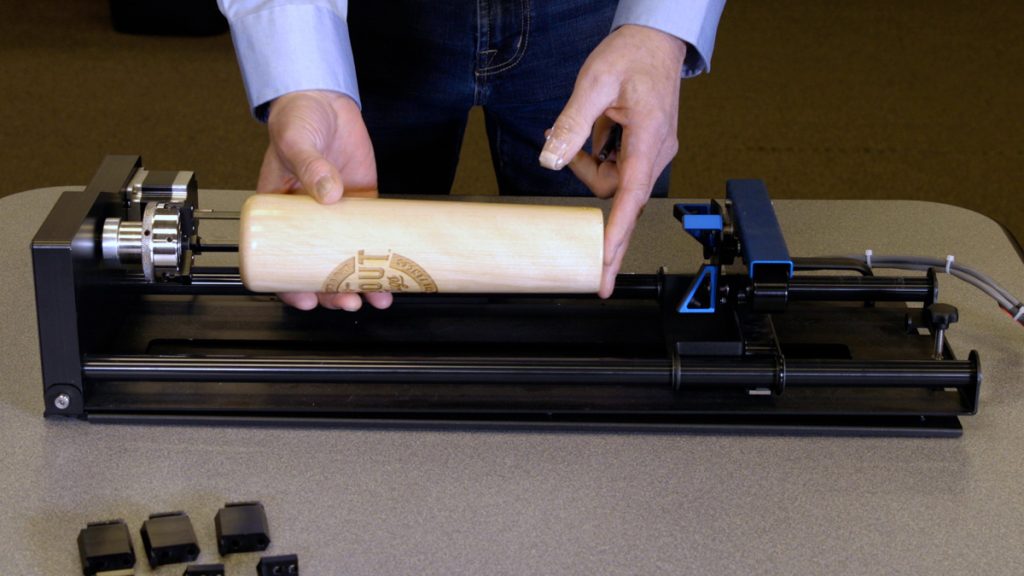
Installing the 3-Jaw Chuck Before we get started, we will need to lower the laser table far enough to accommodate the 3-Jaw Chuck Rotary Attachment Once the table is low enough, power off the machine. Measure & record the diameter of the cylinder you plan on engraving; you will (...)
How to Quickly Make an Engraving Fix
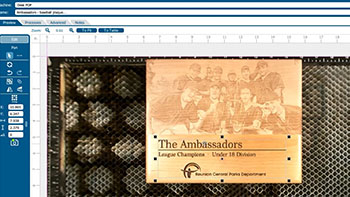
Isolate Text This initial engraving looks good, but the text portion could be deeper! We can isolate the text to improve the result. Turn off the camera. Ungroup your artwork. Select the text and Separate by Selection. You’ll see two processes listed now. Turn off the photo process. Adjust Settings (...)
Use Print Merge to Customize Multiple Items
Import Data Here we have a series of name badges to engrave and cut on the laser using print merge. First we’ll need to pull in the list of names. Select File > Print Merge > Create/Load Print Merge Click Import File and navigate to your .csv, .rtf, or (...)
Precisely place artwork using the IRIS Camera
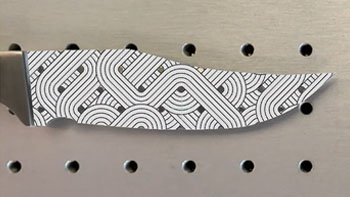
Artwork Setup Here we have a graphic we want to engrave on a blade of knife, which we can do by using the camera. In the Laser Dashboard, using the camera, we can see the knife blade placed in the laser. Start by clicking the Copy Background Image (...)
Creating a 3D Sphere Design for Laser Engraving
Setup the Artwork Here we have a snowflake design that we’ve replicated in an offset grid pattern to be transformed into a 3D sphere design. Select the design and drag it into the Symbols tab. Name the design And set the export type to graphic. Delete the (...)
Removing Adhesive Backing from Acrylic
Spray Backing Spray the adhesive backing with Pure Citrus air freshener and let it sit for 30 seconds. Peel Backing Now the adhesive backing should be quick and easy to remove from your acrylic. Wipe Clean Wipe off the remaining residue and you’re ready to engrave or (...)
Updating the Peripherals
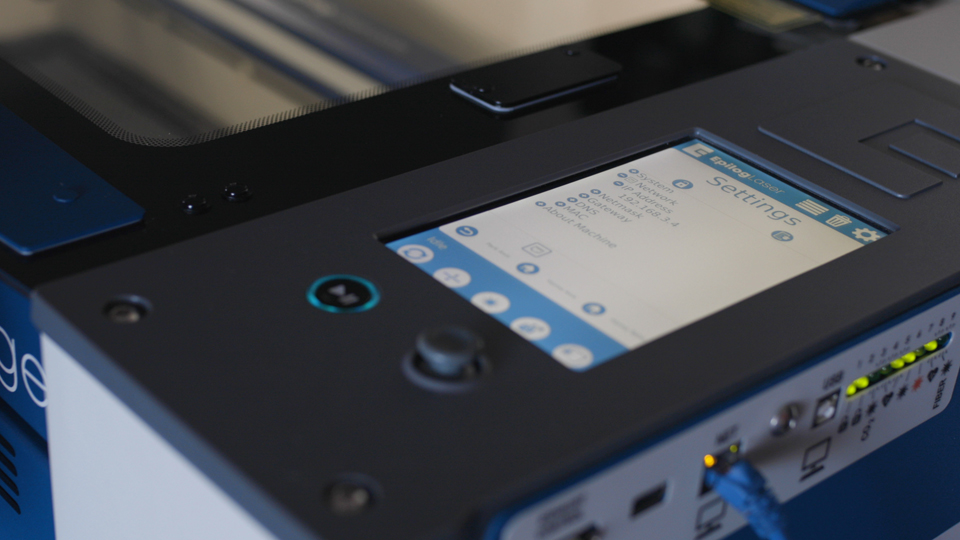
Peripheral updates ensure optimal performance and communication between the engraver’s programmable components by installing the latest firmware and configuration files. Programming the Peripherals On the display panel, tap the gear icon in the upper-right corner to open the Settings menu: Figure 1: Access the Settings menu by tapping the gear (...)
Carriage Optics Removal and Installation
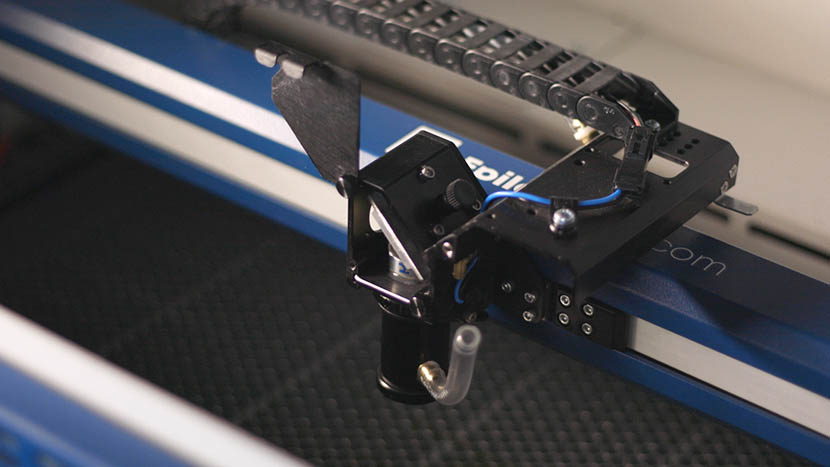
Proper removal and installation of the carriage optics in the Fusion 17000 laser system are essential for maintaining optimal performance and precision. This guide provides step-by-step instructions for safely removing and reinstalling key components, including the mirror, lens tube, and air assist tubing. Following these procedures ensures that the optics (...)
220VAC Power Connections: Core End Type and Photo
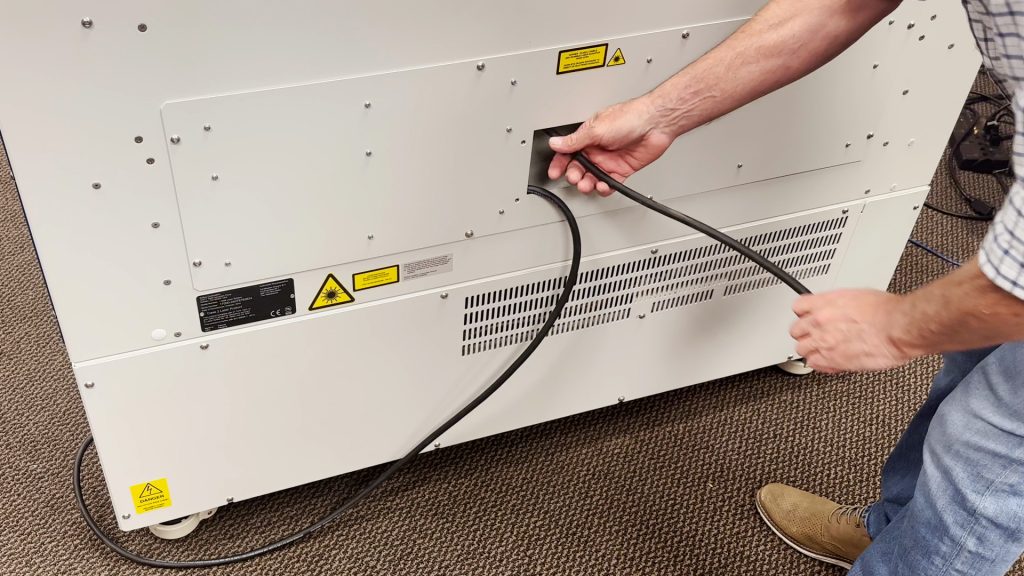
Epilog’s laser systems are equipped with auto-switching power supplies that accommodate input voltages ranging from 110 to 240 volts at 50–60Hz. We recommend using a dedicated 15A circuit breaker regardless of the operating voltage to ensure stable and reliable performance. For Systems Operating on 220V in the United States The (...)
Different Marks You Can Achieve with a fiber laser
There are many different applications or finished “looks” fiber laser systems were designed to achieve. All of these looks are created using various speed, power, frequency and focus settings on the fiber laser system. Having an open-architecture system allows manufacturers to more quickly create exactly the mark they need because (...)
How to Laser Engrave and Cut Fabrics
Fabric is quickly becoming a very popular material for both engraving and cutting. Natural fibers, as well as synthetic fabrics, are often cut and engraved with fantastic results with a laser system. This article will give an overview of some popular engraveable fabrics, as well as some fabrics we’ve learned (...)