
This guide covers replacing the lens assembly on the Fusion Galvo G100. The lens unthreads from under the galvo head with the door open, and no tools are needed.
Parts Required
- GC0275 – Assy, Lens, F254 (6″ x 6″ field)
- GC0270 – Assy, Lens, F163 (4″ x 4″ field)
Tools Required
- None
Safety First: Ensure the engraver is completely powered off before reaching under the galvo head.
Lens Removal
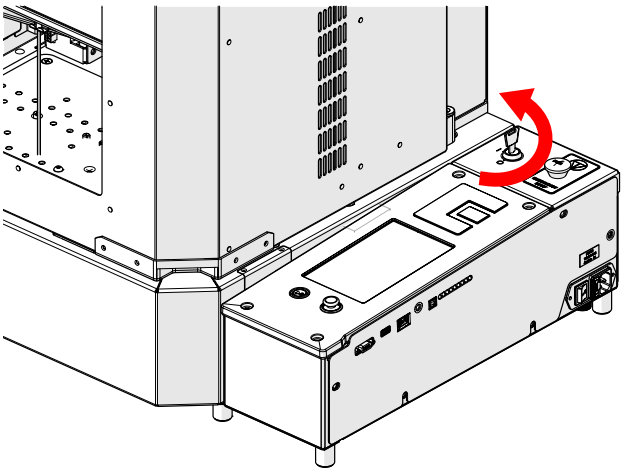
Power Off Engraver
Turn the key switch to the off position to power down the engraver.
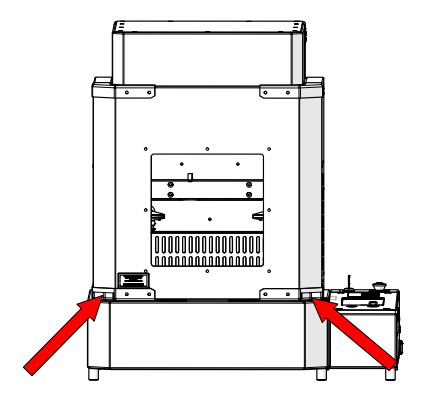
Lift the Door
Lift the door using the handles at the bottom corners, shown by the arrows.
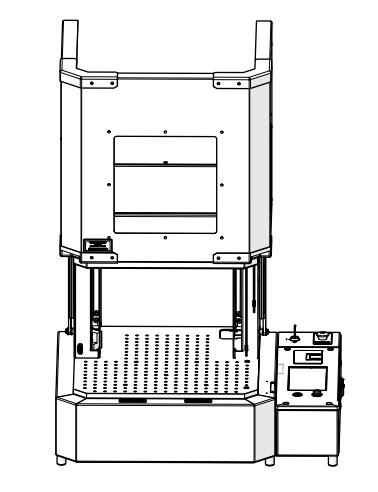
Leave the Door Open
Leave the door fully open so you can reach the lens from underneath.
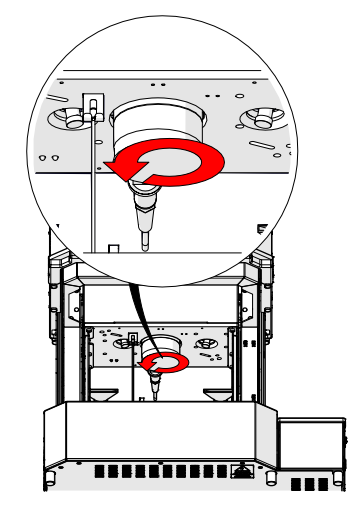
Loosen Lens Assembly
Reach under the galvo head and turn the lens assembly in the direction of the arrow to loosen it.
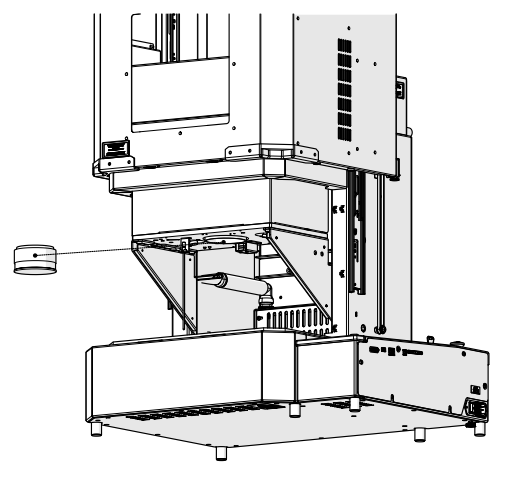
Remove Lens Assembly
Unthread the lens assembly and remove it from the engraver.
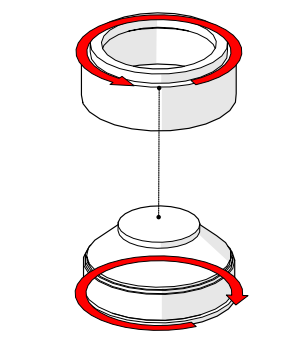
Separate Lens from Adapter
Twist the lens assembly and the lens adapter in opposite directions to separate them.
Lens Installation
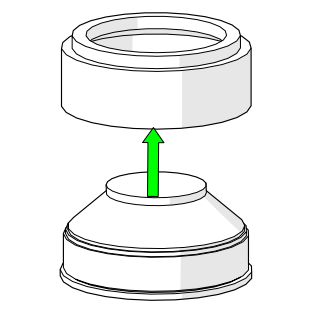
Place New Lens in Adapter
Place the new lens assembly into the lens adapter.
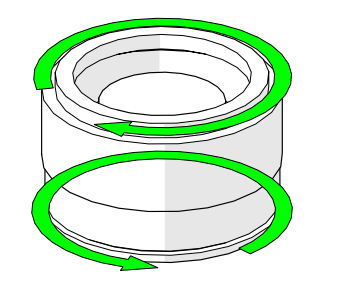
Tighten Lens and Adapter
Twist the lens assembly and lens adapter together until snug.
Position Lens Assembly
Position the lens assembly under the galvo head.
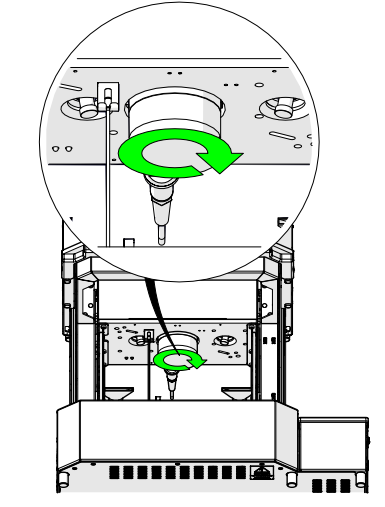
Tighten Lens Assembly
Turn the lens assembly in the direction of the arrow until it is snug.