Go Button
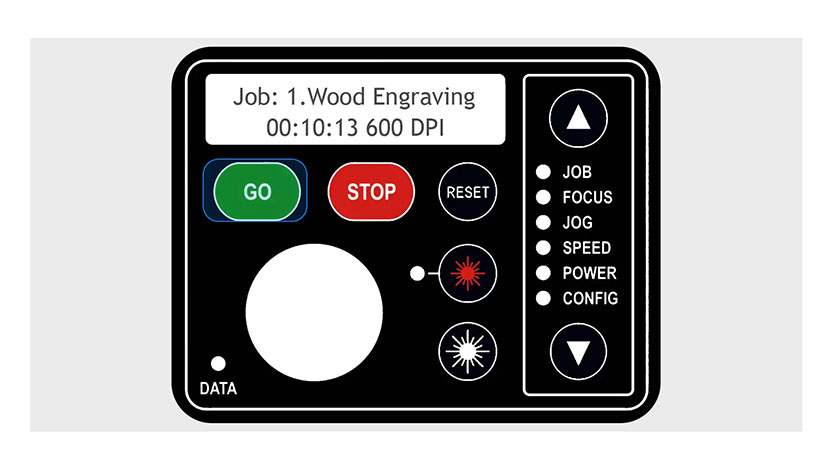
The first button on the control panel is the green Go key.
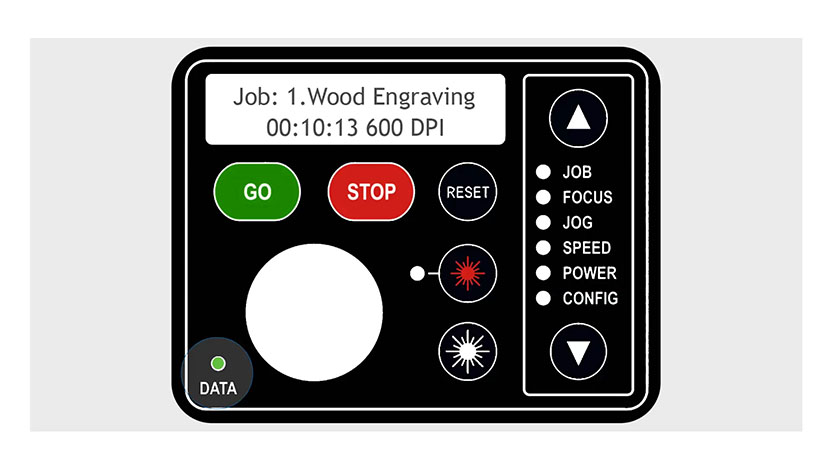
Pressing this button starts or resumes a job. Once the job starts, the display changes to show a job timer and the engraving resolution. The timer is a useful production tool that displays the elapsed time of engraving.
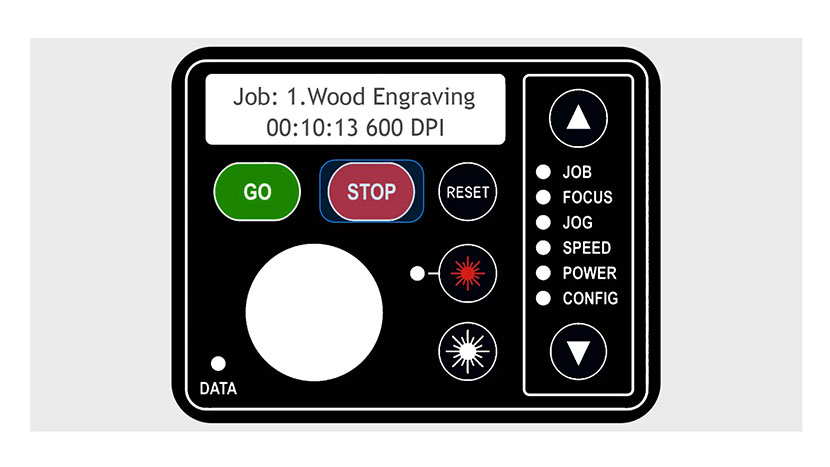
Pause Button
This is the pause button that pauses the lens carriage and the laser beam during a job. If the key is pressed during raster engraving, the lens carriage will stop on either the far left or right of the engraving line that is in process. In vector mode, the lens carriage will stop at the end of line segment or the next line node location.
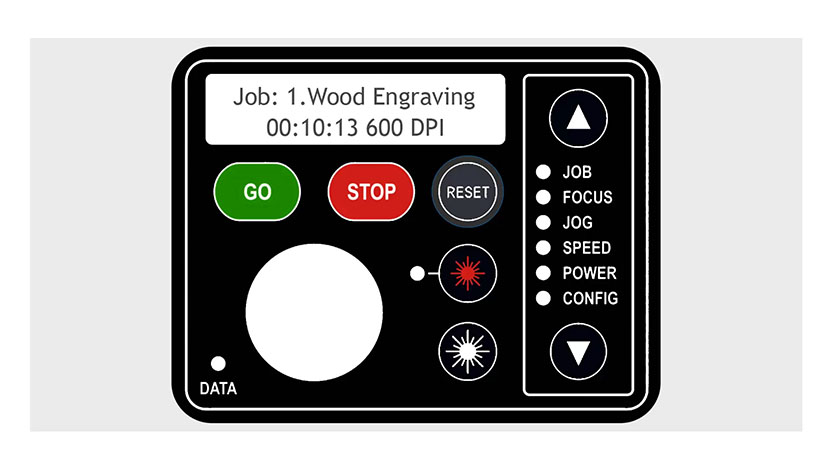
Reset Button
Pressing the reset button will move the carriage back to its home position. It does not erase the job from the laser system’s memory; rather it will stop the engraving job in process and send the carriage back to its home position.
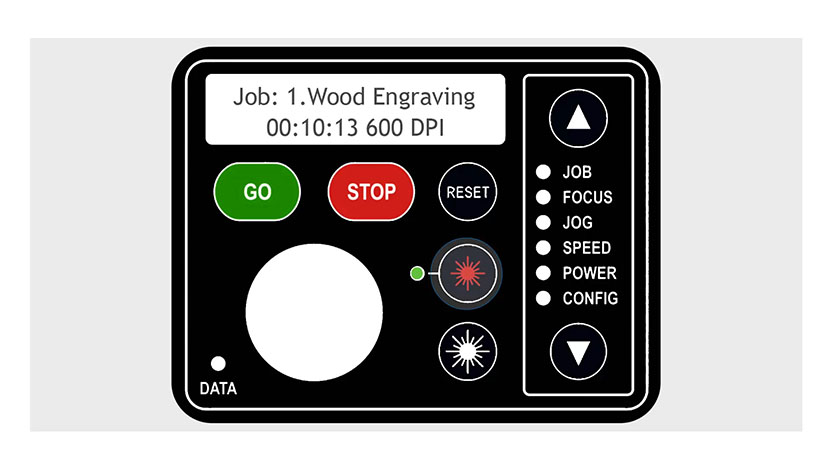
Red Dot Pointer
The Red Dot Pointer is a toggle switch that turns the laser system’s red dot pointer on or off. This is used for a visual representation of where the laser will fire or setting a custom home position. When active, the light will turn green.
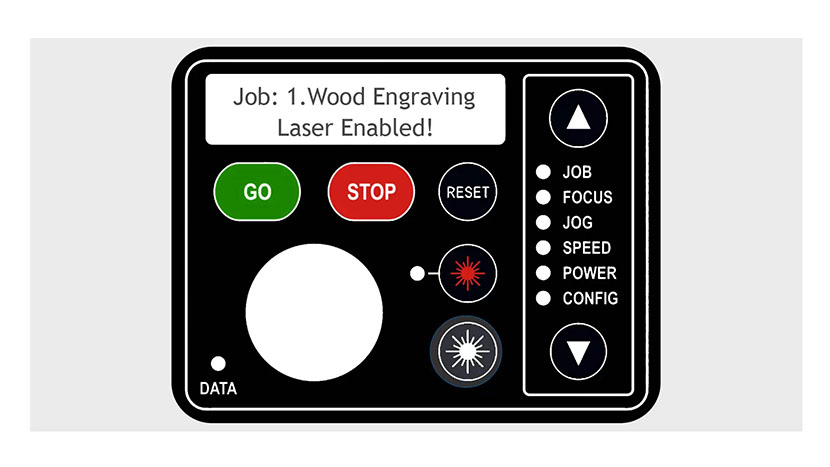
Laser On Button
The Laser On key allows you to move the carriage and fire the laser without having a job at the display. This is a handy feature for when you want to cut off scrap material without sending a job to the laser. Press and hold the Laser On button, then use the joystick to move the laser carriage to fire the laser.
Job
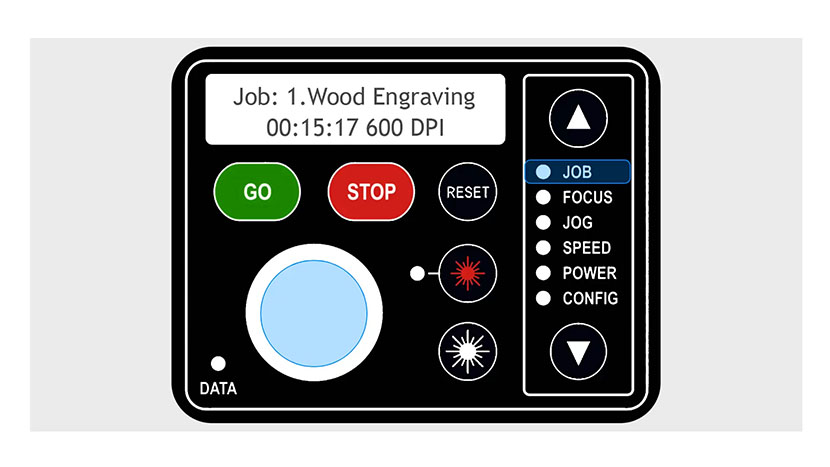
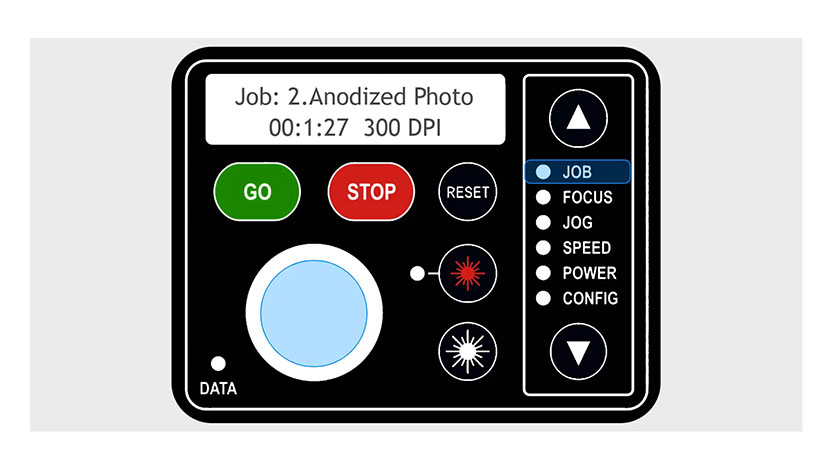
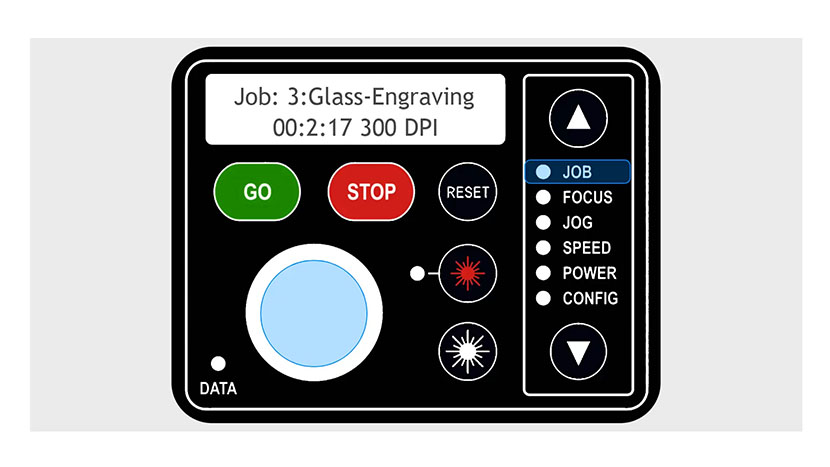
Selecting jobs in the list displays the file name of the last job stored in memory and the estimated time to complete the job. After pressing the job key, press the joystick up or down to scroll through all jobs in the system.
Focus
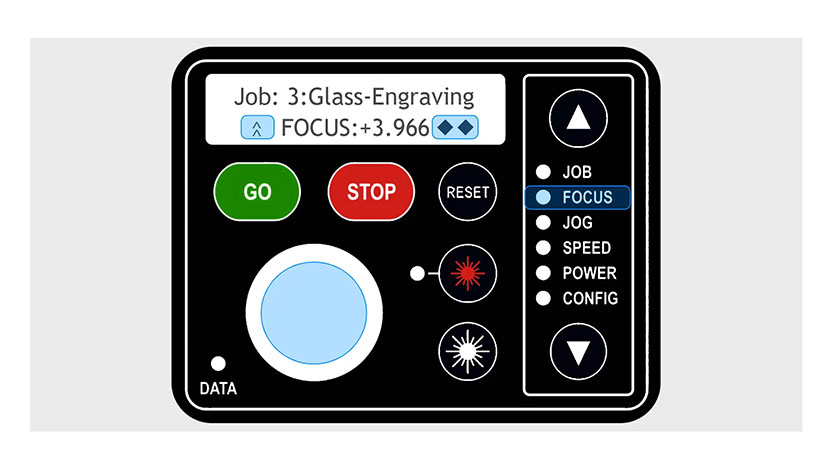
Next we’ll look at the Focus operation. The Focus selection lets you manually move the table up or down and to manually focus your laser. With Focus highlighted, use the joystick to move the table up or down and the display will show a digital readout of the table position.
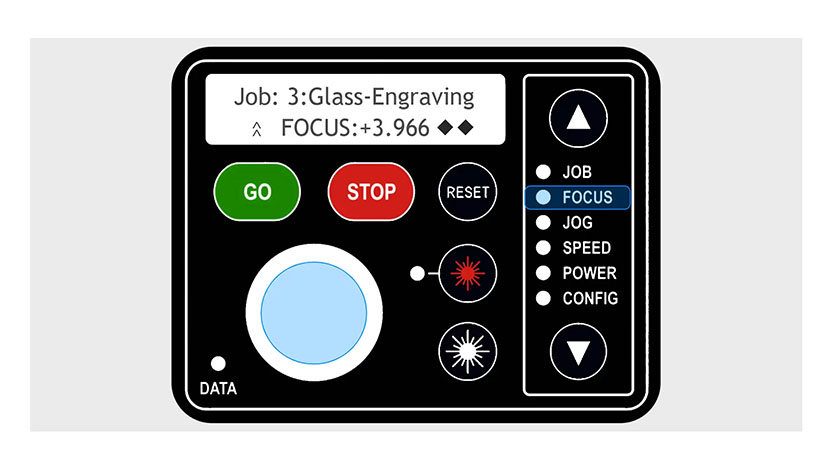
Tilt the joystick to the left or right to toggle between fine and course movement of the table. Two up arrows on the left side of the word Focus on the display panel indicates course movement, and one for fine movement. The double diamond signifies that there is a sub-menu that can be selected by double clicking the joystick.
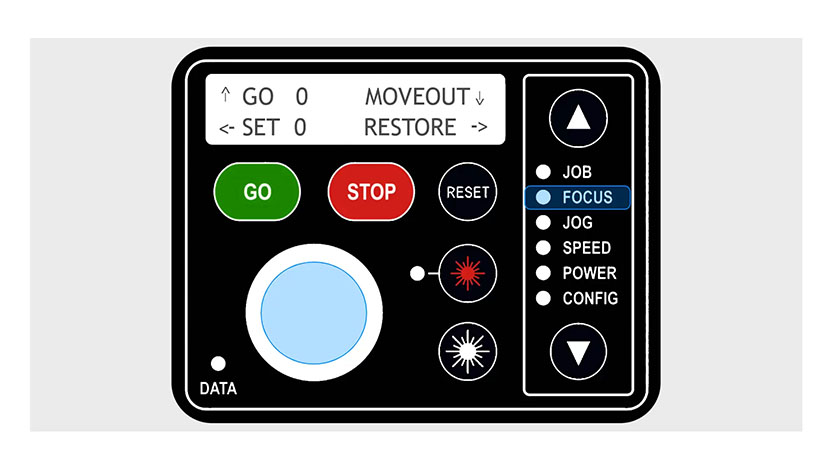
Double click the joystick to access the focus sub-menu. This menu allows you to set a new temporary or permanent z-axis home position.
Jog
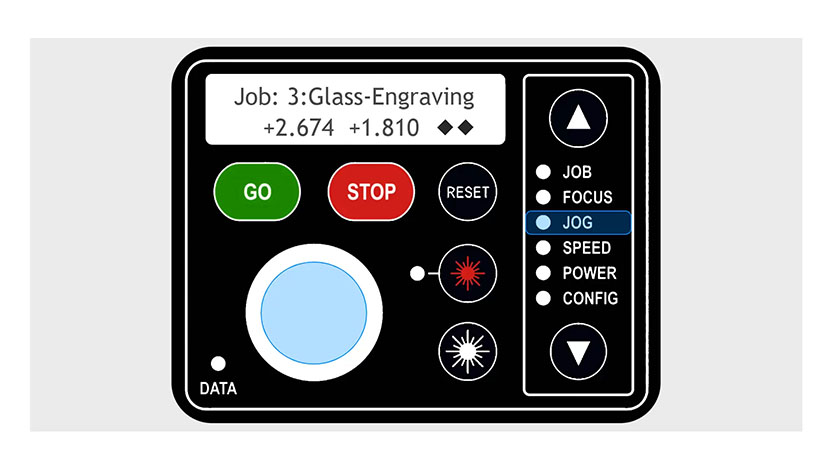
The Jog function lets you move the laser head around the table with the joystick, and can be moved horizontally, vertically or diagonally. The display will show a digital readout of the carriage position.
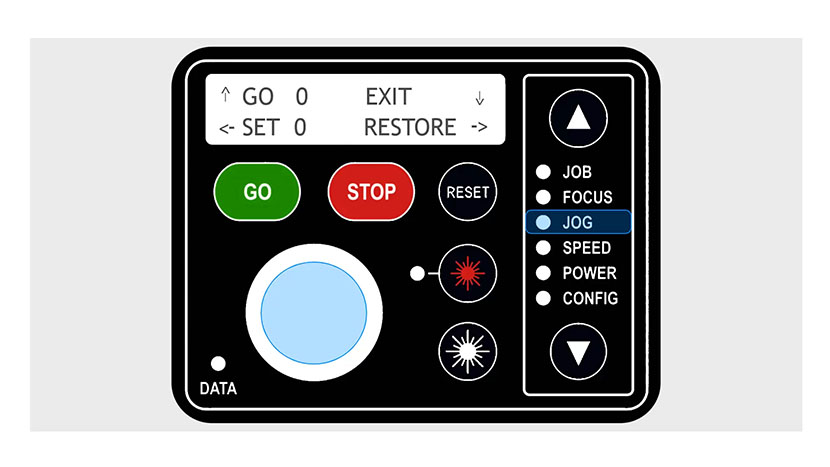
To access the Jog sub-menu, double click the joystick. You can use this menu to set a temporary home position by pressing left on the joystick, or to restore your home position by pressing to the right on the joystick. Pressing Up moves the carriage back to its home position, and down exits the sub-menu.
Speed
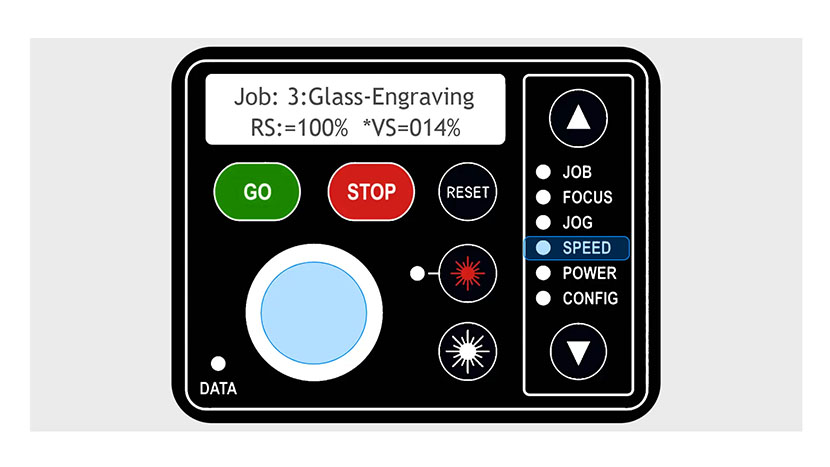
Moving down to the Speed selector, you will display the raster speed (RS) and vector speed (VS). You can adjust the raster speed on the fly by moving the joystick up or down to adjust your speed settings. This is especially helpful when testing settings for a new material.
Power
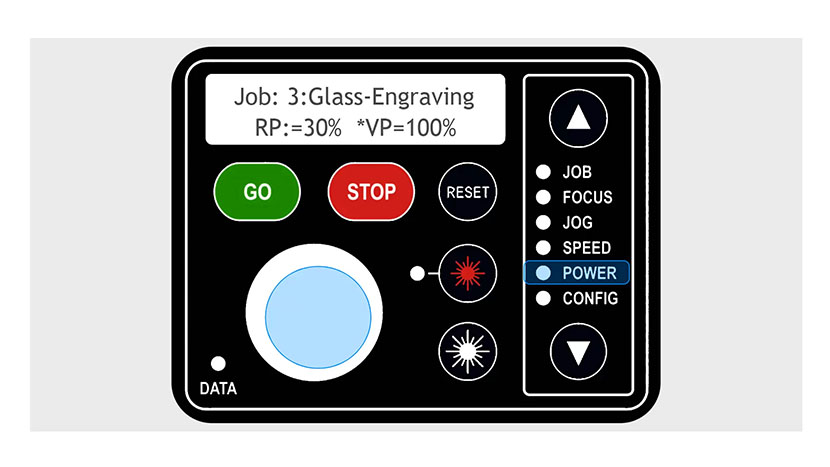
The Power control displays the raster power or RP and vector power or VP for the currently selected job. To adjust the raster power on the fly, move the joystick up or down to change your settings.
Config
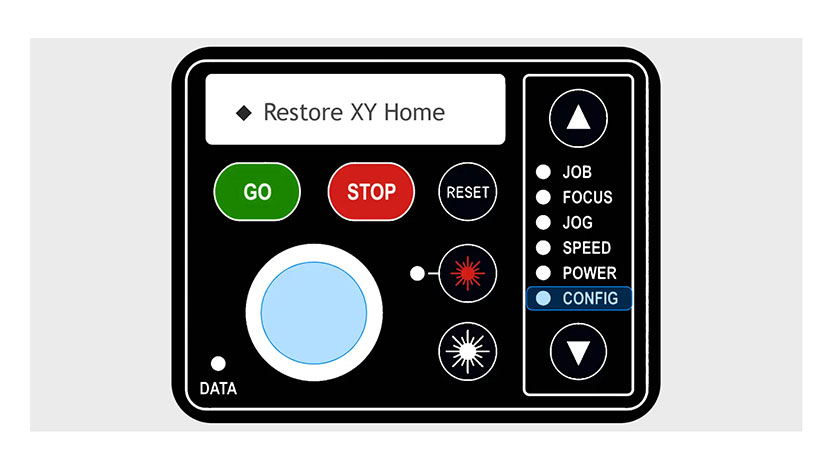
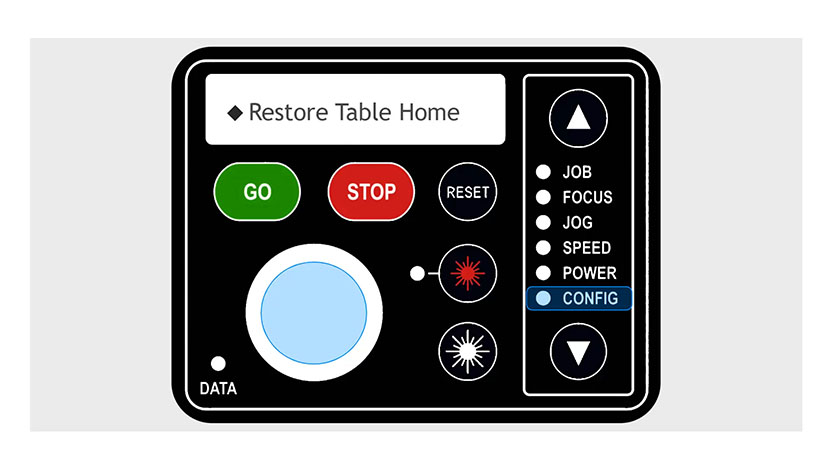
The Config menu item moves you into the tools and settings of the machine and more advanced options. You can scroll through these using the joystick.
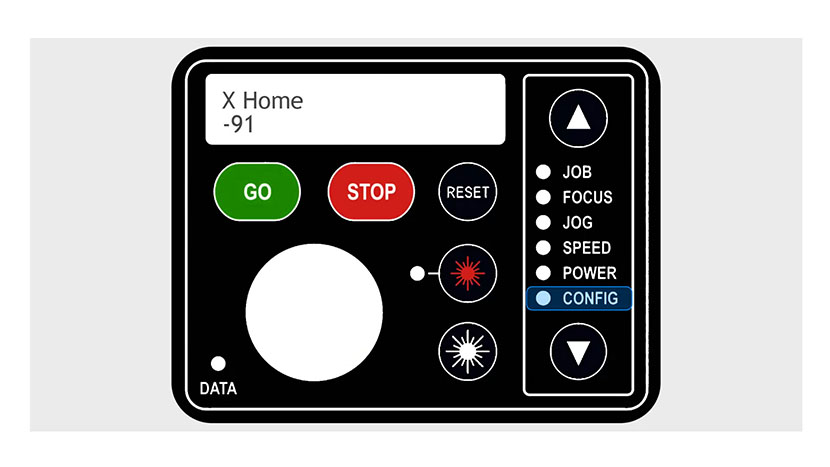
Data Light
Finally, the data light will illuminate when a job is being received by the laser. Once the job has been fully transferred to the laser the light will turn off.
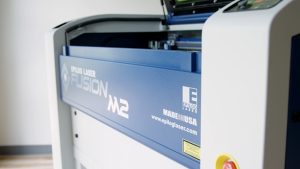
This was a quick walk through of the many functions available at your Epilog Fusion M2 laser system.
