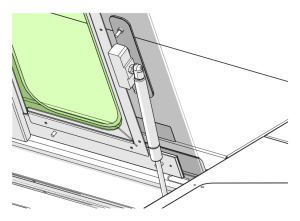
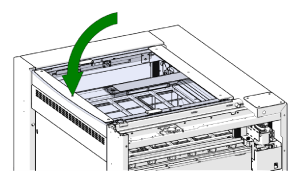
This guide covers replacing a top door gas shock on the Fusion Maker, Fusion Edge and Fusion Pro 24 and 36. The gas shock snaps onto ball studs and is held by a locking clip at each end.
Parts Required
- LC0589 – Gas Spring, 15x6mm
Tools Required
- Small Flathead Screwdriver
Gas Shock Removal
Turn Off Engraver
Turn off the engraver.

Disconnect from Power
Unplug the engraver from its power source.
Open the Top Door
Open the top door of the engraver.
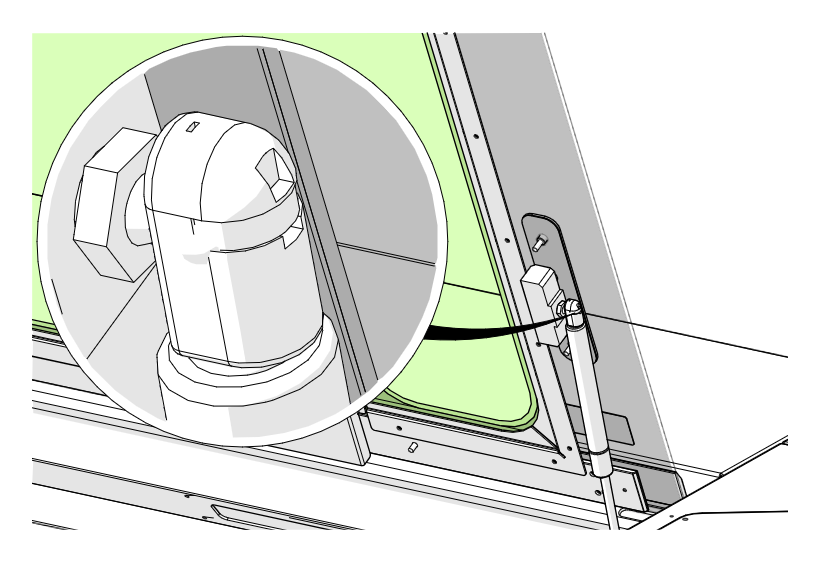
Remove the Top Clip
Use a small flathead screwdriver to pry the locking clip off the top of the gas shock.
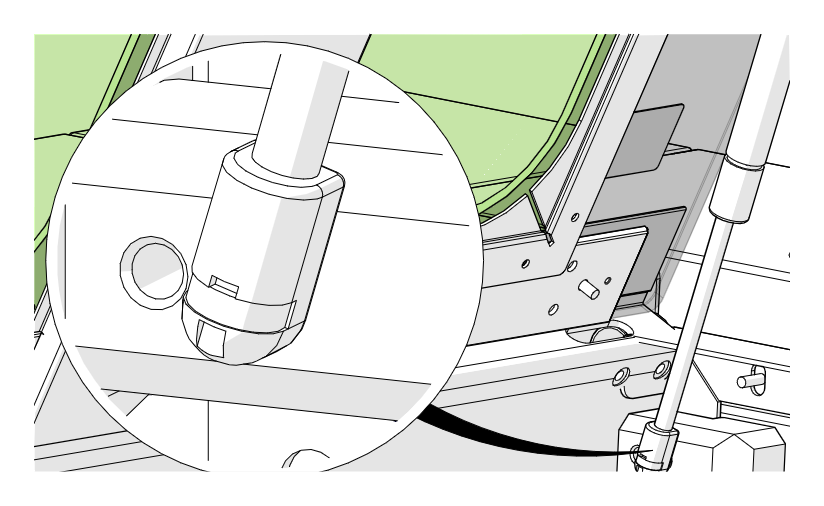
Remove the Bottom Clip
Use a small flathead screwdriver to pry the locking clip off the bottom of the gas shock.
Remove the Gas Shock
Support the top door so it cannot fall, then remove the gas shock from the ball stud mounts.
Important: The top door can drop once the gas shock is removed. Hold or prop it open until the new shock is installed.
Gas Shock Installation
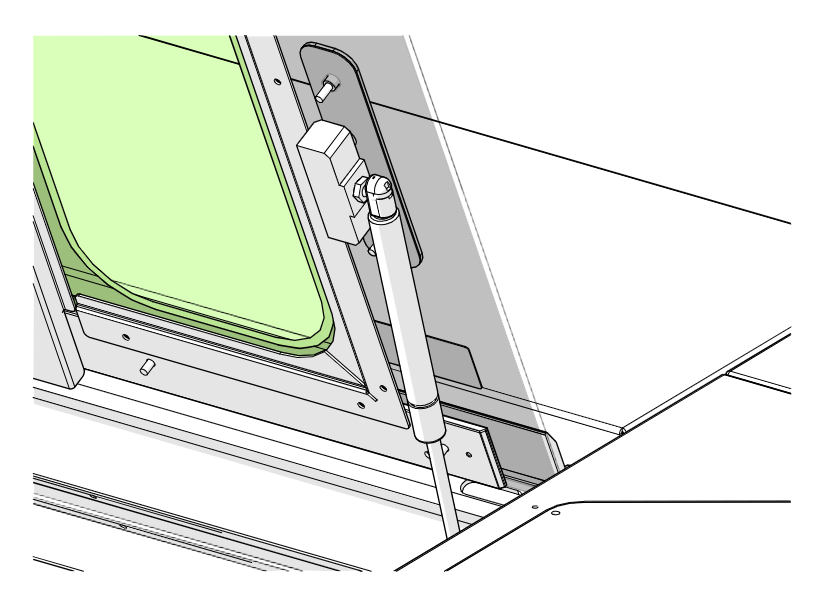
Install the New Gas Shock
Install the new LC0589 gas shock on the ball studs with the barrel of the shock facing up.
Install the Top Clip
Install the locking clip on the top of the gas shock.
Install the Bottom Clip
Install the locking clip on the bottom of the gas shock.

Power On
Reconnect the engraver to power and turn it on.
Check Door Movement
Open and close the top door to make sure it moves properly.