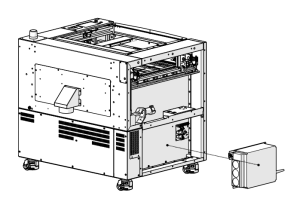
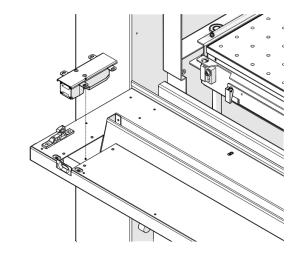
This guide covers replacing the fiber laser on the Fusion Pro 32 and 48. After installation, the fiber supply is updated from the engraver’s display and the laser is aligned and calibrated.
Parts Required
- Replacement Fiber Laser Assembly
Tools / Materials Required
- 5/32" Allen Wrench
- 7/64" Allen Wrench
- Phillips Screwdriver
Fiber Laser Safety: Firing the fiber laser without all engraver panels installed can cause serious or permanent injury. Lexan, polycarbonate and standard prescription eyewear will not protect your eyes from the fiber laser beam. Do not fire the fiber laser without all panels installed.
Safety First: Disconnect the engraver from power and do not reconnect it until the procedure tells you to.
Fiber Laser Removal
Turn Off Engraver
Turn off the engraver.

Disconnect from Power
Unplug the engraver from its power source.
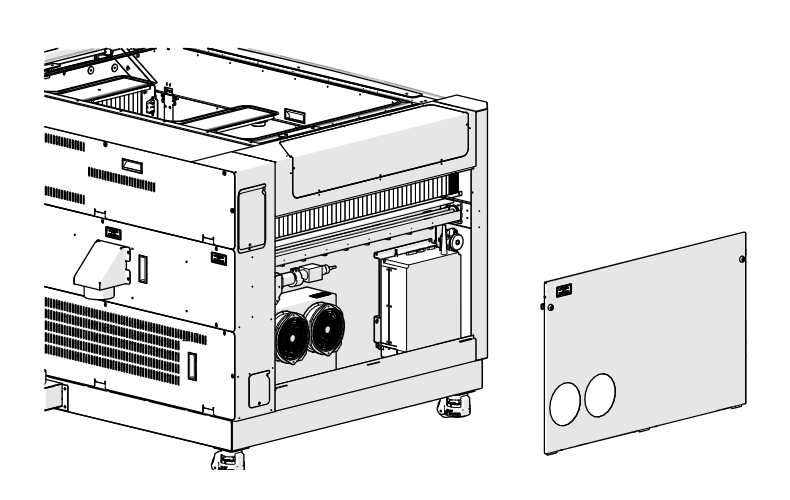
Remove Left Panel
Remove the left panel of the engraver to uncover the fiber laser.
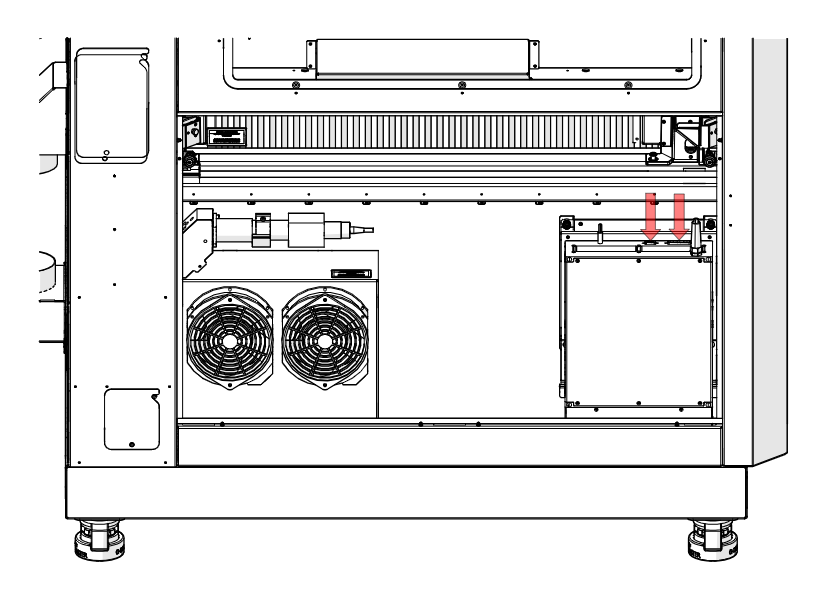
Disconnect Harness and Data Cable
Disconnect the electrical harness and the data cable on the fiber laser assembly (red arrows).
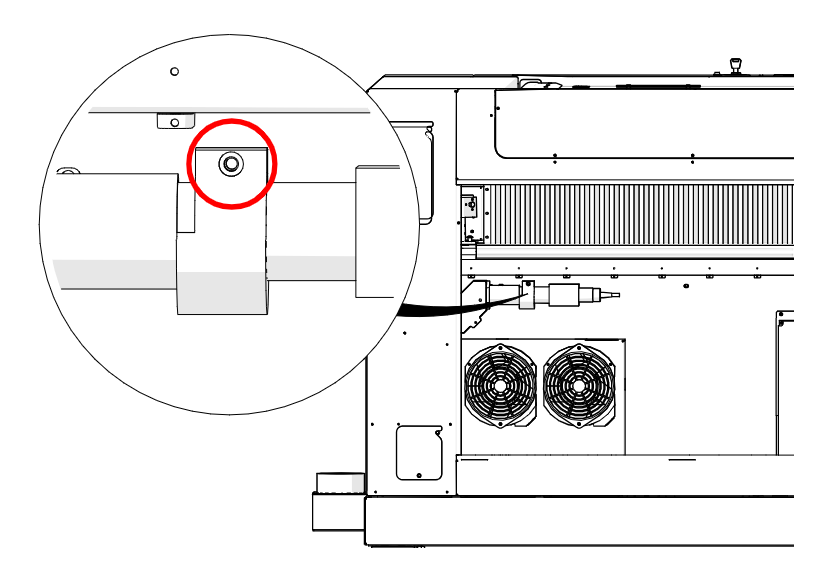
Loosen Head Clamp Screw
Loosen, but do not remove, the 7/64" Allen screw on the fiber laser head clamp (circled in red).
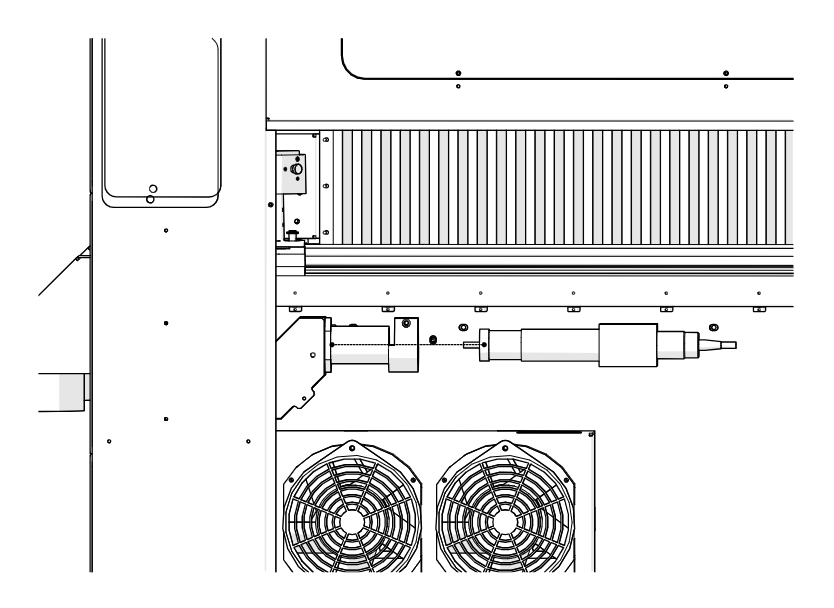
Remove Fiber Laser Head
Take the fiber laser head out of the head clamp and gently rest it on the bottom of the engraver.
Important: Do not bend the yellow fiber optic cable to a radius of less than 2" (50 mm) or it may be damaged.
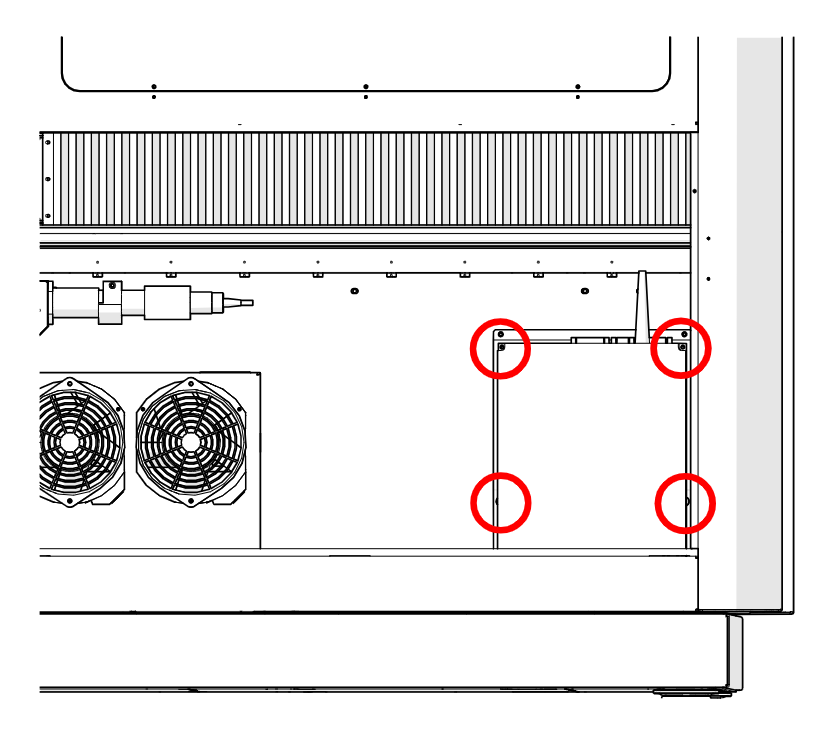
Remove Assembly Screws
Loosen and remove the four Phillips or 5/32" hex screws on the fiber laser assembly (circled in red).
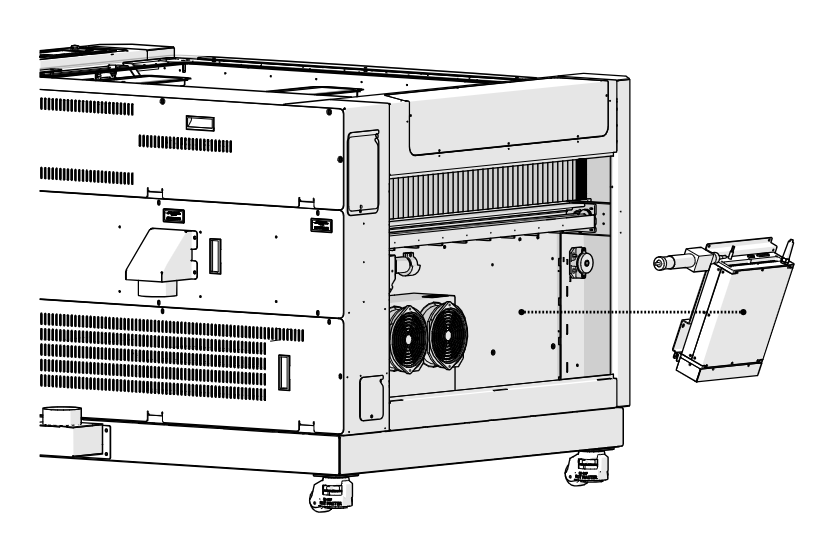
Remove Fiber Laser Assembly
Gently pull the top of the fiber laser assembly away from the engraver chassis and remove the assembly.
Fiber Laser Installation
Place Fiber Laser Assembly
Place the new fiber laser assembly in the engraver.
Install Assembly Screws
Install and tighten the four Phillips or 5/32" hex screws on the fiber laser assembly.
Place Fiber Laser Head
Gently place the fiber laser head in the head clamp.
Important: Do not bend the yellow fiber optic cable to a radius of less than 2" (50 mm) or it may be damaged.
Tighten Head Clamp Screw
Tighten the 7/64" Allen screw on the fiber laser head clamp.
Connect Harness and Data Cable
Connect the electrical harness and the data cable on the fiber laser assembly.
Install Left Panel
Install the left panel of the engraver.

Power On
Reconnect the engraver to power and turn it on.
Program the Fiber Laser

Open the Settings Menu
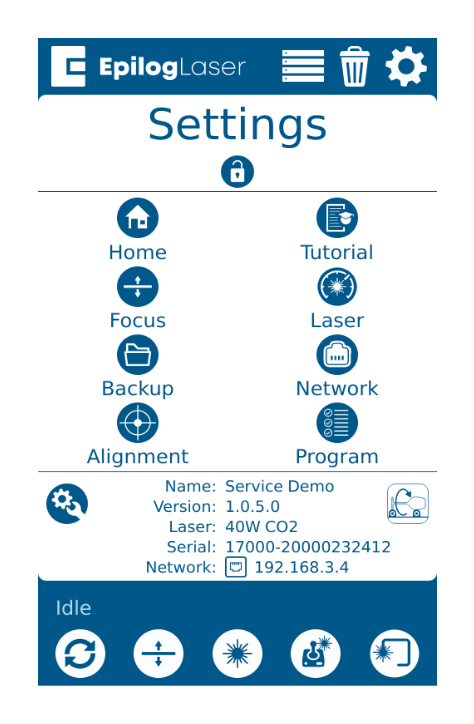
On the display, press the gear icon in the upper right corner to open the Settings menu.
Open Peripheral Update
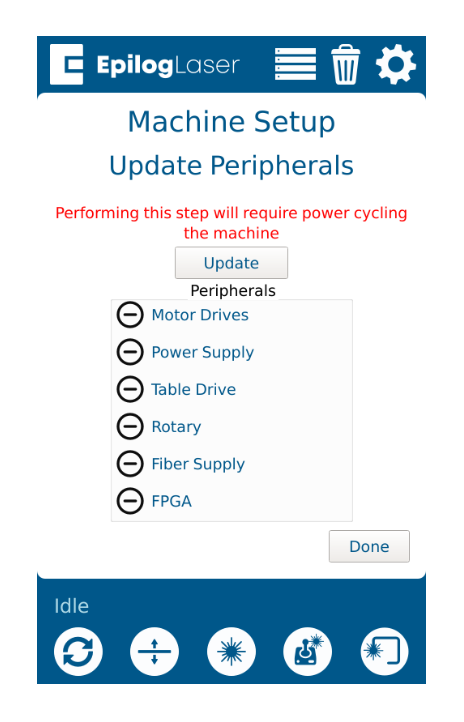
Press Program to open the Peripheral Update menu.
Update the Fiber Supply
Select Fiber Supply and press Update.
Restart When Prompted
Let the engraver run the update. When it prompts you to restart, power cycle the engraver.
Important: Do not power off the engraver during the update. It is normal for the display to turn off while the update runs.
Align and Calibrate
After installing a replacement fiber laser, complete the fiber laser alignment and focus calibration procedures.