Daily Maintenance Cleaning
-
Remove the lens and carriage mirror.
Safely detach both the lens and carriage mirror using the video guide below.
Figure 1. Lens and carriage mirror removal process. -
Carriage Optics Removal Steps
-
Disconnect the air tubing from the lens.
-
Loosen the thumb screws on the carriage cover and slide it open.
-
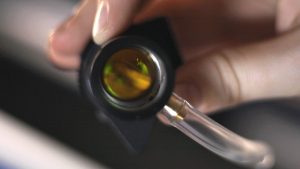
Loosen the mirror thumb screw and remove the mirror.
-
Use the Manual Focus Gauge to loosen the lens nut and remove the lens.
-
-
Carriage Optics Removal Steps
-
Apply lens cleaner to a cotton swab.
Use only approved lens-cleaning solution and a high-quality cotton swab to avoid scratching the optic.
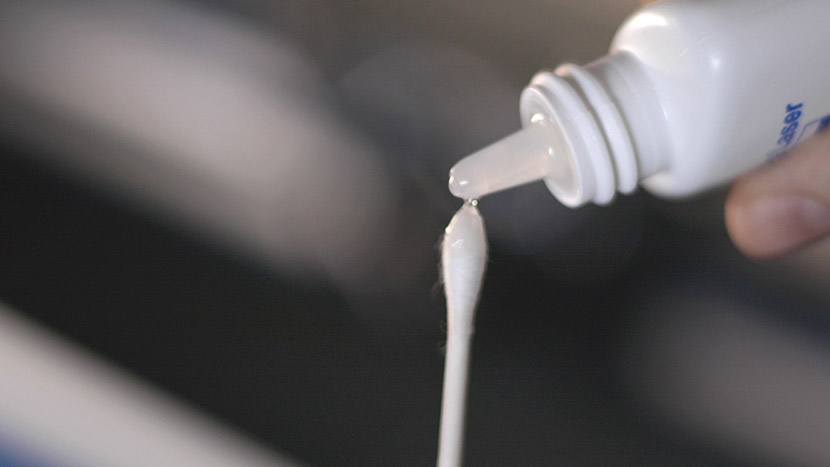
Figure 2. Applying lens cleaner to a cotton swab. -
Gently wipe the mirror surface.
Use the side of the cotton swab to lightly clean the mirror without applying pressure.
Note: The increased-aperture Fusion Pro mirror looks different but is cleaned the same way.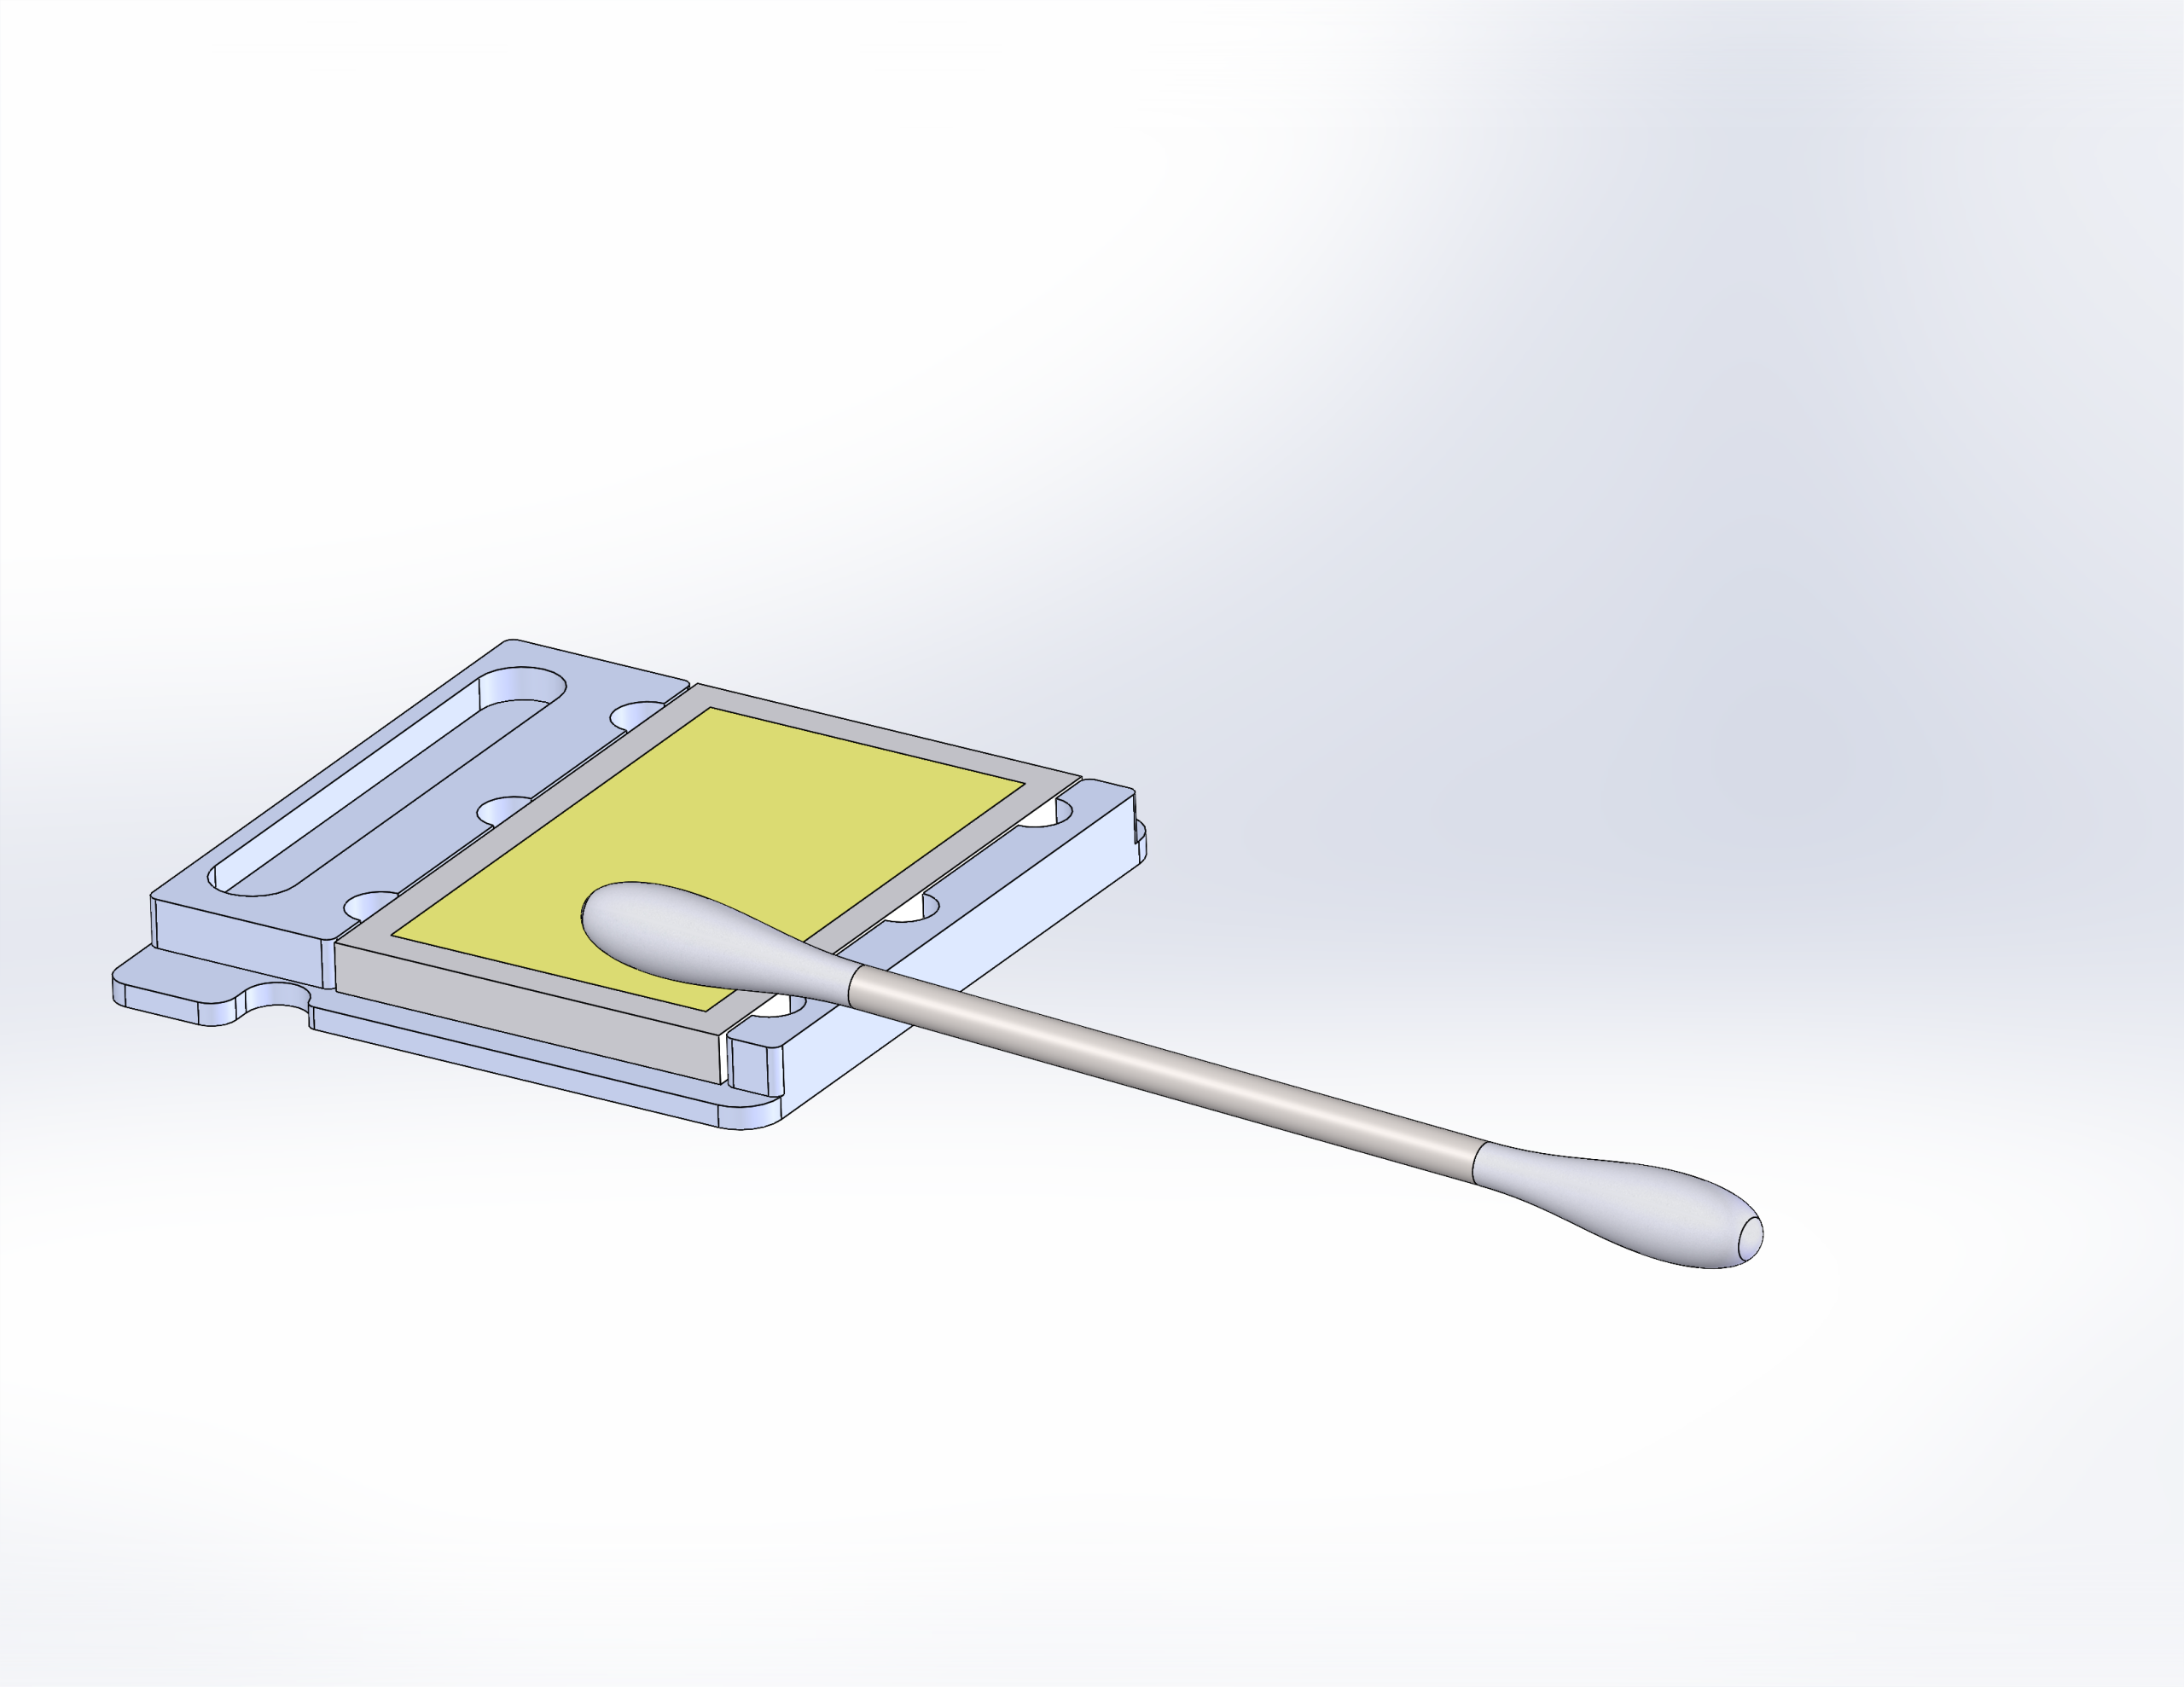
Figure 3. Large aperture carriage mirror. 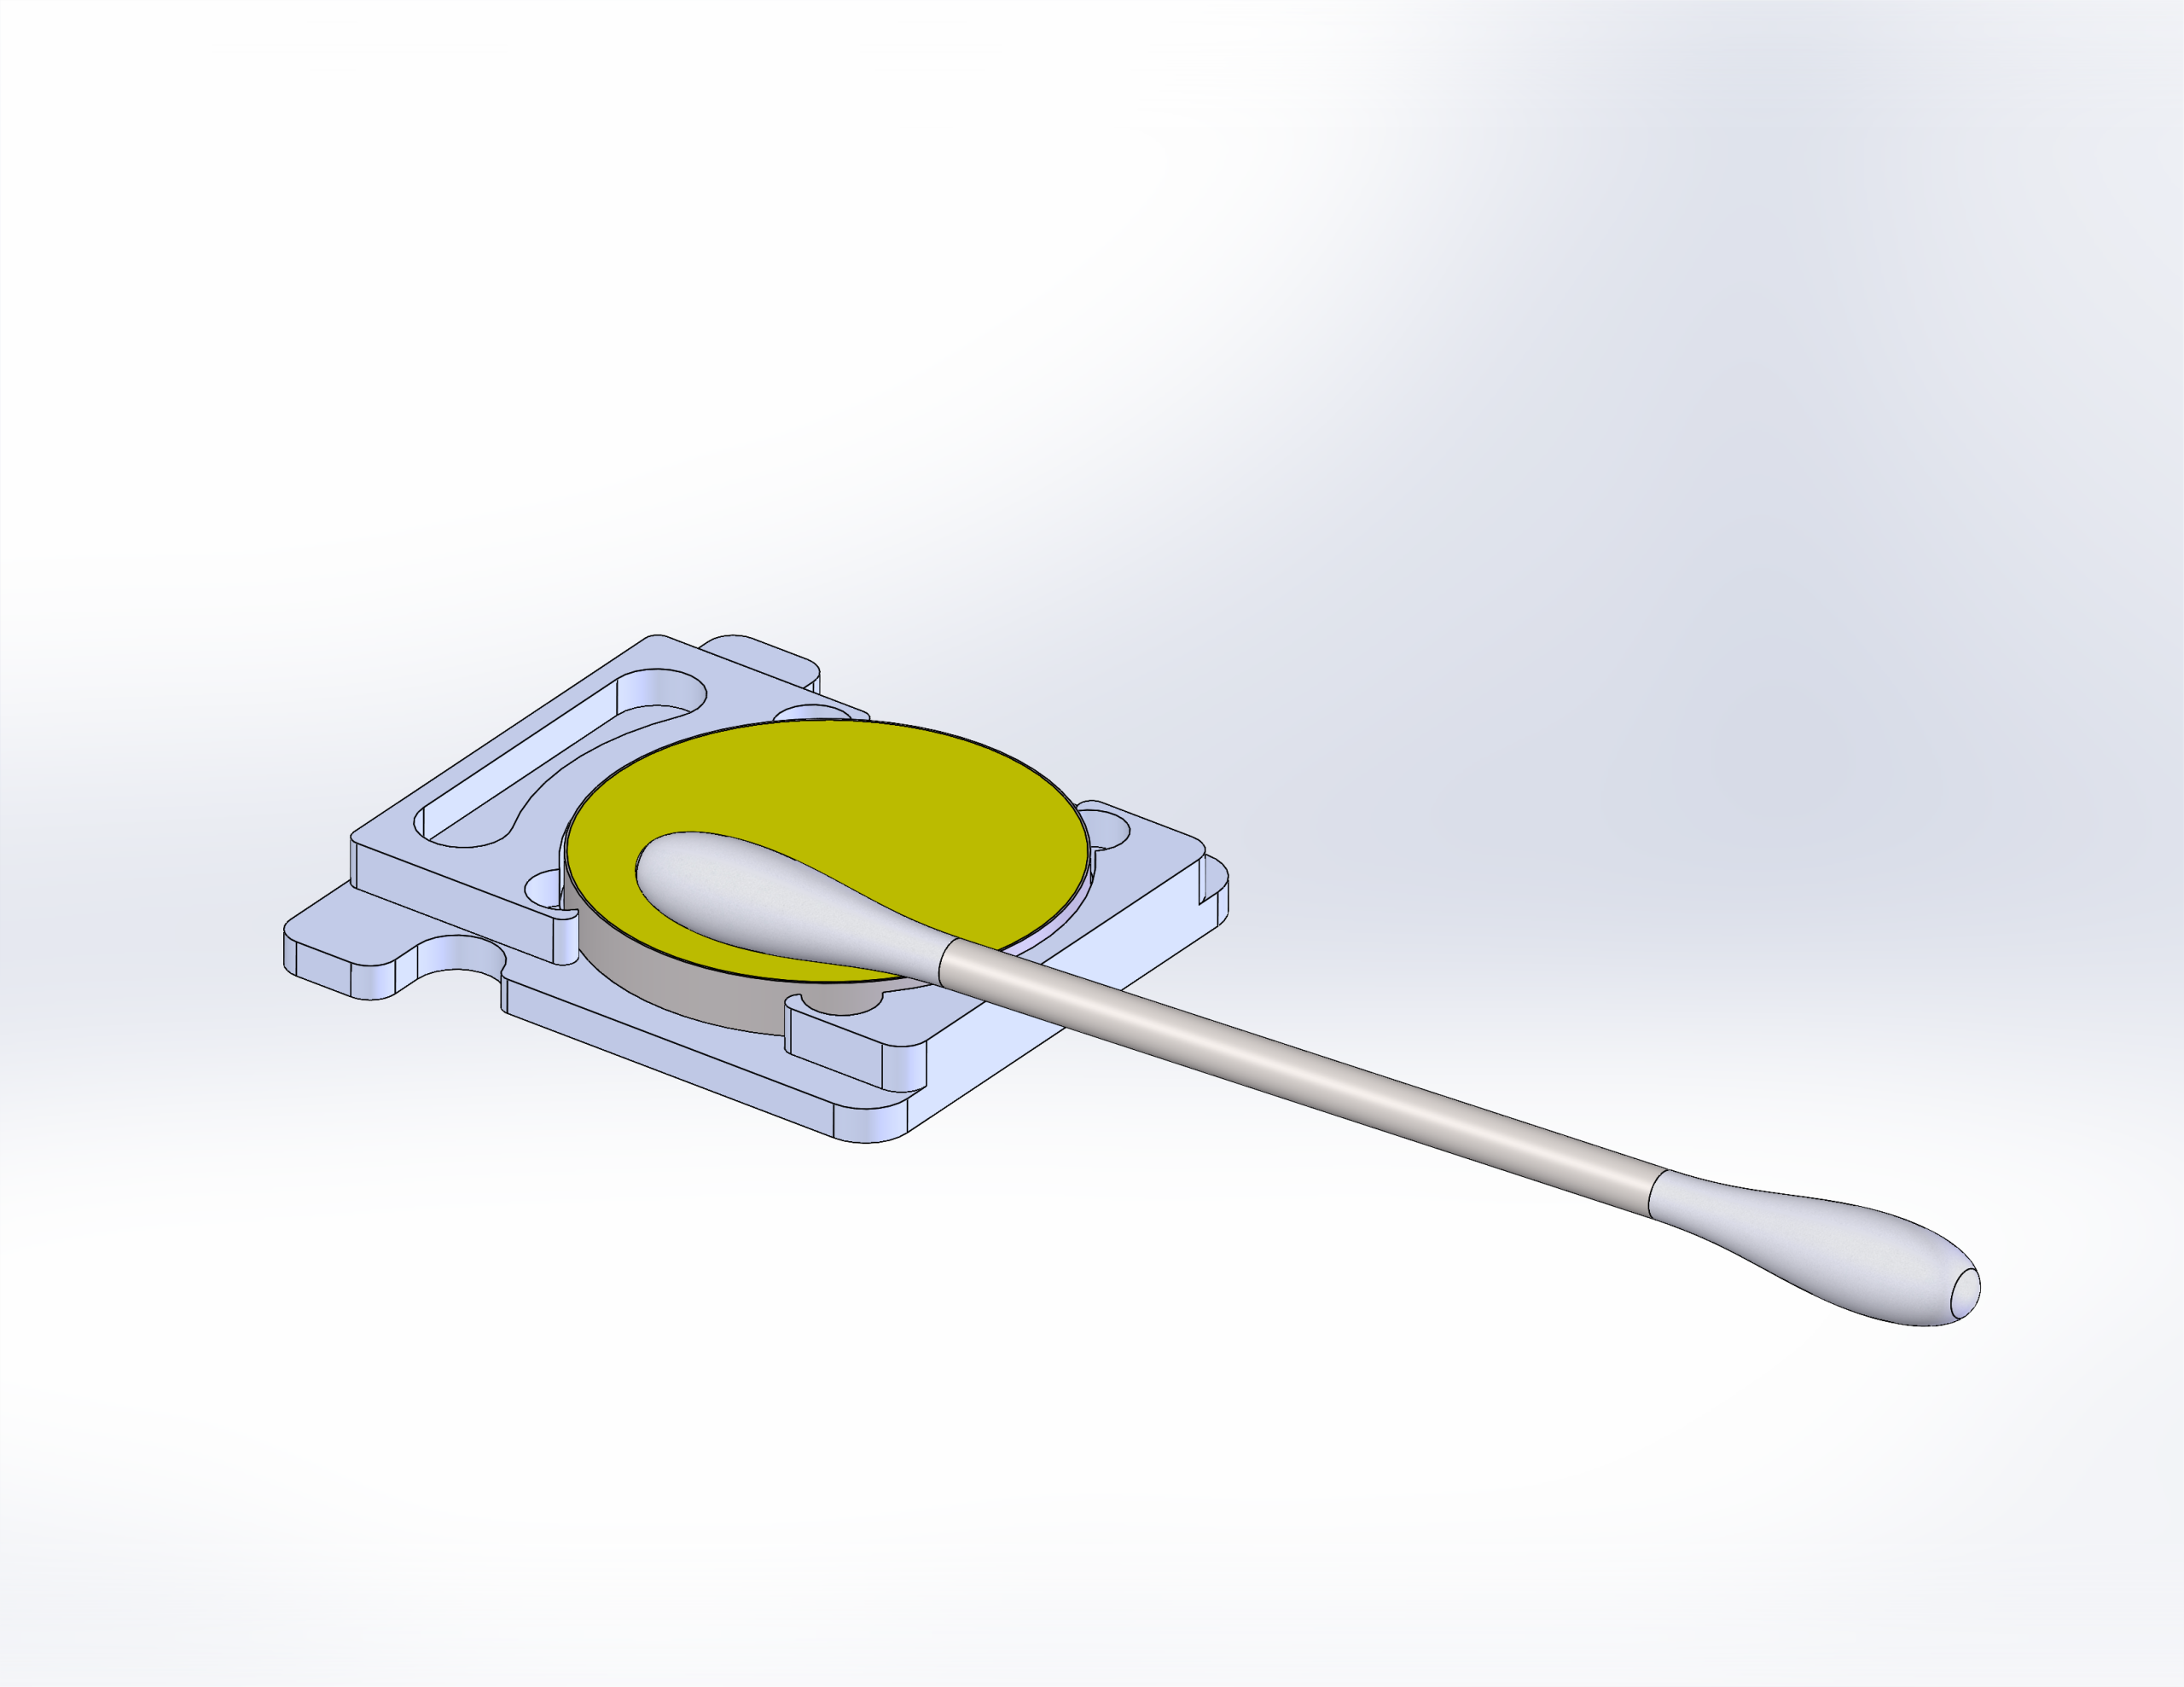
Figure 4. Standard mirror cleaning example. -
Dry the mirror.
Use a fresh cotton swab to remove any remaining residue from the mirror surface.
-
Reinstall the mirror into the carriage.
Secure the mirror using the thumb screw and confirm it is firmly seated.
-
Clean both sides of the lens.
Wipe each side with a moistened swab and dry with a new swab.
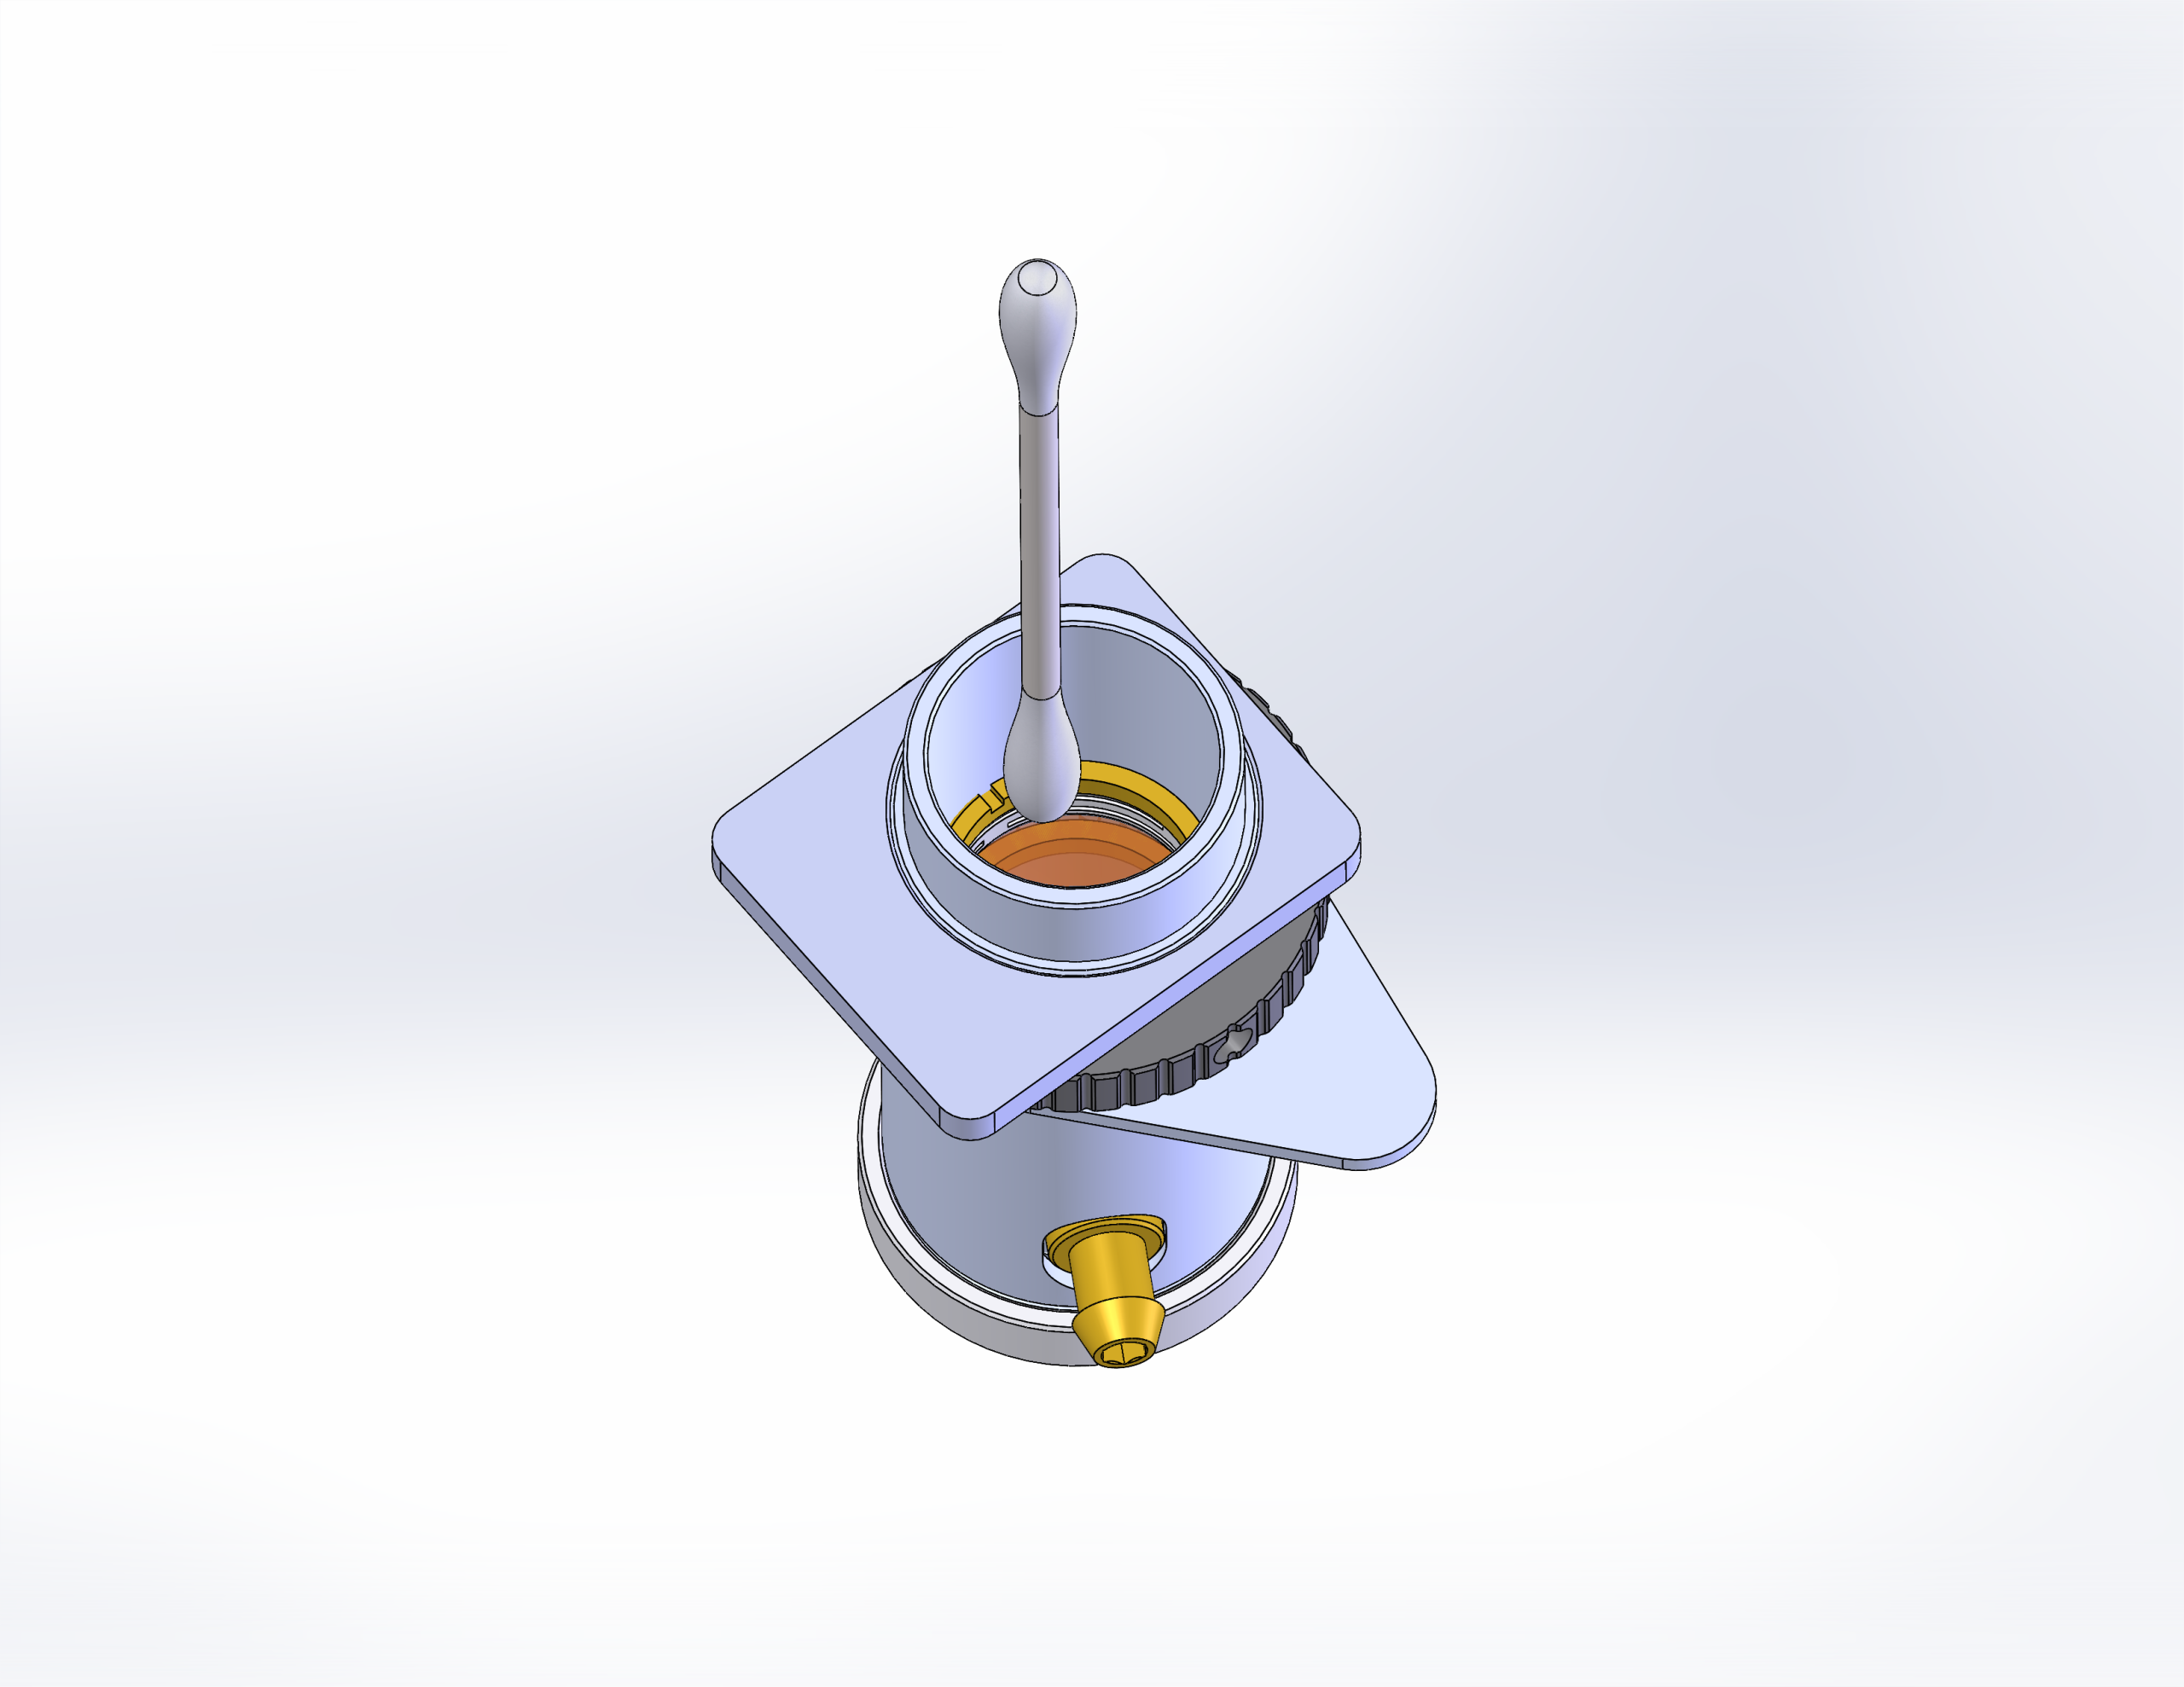
Figure 5. Cleaning the top side of the lens. 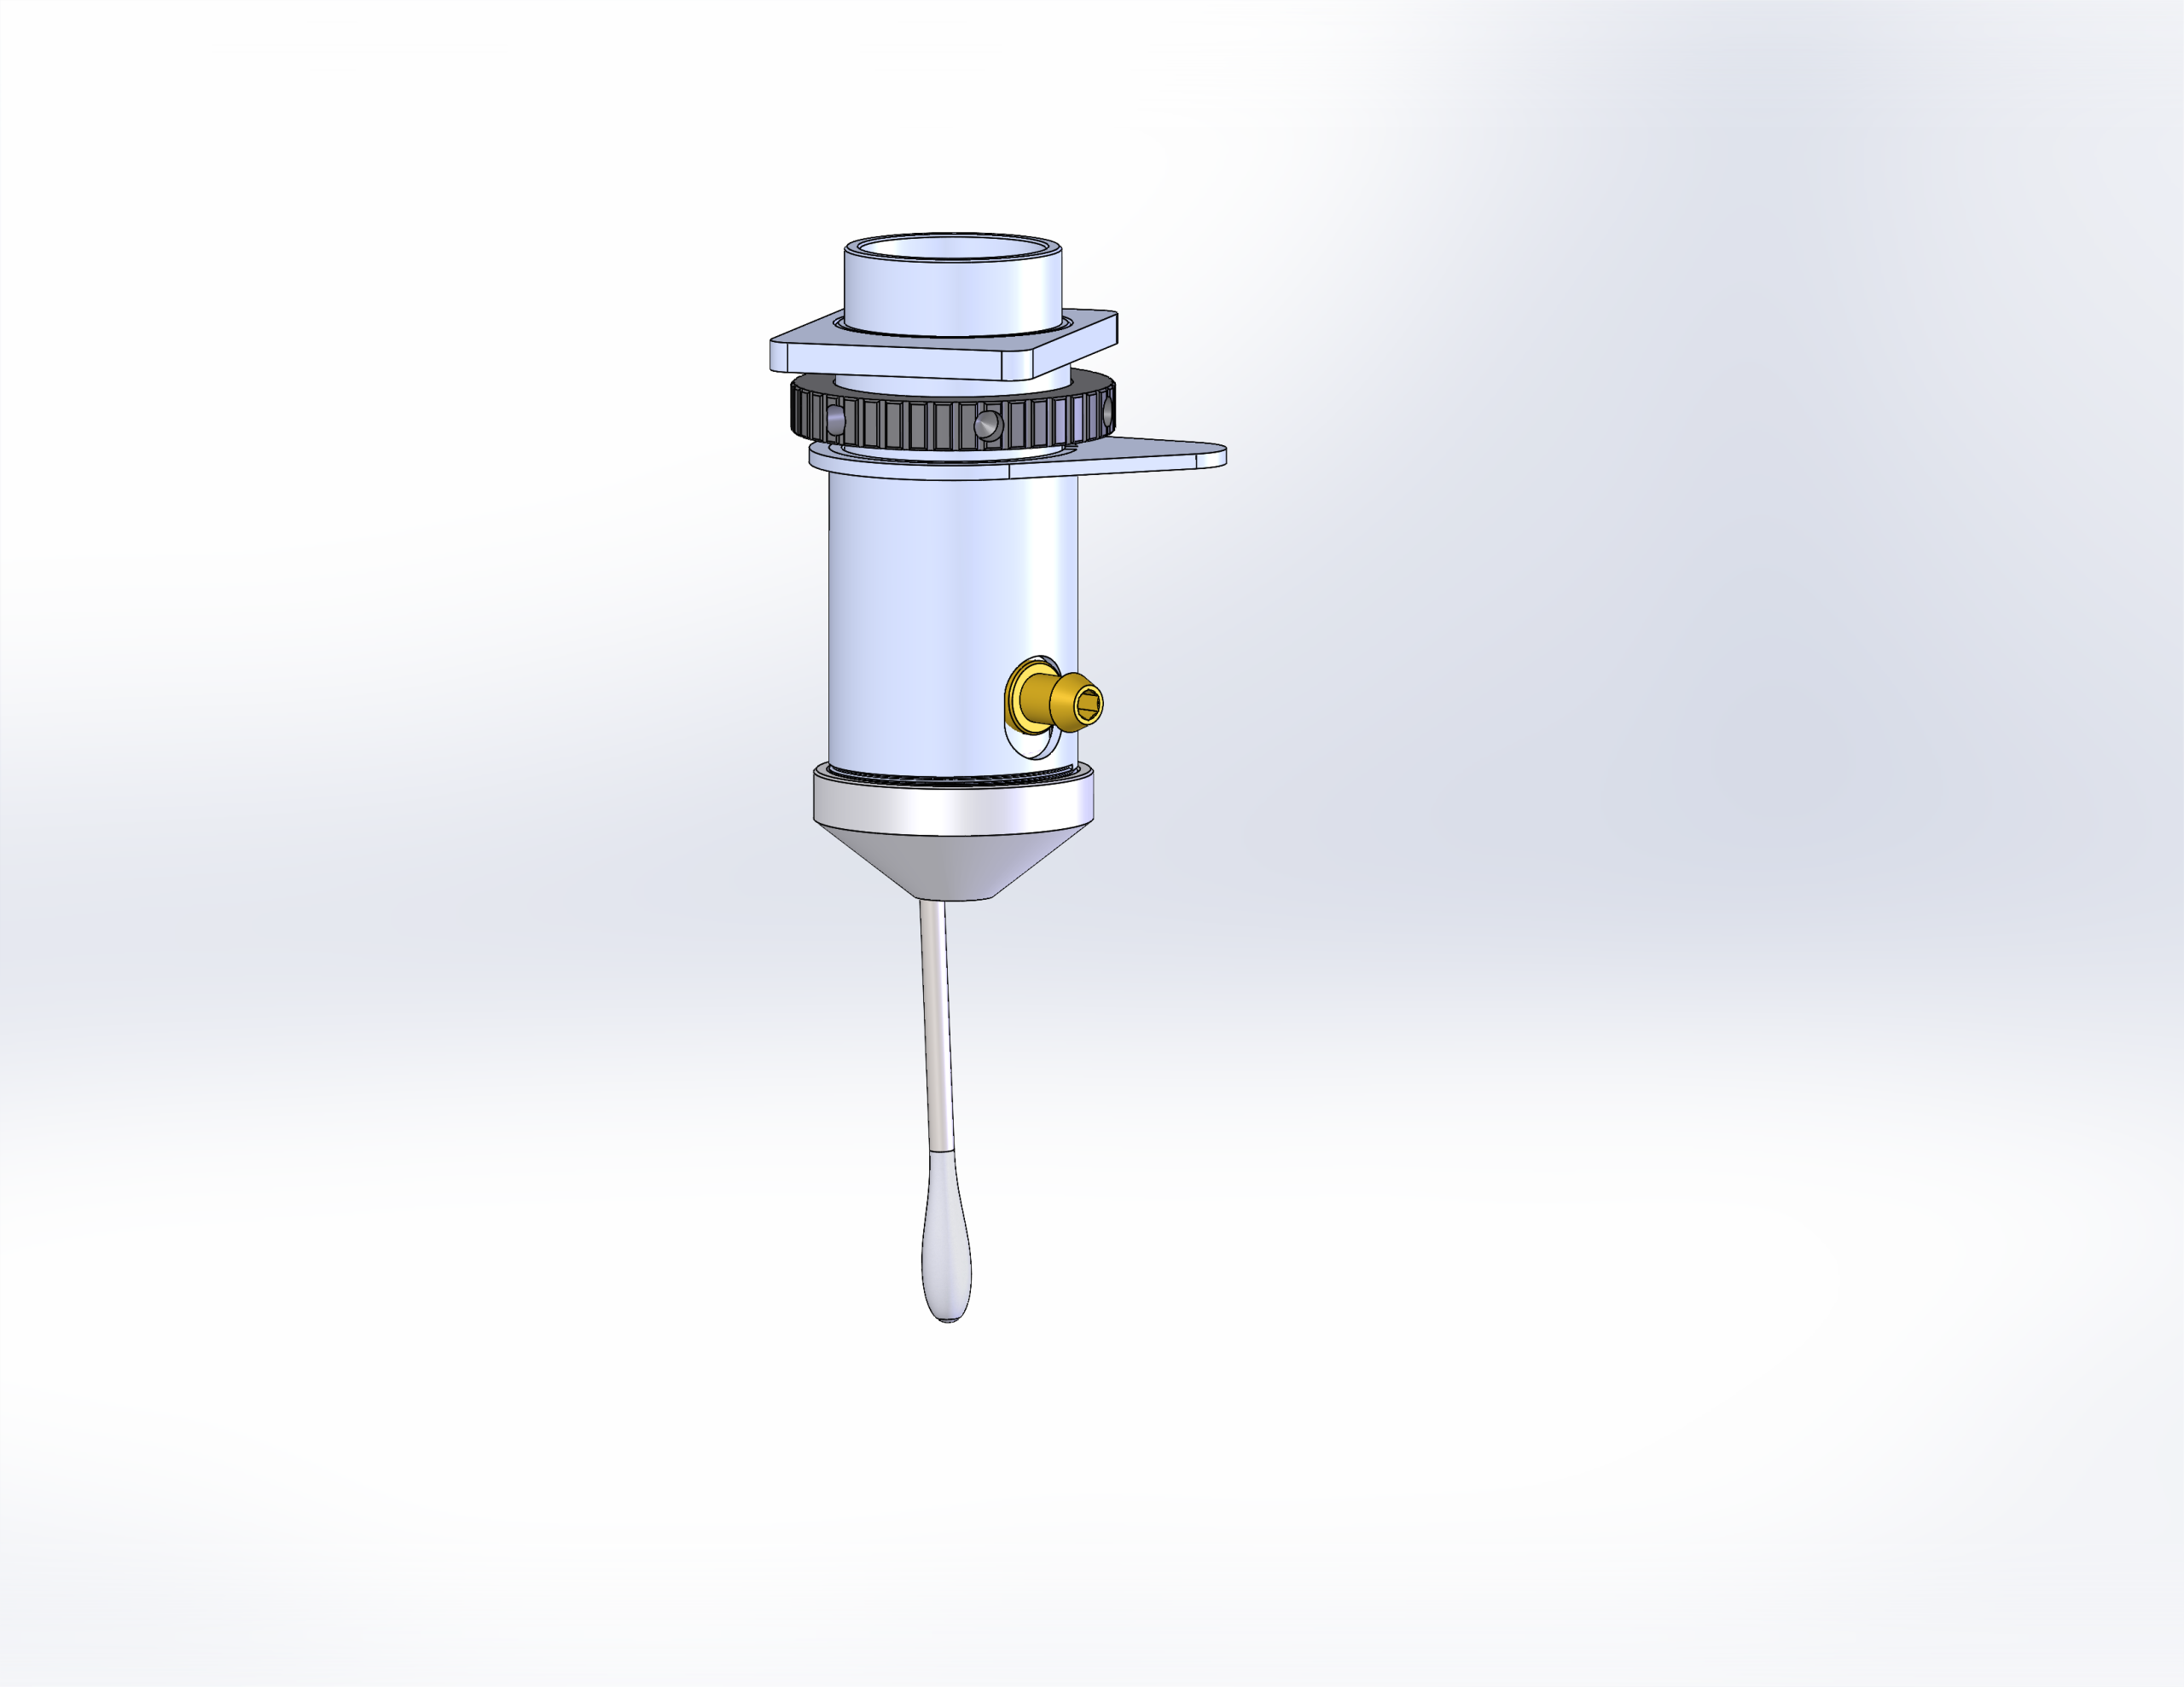
Figure 6. Cleaning the bottom side of the lens. -
Reinstall the lens.
Place the lens back into the carriage and tighten the lens nut securely.
Monthly Detailed Cleaning
-
Remove the lens cone.
Detach the cone assembly to expose internal optical components.
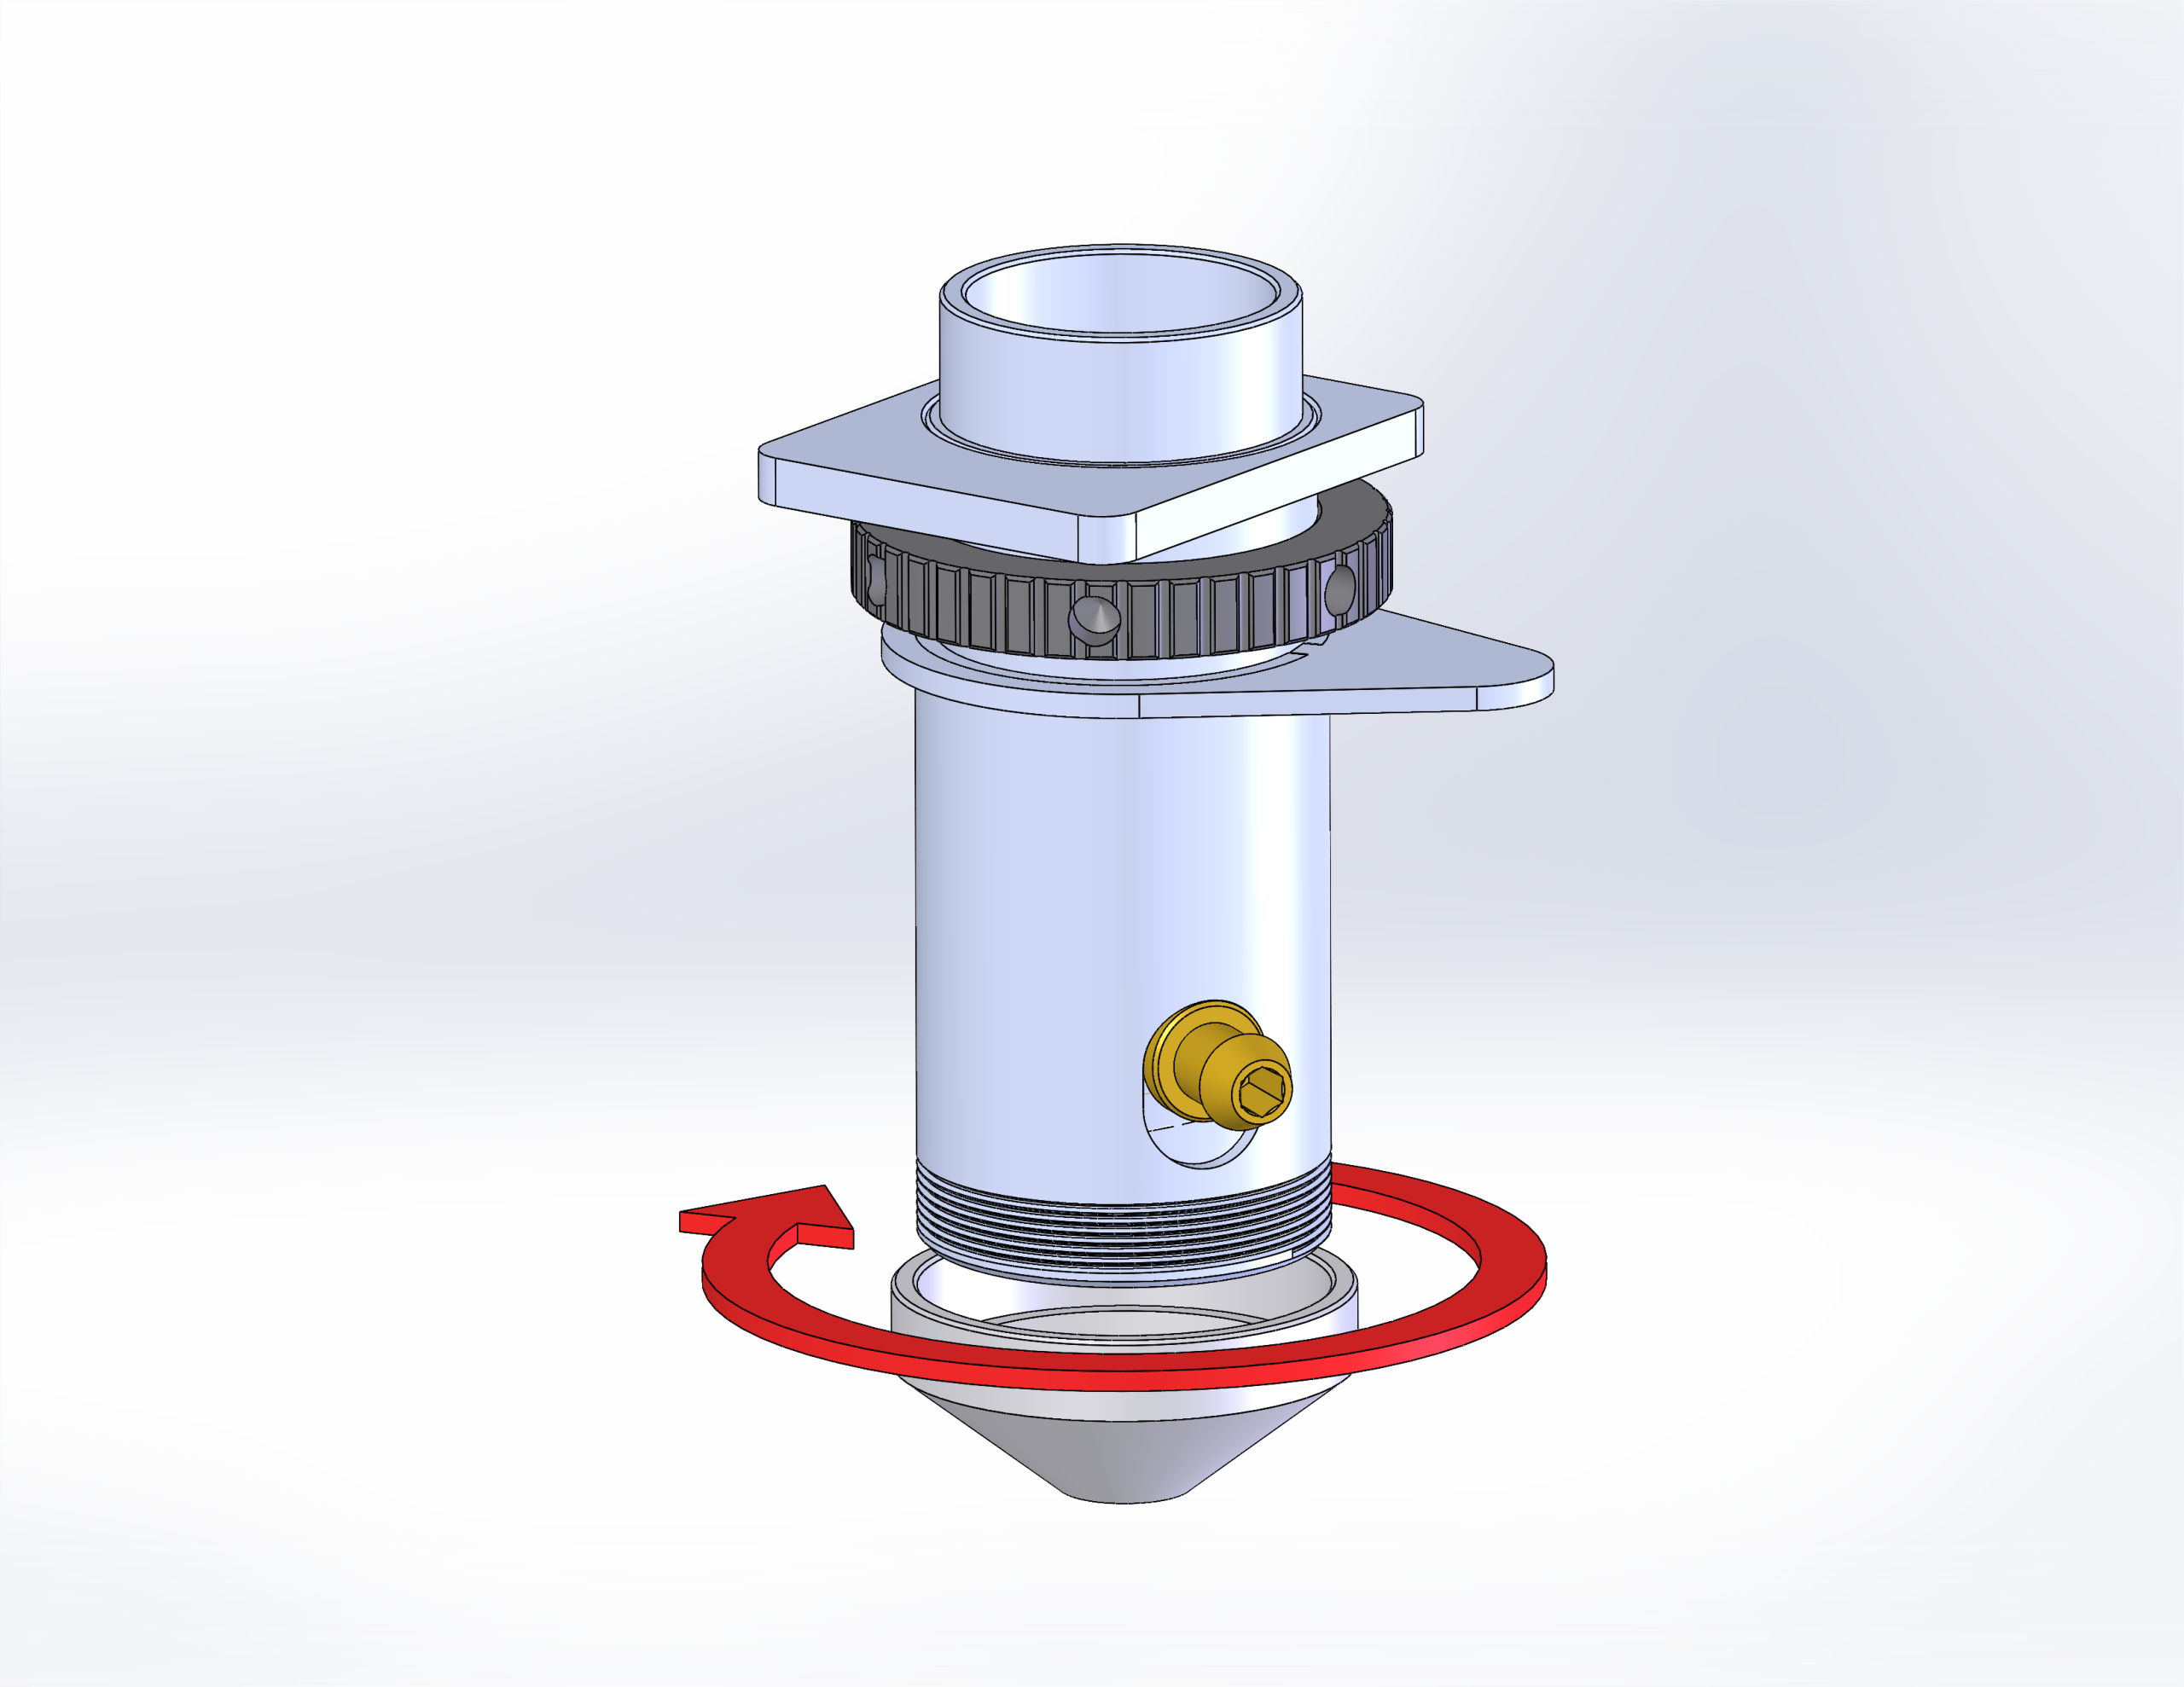
Figure 7. Lens cone removal. -
Remove the brass air fitting.
Use a 7/64″ hex wrench to disconnect the air fitting.
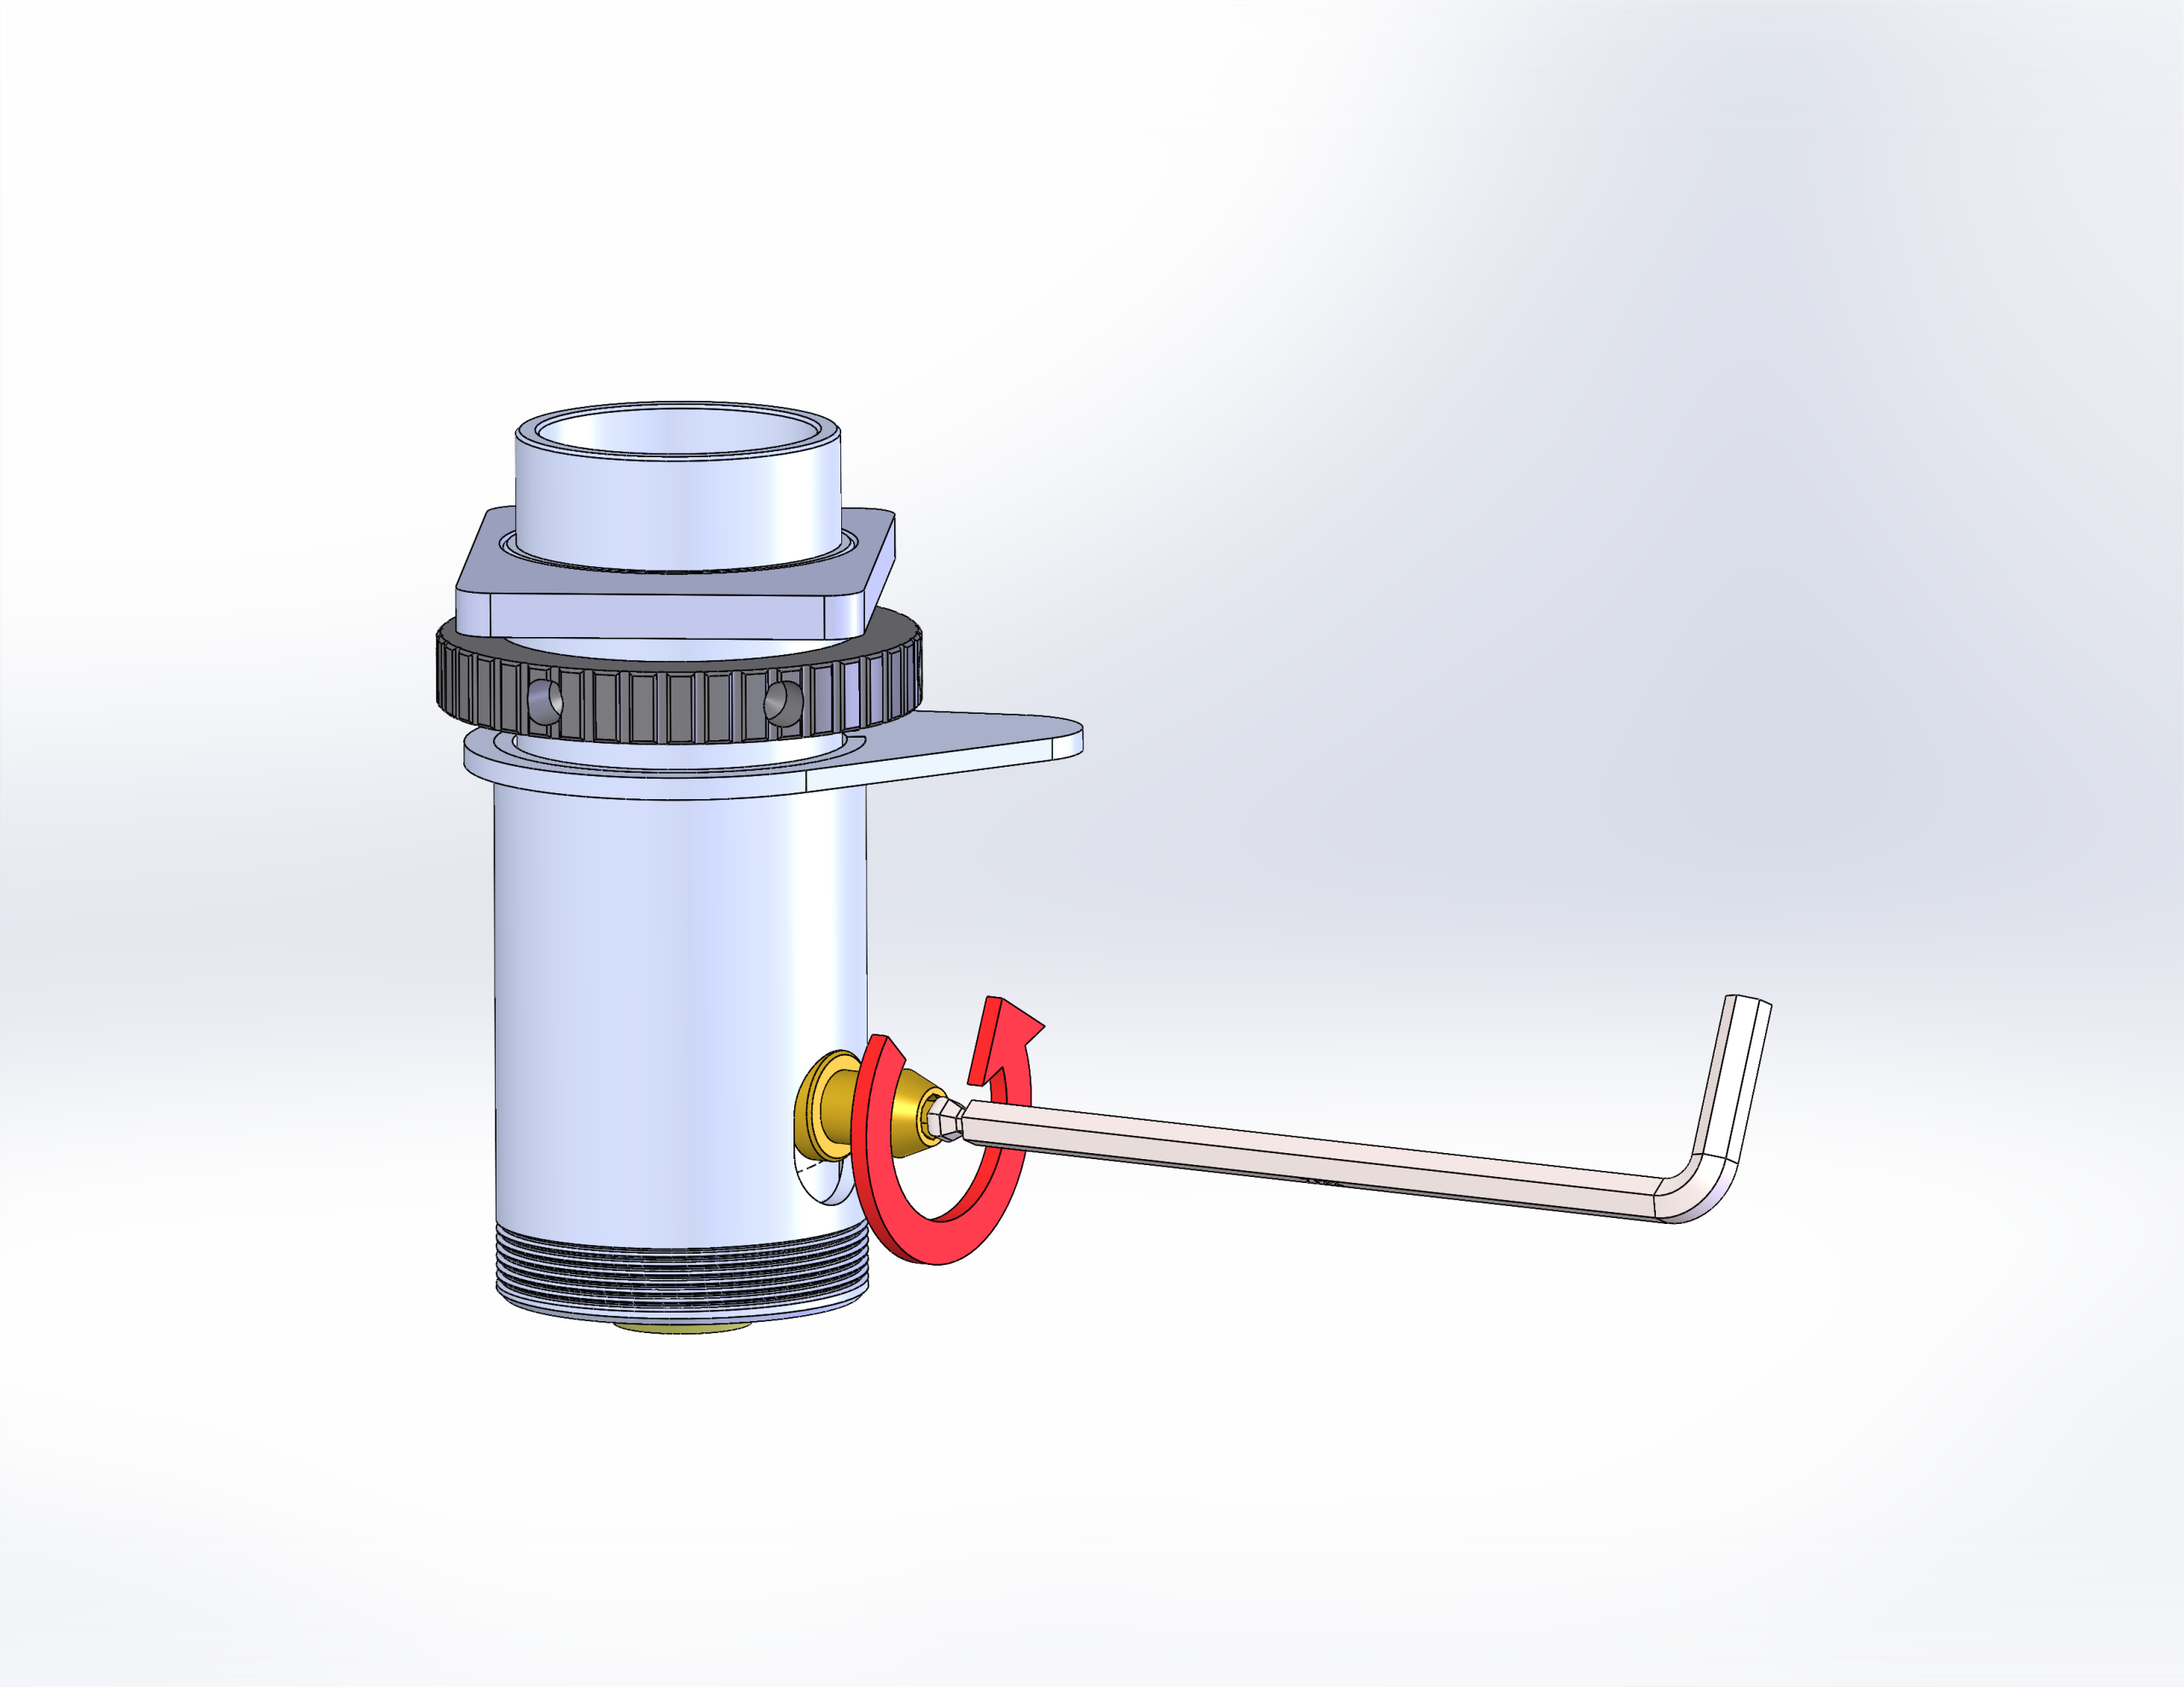
Figure 8. Removing the brass air fitting. -
Remove the outer lens tube.
Carefully remove the outer lens cone, which contains a spring neccessary for proper autofocus function.

Figure 9. Outer lens tube with internal spring. -
Remove the inner lens cone.
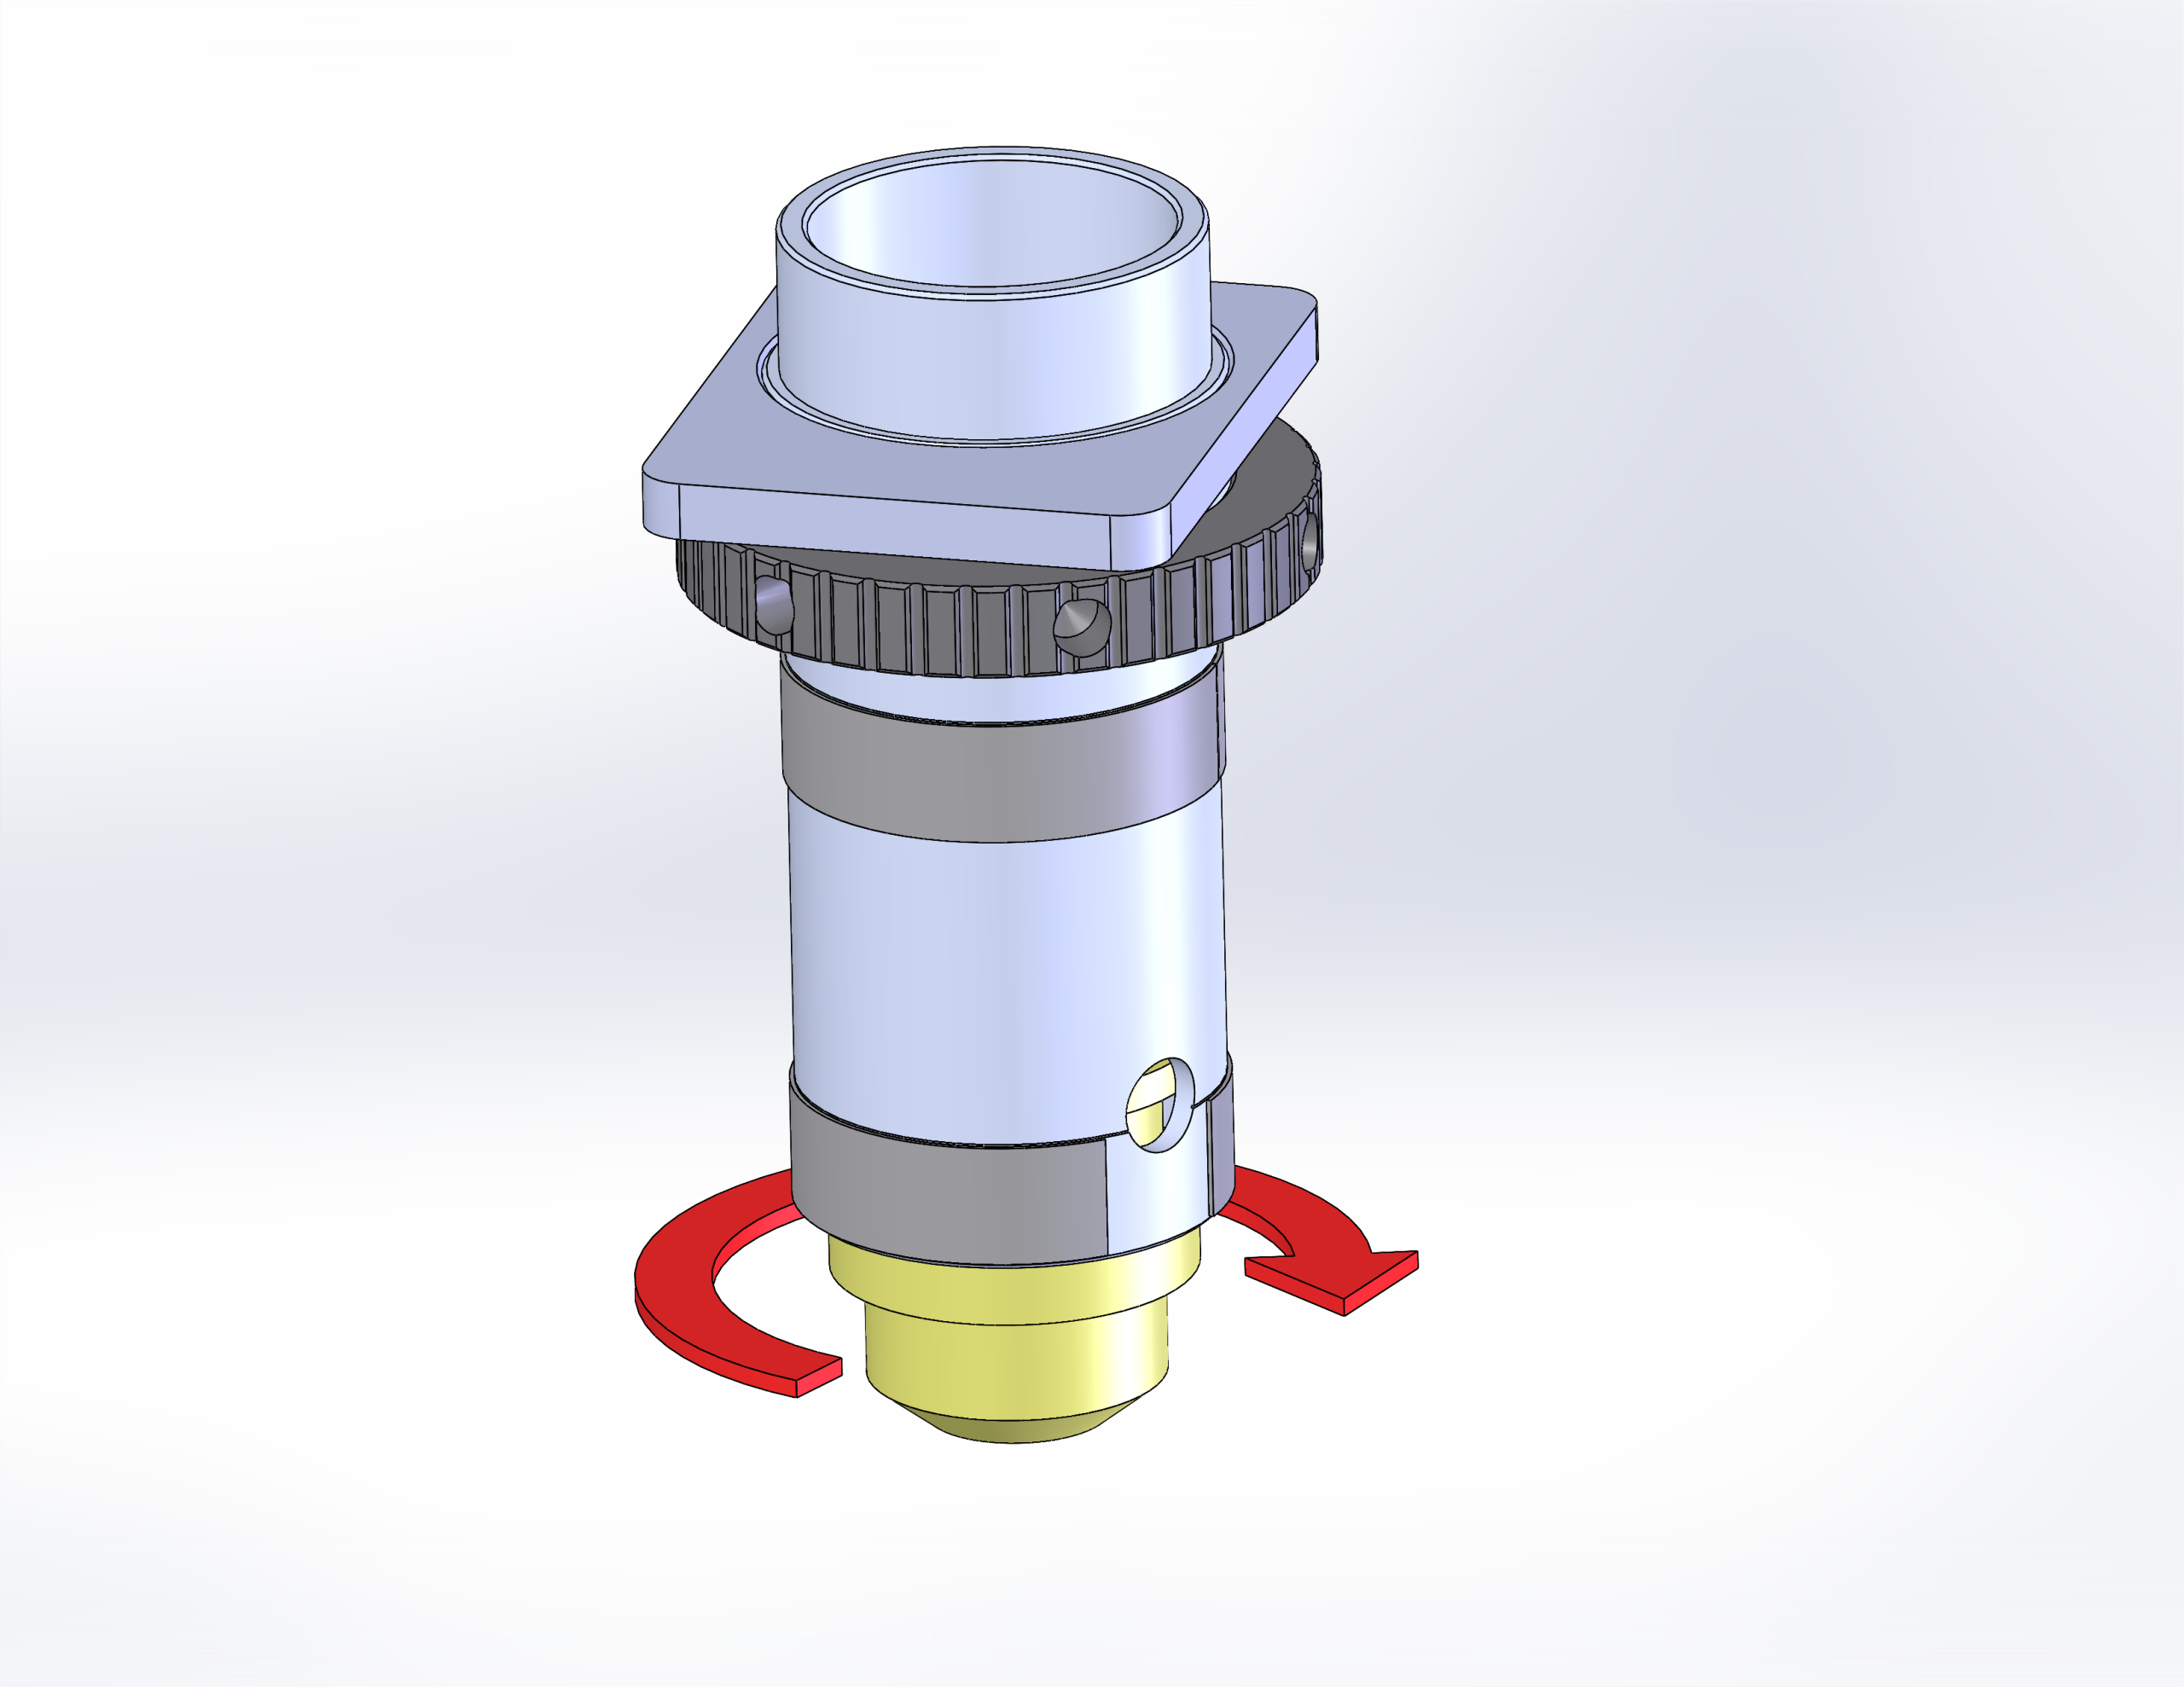
Figure 10. Inner lens cone removed. -
Clean the bottom side of the lens.
Apply lens cleaner and gently wipe.
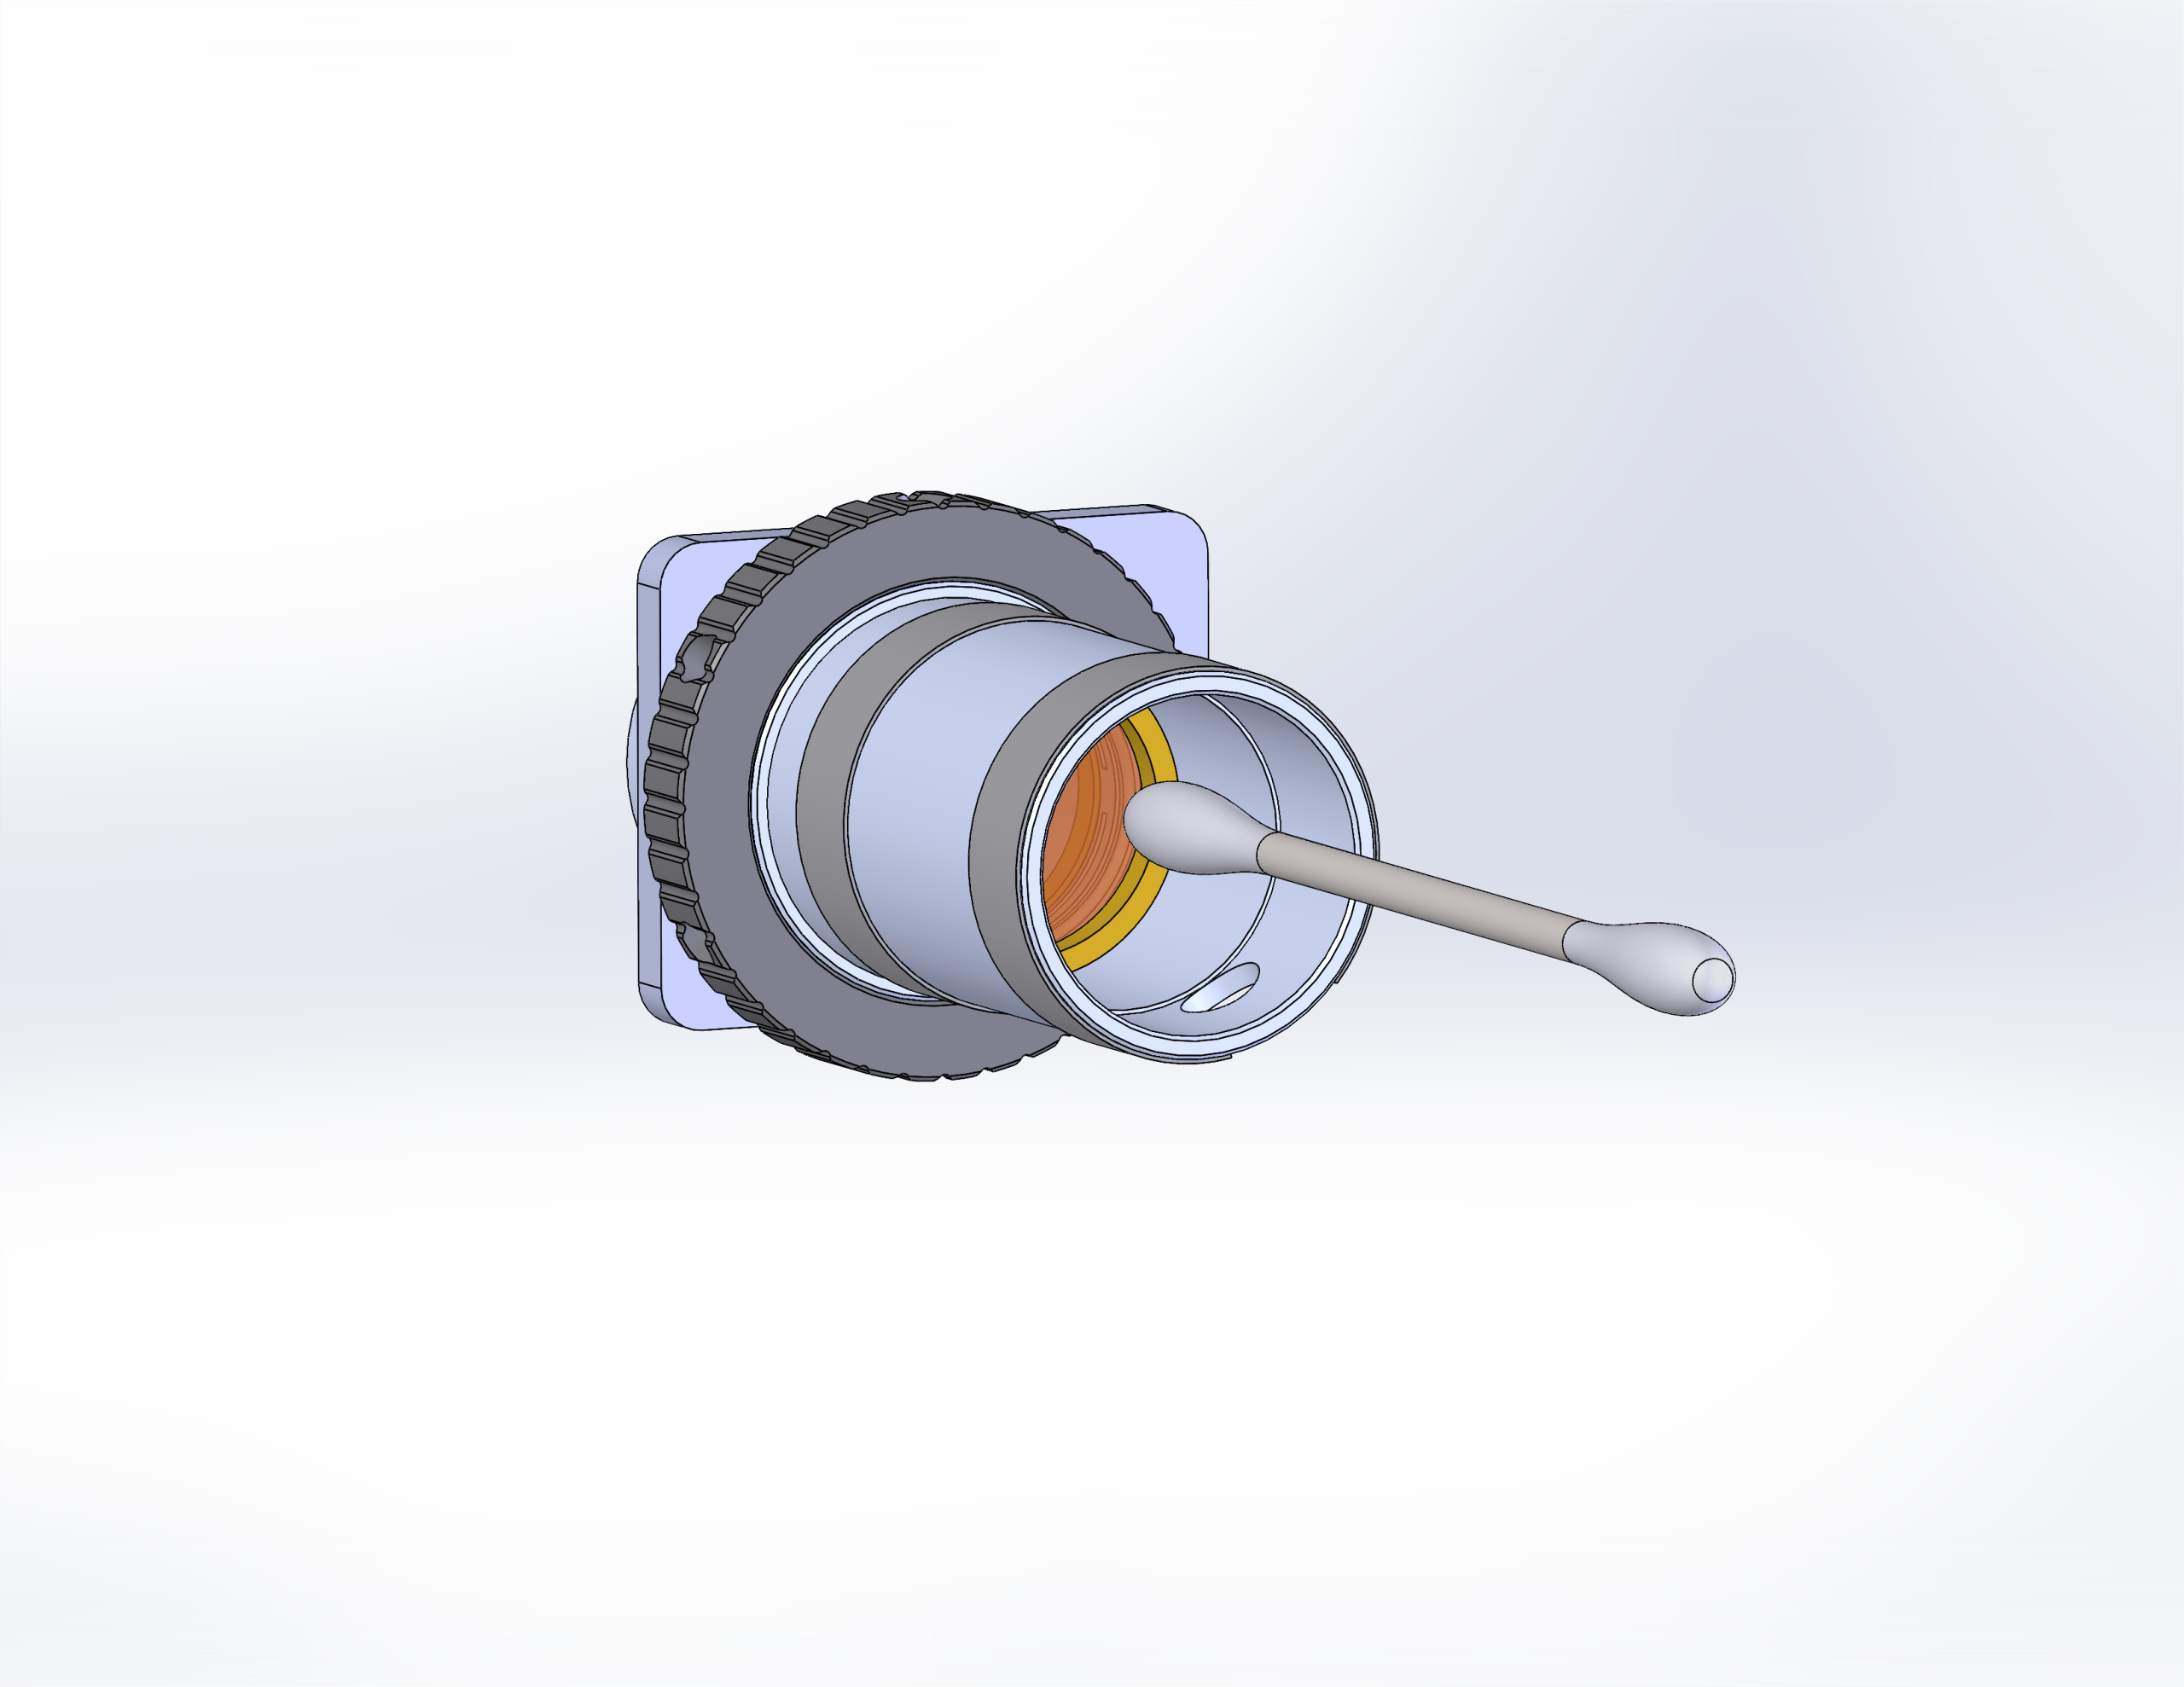
Figure 11. Cleaning the bottom side of the lens. -
Reassemble the lens components.
Note: Align the notch on the internal cone with the hole in the outer tube before installing brass air fitting.
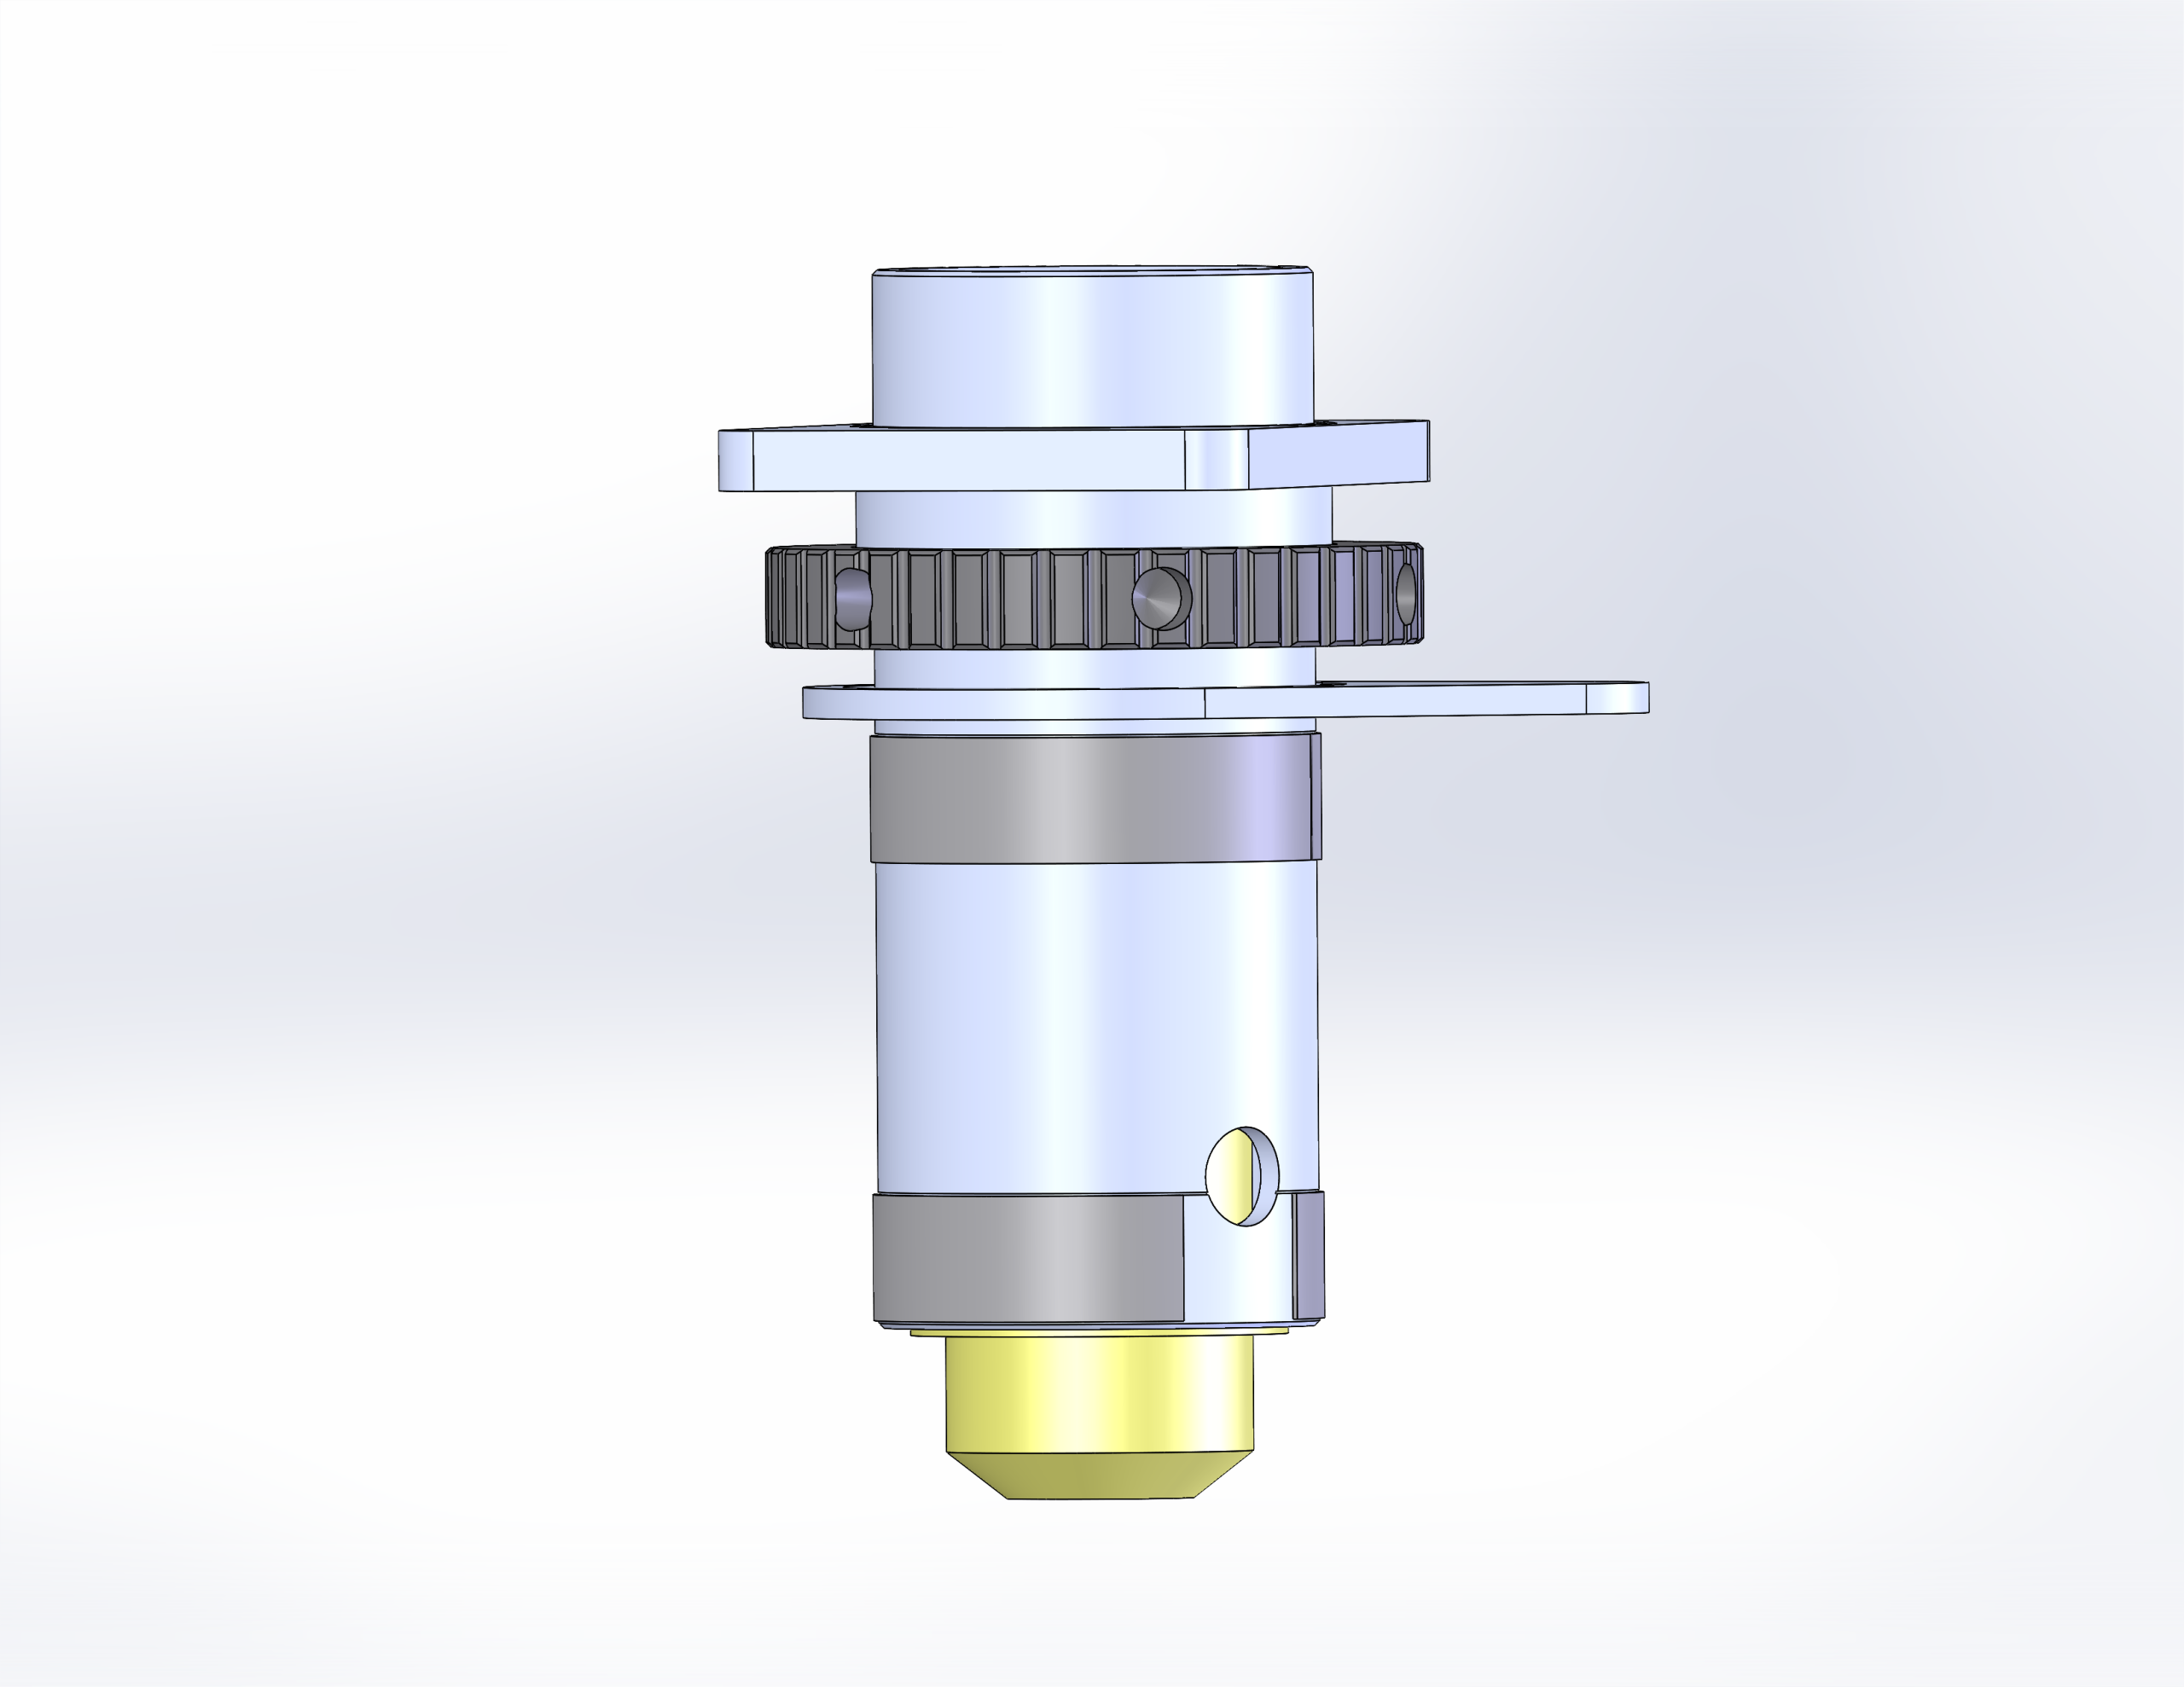
Figure 12. Lens reassembly completed. 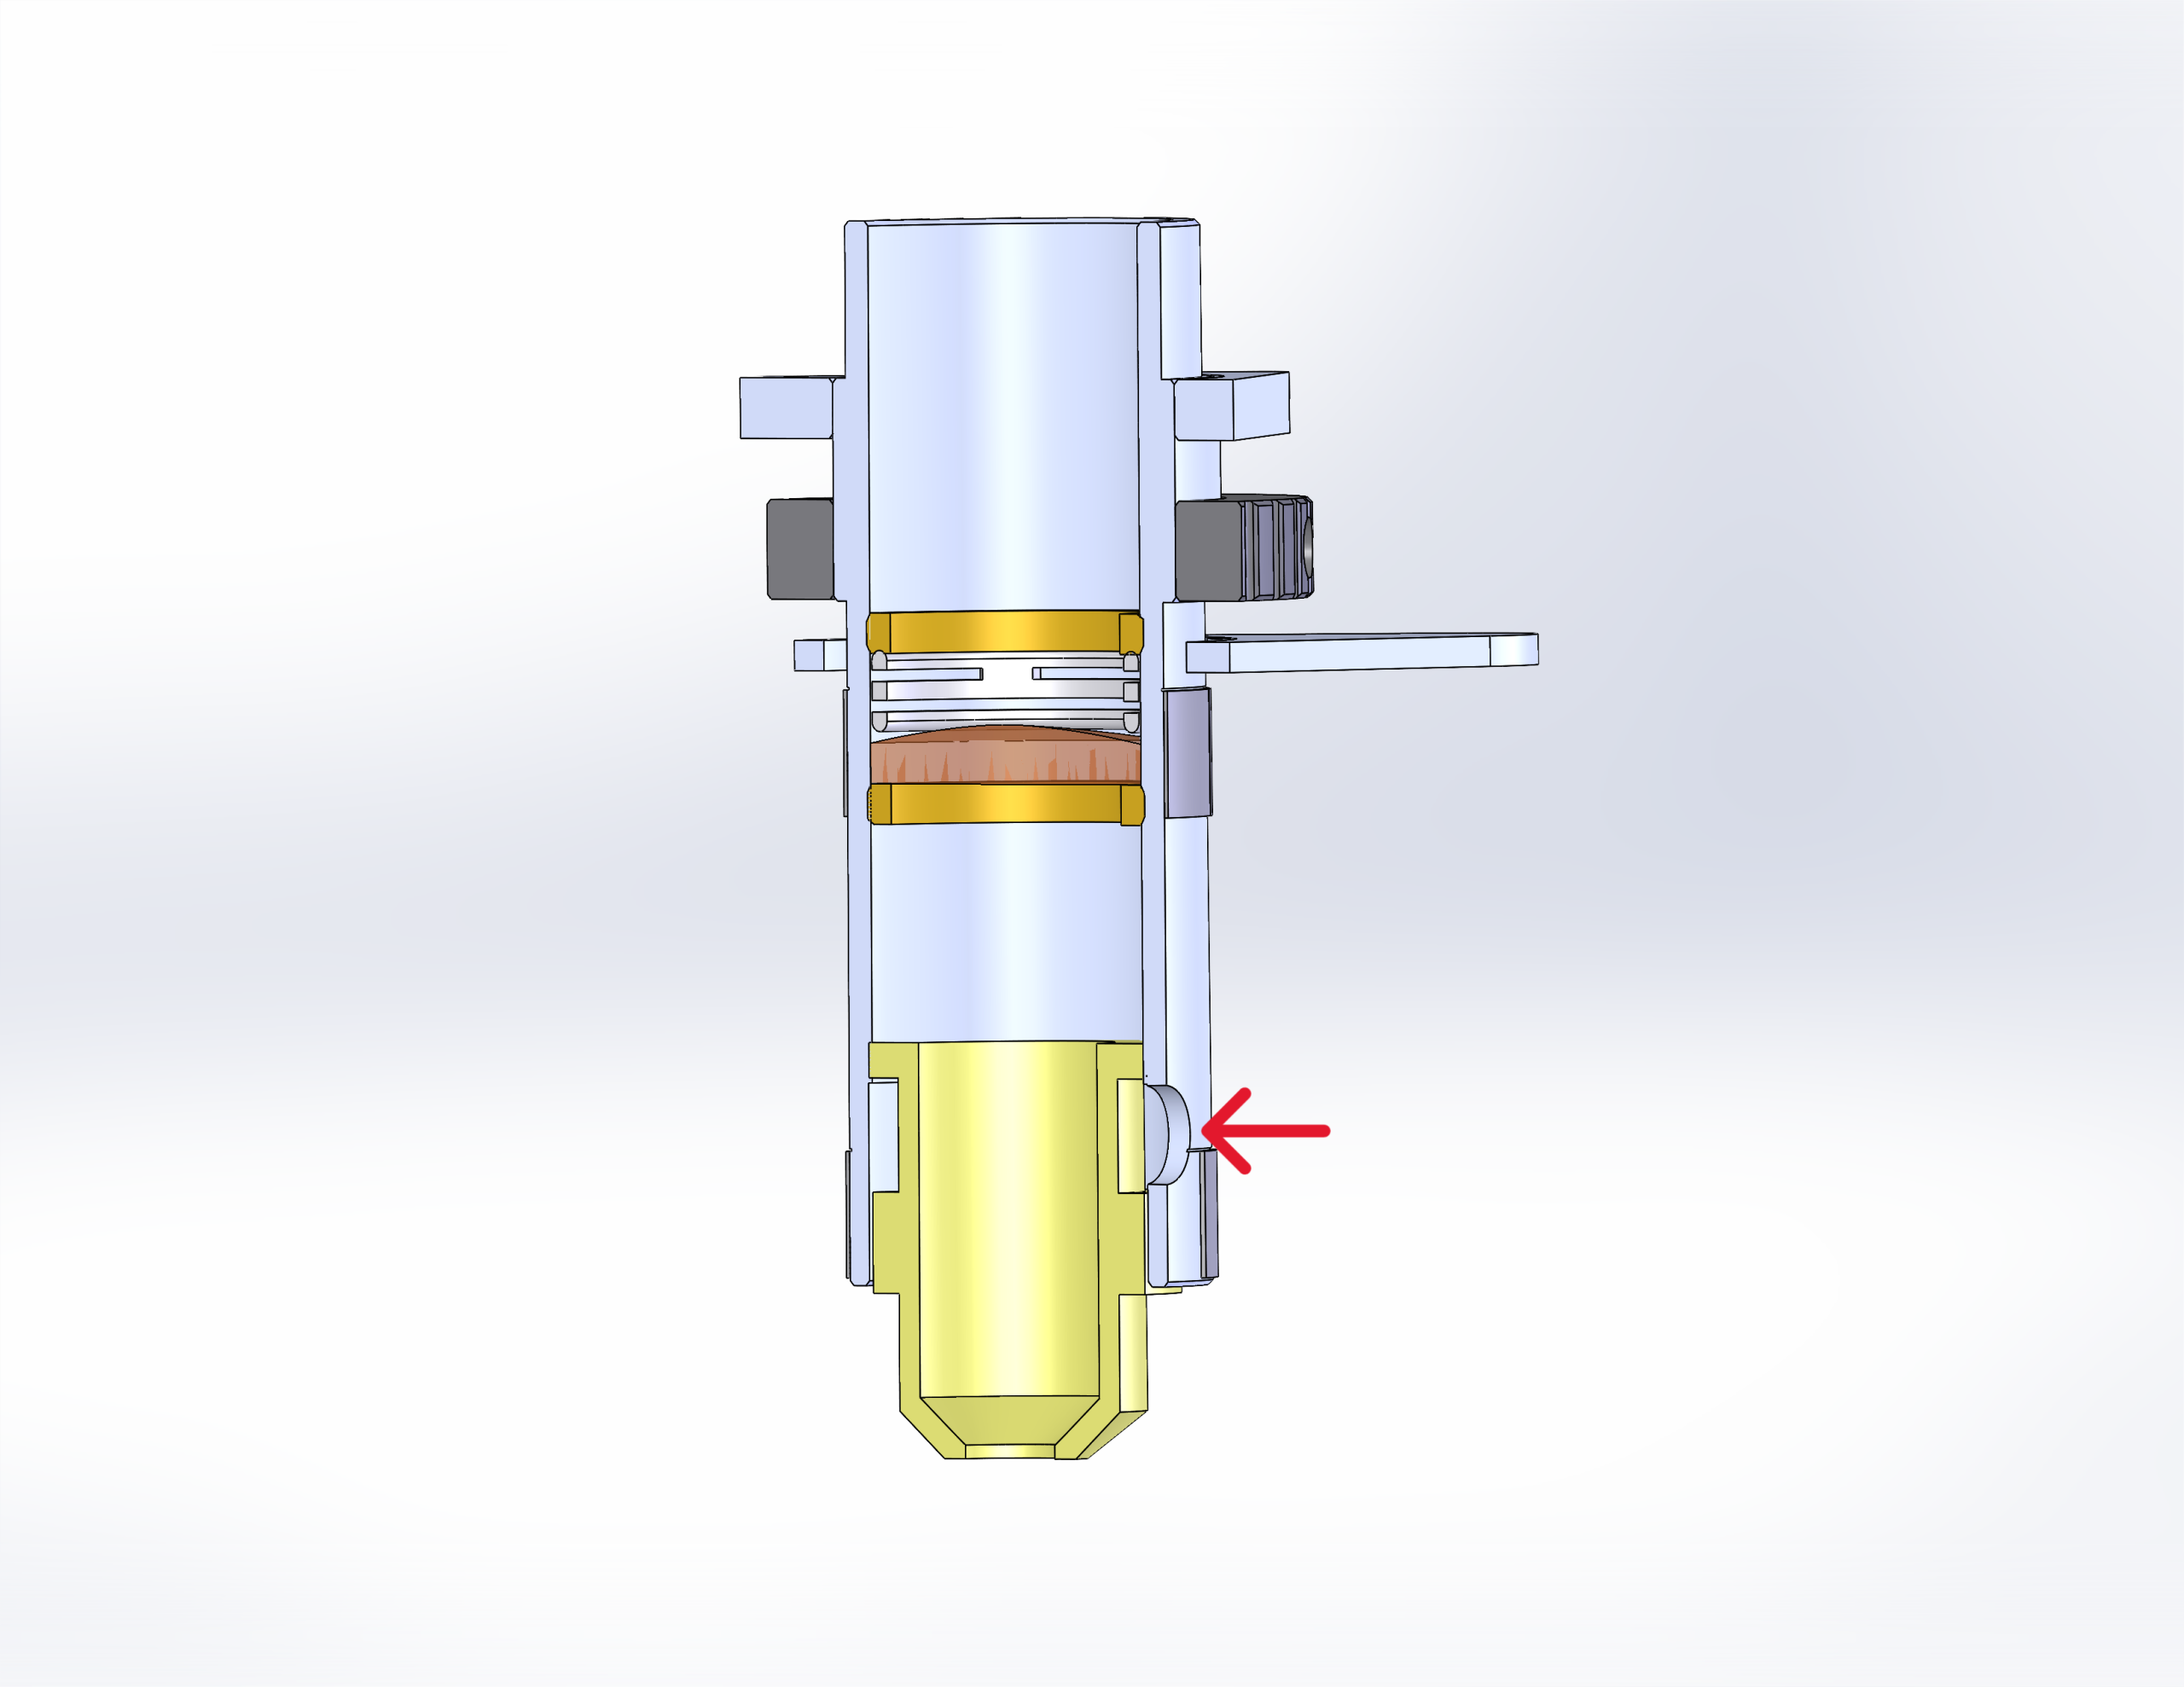
Figure 13. Alignment notch location.
Additional Optics
The Fusion Laser includes multiple steering mirrors along the beam path. While they don’t require daily cleaning, inspect them periodically. Use the same lens-safe cleaning solution and high-quality cotton swab. Accessing these mirrors may require panel removal. Always power off the system before cleaning.
Mirror Locations (Large Aperture)
Mirror Locations (Standard Aperture)
Mirror Cleaning
-
Apply lens cleaner to a cotton swab.
Use a high-quality swab with approved cleaning solution to prevent damage.
Figure 15. Applying lens cleaner to cotton swab. -
Wipe the mirror surface gently.
Use the side of the cotton swab to clean without pressing.
Note: Fusion Pro mirrors are attached with thermal compound. If separated, press the mirror back onto the holder. If additional compound is needed, follow the Applying Thermal Compound procedure linked on the right.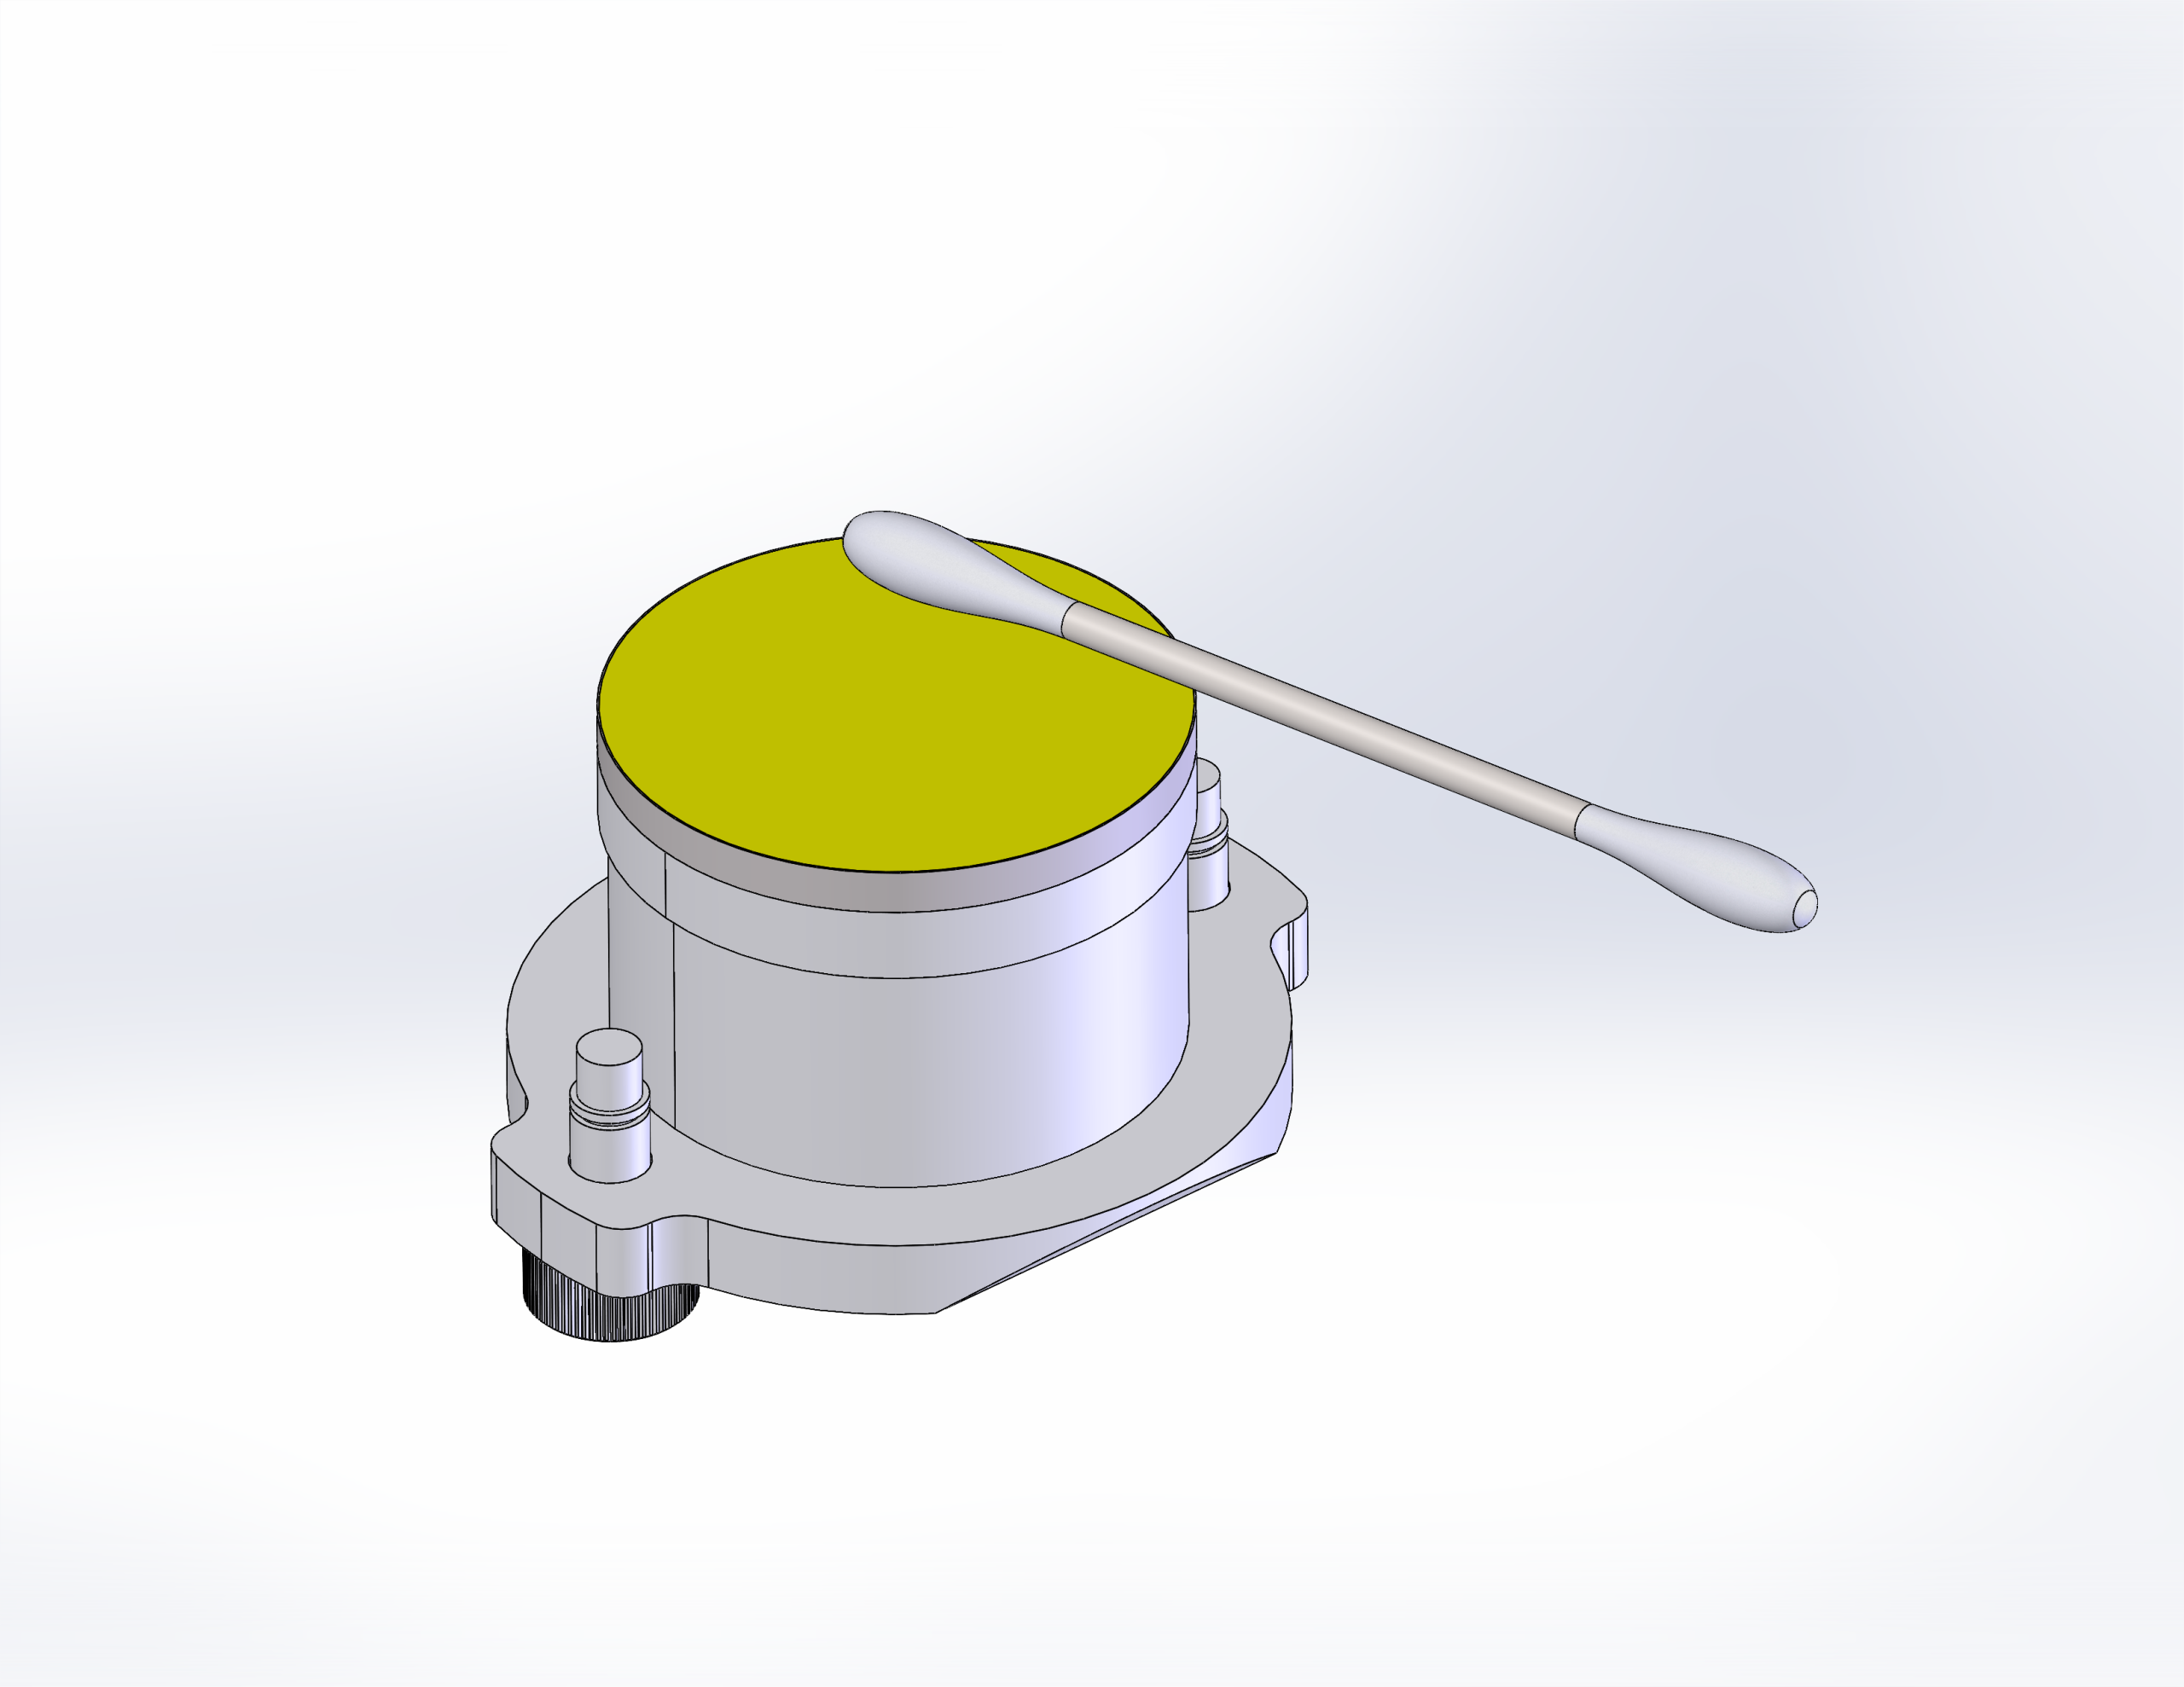
Figure 16. Large aperture mirror. Figure 17. Mirror cleaning example (side view).