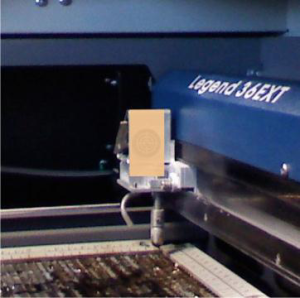
This guide covers correcting the alignment on the Legend 36EXT so the red dot pointer, and therefore the laser beam, is perpendicular to the engraving table. Accurate perpendicular alignment is needed for clean, precise vector cuts.
Parts Required
- None
Tools / Materials Required
- 7/64" Allen Wrench
- Alignment Target (supplied with the engraver)
Before You Start
Complete these first, in this order:
- Level the engraver using the Table Leveling Procedure for the Legend 36EXT.
- Align the laser using Laser Alignment 36EXT.
Perpendicular Alignment
Turn On the Engraver
Turn on the engraver and wait for it to finish starting up.
Turn Off X/Y
Press X/Y Off, then press GO when prompted.
Turn On the Red Dot
Press POINTER to turn on the red dot pointer.
Place the Target
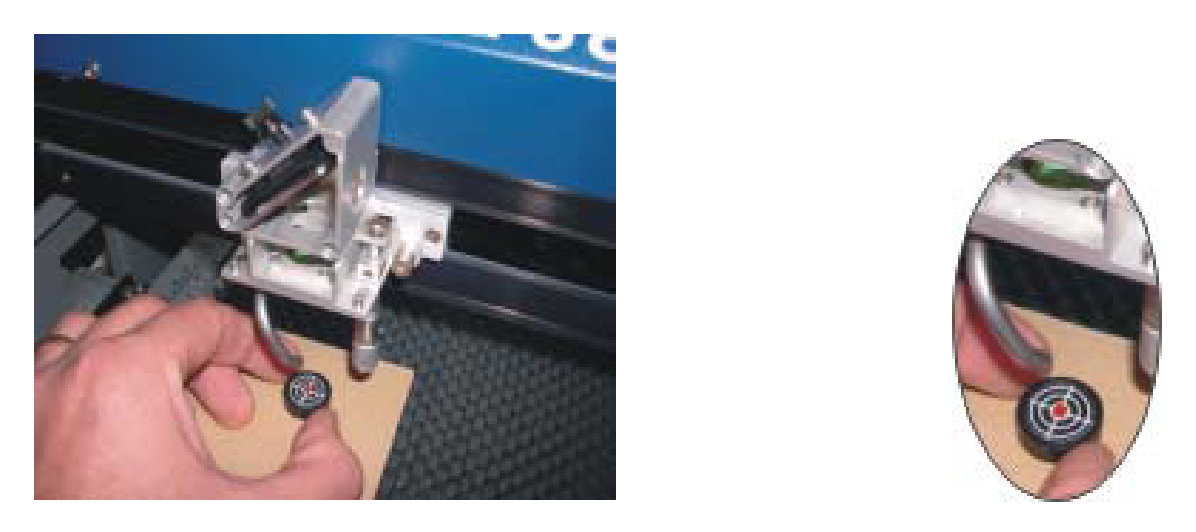
Move the lens carriage away from home and set the alignment target supplied with your engraver on the table so the red dot is centered on the target.
Lower the Table
Use the focus controls to lower the table. If the mirror over the lens carriage is properly aligned, the red dot does not move. If it does move, continue with this procedure.
Adjust the Carriage Mirror
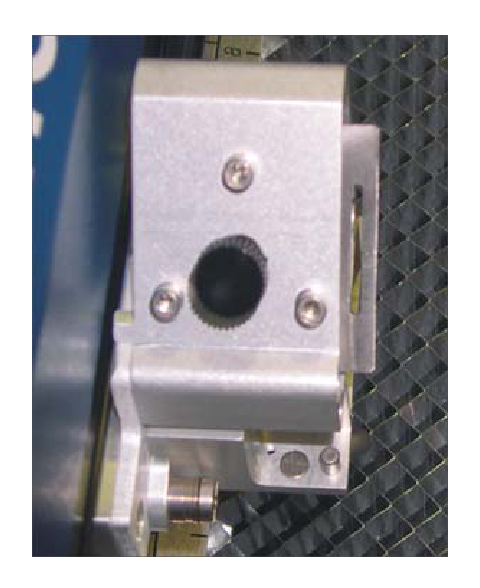
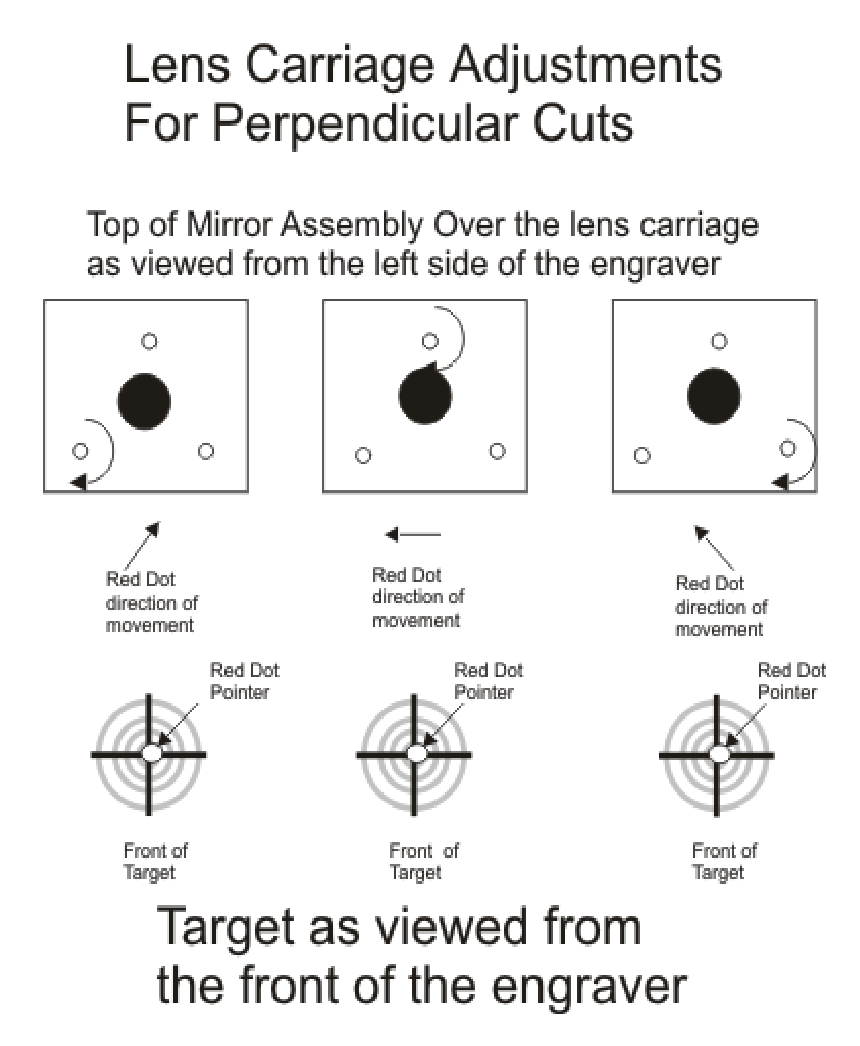
Use the three Allen (hex) adjustment screws on the rear of the lens carriage, with a 7/64" Allen wrench, to move the red dot. The diagram below shows which way each screw moves the dot.
Lens Carriage Adjustments for Perpendicular Cuts
The mirror mount is shown as seen from the left side of the engraver; the target is shown as seen from the front.
Center the Red Dot
Adjust until the red dot is in the middle of the alignment target.
Raise the Table and Check
Use the focus controls to raise the table. The red dot should stay in the same place on the target. If it moves, repeat this procedure from the beginning.