This guide covers replacing the RF (radio frequency) unit in the Legend 36EXT. The RF unit is vital to the laser’s operation, and correct replacement keeps it performing consistently and reliably.
Parts Required
- RF Unit
Tools Required
- Phillips Screwdriver
- Small Flat Head Screwdriver
Safety First: Ensure the engraver is completely powered off and the power cord is disconnected before removing any panels or touching internal components.
RF Unit Removal
Power Off Engraver
Turn off the engraver.

Disconnect From Power
Unplug the power cord from the engraver.
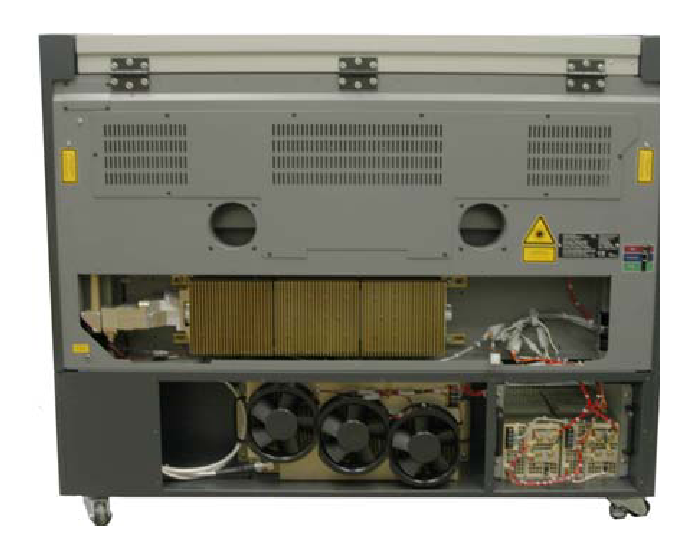
Remove the Back Panels
Remove the middle and lower back service panels. Disconnect the connector to the fans on the middle panel.
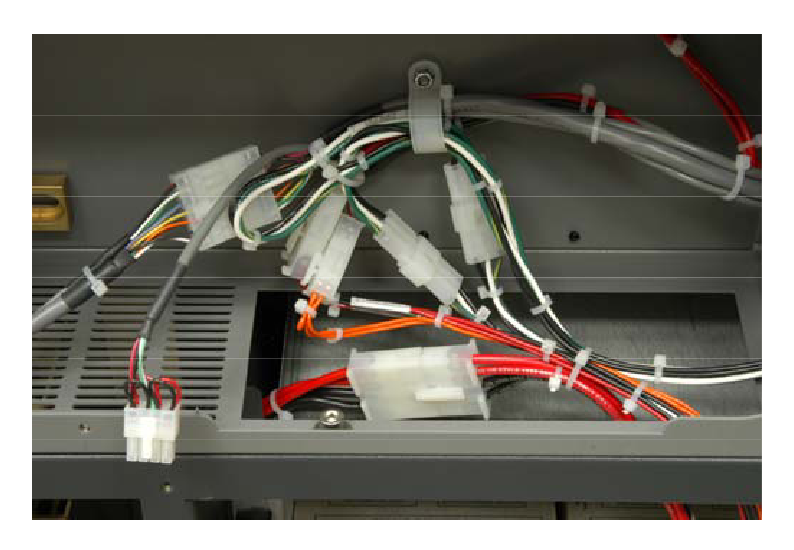
Disconnect the Large Connector
Disconnect the large electrical connector above the power supply.
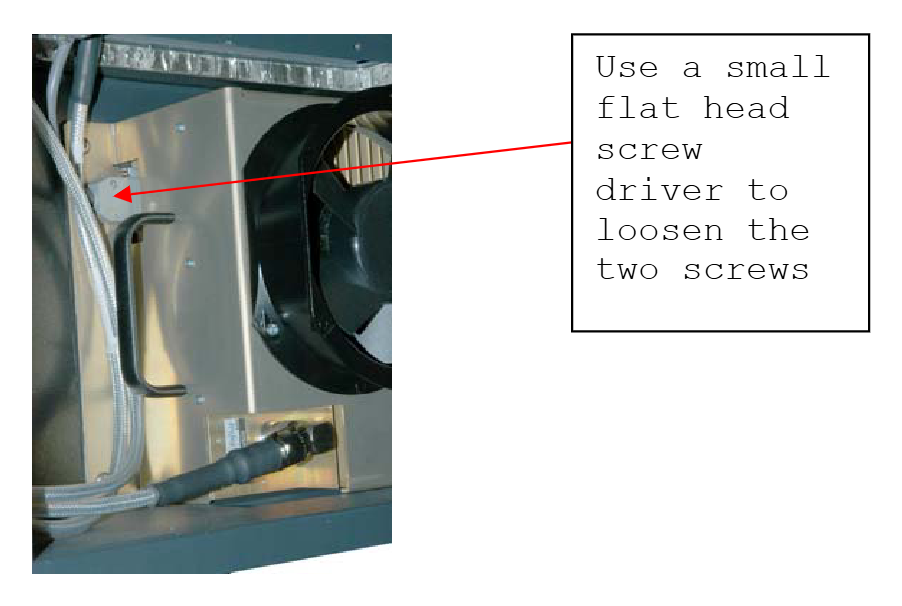
Disconnect the Computer Cable
Loosen the two screws on the computer cable connector with a small flat head screwdriver, and unplug the cable from the side of the RF unit.
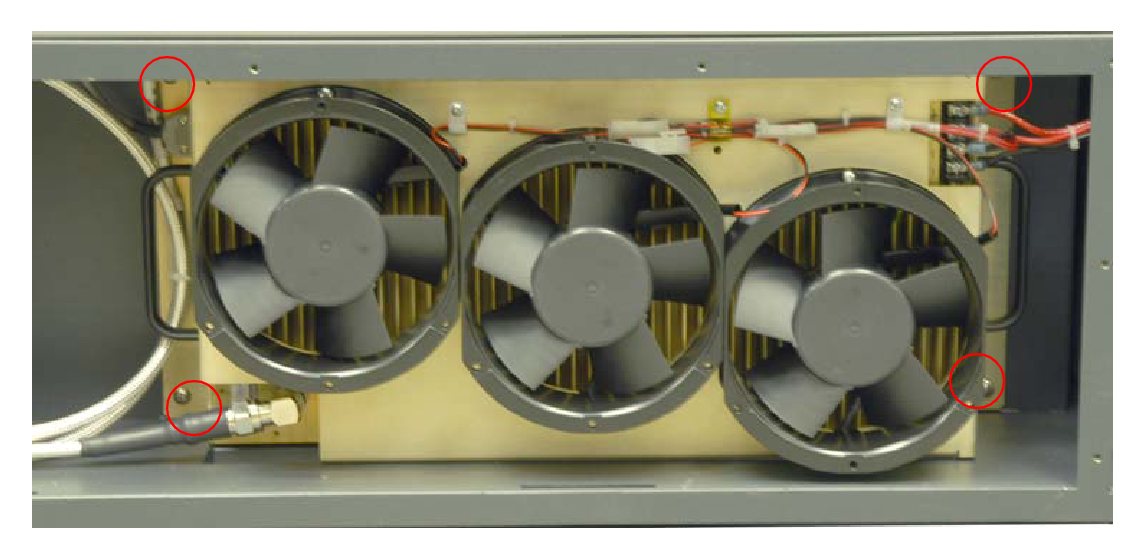
Remove the Bracket Screws
Remove the four screws at the corners of the RF bracket.
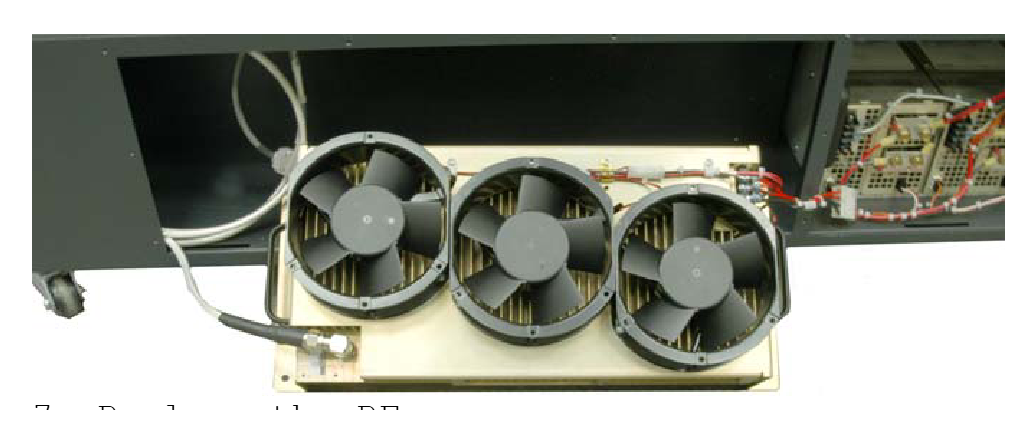
Pull Out the RF Unit
Using the handles, pull the RF unit out of the engraver, then disconnect the air intake hose.
RF Unit Installation
Connect the Air Intake
Connect the air intake hose to the new RF unit.
Install the RF Unit
Slide the RF unit into the engraver and tighten the four screws on the RF bracket.
Reconnect the Computer Cable
Plug the computer cable back in and tighten its two screws.
Reconnect the Large Connector
Reconnect the large electrical connector above the power supply.
Reinstall the Back Panels
Reconnect the fan connector on the middle panel, then reinstall the middle and lower back panels.

Reconnect Power
Plug the power cord back in and turn on the engraver.