Índice
- Introducción
- Seguridad
- Introducción
- Setting Up Your Laser System
- Unpacking the Fusion Ascent
- Choose Where to Locate the System
- Connecting the Exhaust
- Connecting Electrical Power
- Connecting the Laser to Your Computer
- Power on the Laser
- Set the IP Address
- Install the Software Suite & Set Up Your Laser
- Sign Up for Driver Updates and Register Your System
- Panel de control
- System Features
- Machine Maintenance
- Specifications
- Technical Support
- Warranty
- Configuración de materiales
- Calibration
Calibrating the Auto Focus
Ejecutar el asistente de calibración del enfoque
El asistente de calibración del enfoque permite que el sistema láser determine automáticamente la altura focal óptima para la lente instalada. Este proceso graba un patrón de prueba sobre aluminio anodizado e identifica la posición de enfoque que produce la marca más brillante. Realizar la calibración garantiza un rendimiento preciso en el grabado y el corte.

- Open the Settings Menu by clicking the Gear icon in the upper-right corner of the display.
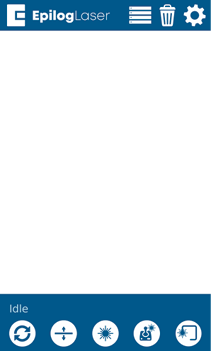
- Select the Focus menu.
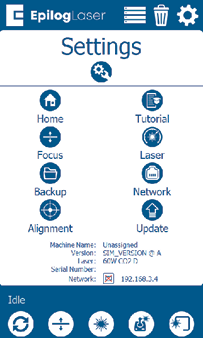
- Select the Lens Aperture. If prompted by the calibration wizard, select the lens aperture used by your machine. If the wizard does not ask for this information, you may skip this step.
- Choose CO2 Focus to begin the focus calibration wizard.
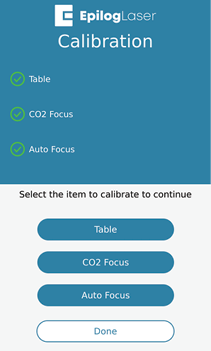
- Start the Calibration Wizard. Click Proceed to continue.
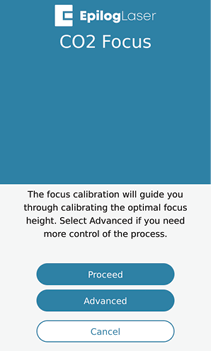
- Select Standard to run the automated focus calibration.
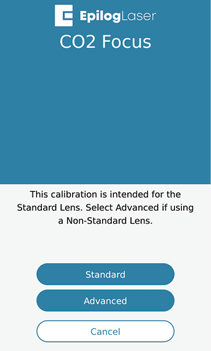 Note: Use the standard focal height lens. Accessory lenses such as the 4’’ lens require the Advanced Workflow.
 - Insert Calibration Material. Insert a piece of anodized aluminum into the machine and press Trace.
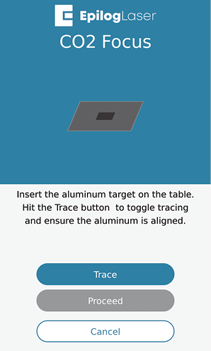 Note: Use 0.025’’ thick anodized aluminum.
 - Align the Material. Ensure the material is positioned directly under the traced outline, then click Proceed.
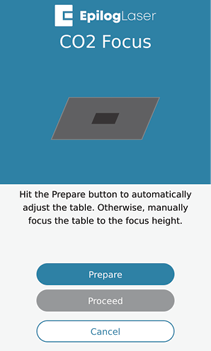
- Press Prepare, then click Proceed.
- Click Proceed to begin the engraving job.
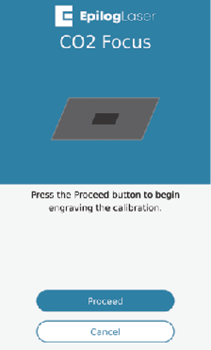
- Deja que el láser termine el grabado de calibración.
- Select the Brightest Mark. Find the number corresponding to the brightest engraving mark on the test pattern and enter it on the display.
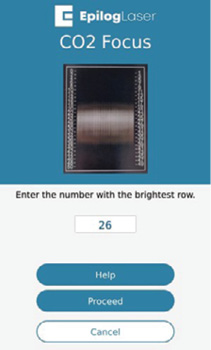
- El proceso de calibración del enfoque ya ha finalizado.
Flujo de trabajo avanzado
El flujo de trabajo avanzado está pensado para usuarios que no pueden completar el proceso de calibración estándar, que utilizan una lente accesoria (como una lente de 4 pulgadas) o que prefieren un método de calibración manual. Esta opción ofrece un mayor control sobre el proceso de calibración, ya que permite ajustar manualmente los parámetros de enfoque y de grabado.
Durante el procedimiento de calibración avanzada, deberá seleccionar ajustes personalizados de velocidad y potencia, introducir el grosor del material y colocar el material de prueba en la máquina. El láser grabará un patrón de 2×2 mientras usted sube y baja manualmente la mesa de grabado. Al ajustar la altura de enfoque durante el trabajo, podrá identificar la posición que produce la marca de grabado más brillante. Este método permite ajustar con precisión el punto focal y resulta especialmente útil a la hora de calibrar lentes no estándar.