Índice
- Introducción
- Seguridad
- Introducción
- Setting Up Your Laser System
- Unpacking the Fusion Ascent
- Choose Where to Locate the System
- Connecting the Exhaust
- Connecting Electrical Power
- Connecting the Laser to Your Computer
- Power on the Laser
- Set the IP Address
- Install the Software Suite & Set Up Your Laser
- Sign Up for Driver Updates and Register Your System
- Panel de control
- System Features
- Machine Maintenance
- Specifications
- Technical Support
- Warranty
- Configuración de materiales
- Calibration
Carriage Camera Calibration
The following procedure must be performed first for all Fusion Ascent machines. Turn on the engraver, and let it complete the startup process.
- On the display, press the gear icon to enter the Settings Menu.
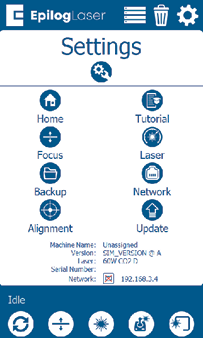
- Long Press the “Settings” text for 2-3 seconds to enter the Advanced Settings Menu.
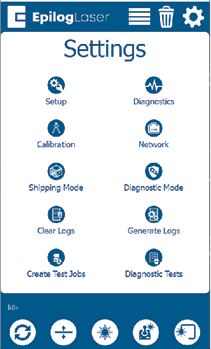
- Click on “Calibration” followed by “Calibrate Cameras” to enter the Camera Calibration menu. If using 1.1.2.8 or older, just tap “Calibrate Cameras”.
- Coloque una pieza de aluminio anodizado de 8” x 5” (200 mm x 125 mm) en la esquina superior izquierda de la mesa.
- Cierre la puerta superior del grabador.
- Pulse OK para iniciar la calibración de la cámara del carro y el grabador moverá la mesa a la altura focal adecuada para la calibración.
- El grabador marcará el aluminio anodizado con un patrón que la cámara del carro analizará para su calibración. Una vez completado el trabajo, debería aparecer un mensaje de éxito.
- Siga las instrucciones que aparecen en pantalla para continuar con la calibración de la cámara superior.