目次
- はじめに
- 安全
- はじめに
- Setting Up Your Laser System
- Unpacking the Fusion Ascent
- Choose Where to Locate the System
- Connecting the Exhaust
- Connecting Electrical Power
- Connecting the Laser to Your Computer
- Power on the Laser
- Set the IP Address
- Install the Software Suite & Set Up Your Laser
- Sign Up for Driver Updates and Register Your System
- コントロールパネル
- System Features
- Machine Maintenance
- Specifications
- Technical Support
- Warranty
- マテリアル設定
- Calibration
Calibrating the Auto Focus
フォーカス調整ウィザードの実行
「フォーカス調整ウィザード」を使用すると、レーザーシステムが取り付けられたレンズの最適な焦点高さを自動的に決定します。このプロセスでは、陽極酸化アルミニウムにテストパターンを彫刻し、最も鮮明なマークが得られる焦点位置を特定します。この調整を実行することで、正確な彫刻および切断性能が確保されます。

Note: These steps will walk you through calibrating the auto focus of a Fusion Ascent with a CO2 laser only.
- Open the Settings Menu by clicking the Gear icon in the upper-right corner of the display.
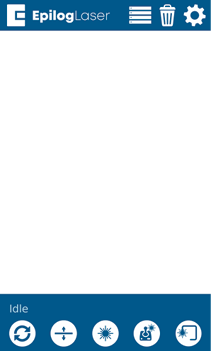
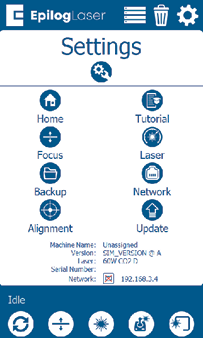
- Select the Focus menu.
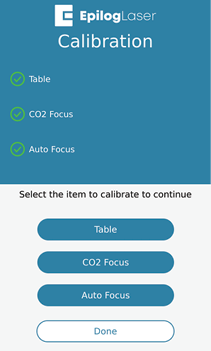
- Select the Lens Aperture. If prompted by the calibration wizard, select the lens aperture used by your machine. If the wizard does not ask for this information, you may skip this step.
- Choose CO2 Focus to begin the focus calibration wizard.
- Start the Calibration Wizard. Click Proceed to continue.
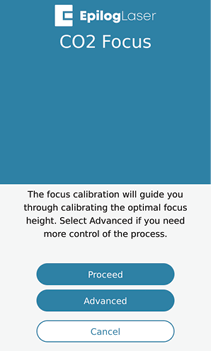
- Select Standard to run the automated focus calibration.
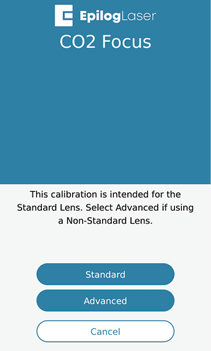 Note: Use the standard focal height lens. Accessory lenses such as the 4’’ lens require the Advanced Workflow.
 - Insert Calibration Material. Insert a piece of anodized aluminum into the machine and press Trace.
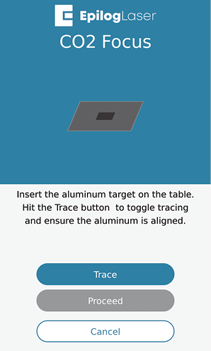 Note: Use 0.025’’ thick anodized aluminum.
 - Align the Material. Ensure the material is positioned directly under the traced outline, then click Proceed.
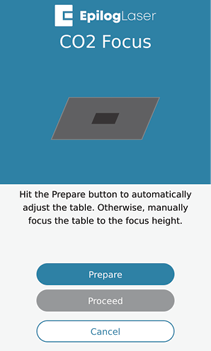
- Press Prepare, then click Proceed.
- Click Proceed to begin the engraving job.
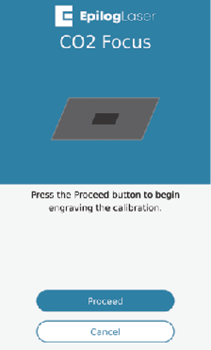
- レーザーによるキャリブレーション彫刻が完了するまでお待ちください。
- Select the Brightest Mark. Find the number corresponding to the brightest engraving mark on the test pattern and enter it on the display.
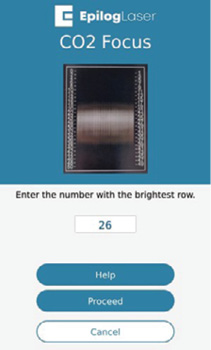
- フォーカス調整が完了しました。
高度なワークフロー
「詳細ワークフロー」は、標準のキャリブレーション手順を完了できないユーザー、4インチレンズなどのアクセサリーレンズを使用しているユーザー、または手動によるキャリブレーション方法を希望するユーザーを対象としています。このオプションでは、フォーカス設定や彫刻パラメータを手動で調整できるため、キャリブレーションプロセスをより細かく制御することができます。
詳細なキャリブレーション手順では、カスタム速度および出力設定を選択し、素材の厚さを入力した上で、テスト用素材を装置にセットします。その後、彫刻テーブルを手動で上下させながら、レーザーが2×2のパターンを彫刻します。作業中に焦点高さを調整することで、最も鮮明な彫刻痕が得られる位置を特定できます。この方法により焦点位置を微調整することができ、特に非標準レンズのキャリブレーションを行う際に有用です。